Unit 2:- Motion
Introduction
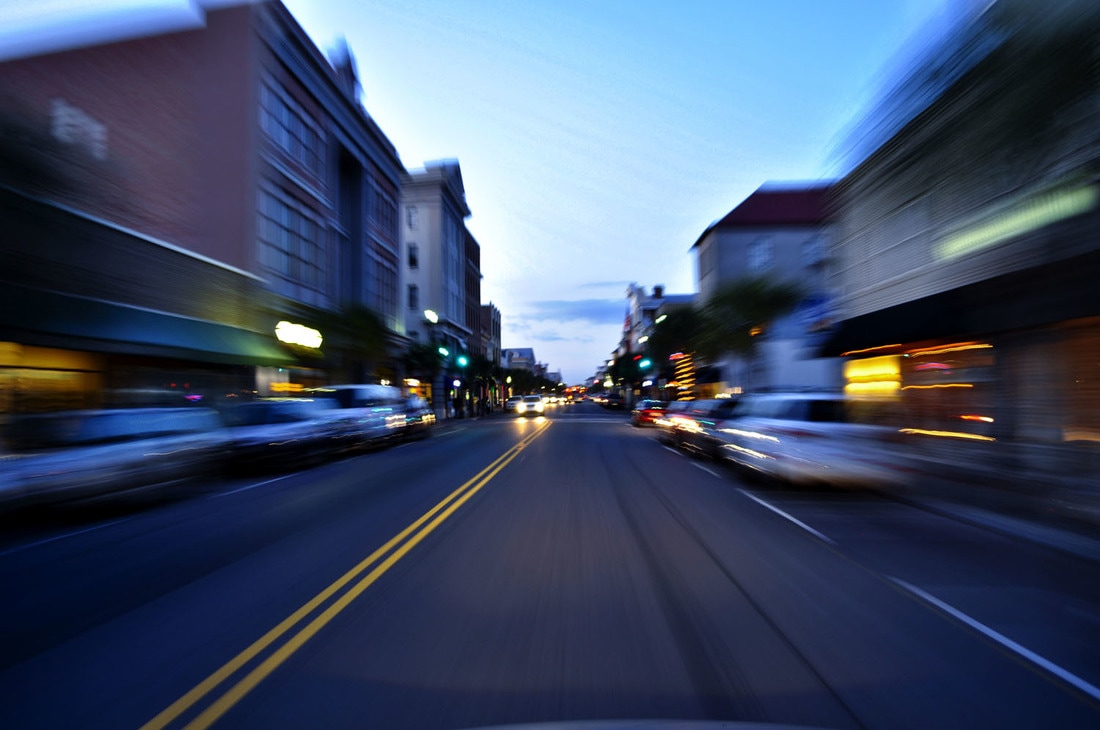
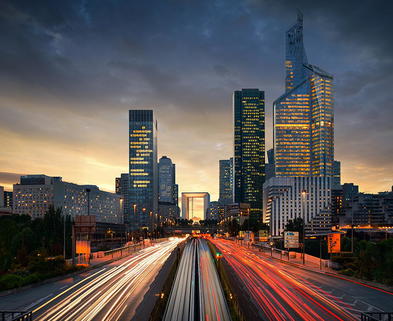
For my unit 2 project I have chosen motion. I have chosen this theme because I have breifly looked at it while developing ideas for previous projects. These projects include the Narrative Project and the Personal Investigation where I have looked at light trails created by car lights and the movement of the cars. I want to develop these ideas further and experiment with movement of people (crowds), as I have seen in Martin Roemers's work. I would like to also feature light trails with city lights (perhaps shop lights) and include an aspect of architecture in the background. I am thinking of working with different times of the day as well. I have overall chosen this theme as I have the most ideas and the most interest in the concept.
For my first steps I will create mindmaps to further refine my ideas and research into the work of Martin Roemers by critically analyising one of his photographs.
For my first steps I will create mindmaps to further refine my ideas and research into the work of Martin Roemers by critically analyising one of his photographs.
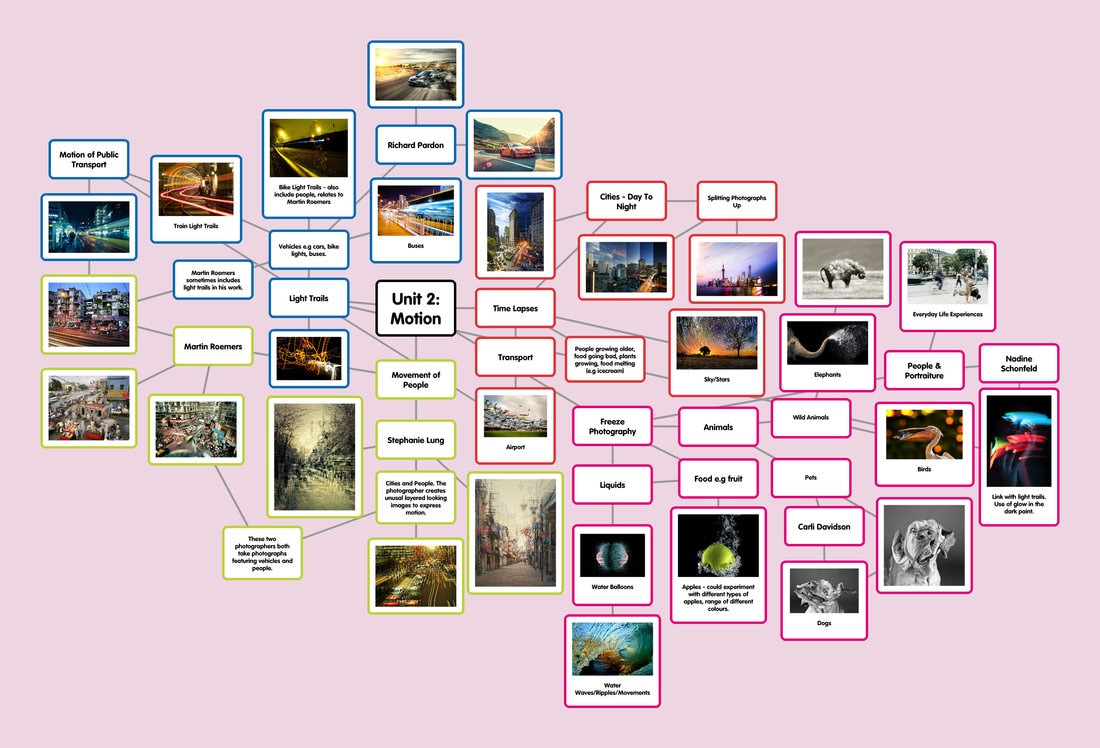
Mindmap Of Ideas
Mood Board

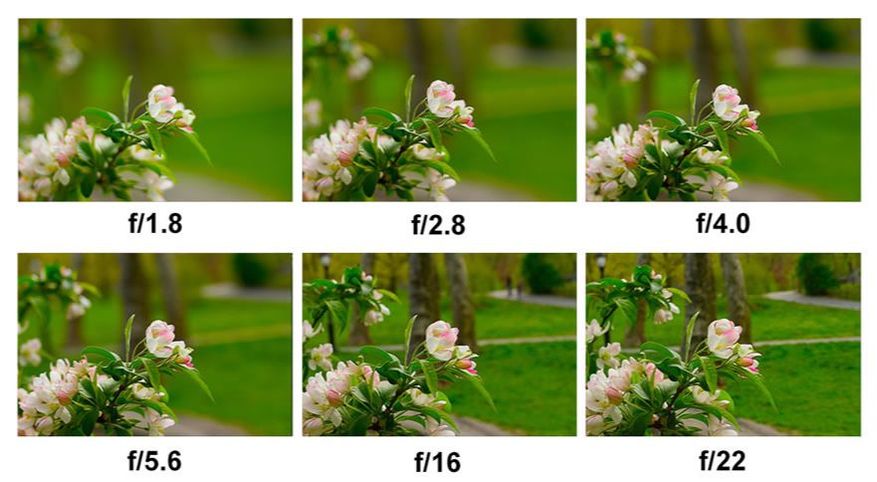
An Online Aperture Demonstration
Martin Roemers
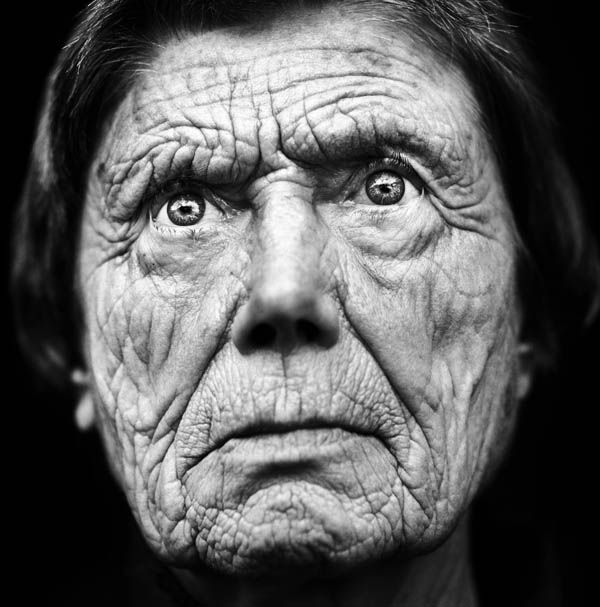
Pakistan - 2011 Underground Nuclear Shelter - Germany India - 2008 The Eyes Of War - 2012
Critical Analysis
Martin Roemers is a Dutch artist and photographer. He was born on the 21st of August 1962 in Oldehove, Netherlands. Roemers has worked on long-term projects that have enabled him to have his own exhibitions. The photographer has been mentioned in publications such as The New York Times. He has also published his work in books such as 'The Eyes Of War', featured above from 2012. This book displays portraits of the blind victims from World War 2. Roemers's work has won him multiple awards such as two World Press Photo Award(s) in 2006. He won first prize for his 'Metropolis' project.
Roemers focuses his work on the exploraton of megacities around the world as well as relics and people from previous wars. He has even been said to have been given the position of an archaeologist, tracing the remains of the Cold War. Martin Roemers's website explains that his work on the wars is there to 'serve as an appeal for future peace.'
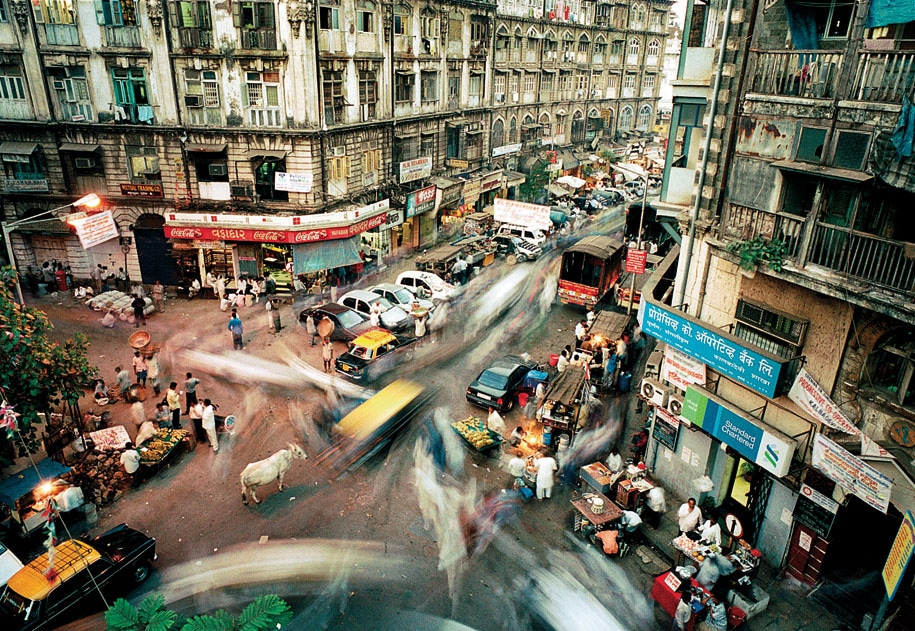
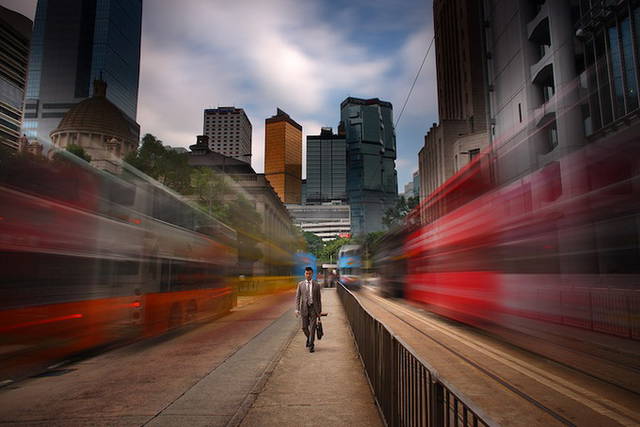
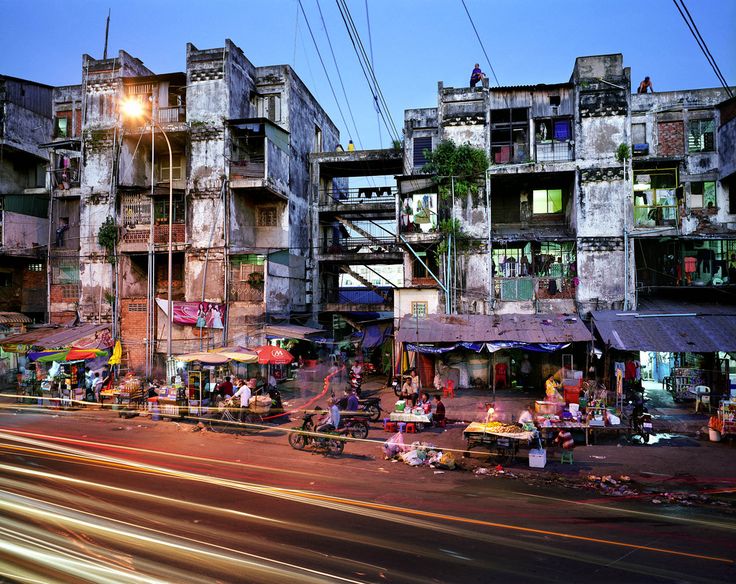
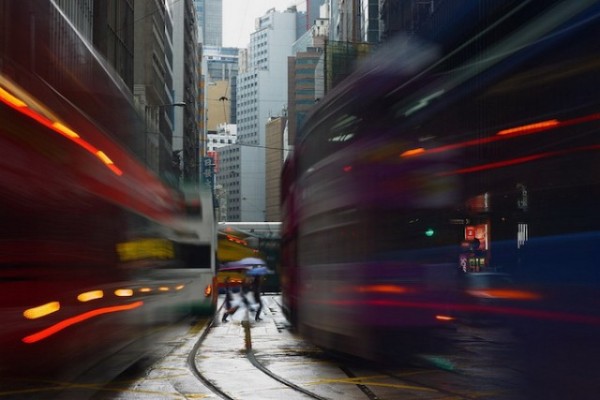
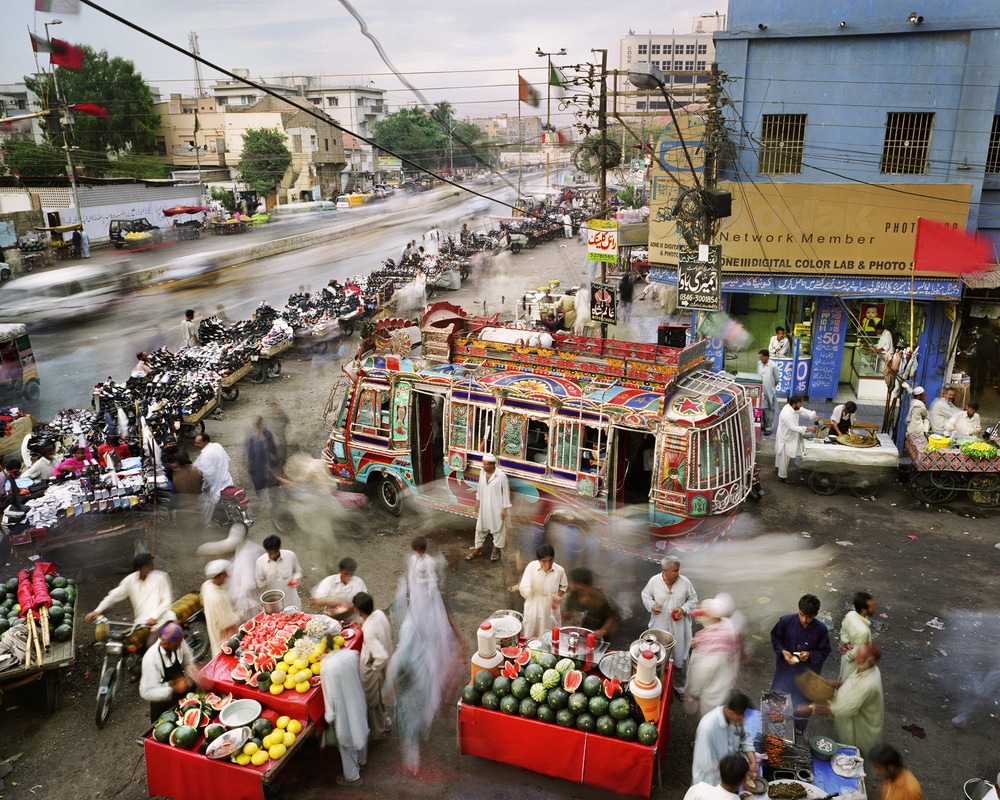
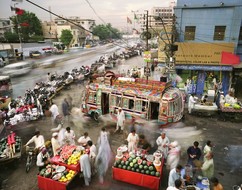
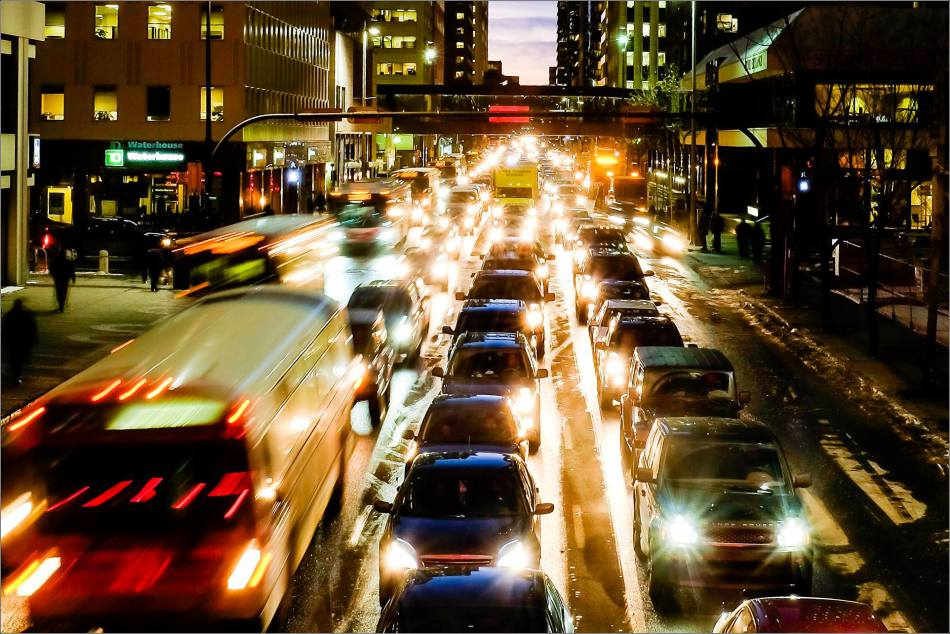
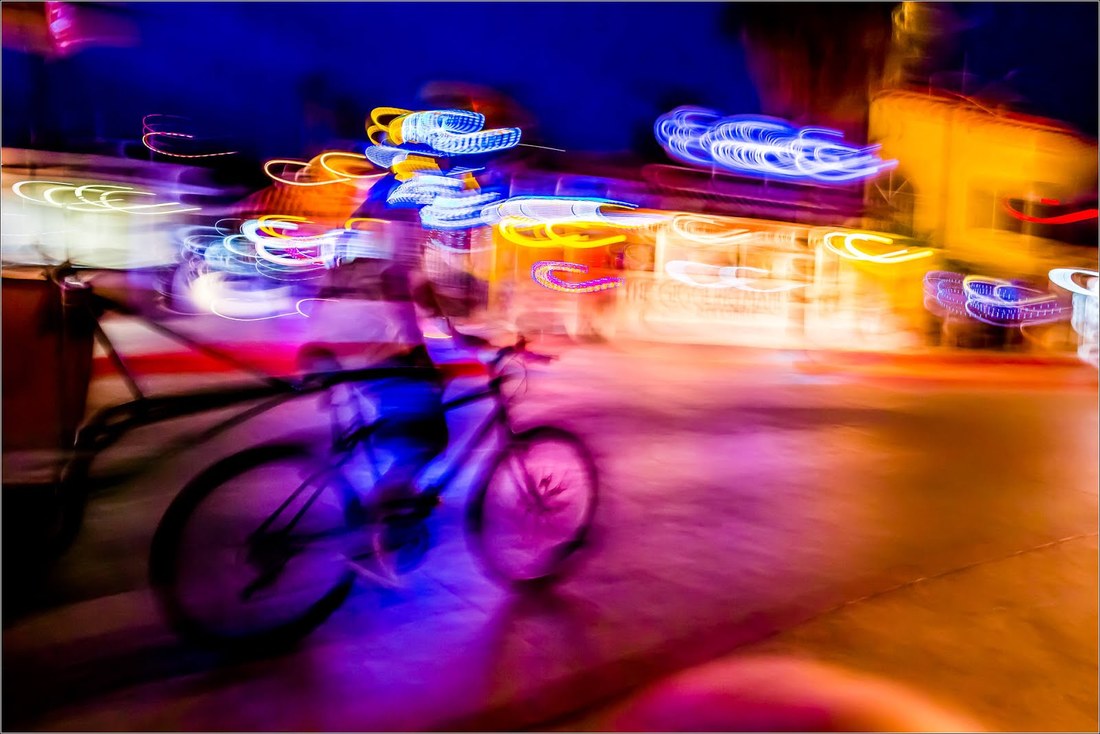
The photograph above was taken in Pakistan in 2011. It was apart of Martin Roemers's 'Metropolis' project of 2007-2015. The photographer created this project to raise questions and awareness about 'sustainability and the growing imbalance of our fragile ecosystems.' The project represents this in a 'vividly beautiful, yet unsettling portrait of overpopulation' - Martin Roemers' Website. The image caputures the movement of the countrys' people and gives the viewer an insight into what the place would be like to live in. The photograph makes you feel as if you are there with the people. The image shows a highly busy city full of vehicles and people. The colours featured are bright such as yellow, red and blue. The formal elements would be colour, composition, shape and depth. These elements make the photograph seem alive. This main focus in the photograph is on the colourful vehicle in the middle. Roemers could have done this to get the viewer thinking of how fortunate we are compared to other people around the world and how we get to travel in spacious, comfortable cars while they get to travel stood up, cramed into what looks like a mini bus. Overall, I believe Martin Roemers has matched his intentions because he has used photography techniques to exaggerate life in 'megacities' by using the blurred effect to represent all the people moving around in the confined space.
To take the photograph Martin Roemers would have used a tri-pod. This would stop the image from completely blurring. By looking at the photograph Roemers would have been higher up to take it. Therefore, I will need to keep that in mind when I do my first photo shoot based on his work. To achieve the blurred affect of the people and vehicles moving, the photographer would have used the long-exposure setting on his camera. I have also discovered that Roemers used a medium format (film) and an analogue camera.
I selected this piece because I have not seen anything like it before and I want to experiment with the blurred effect. I like how the work is colourful, informative and has a strong meaning behind it. However, I believe Martin Roemers could have supported his meaning better if he had taken photographs of people's houses. This would have shown the viewer what it would have been like for a common family to eat and sleep in.
This photographer relates to my initial ideas as I want to experiment with the movement of city life and the different times of the day. I will include aspects of Martin Roemers' work by having vehicles as one of my main themes in my final piece. I will use the long-exposure settings on my camera to capture the movement of these vehicles to create the same blurred effect as the photographer. I am also thinking of looking at different filters such as the black and white filter which Roemers has used in some of his projects ('The Eyes Of War').
Roemers focuses his work on the exploraton of megacities around the world as well as relics and people from previous wars. He has even been said to have been given the position of an archaeologist, tracing the remains of the Cold War. Martin Roemers's website explains that his work on the wars is there to 'serve as an appeal for future peace.'
The photograph above was taken in Pakistan in 2011. It was apart of Martin Roemers's 'Metropolis' project of 2007-2015. The photographer created this project to raise questions and awareness about 'sustainability and the growing imbalance of our fragile ecosystems.' The project represents this in a 'vividly beautiful, yet unsettling portrait of overpopulation' - Martin Roemers' Website. The image caputures the movement of the countrys' people and gives the viewer an insight into what the place would be like to live in. The photograph makes you feel as if you are there with the people. The image shows a highly busy city full of vehicles and people. The colours featured are bright such as yellow, red and blue. The formal elements would be colour, composition, shape and depth. These elements make the photograph seem alive. This main focus in the photograph is on the colourful vehicle in the middle. Roemers could have done this to get the viewer thinking of how fortunate we are compared to other people around the world and how we get to travel in spacious, comfortable cars while they get to travel stood up, cramed into what looks like a mini bus. Overall, I believe Martin Roemers has matched his intentions because he has used photography techniques to exaggerate life in 'megacities' by using the blurred effect to represent all the people moving around in the confined space.
To take the photograph Martin Roemers would have used a tri-pod. This would stop the image from completely blurring. By looking at the photograph Roemers would have been higher up to take it. Therefore, I will need to keep that in mind when I do my first photo shoot based on his work. To achieve the blurred affect of the people and vehicles moving, the photographer would have used the long-exposure setting on his camera. I have also discovered that Roemers used a medium format (film) and an analogue camera.
I selected this piece because I have not seen anything like it before and I want to experiment with the blurred effect. I like how the work is colourful, informative and has a strong meaning behind it. However, I believe Martin Roemers could have supported his meaning better if he had taken photographs of people's houses. This would have shown the viewer what it would have been like for a common family to eat and sleep in.
This photographer relates to my initial ideas as I want to experiment with the movement of city life and the different times of the day. I will include aspects of Martin Roemers' work by having vehicles as one of my main themes in my final piece. I will use the long-exposure settings on my camera to capture the movement of these vehicles to create the same blurred effect as the photographer. I am also thinking of looking at different filters such as the black and white filter which Roemers has used in some of his projects ('The Eyes Of War').
Looking into Martin Roemers' Work
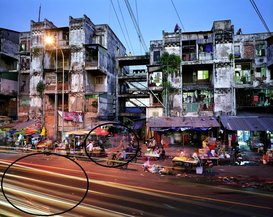
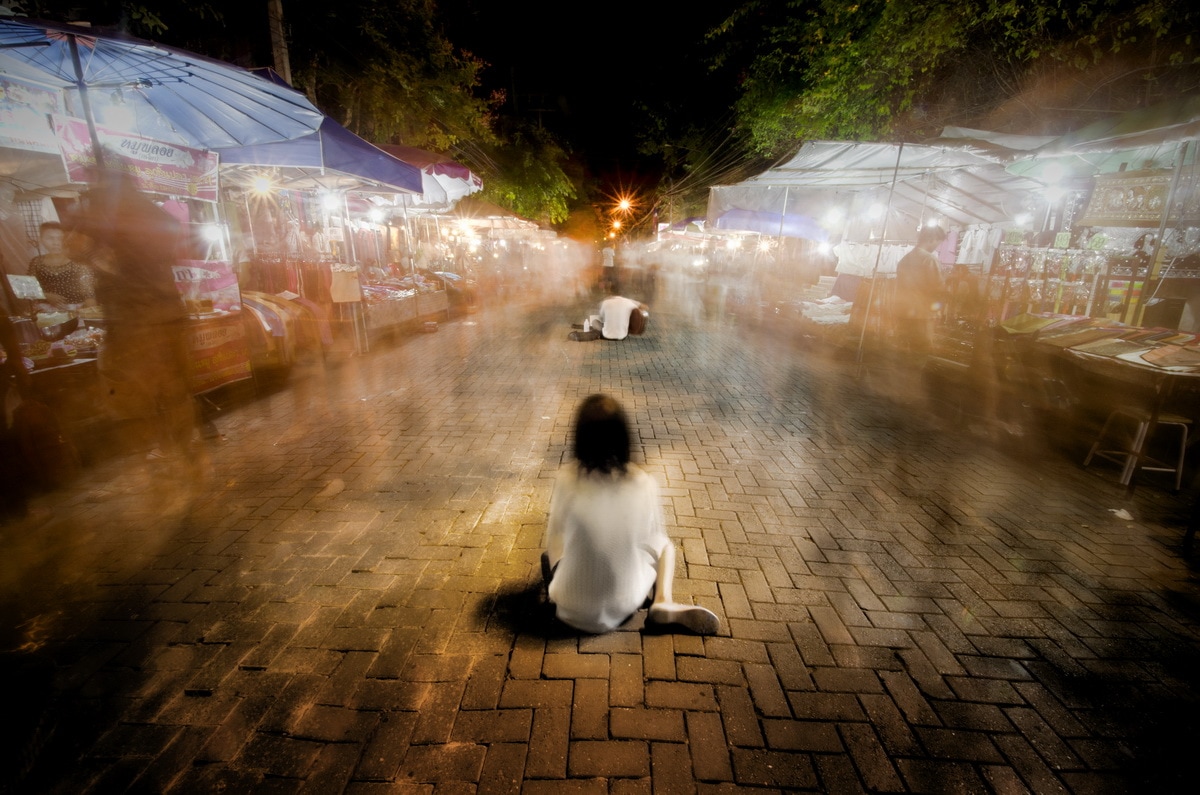
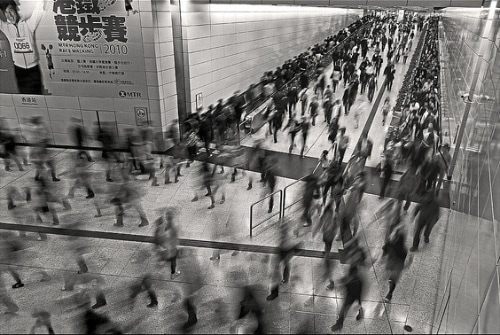
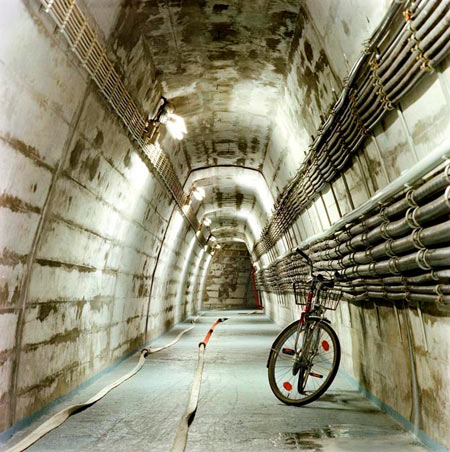
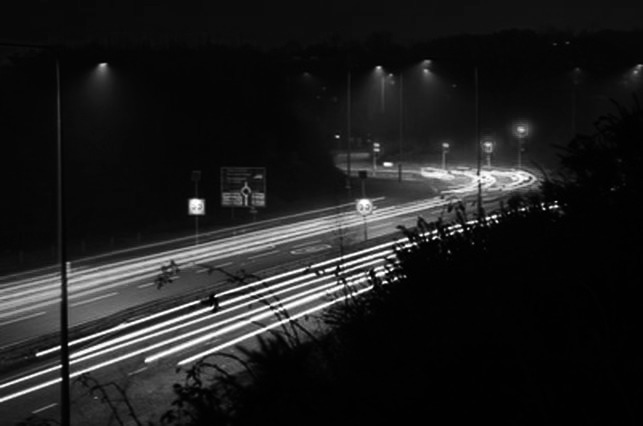
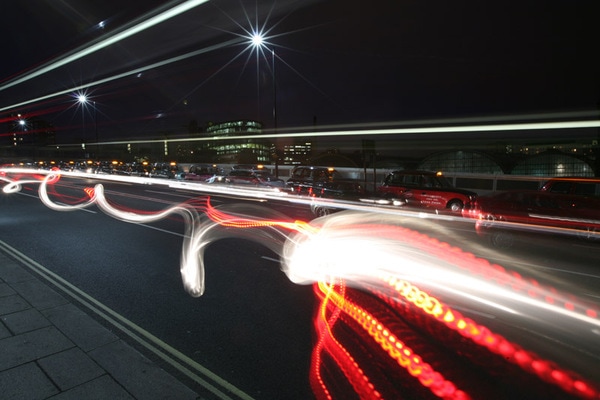
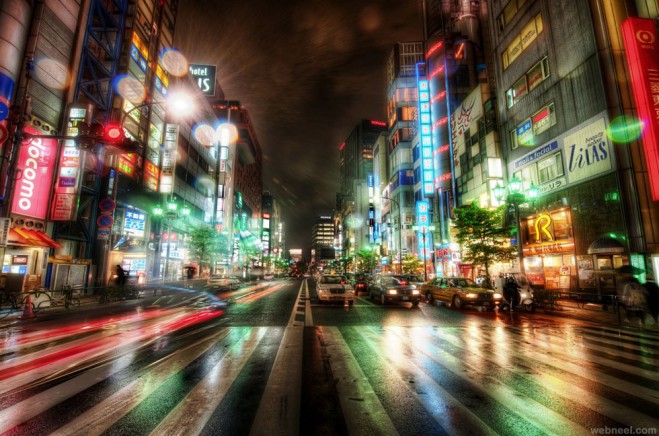
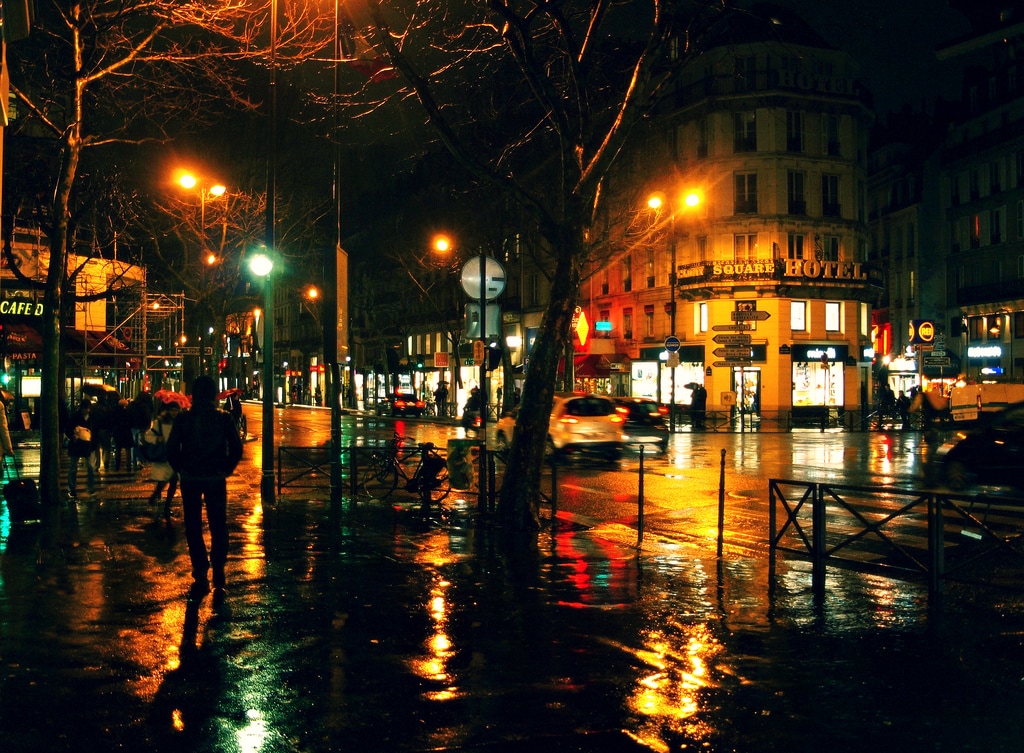
While looking into Martin Roemers' work I noticed that he sometimes features light trails in his work. Using Microsoft paint I have circled the light trails visible in his photograph. There are two types of light trails in the image, the light from cars and the light from a bicycle. Light trails are captured to express movement. I believe they create an interesting effect to the image. It looks as though the people are stood still but the rest of the city (cars) is moving around them.
I am not able to travel across the world to busy megacities. However, I can still create these light trails in Bristol. I will feature light trails in my first photo shoot and will experiment with different settings and equipment to achieve different effects.
I am not able to travel across the world to busy megacities. However, I can still create these light trails in Bristol. I will feature light trails in my first photo shoot and will experiment with different settings and equipment to achieve different effects.
Photoshoot Plan
For my first photo shoot I am going to experiment with the long-exposure technique that Martin Roemers uses. My focus will be on cities. The photo shoot will take place in town as it has quite a busy environment and will help to recreate the overcrowded atmosphere Martin Roemers' 'Metropolis' portrays. I will try to get higher ground to achieve the same perspective as the photographer too. In the future I would also like to try working with different times of the day as it will apply different moods to the photographs.
Shoot 1
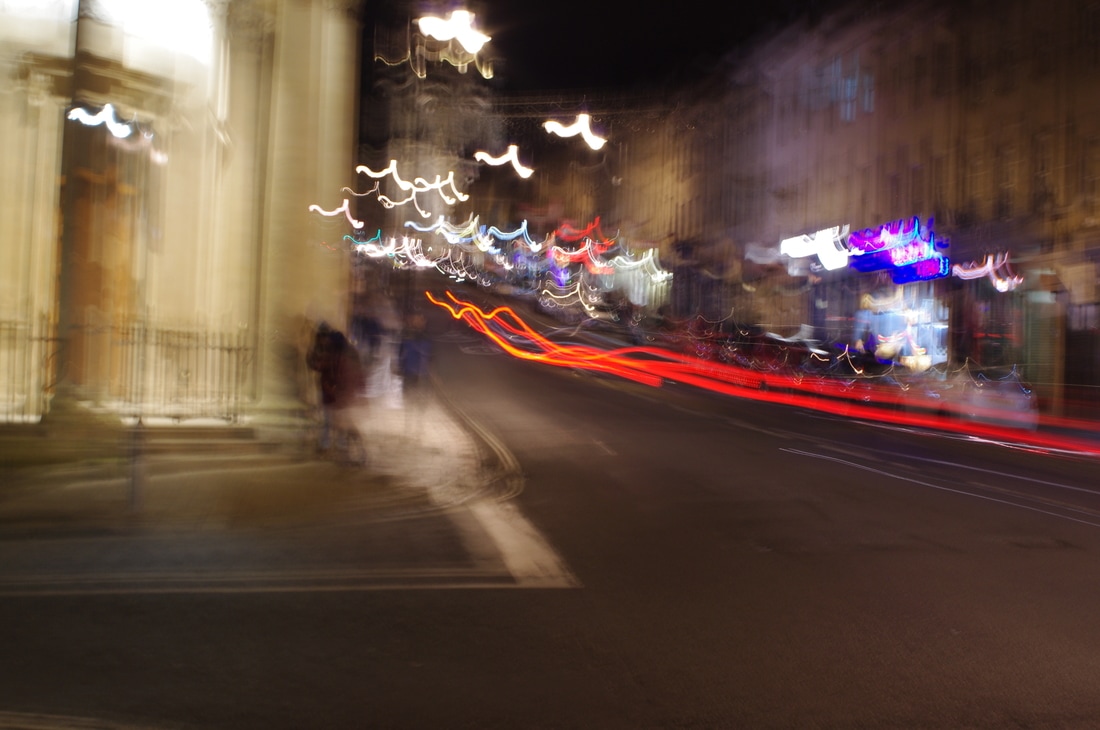
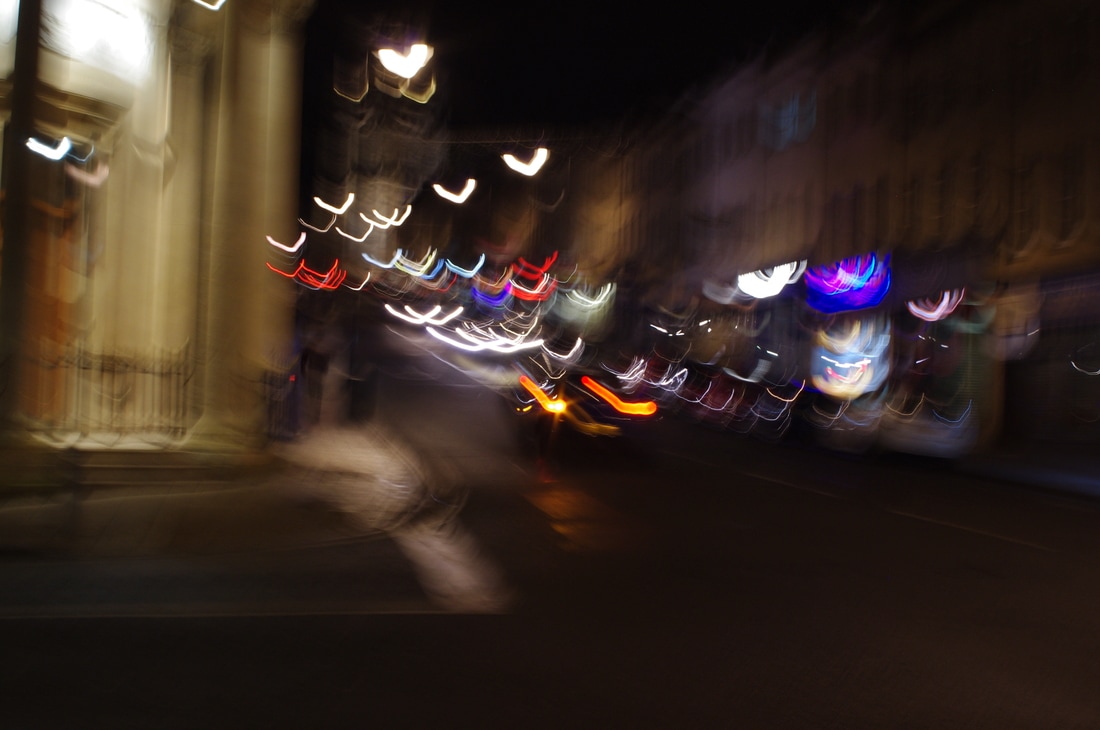
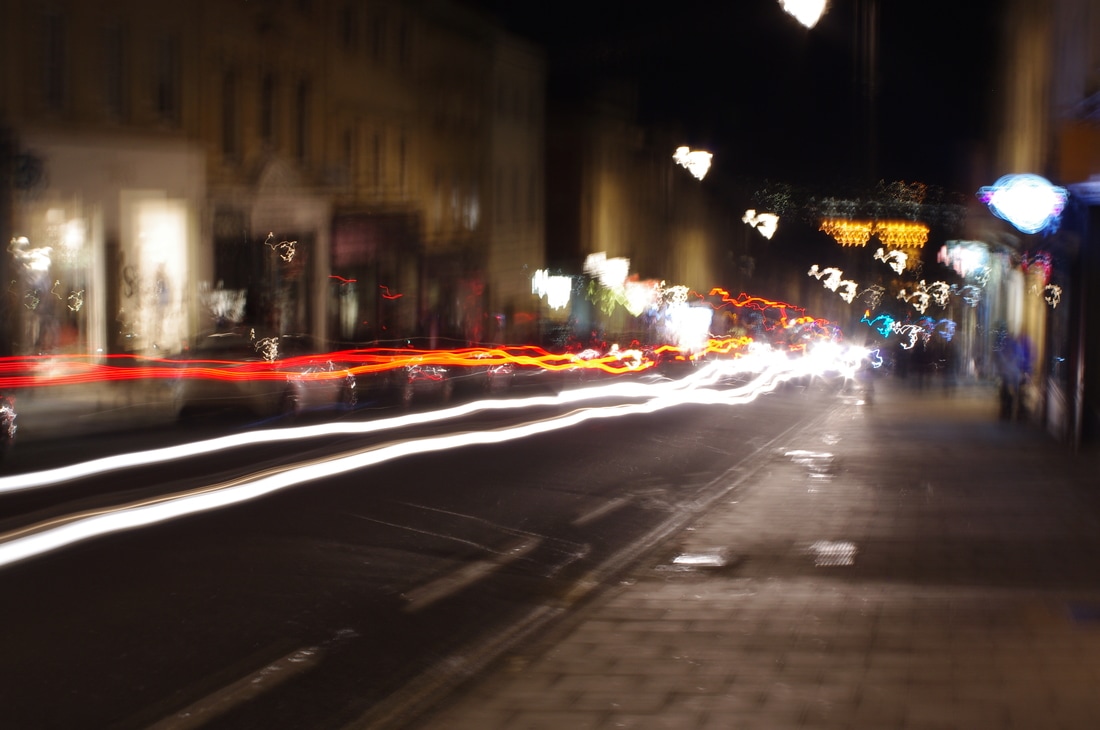
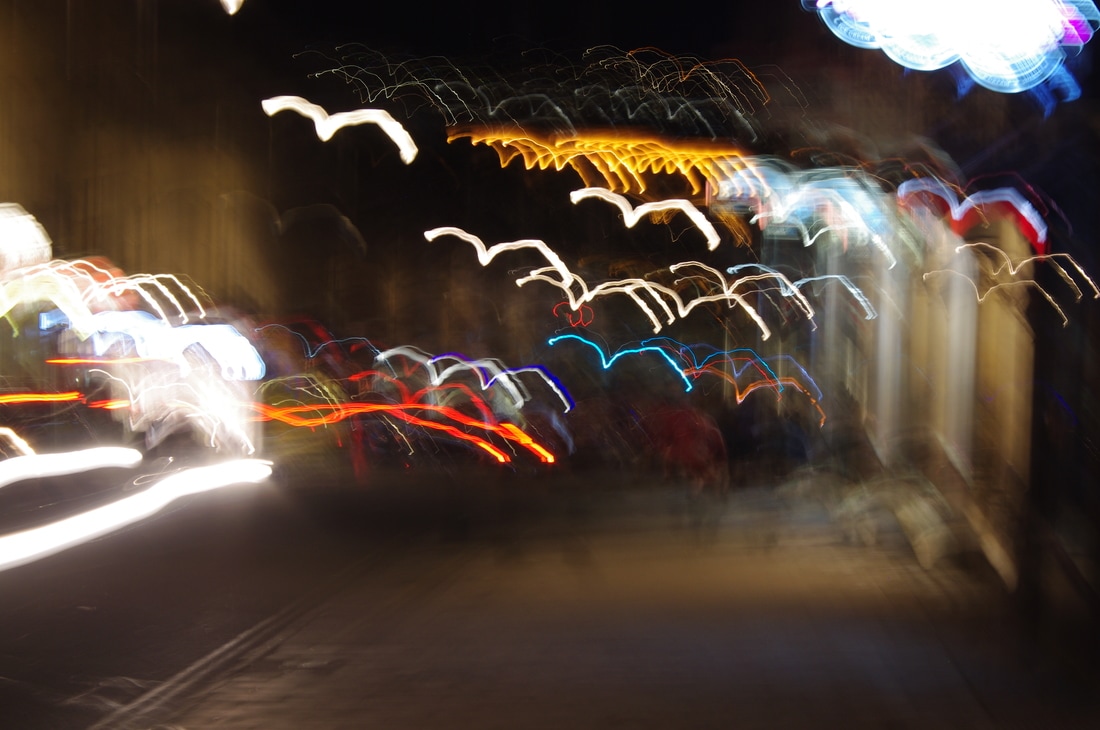
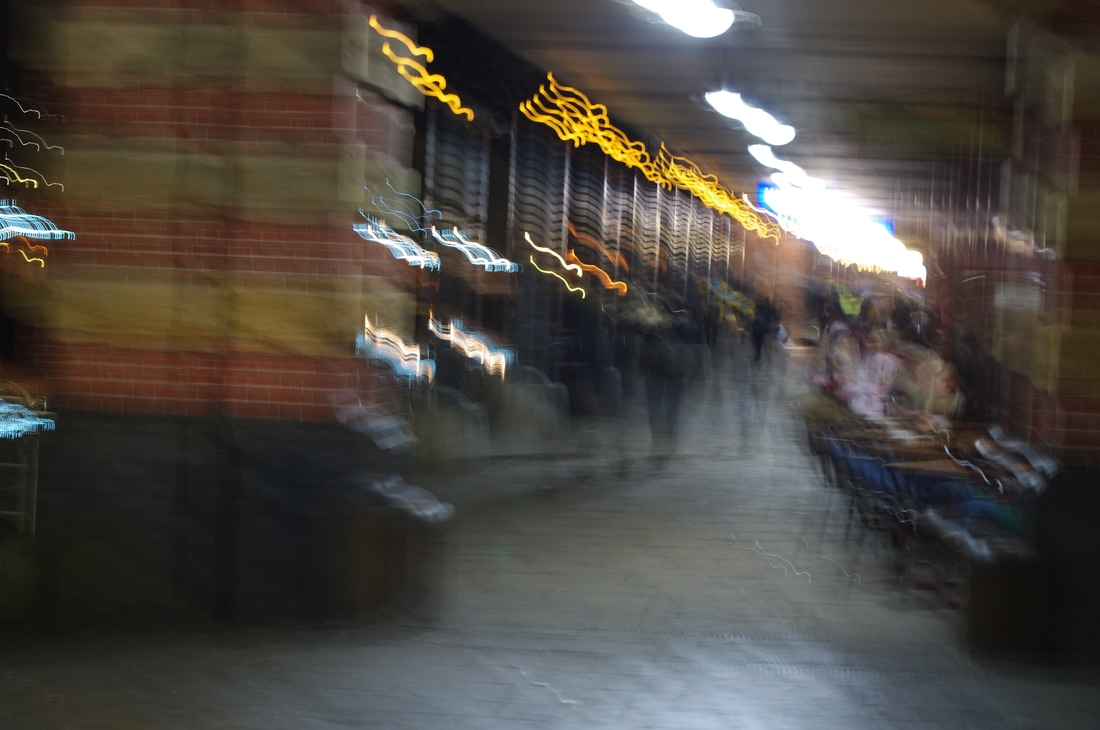
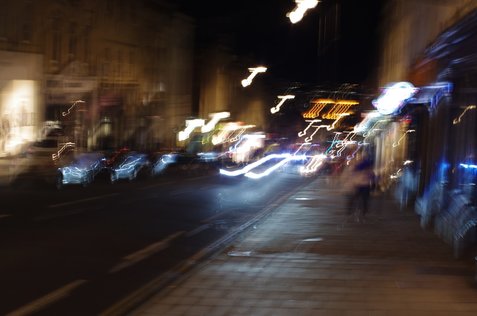
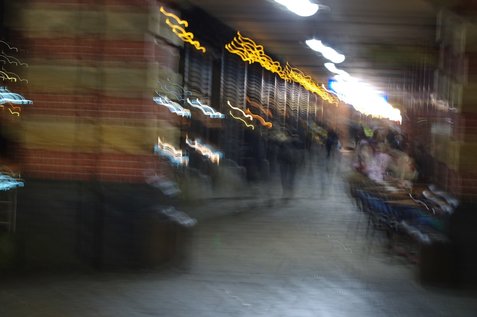
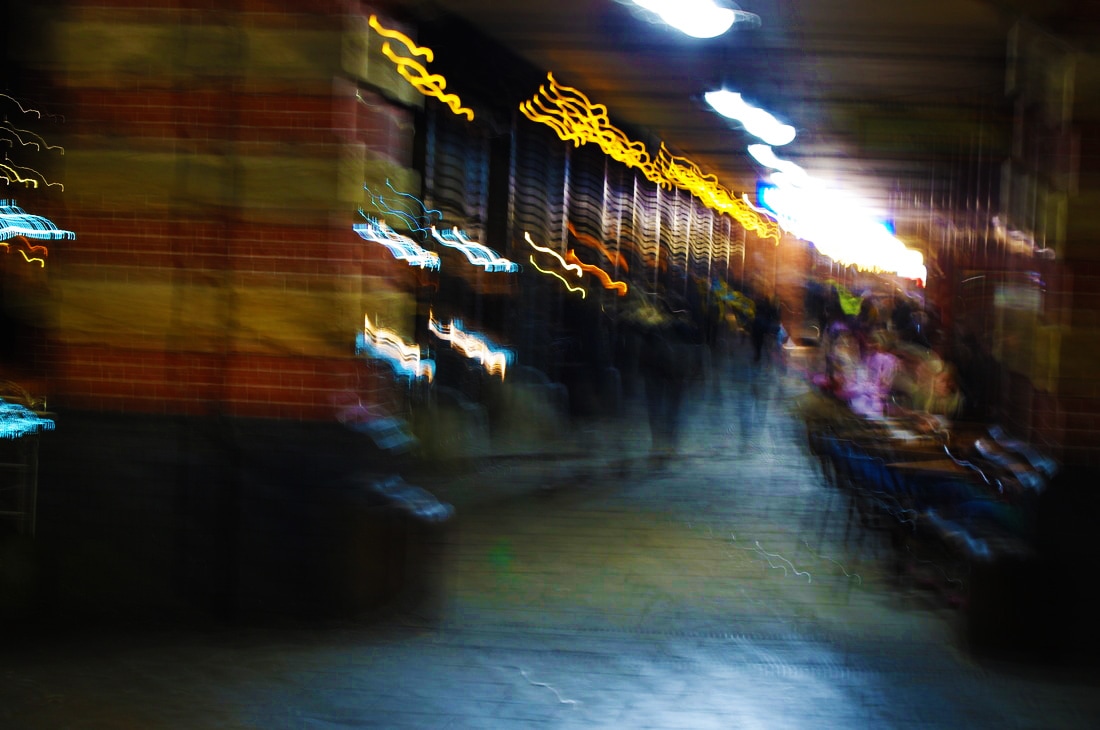
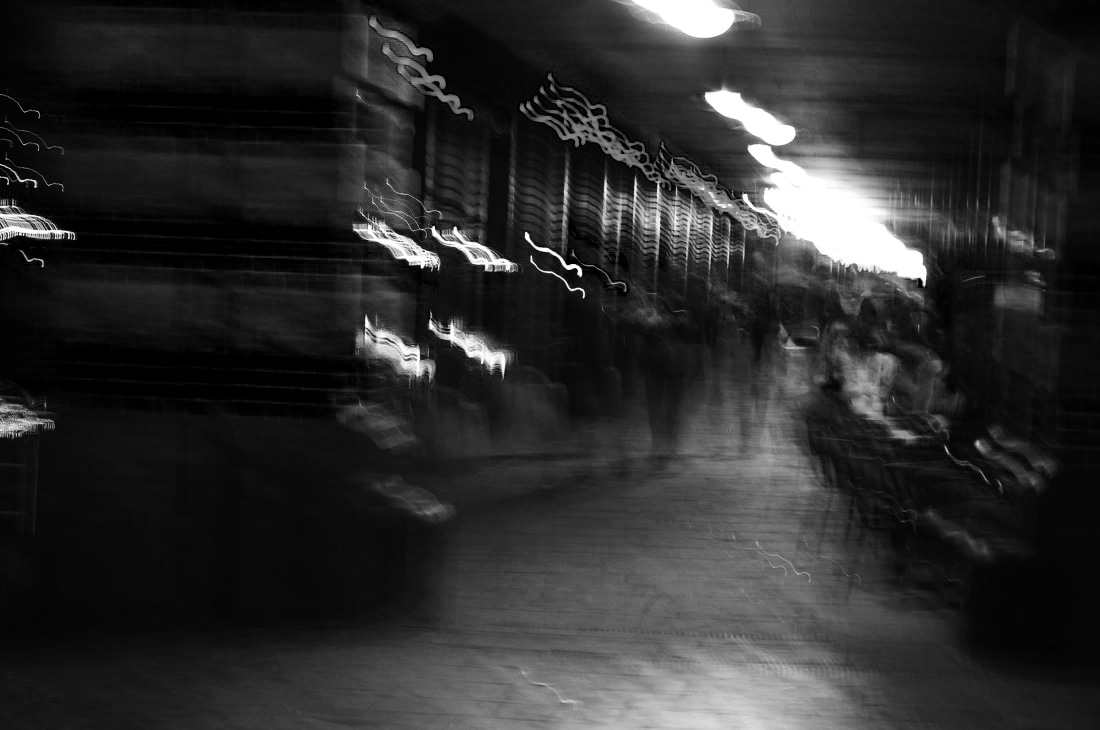
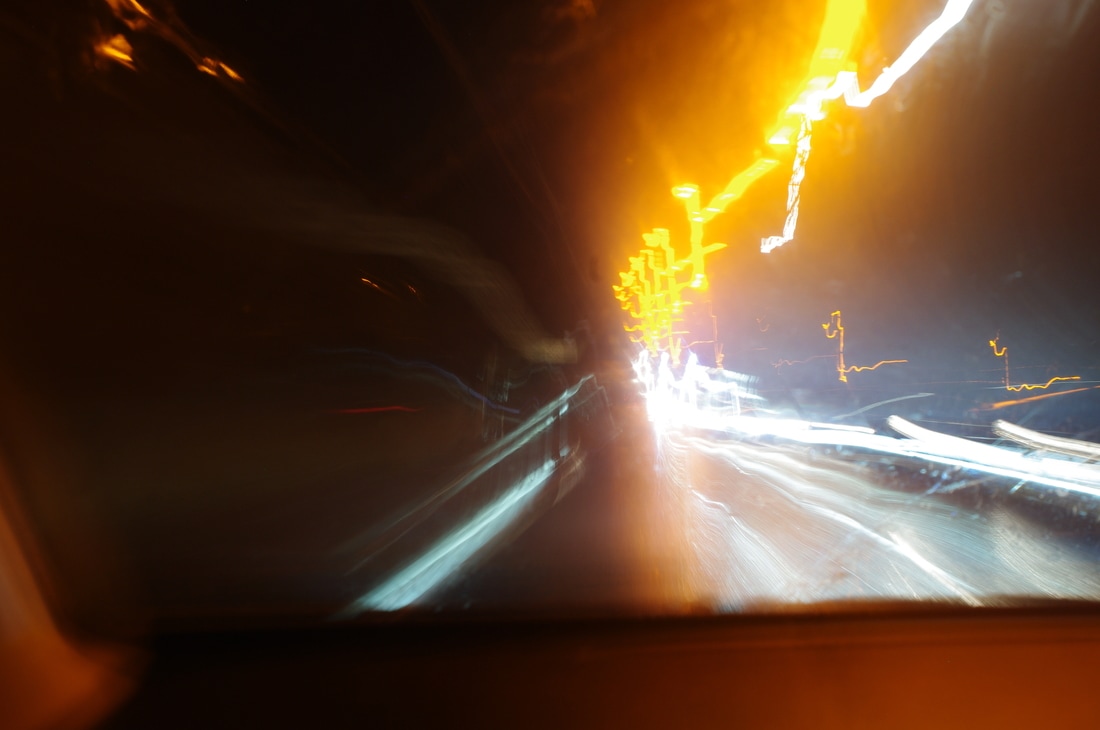
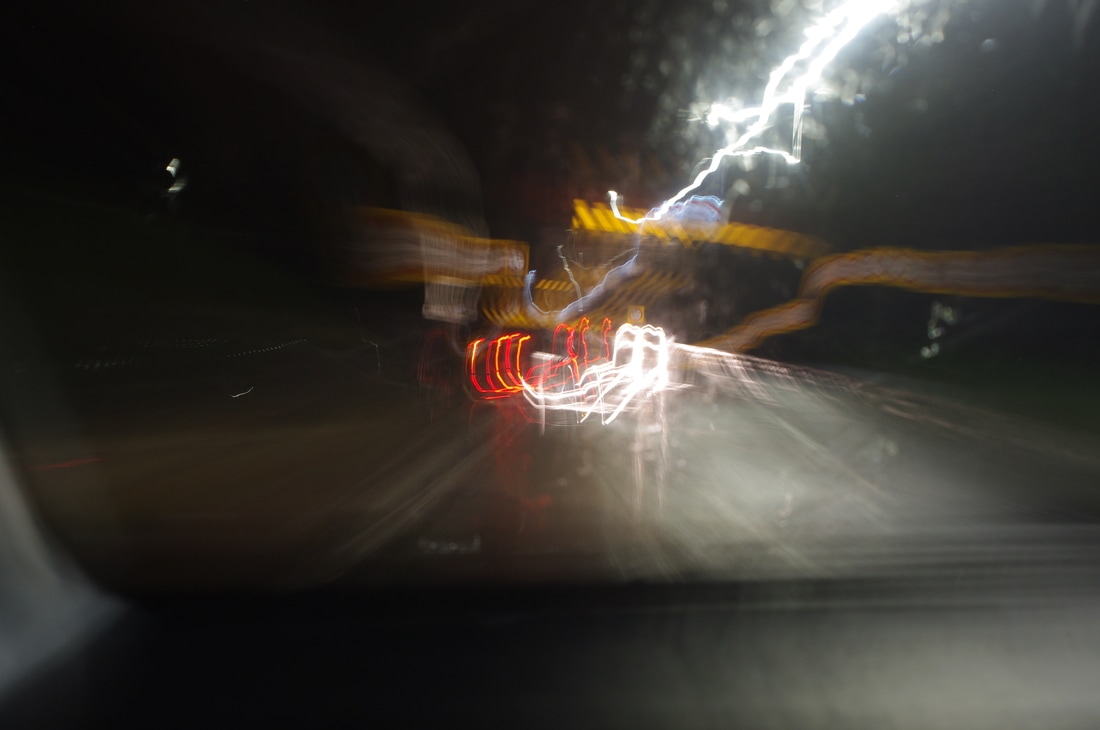
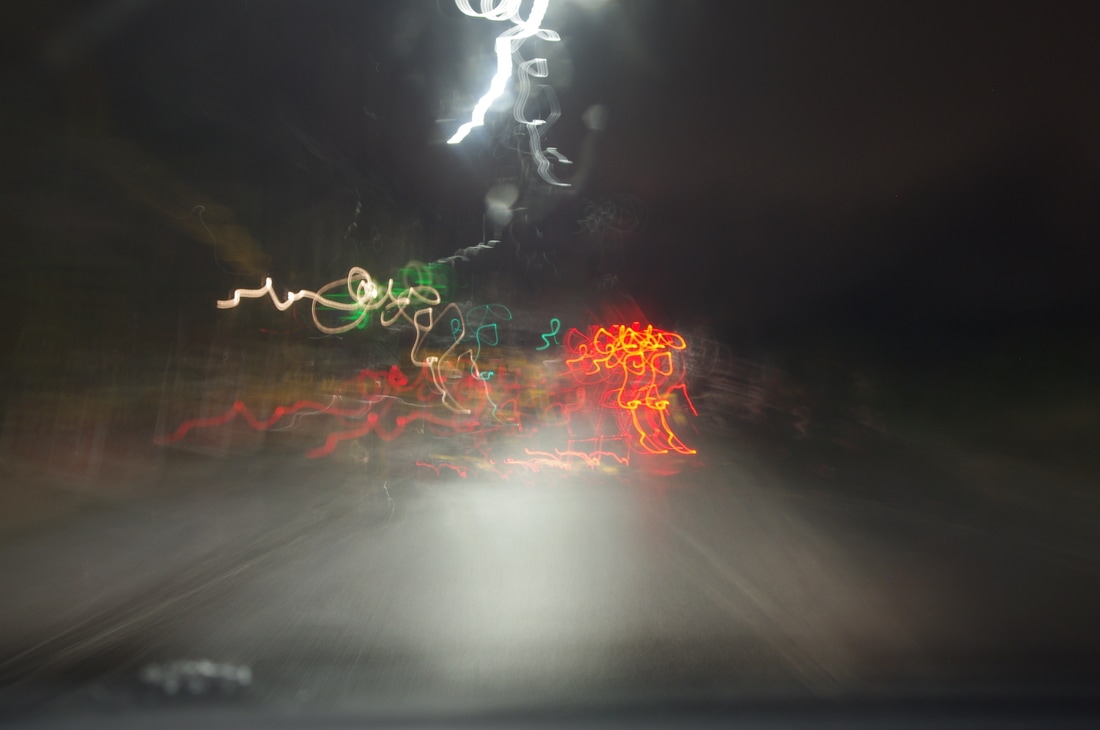
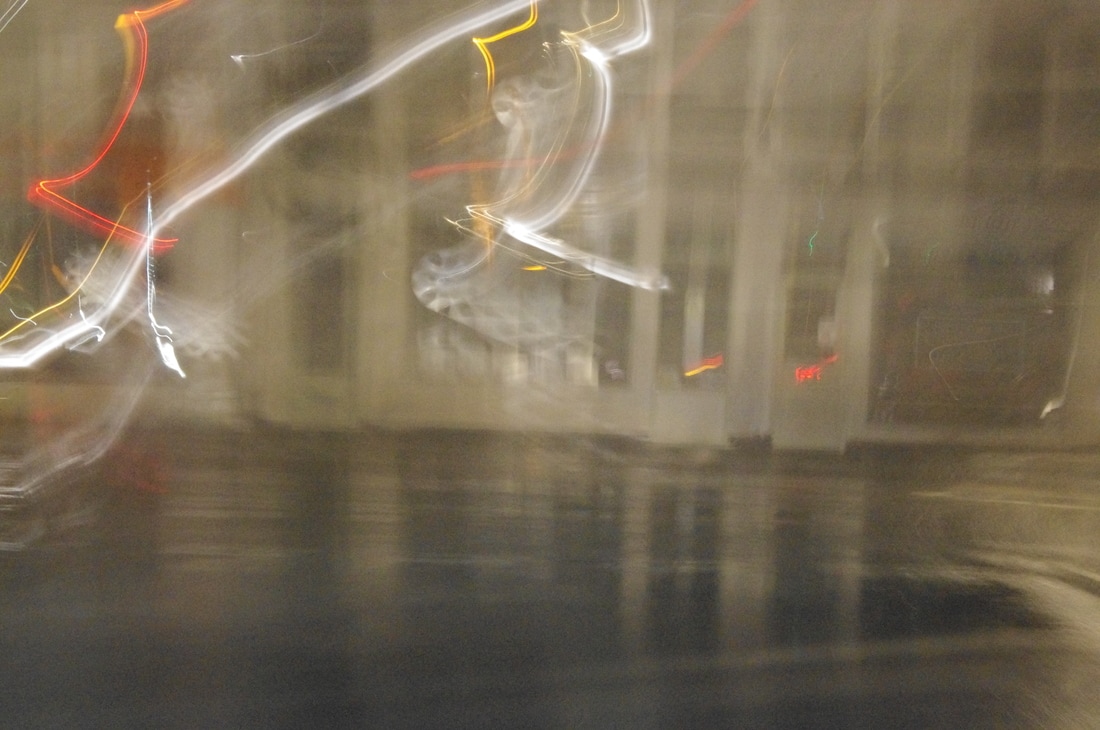
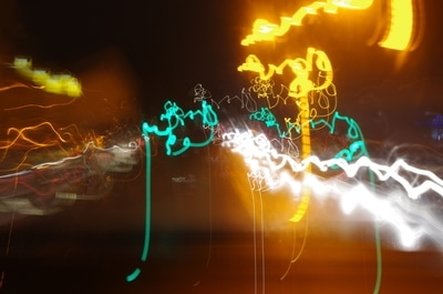
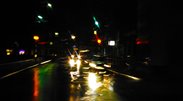
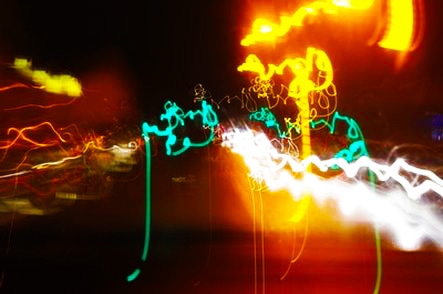
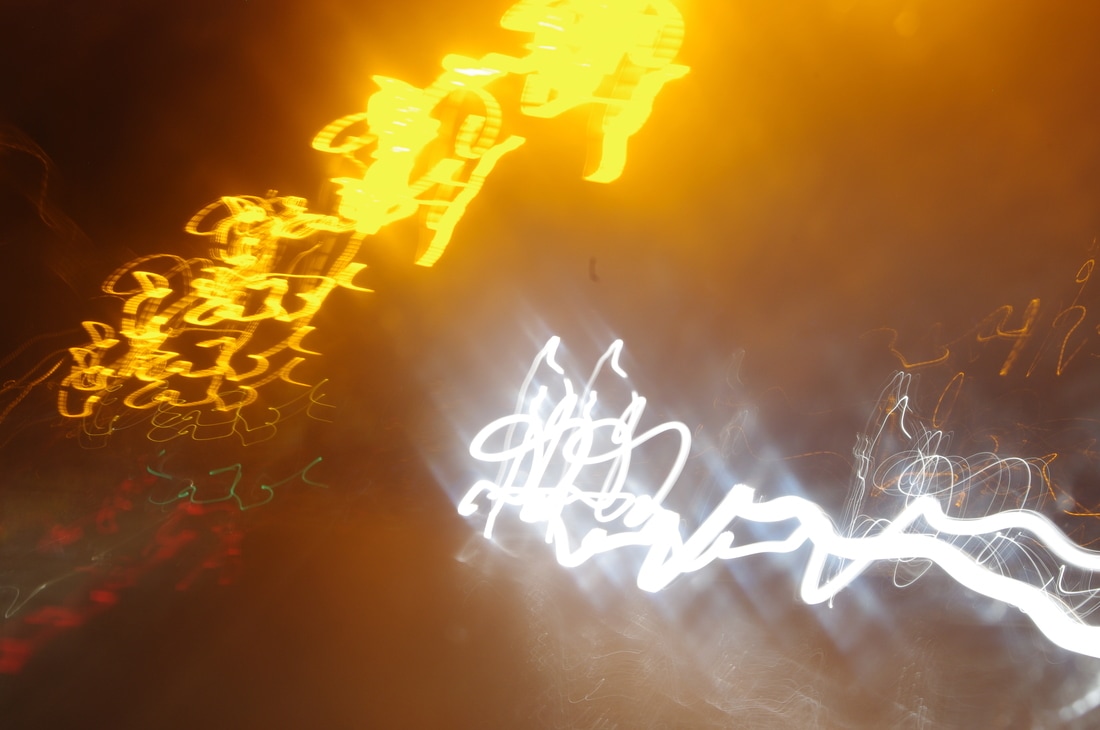
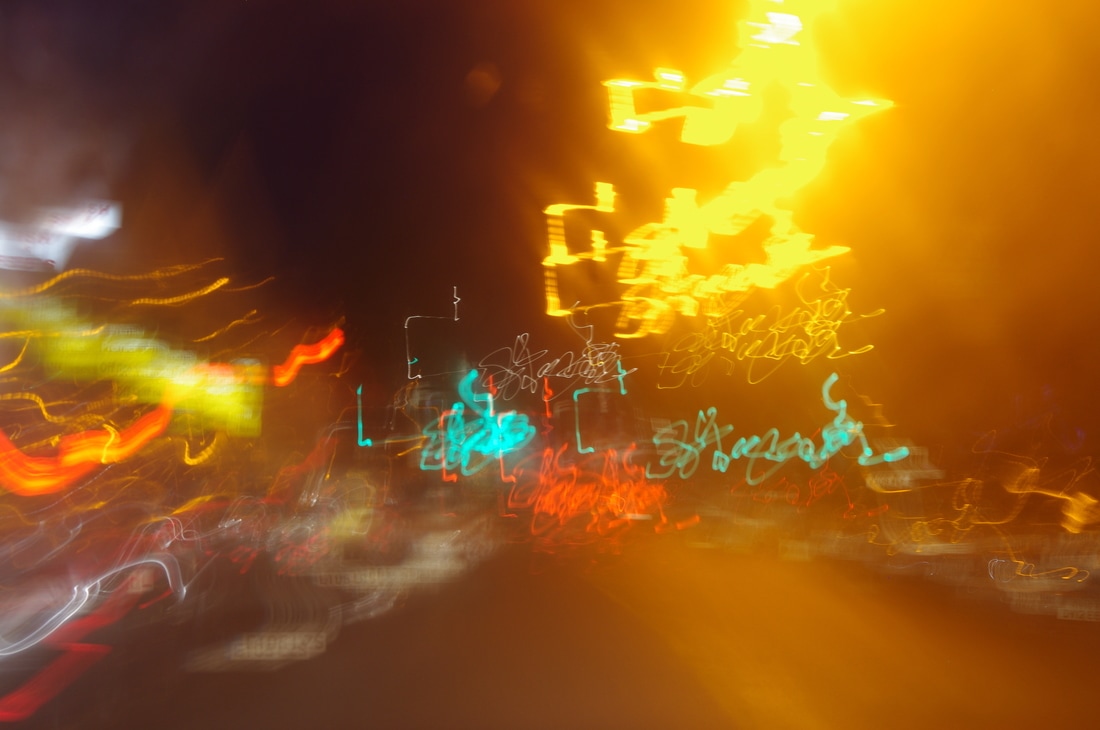
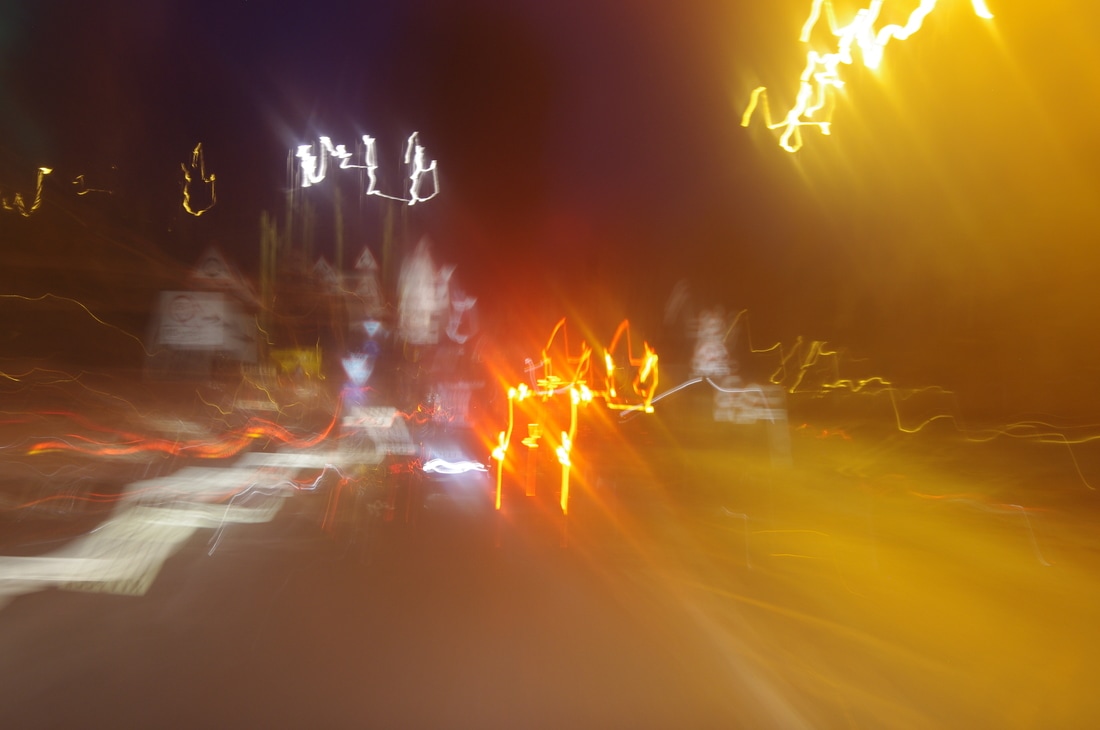
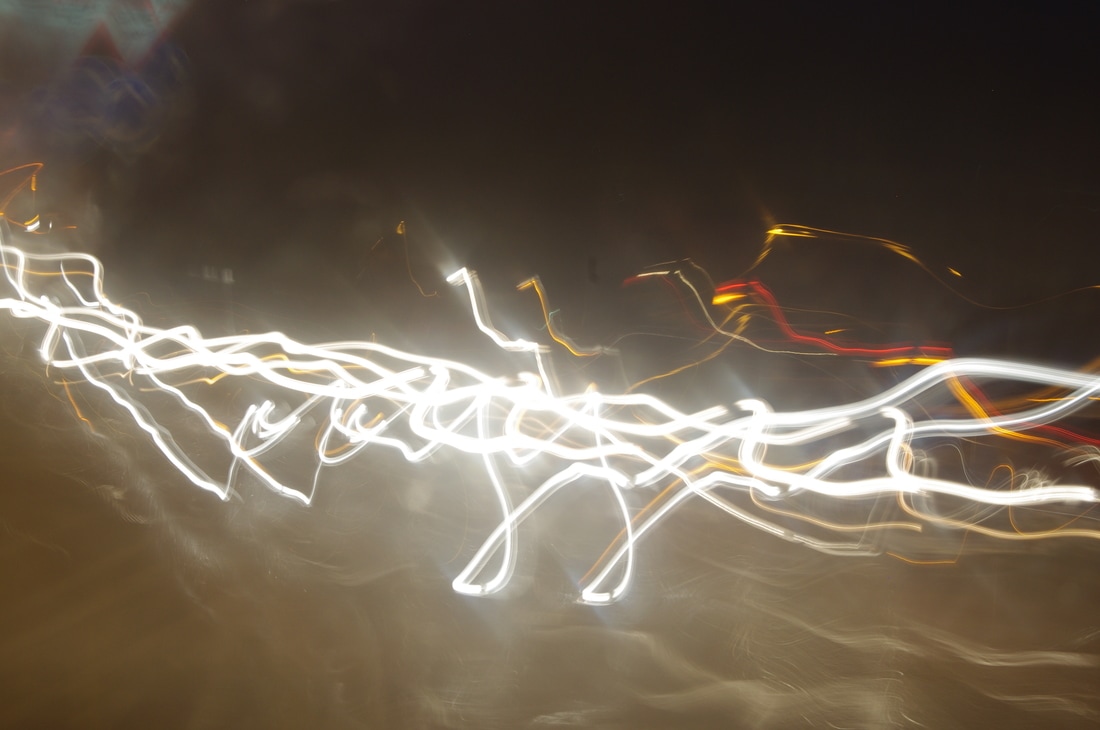
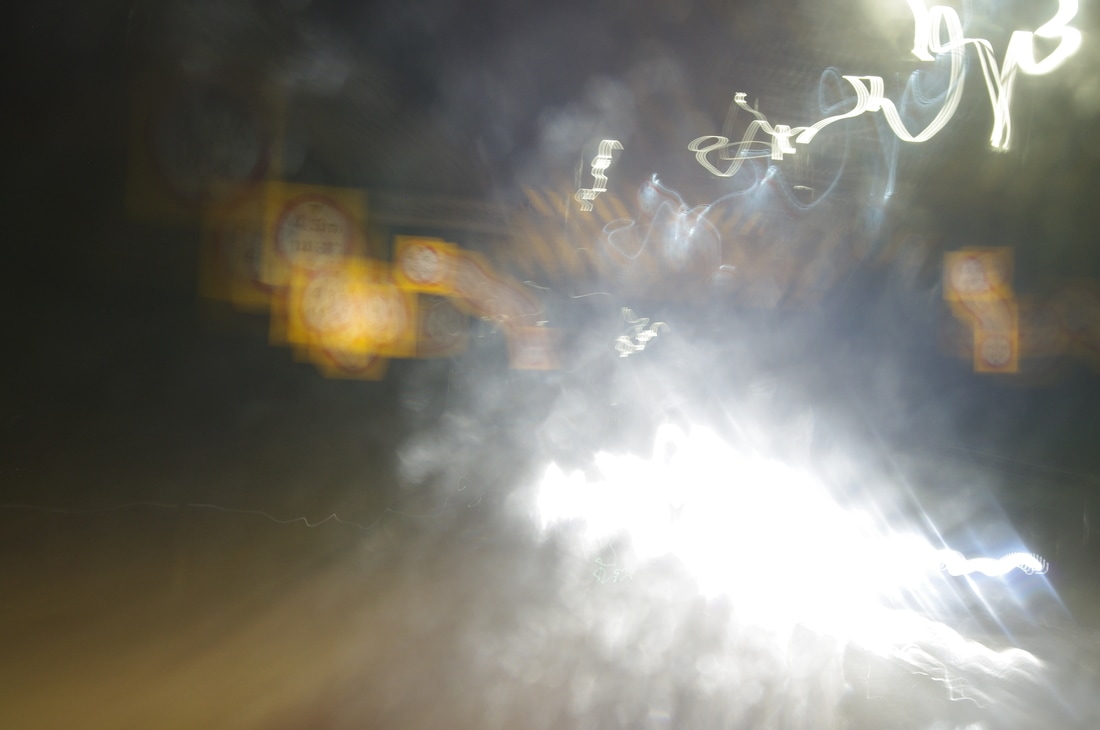
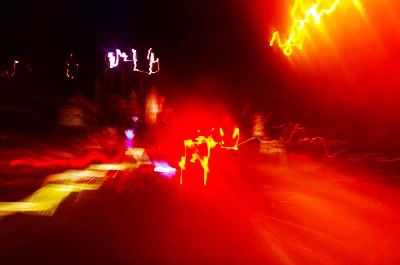
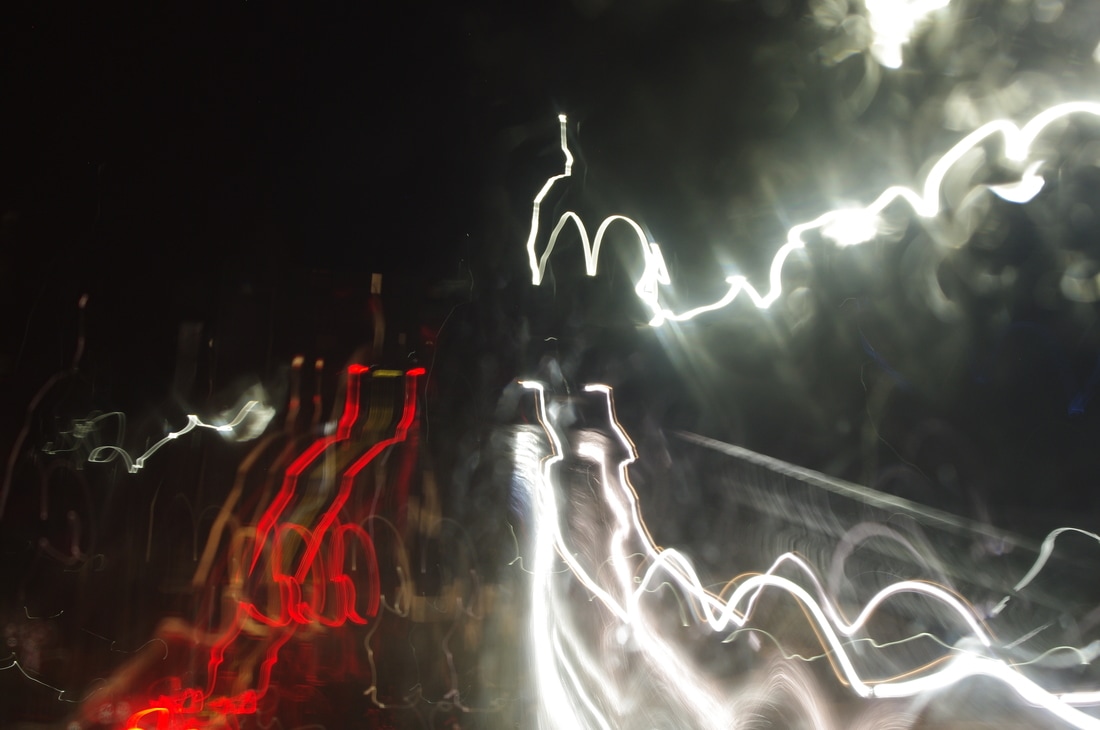
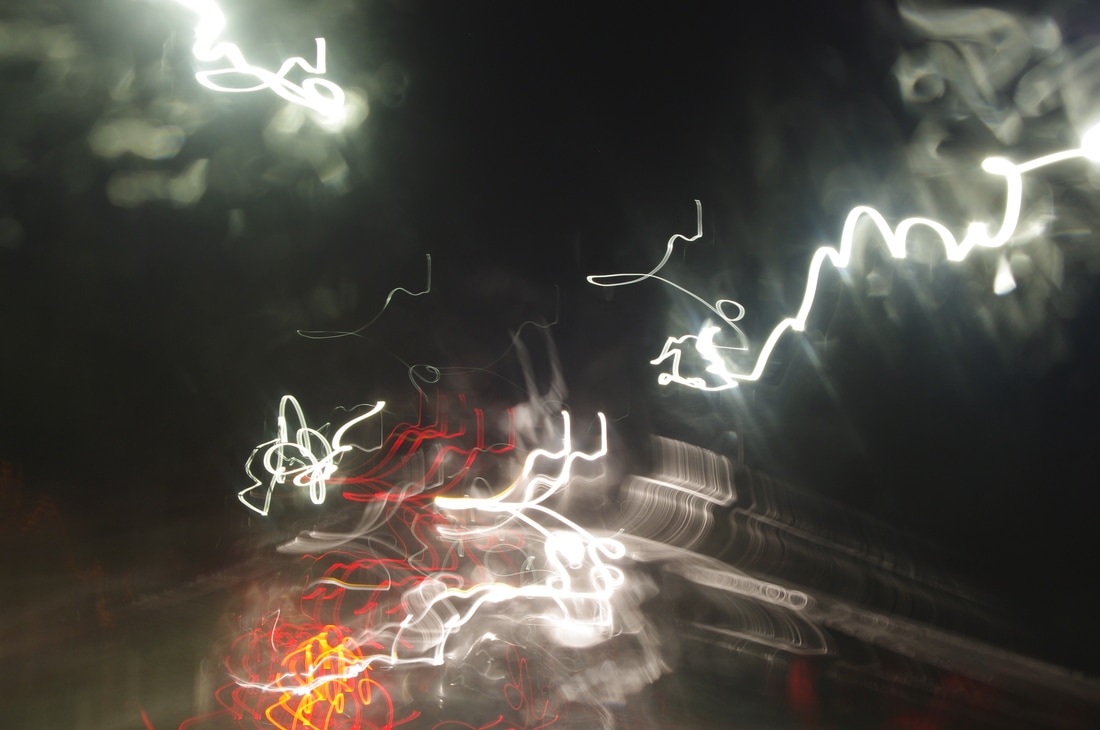
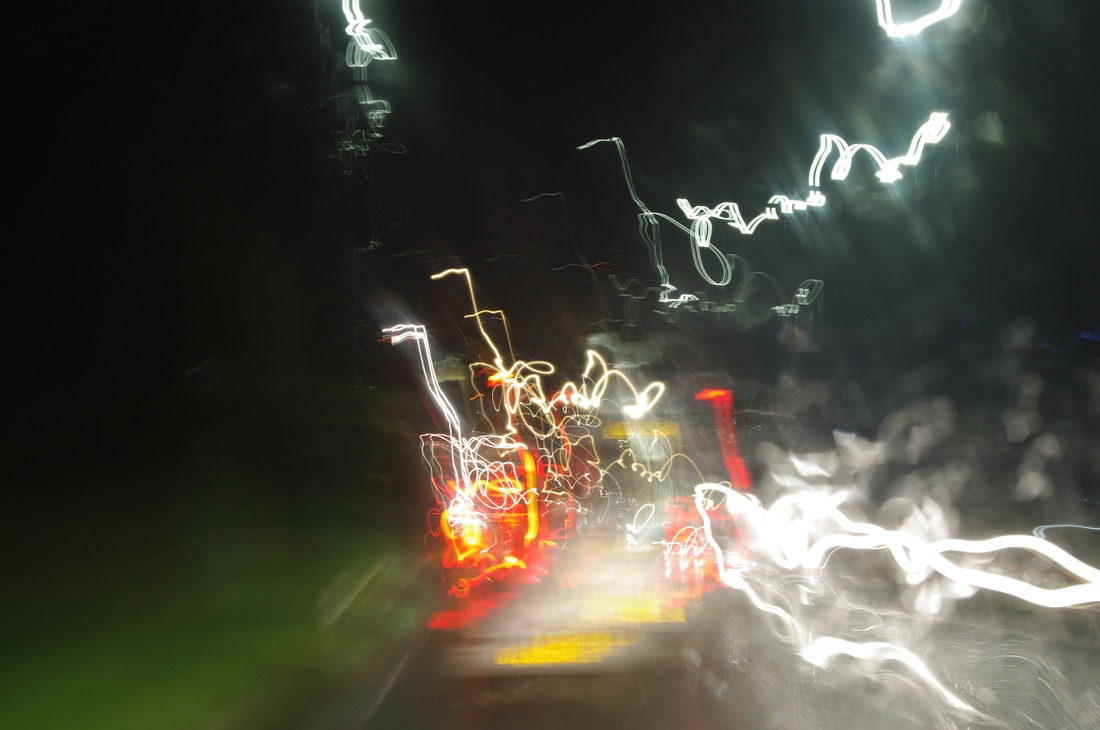
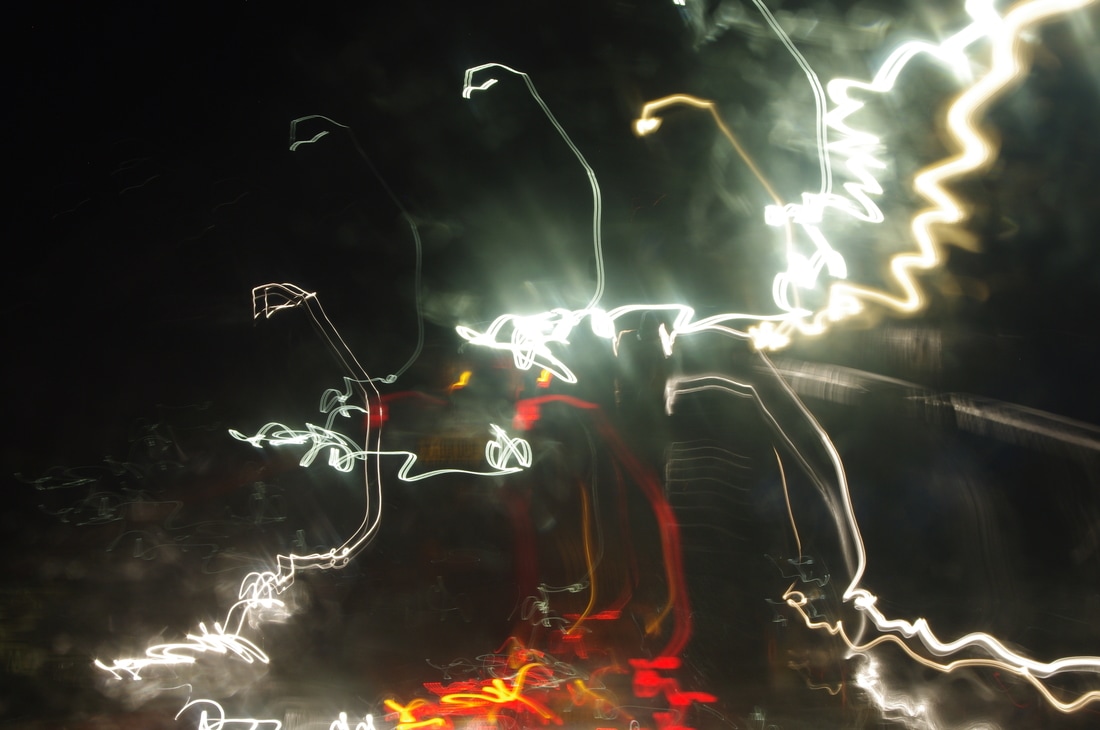
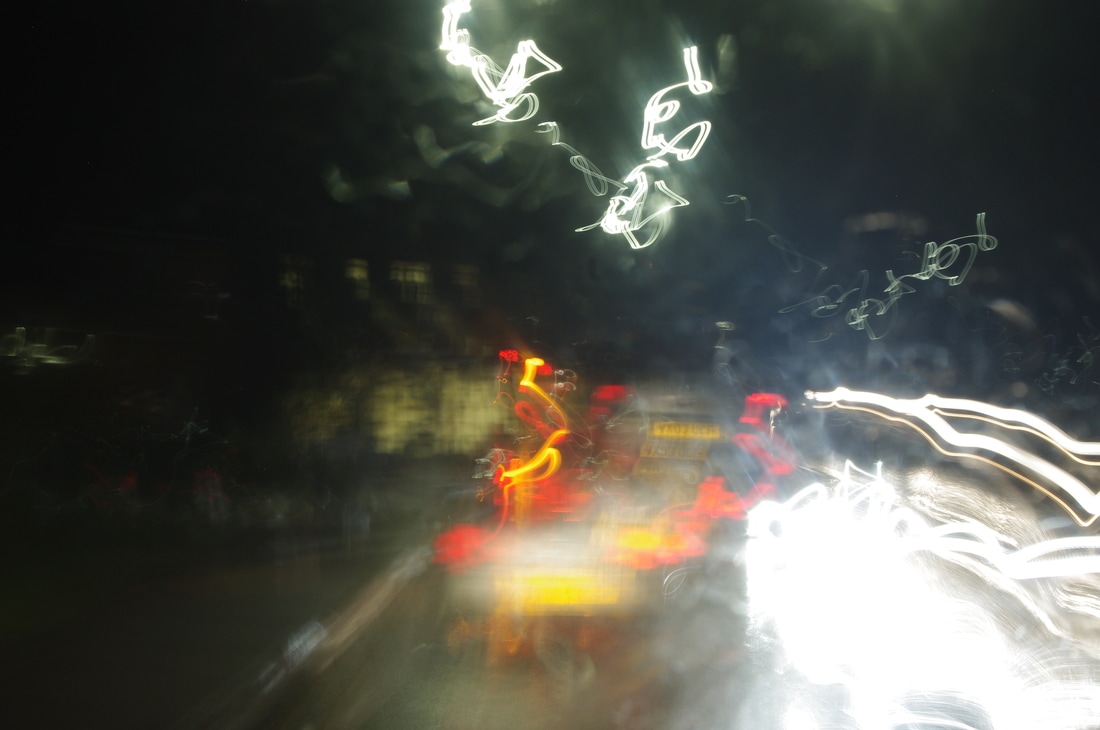
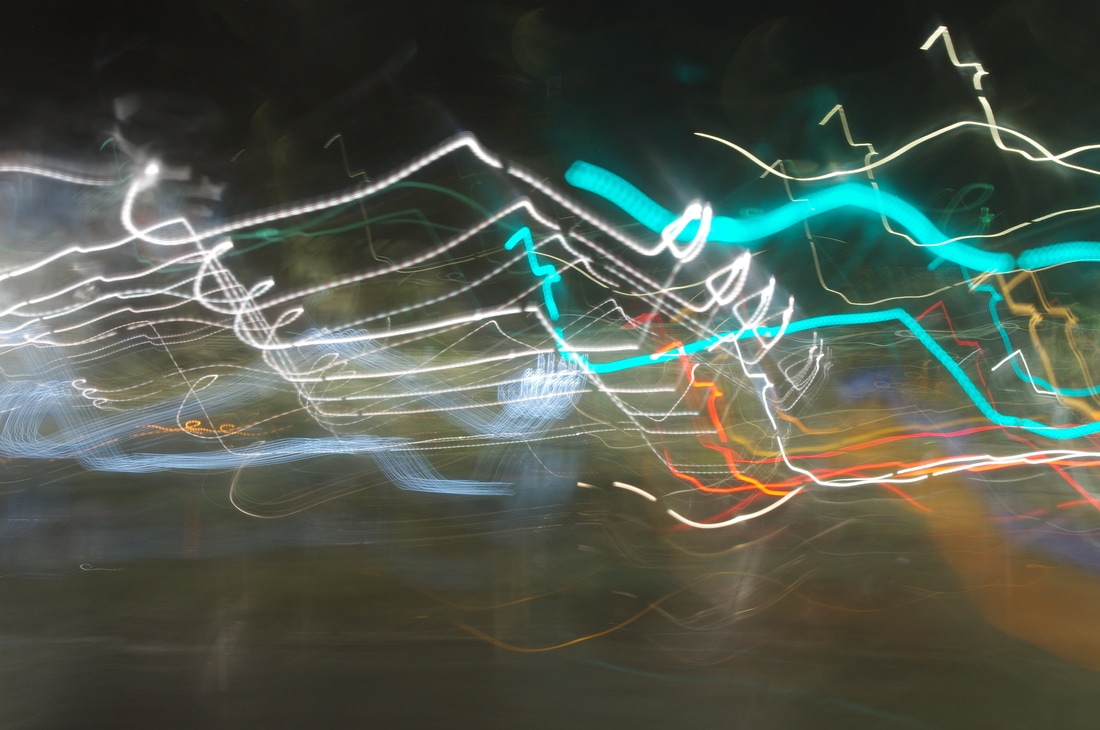
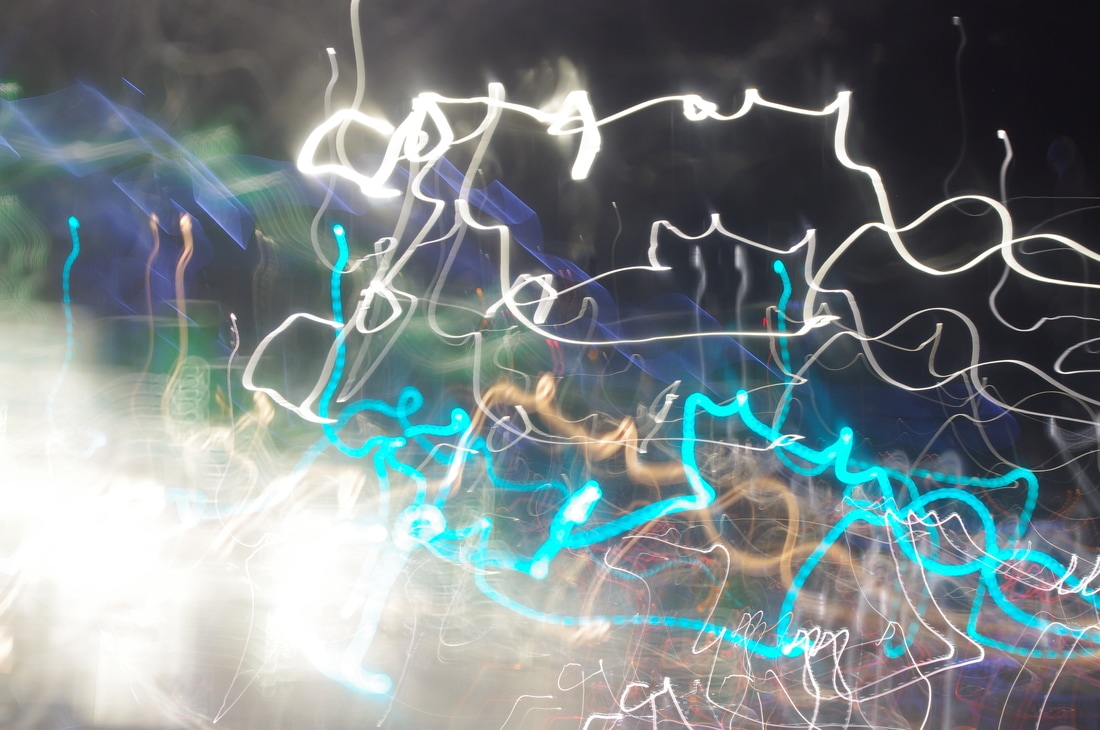
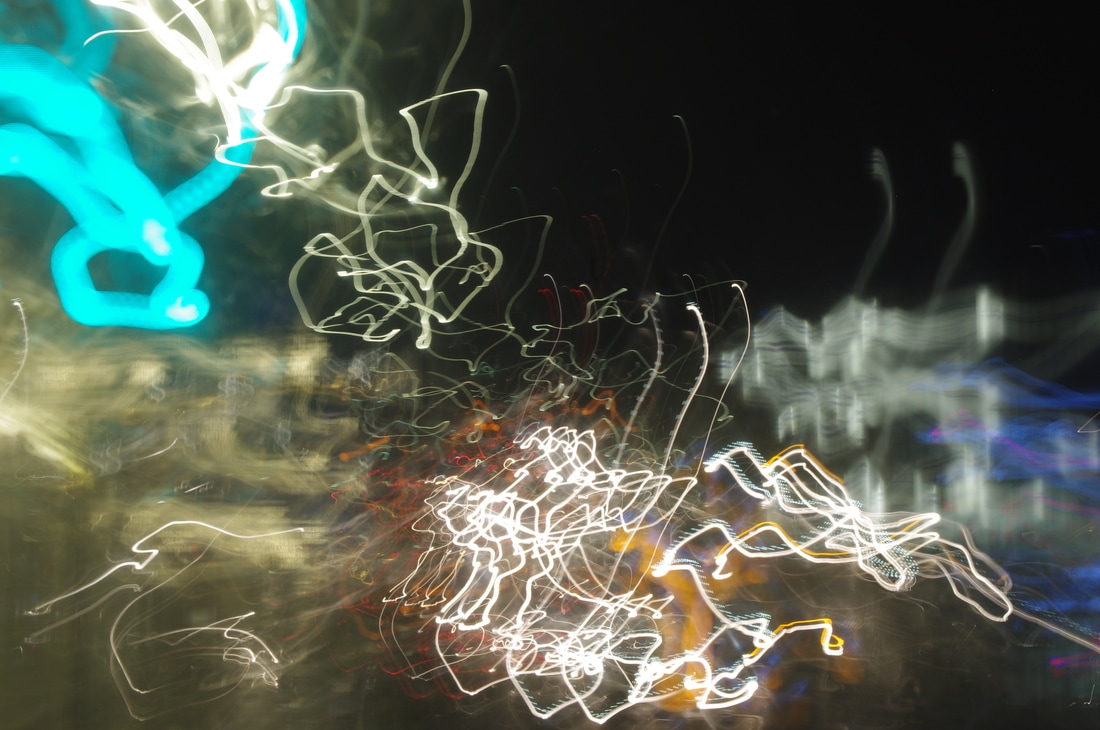
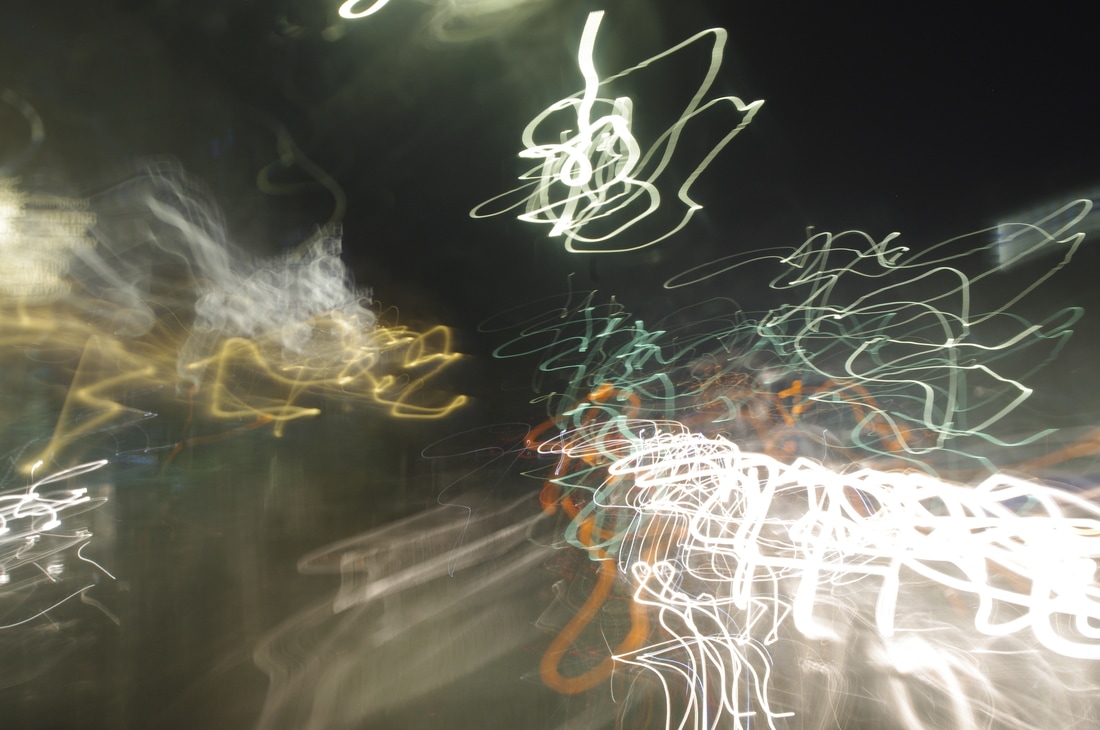
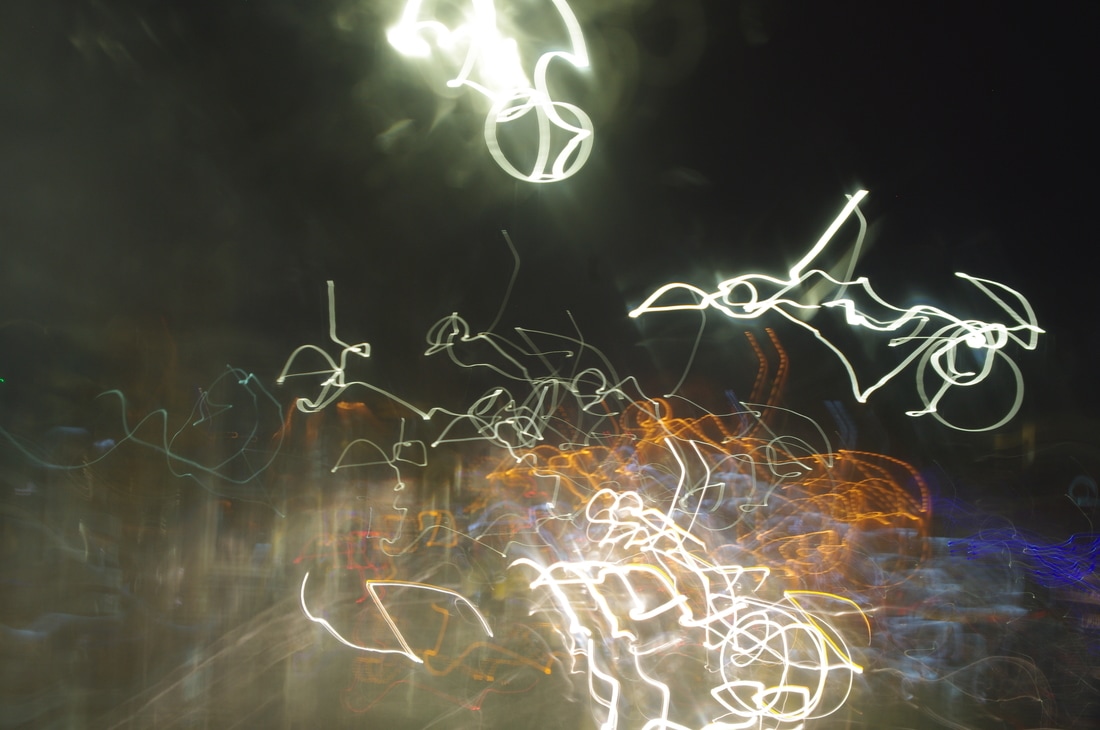
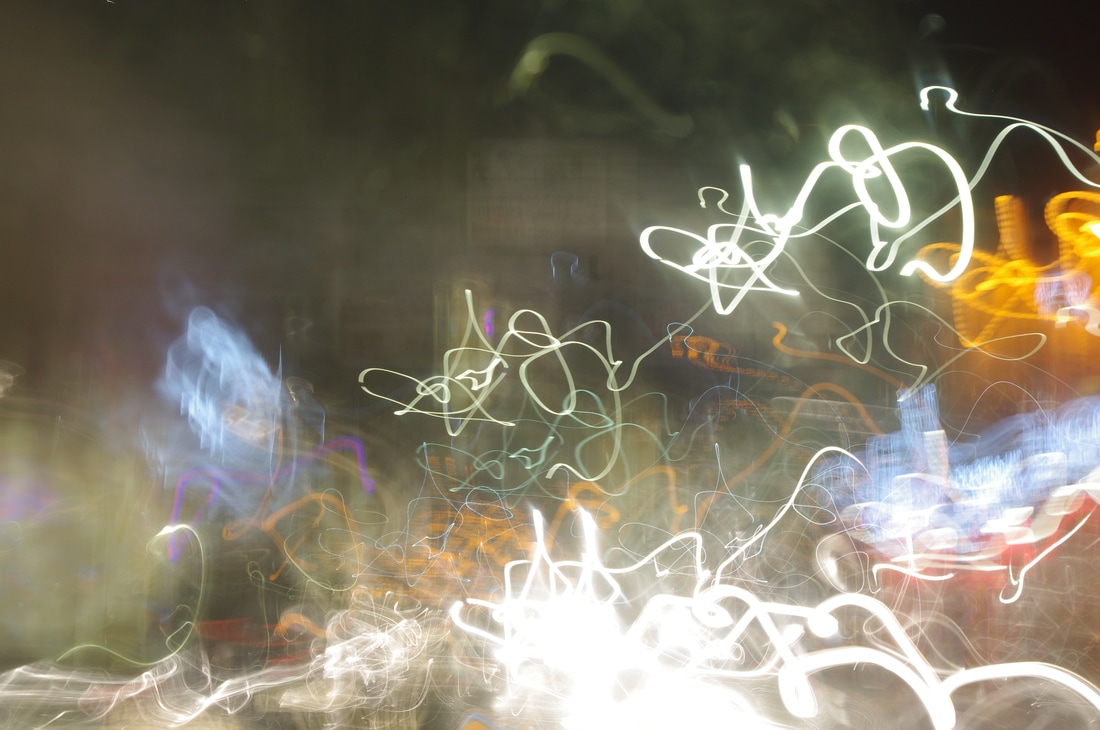
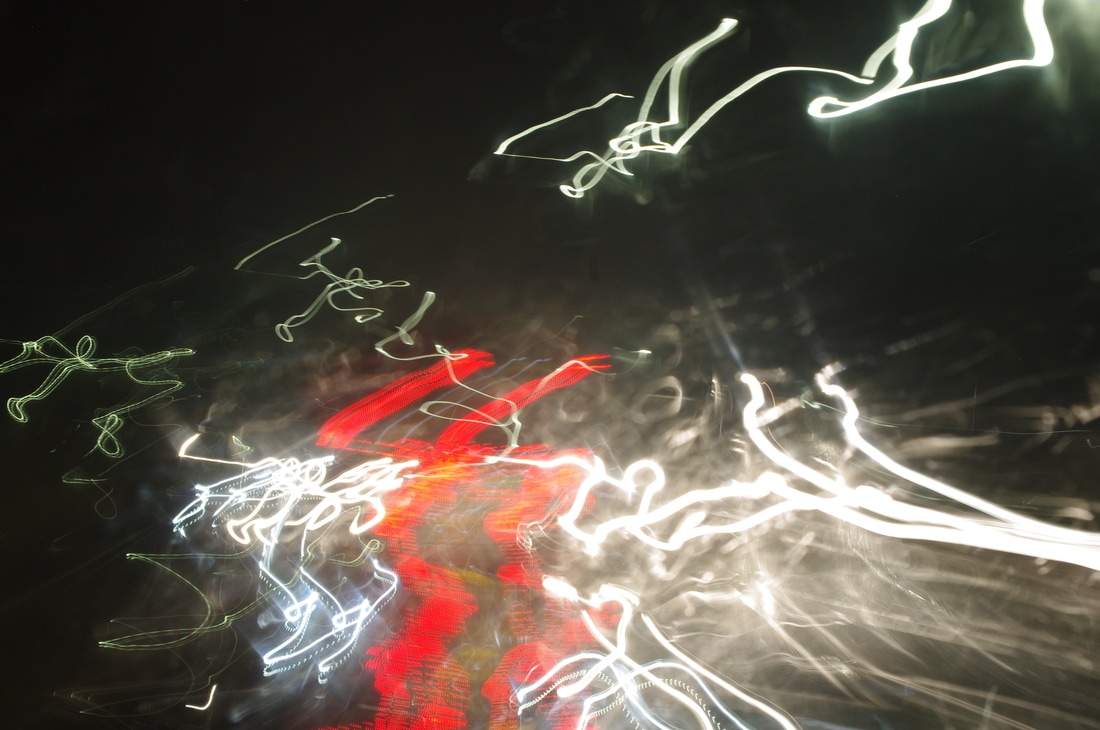
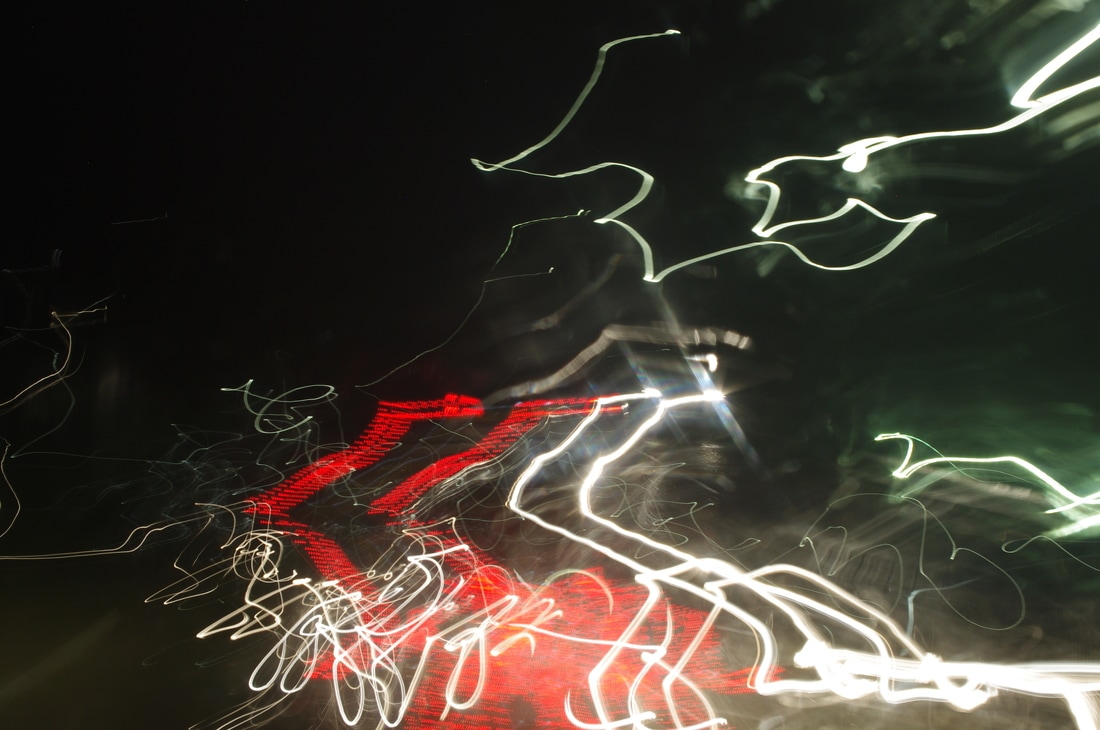
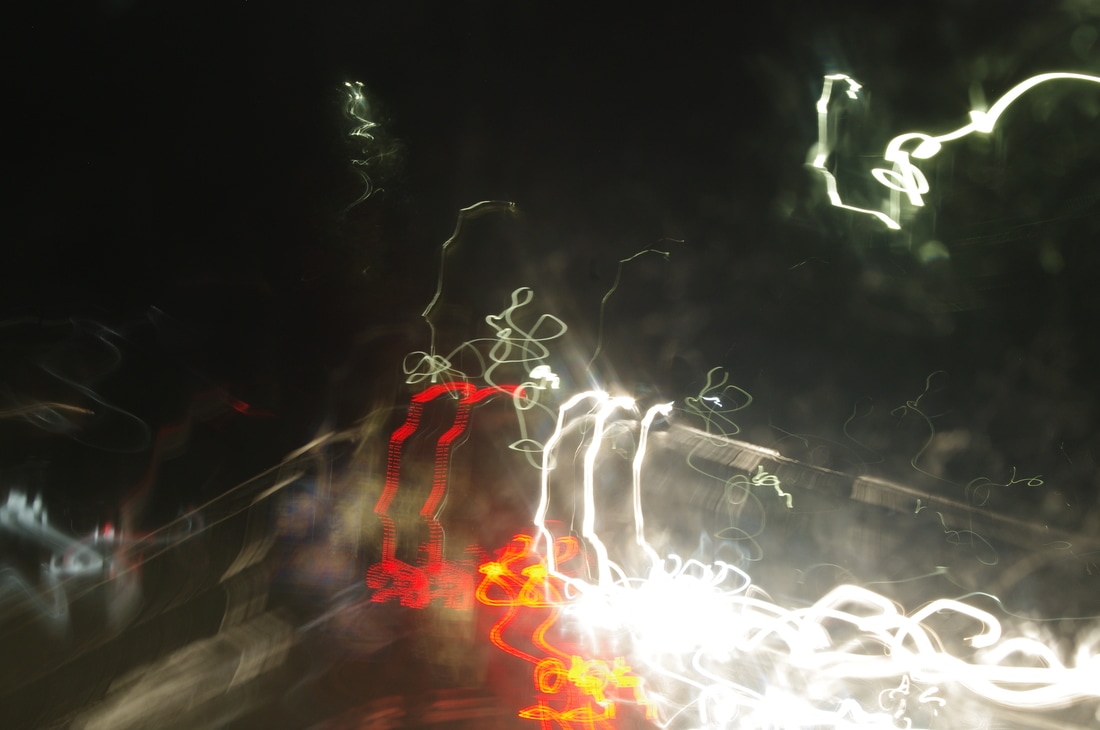
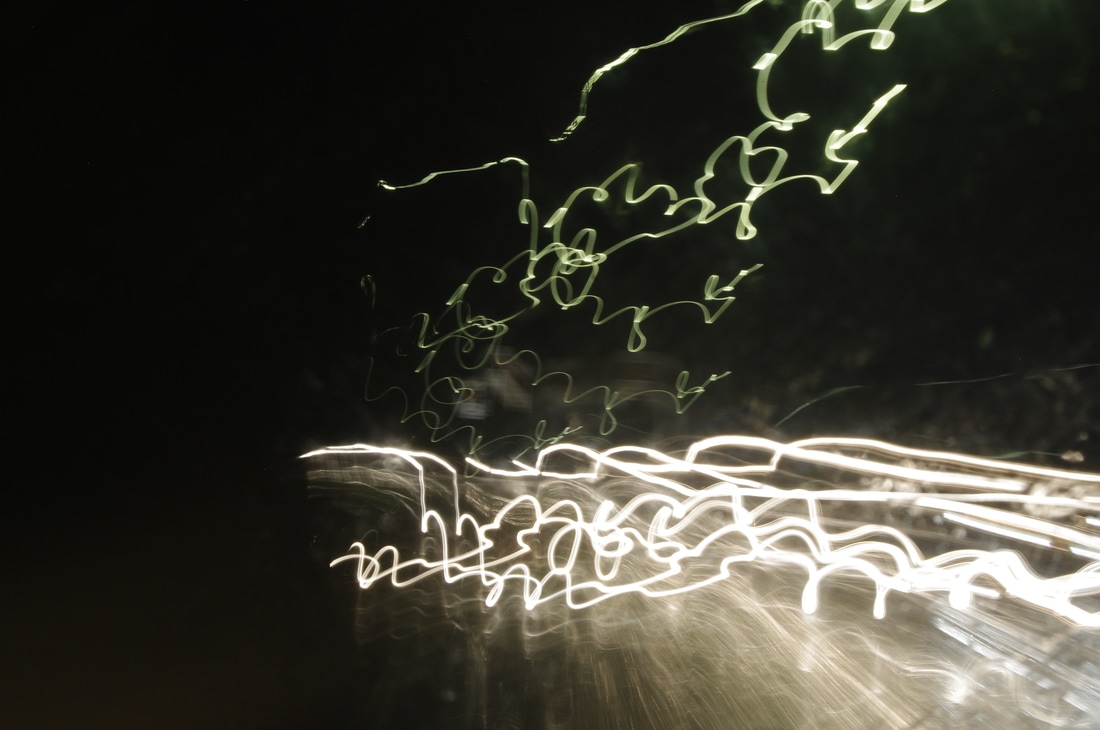
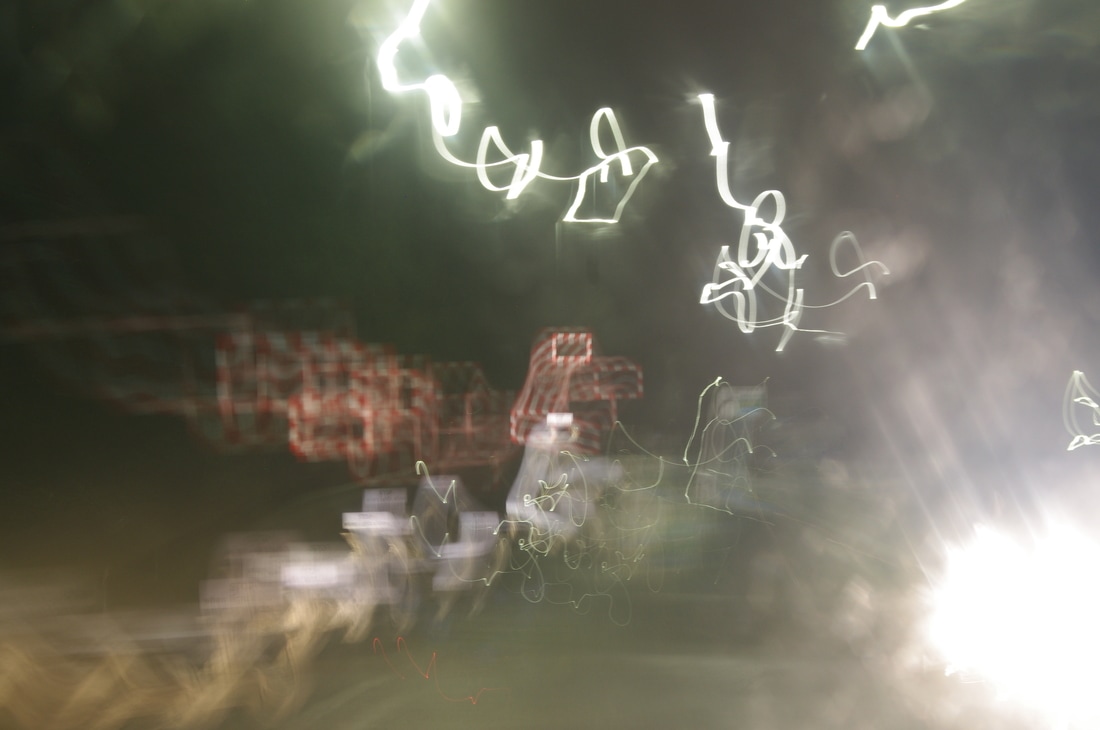
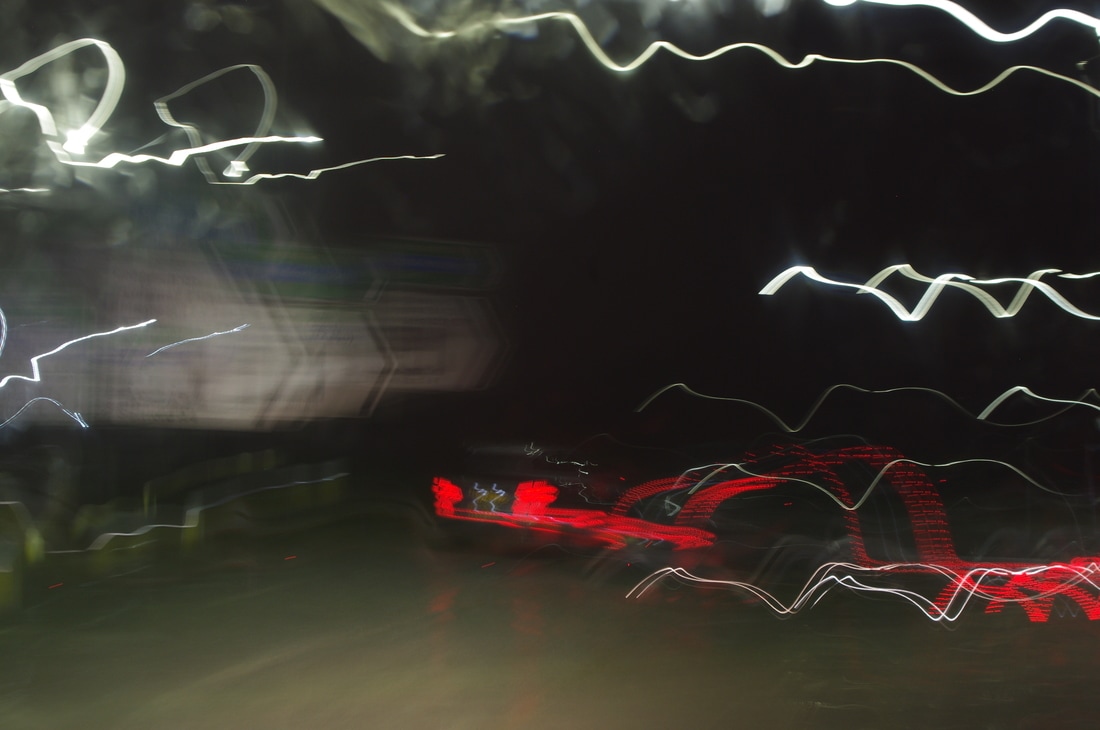
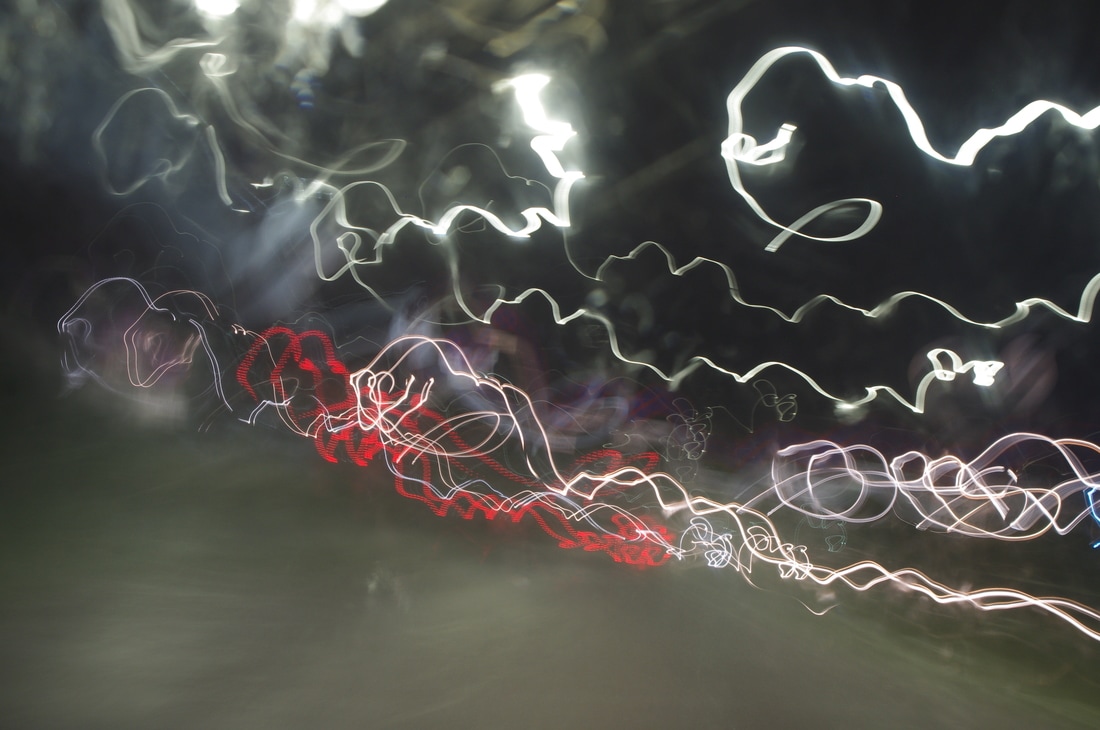
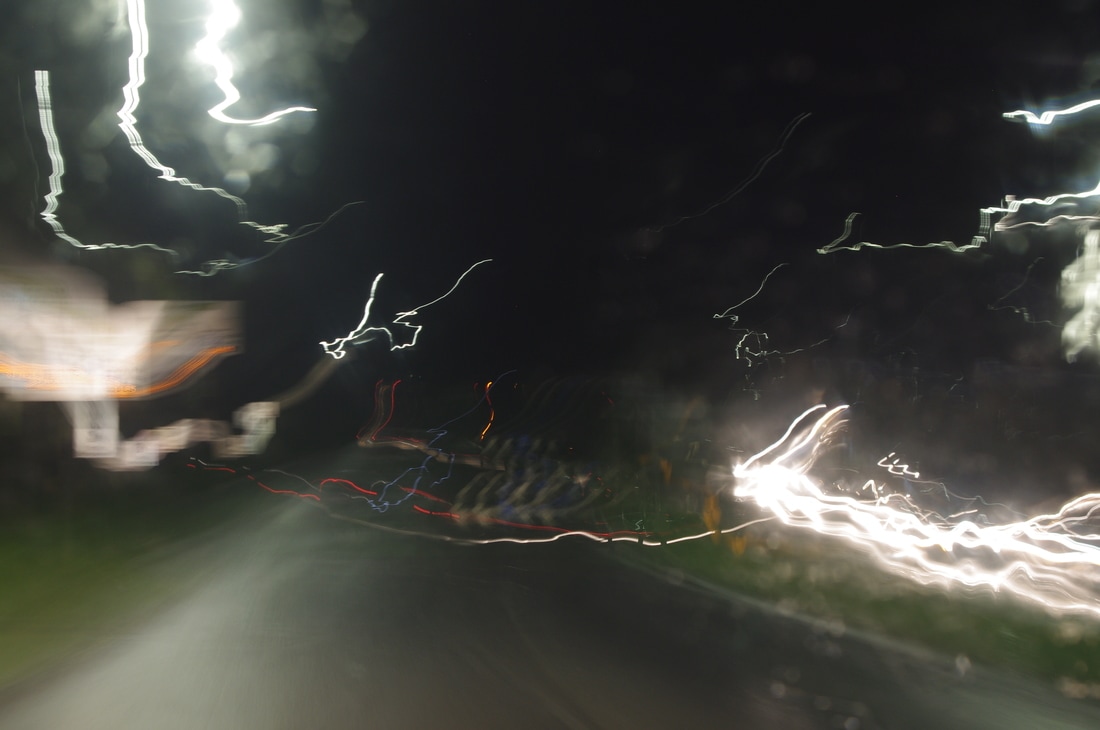
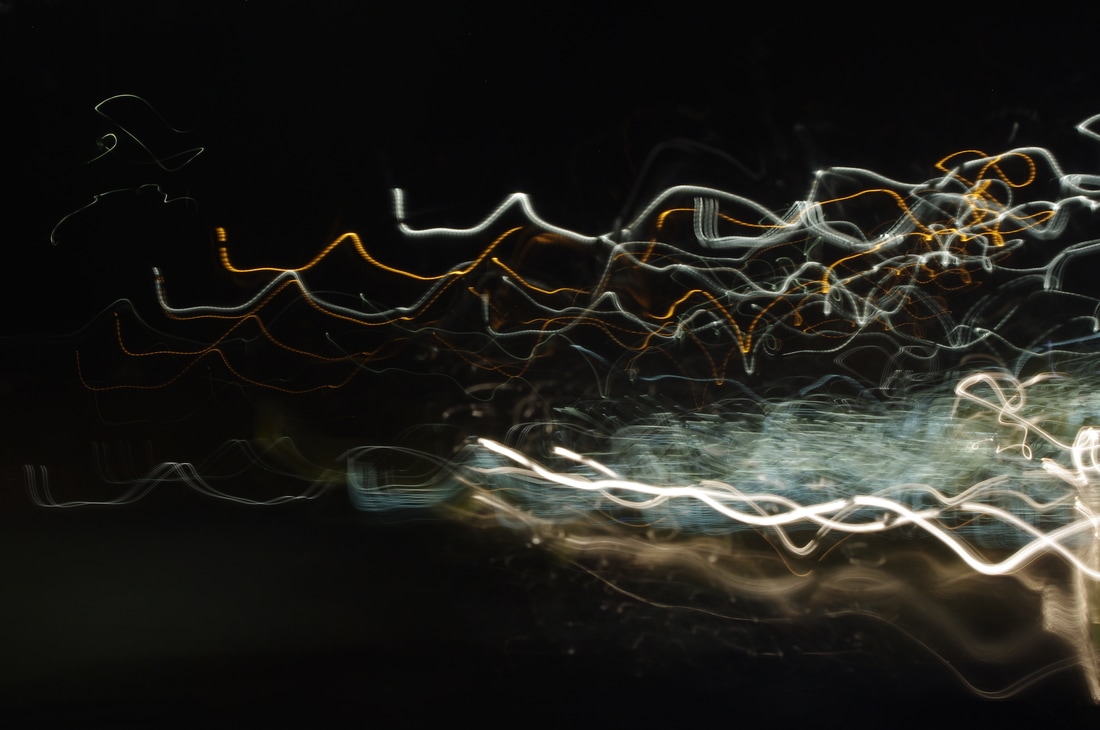
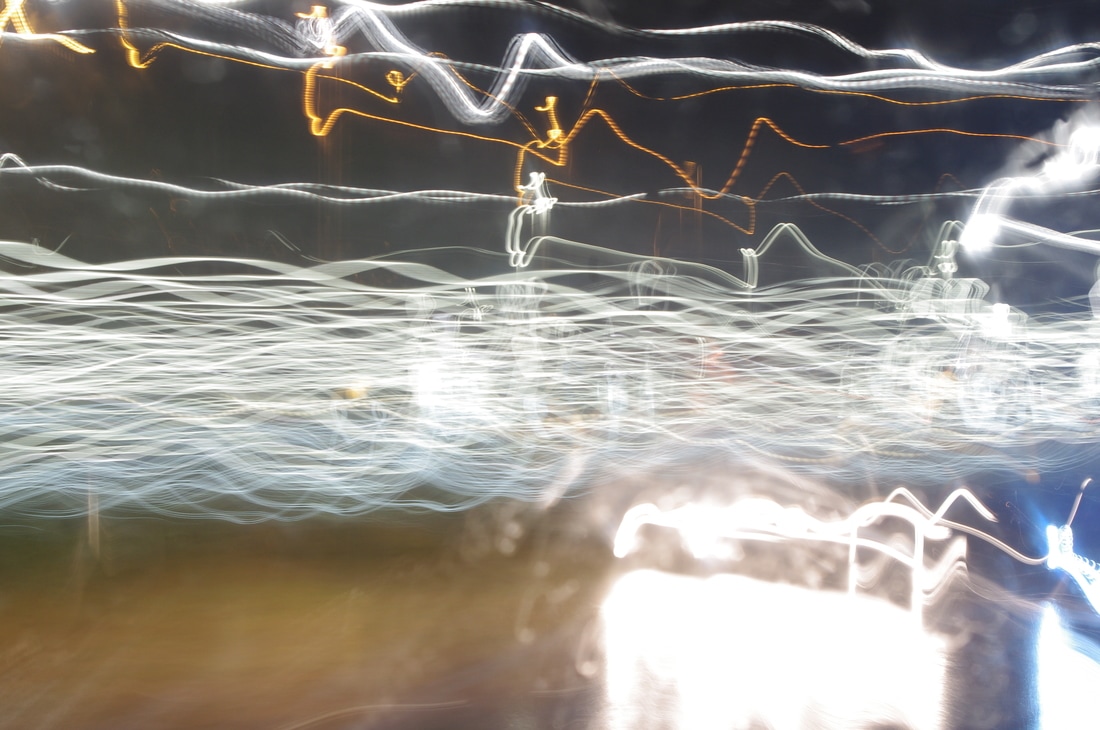
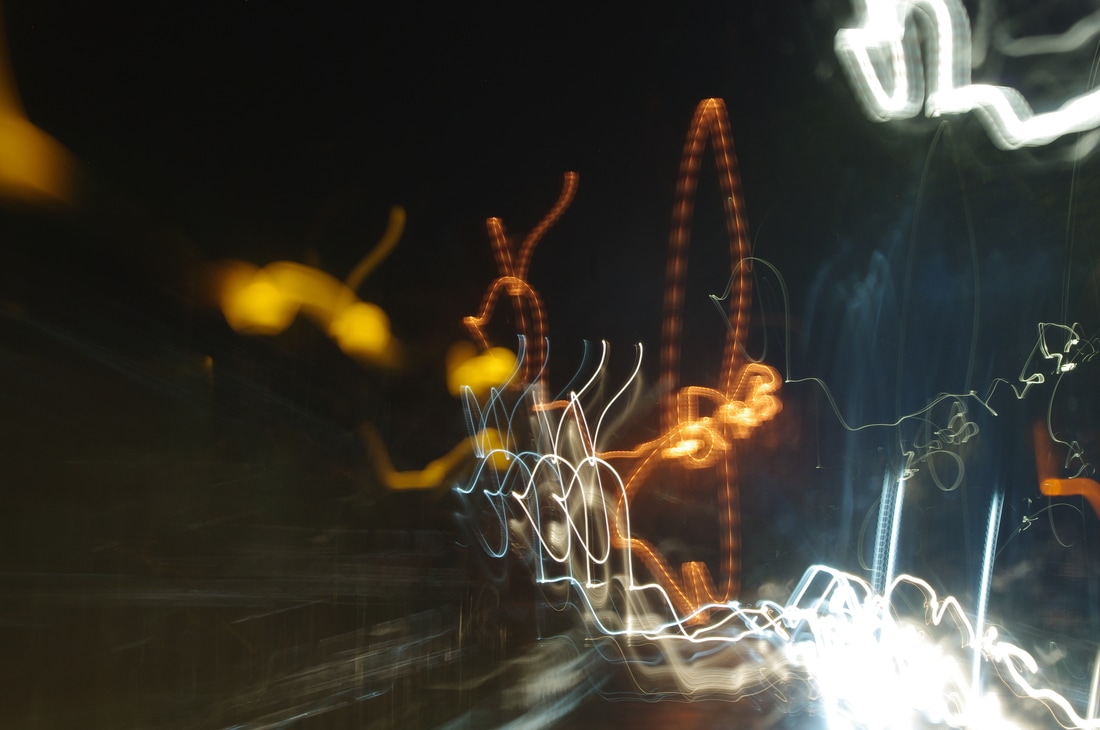
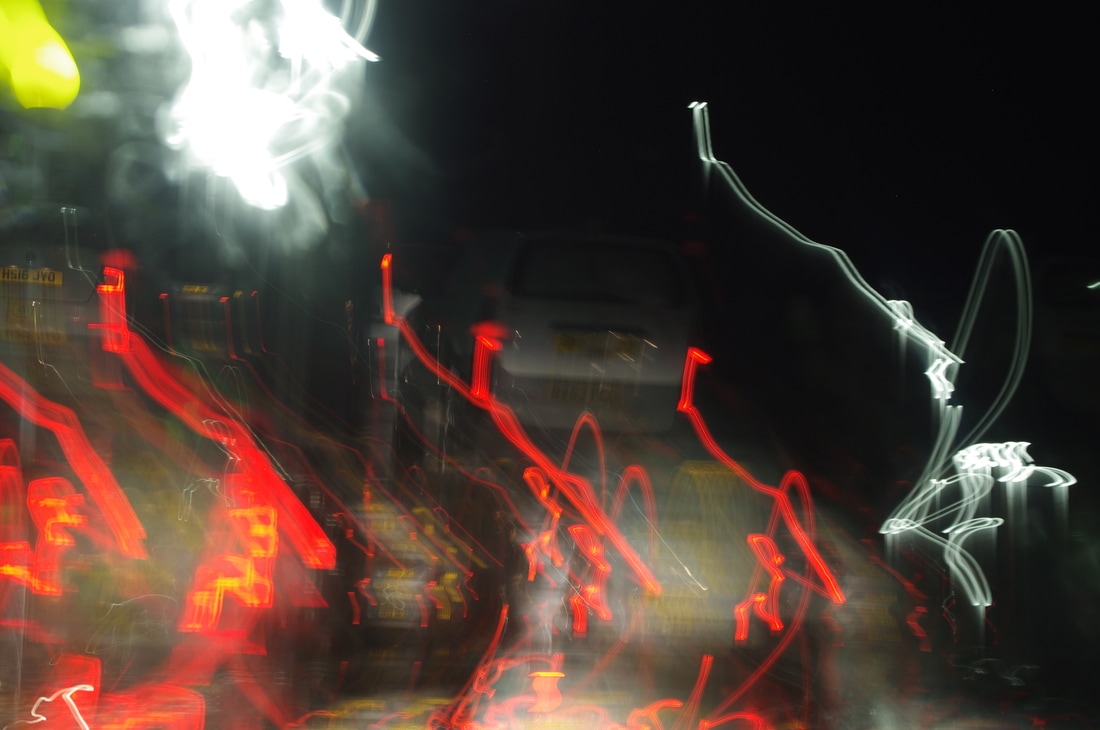
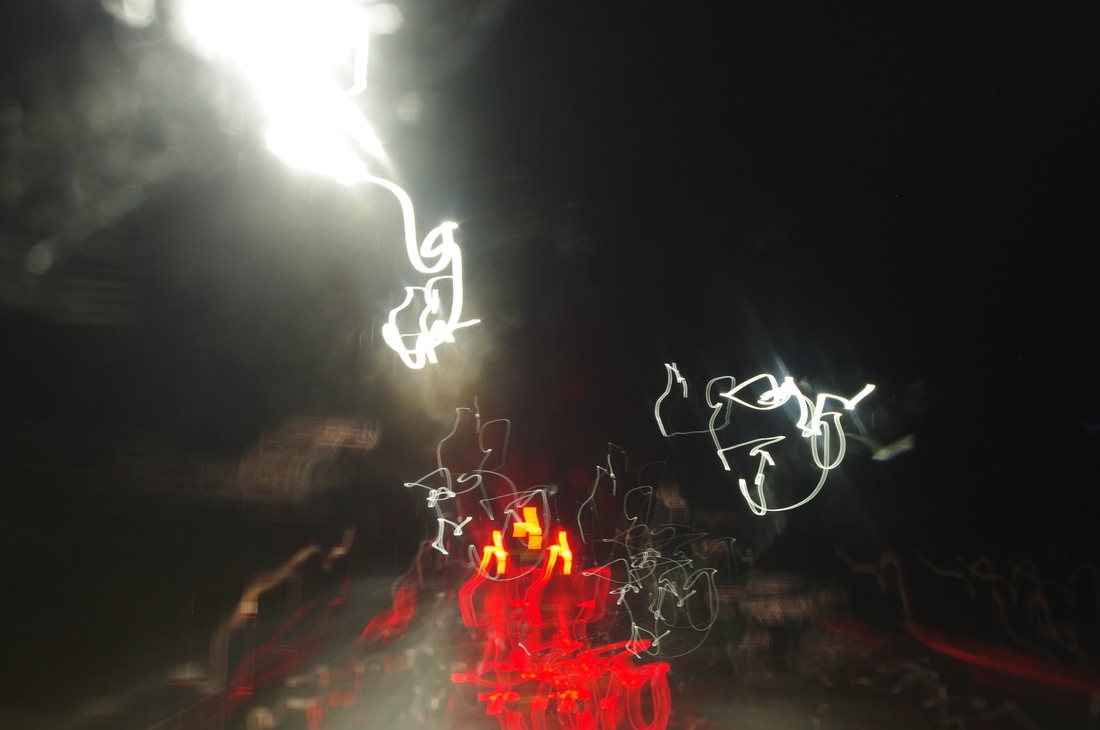
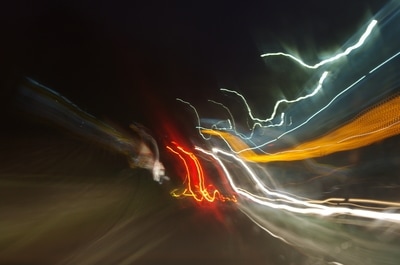
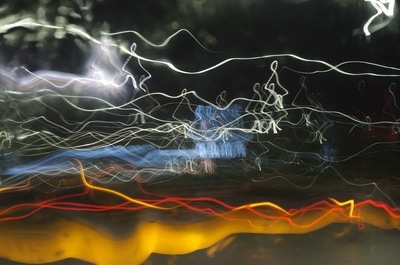
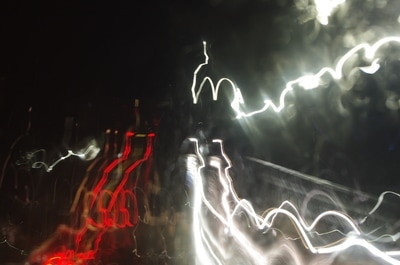
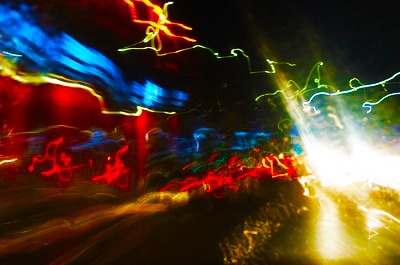
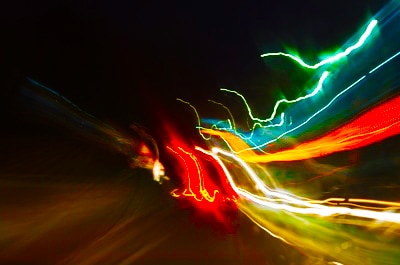
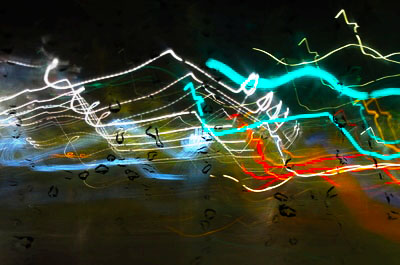
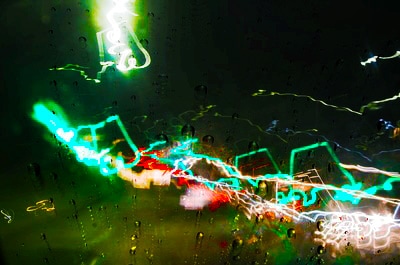
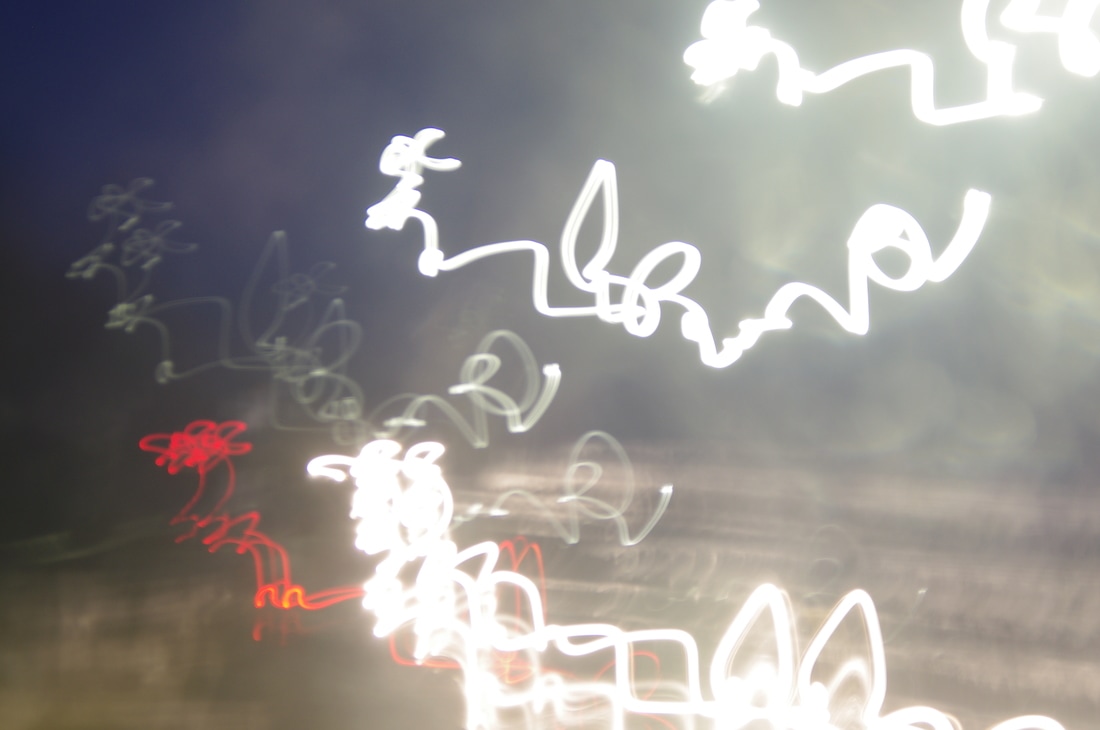
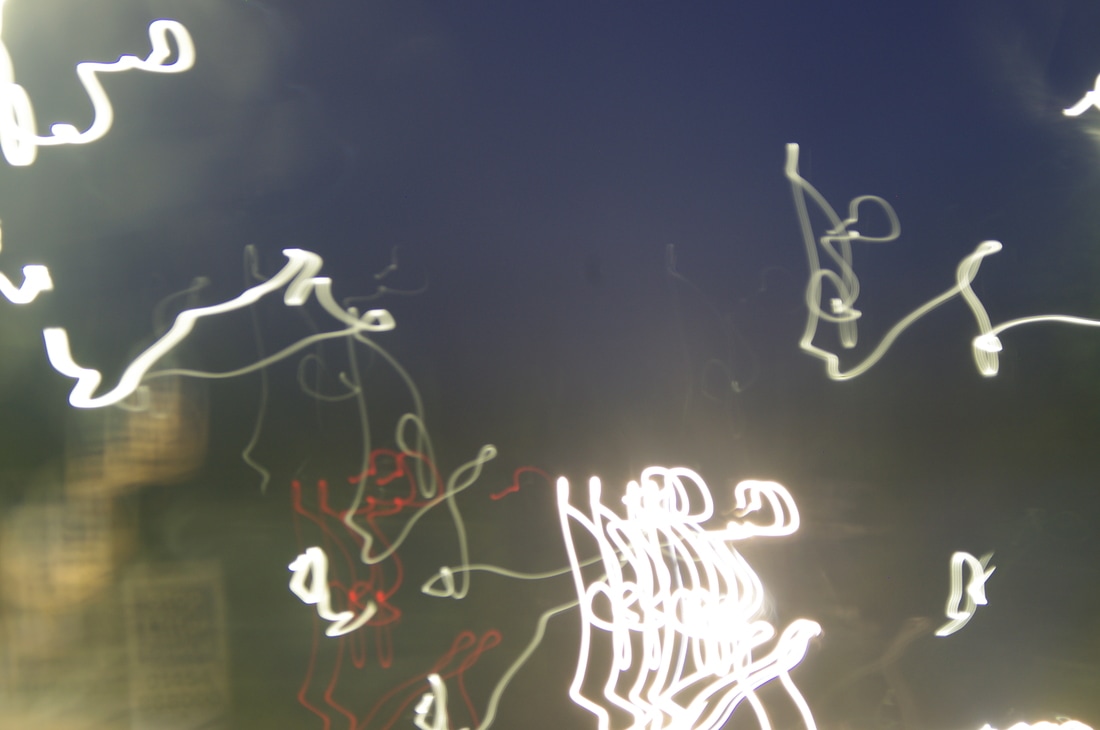
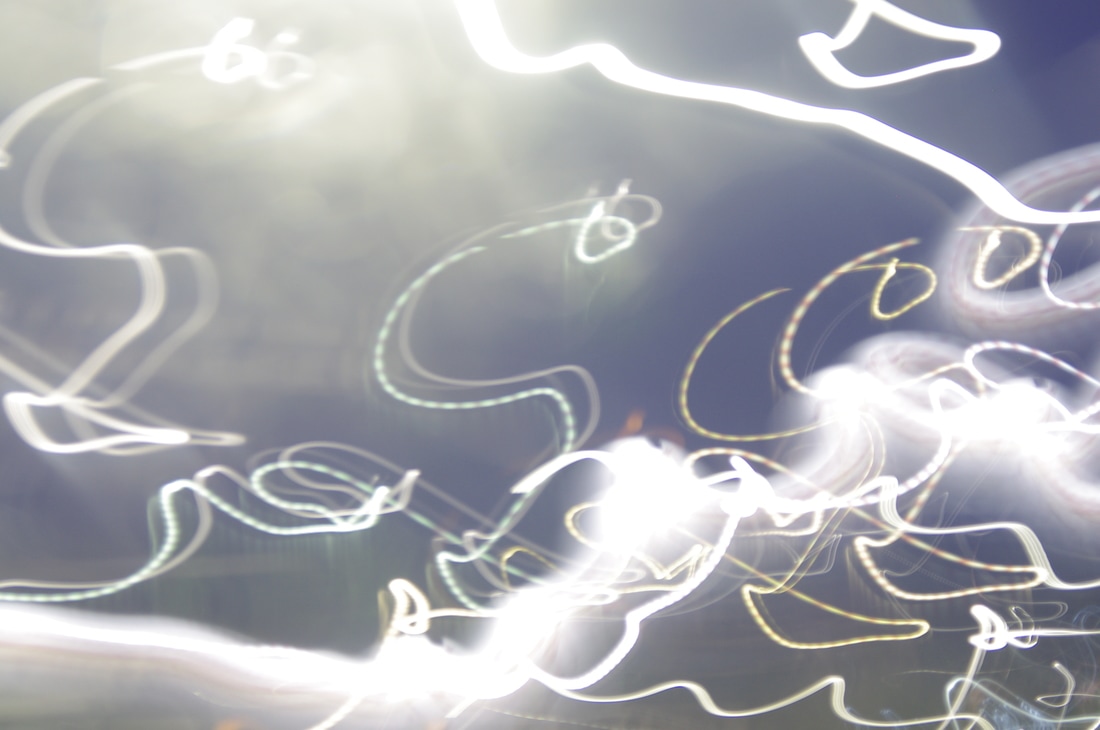
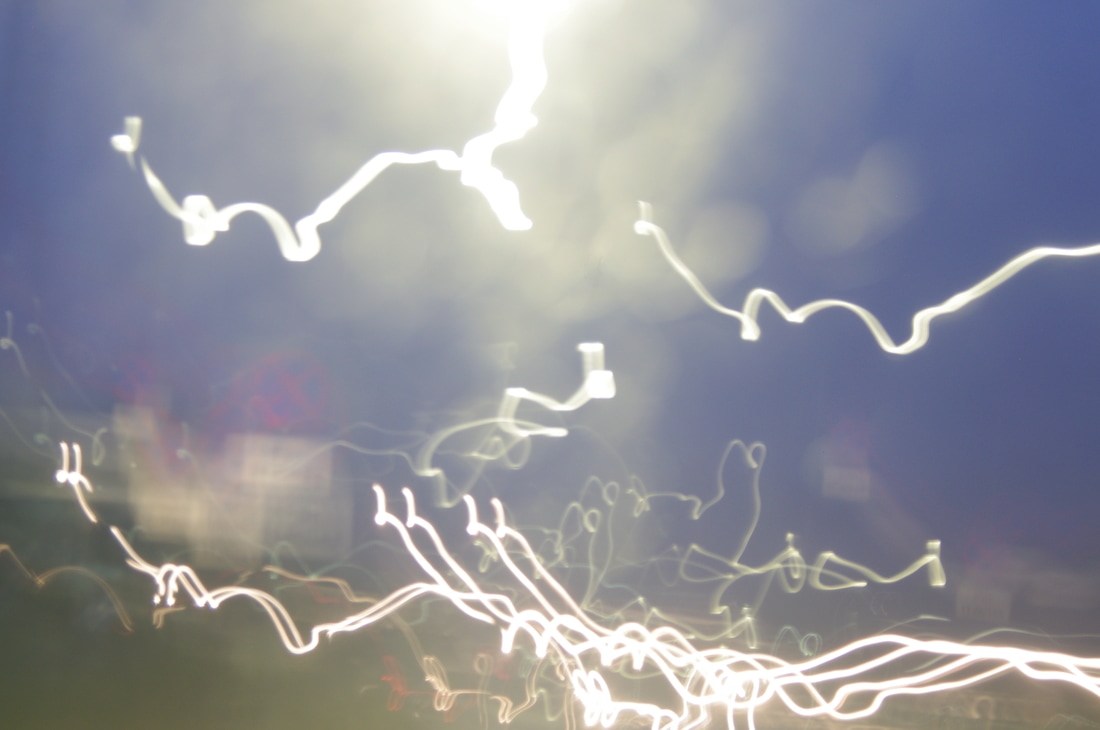
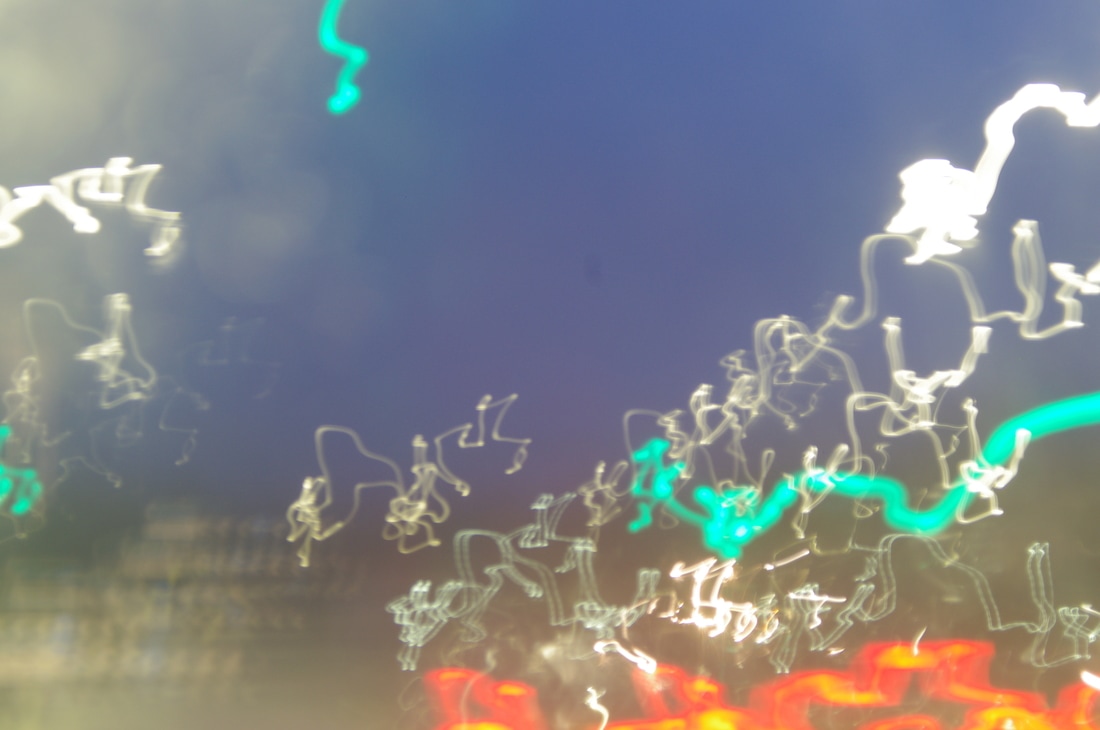
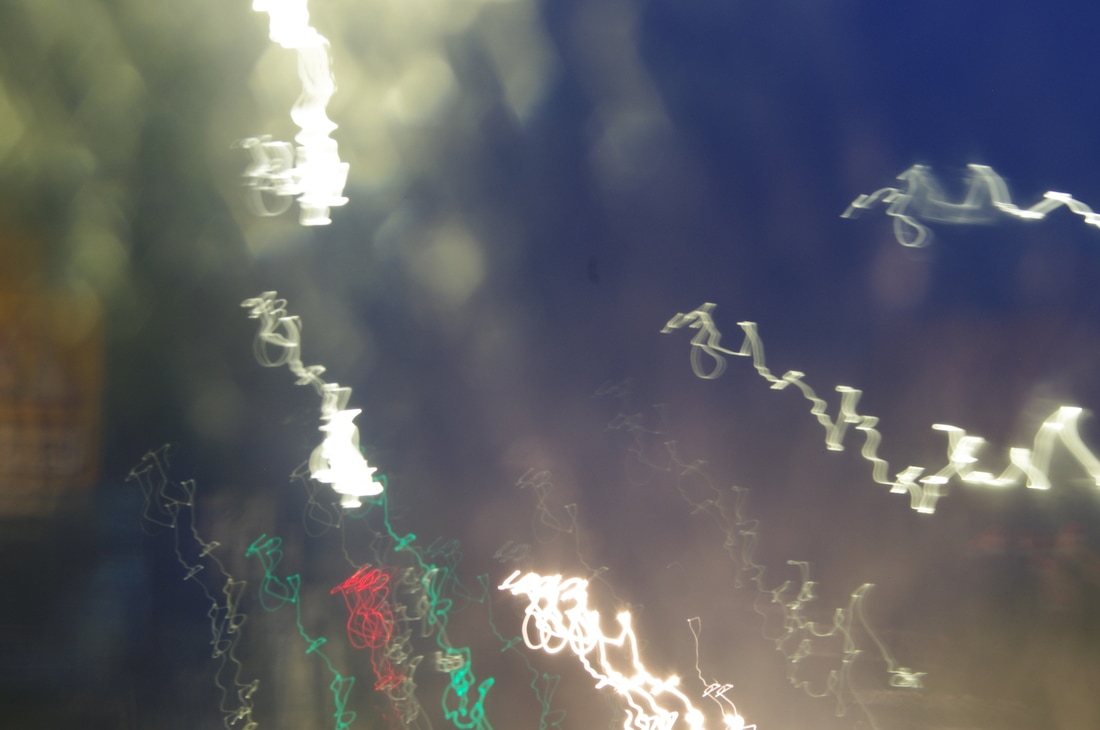
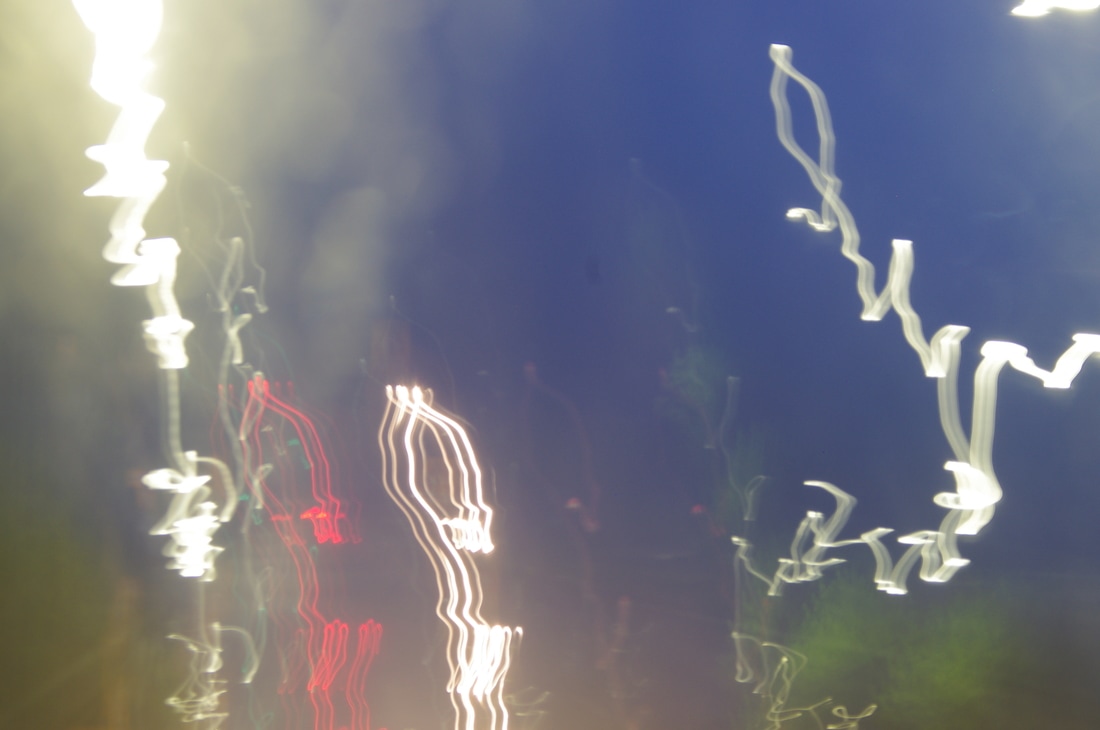
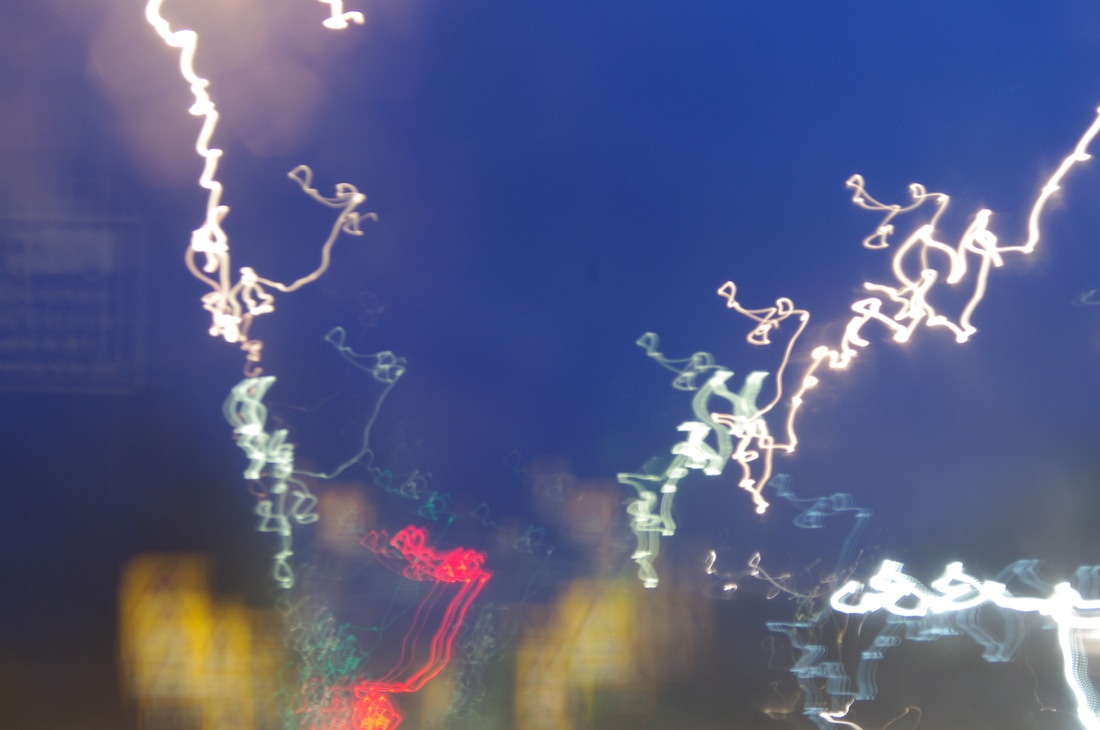
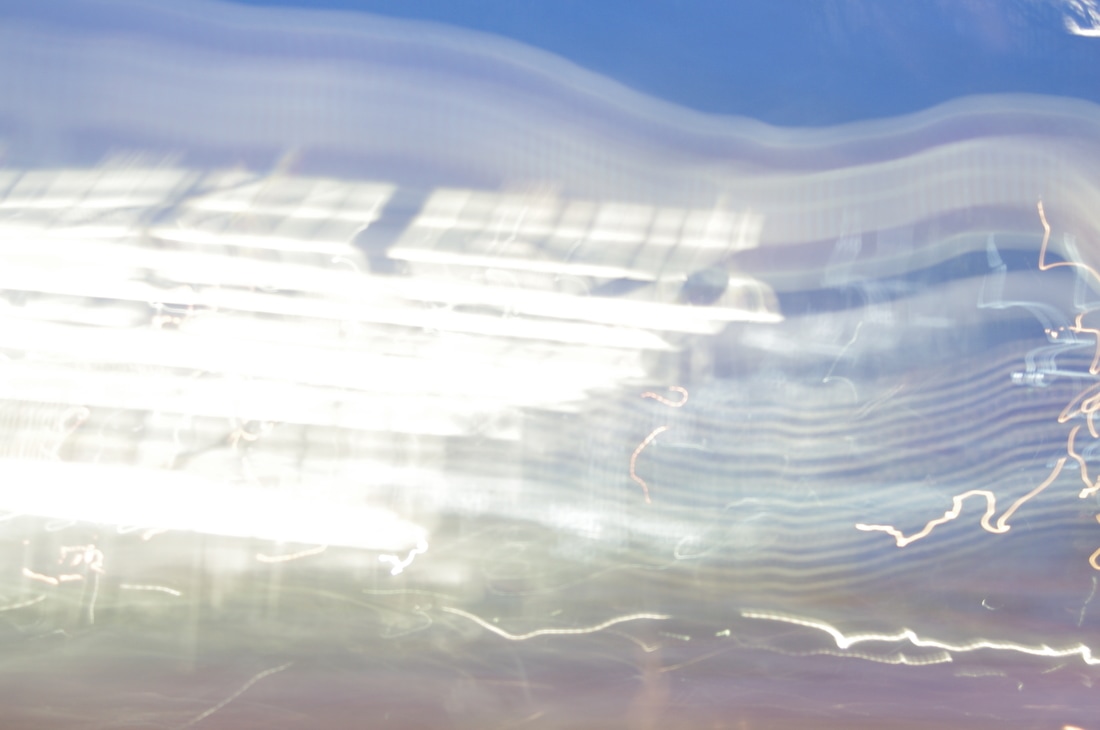
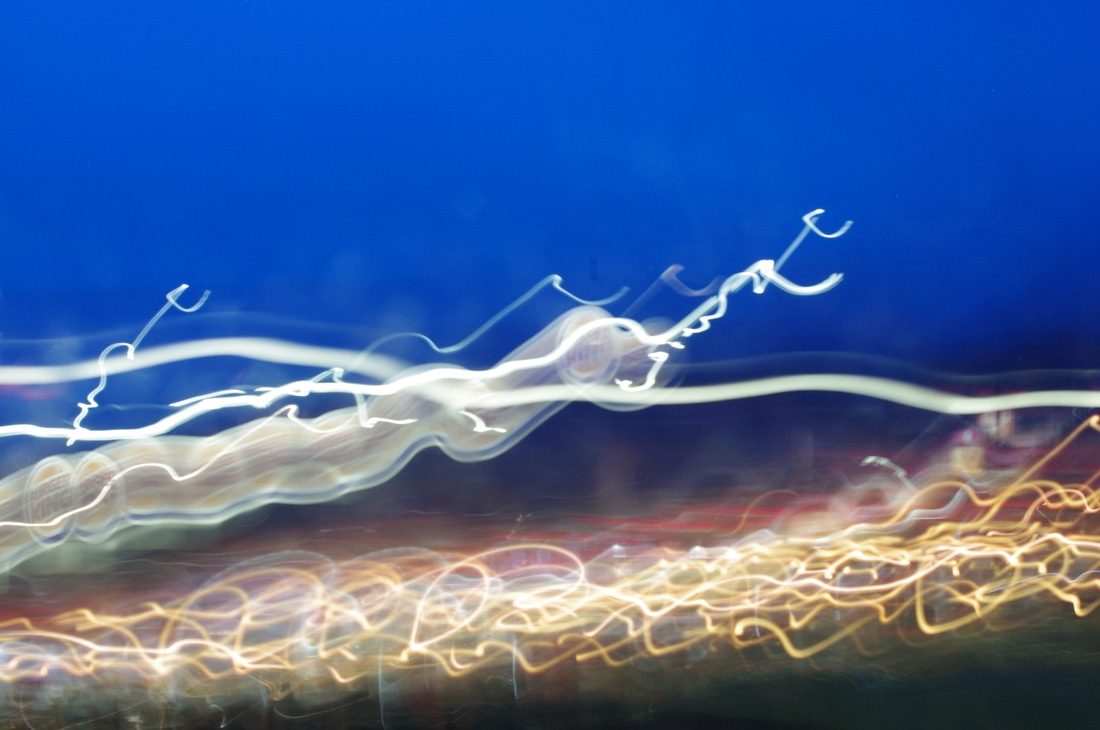
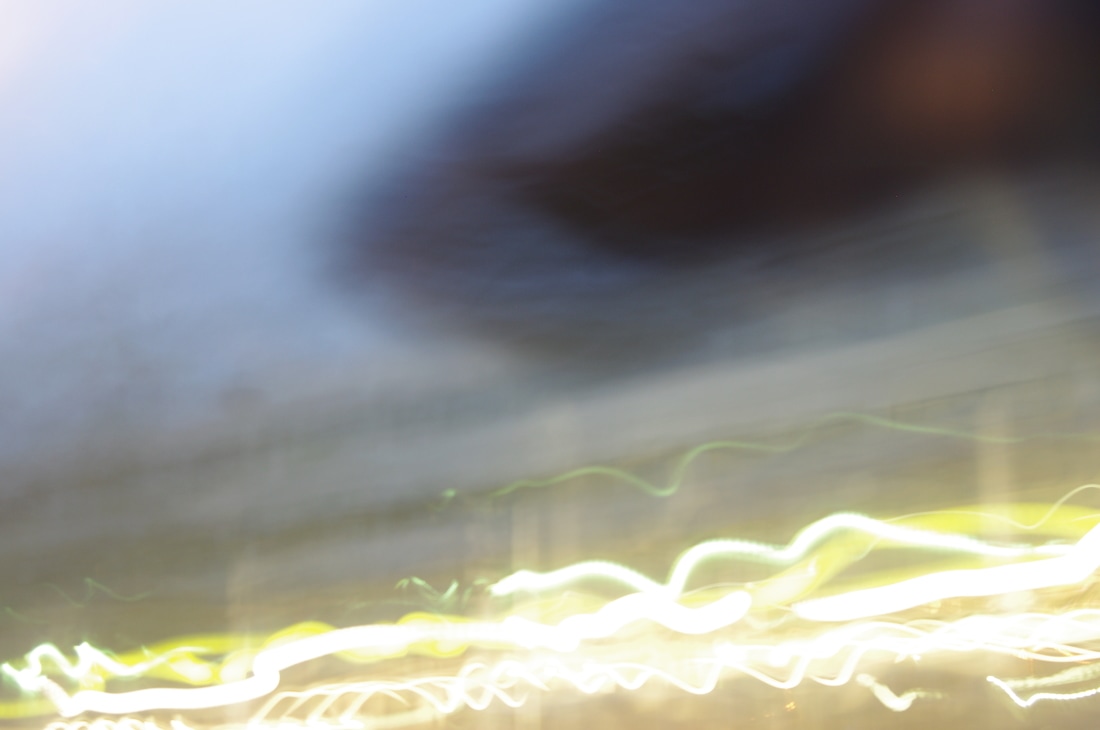
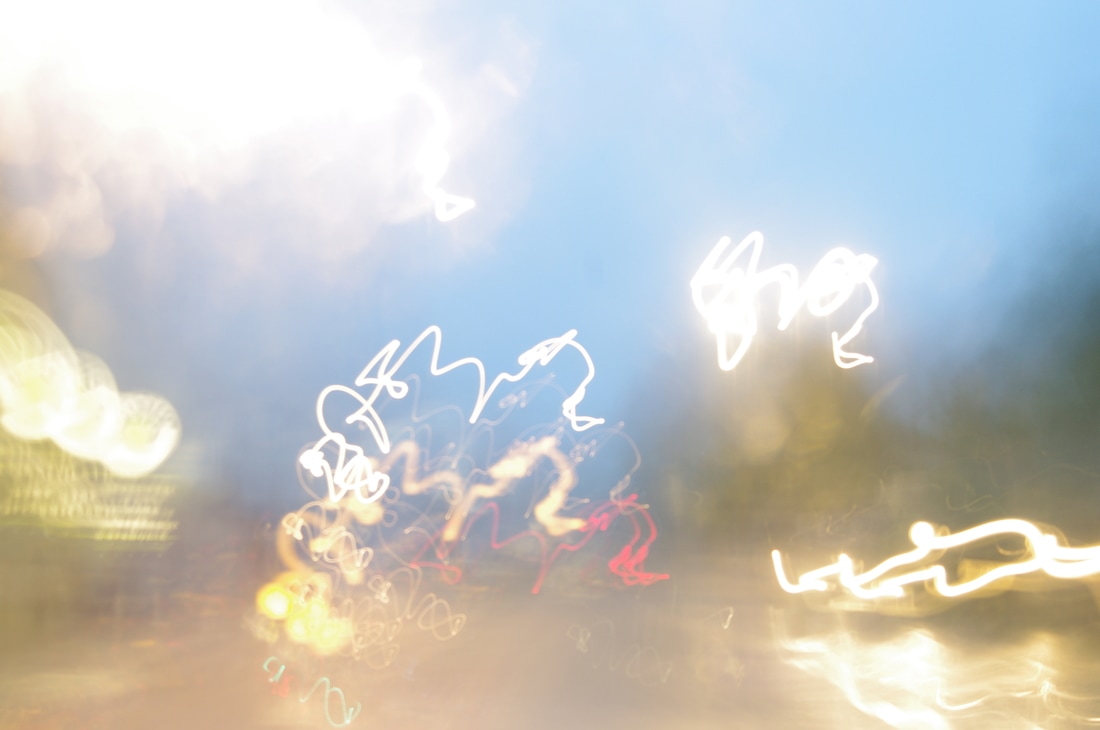
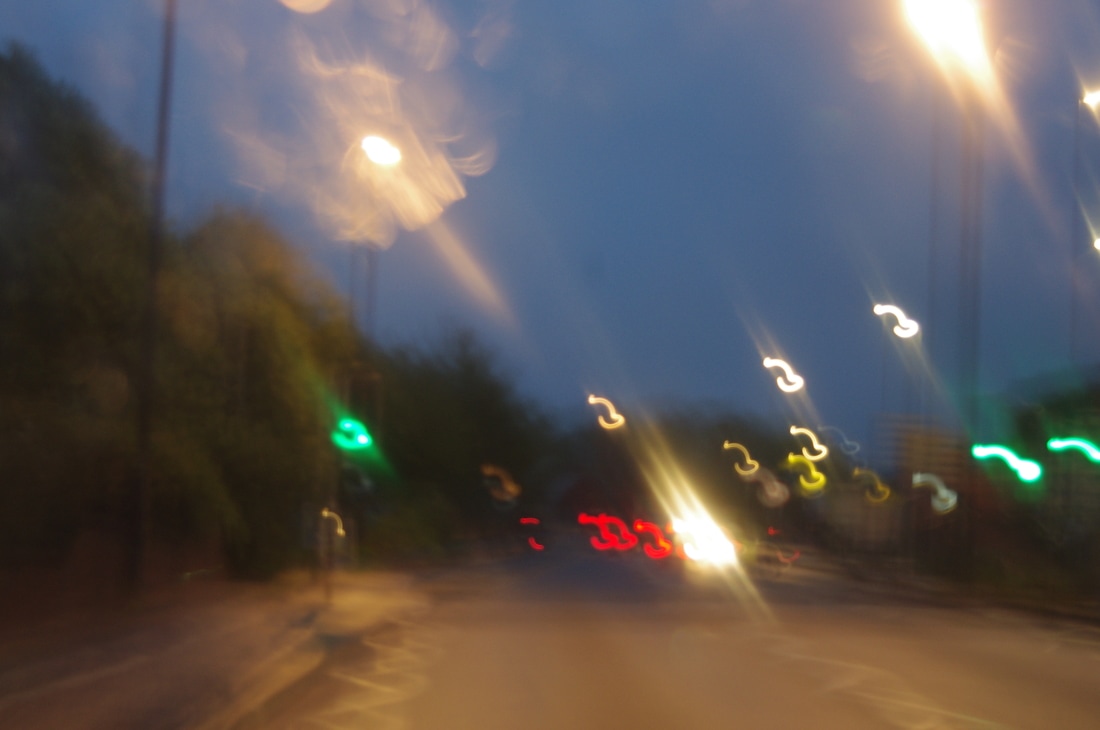
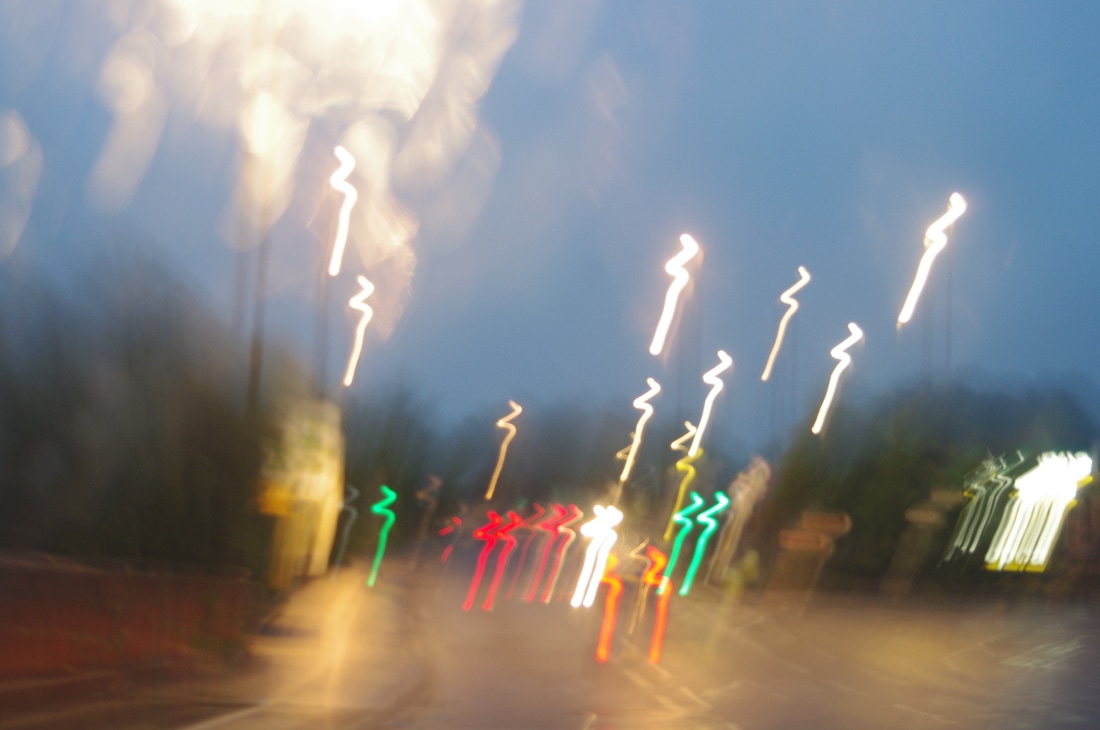
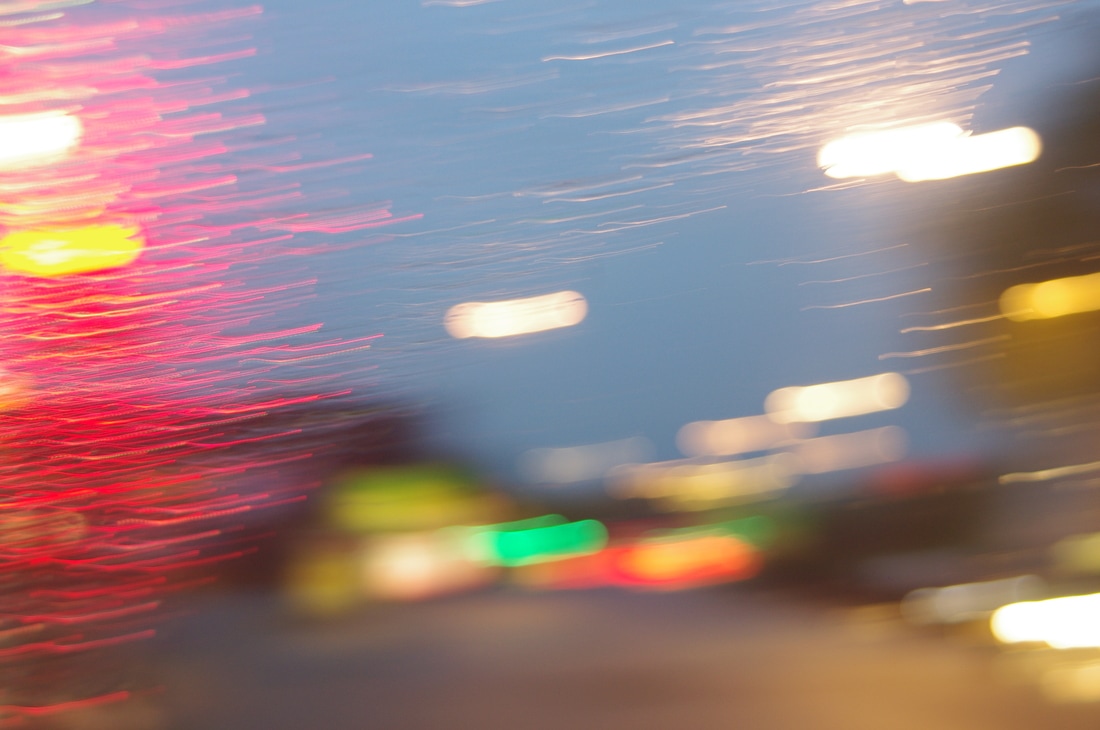
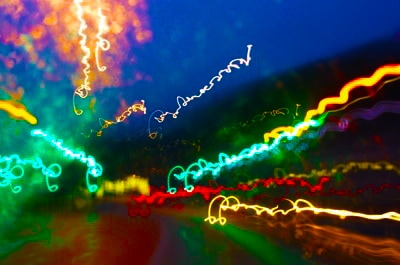
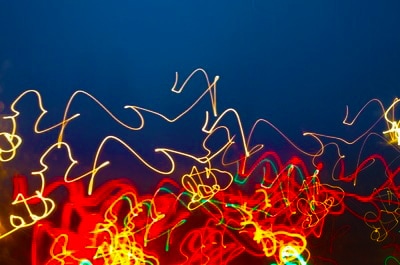
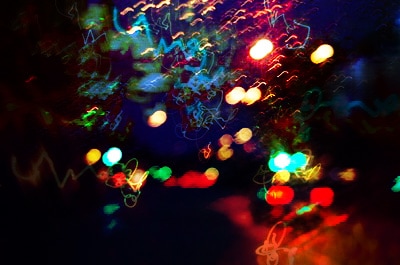
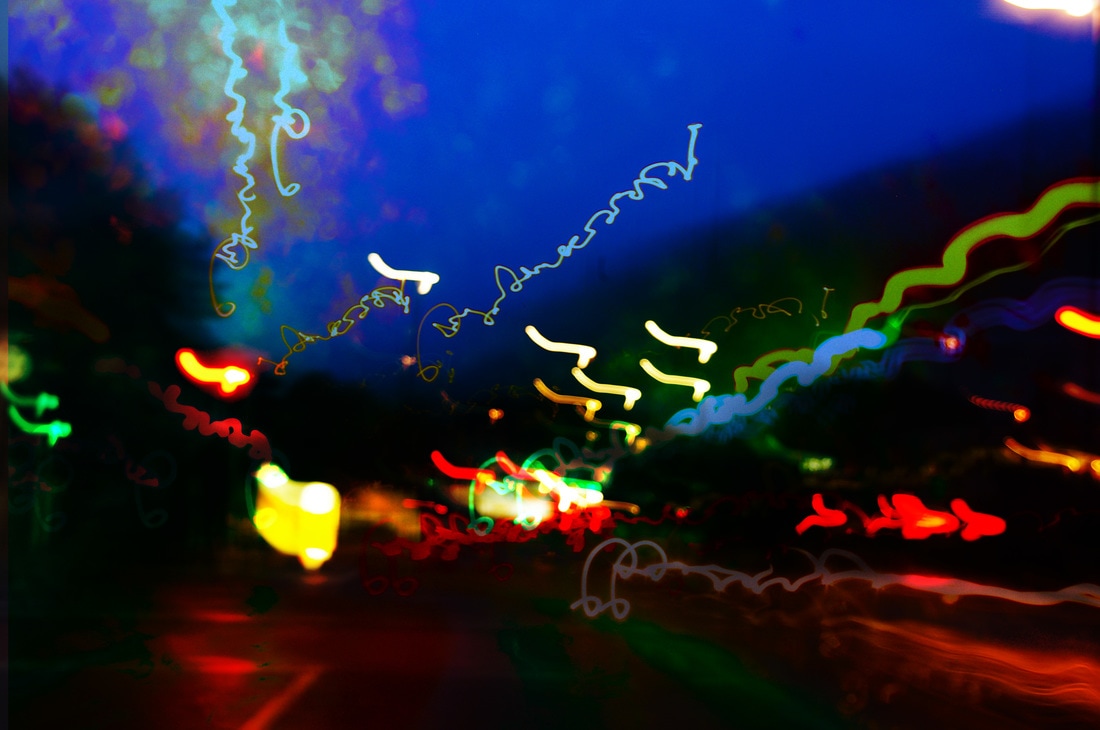
For this photo shoot I went into Bristol town centre. I used my camera on the following settings for long exposure; (Av) F8, (ISO) 200 and (Tv) 4". Using these settings I took photographs of cars and people, which created abstract/unusual images. I got my inspiration from Martin Roemers and his theme of featuring people and vehicles in movement. I wanted to experiment without using a tripod to see the effects it would create. I also wanted to further experiment with light trails and included the car lights in the images to display this.
WWW:- I took over 20 photographs which all relate to motion and Martin Roemers.
EBI:- If I captured more images of people / if the images of people were more clear. This would make the atmosphere look even busier and would have replicated the same mood as Martin Roemers's work.
WWW:- I took over 20 photographs which all relate to motion and Martin Roemers.
EBI:- If I captured more images of people / if the images of people were more clear. This would make the atmosphere look even busier and would have replicated the same mood as Martin Roemers's work.
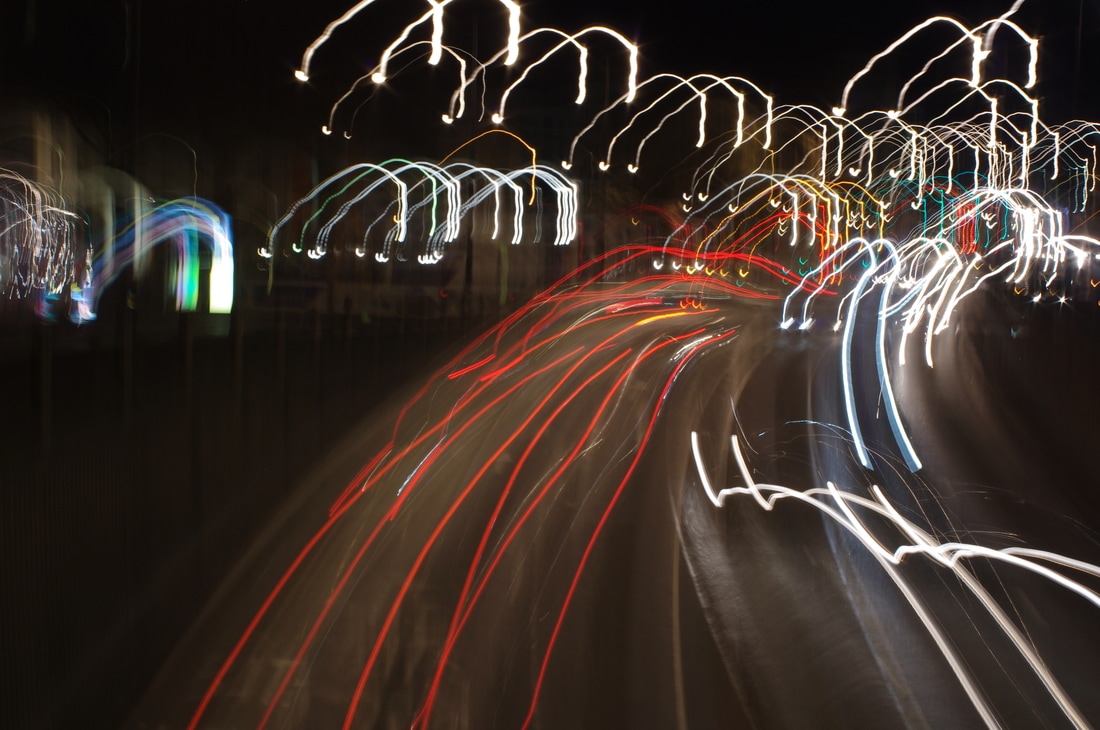
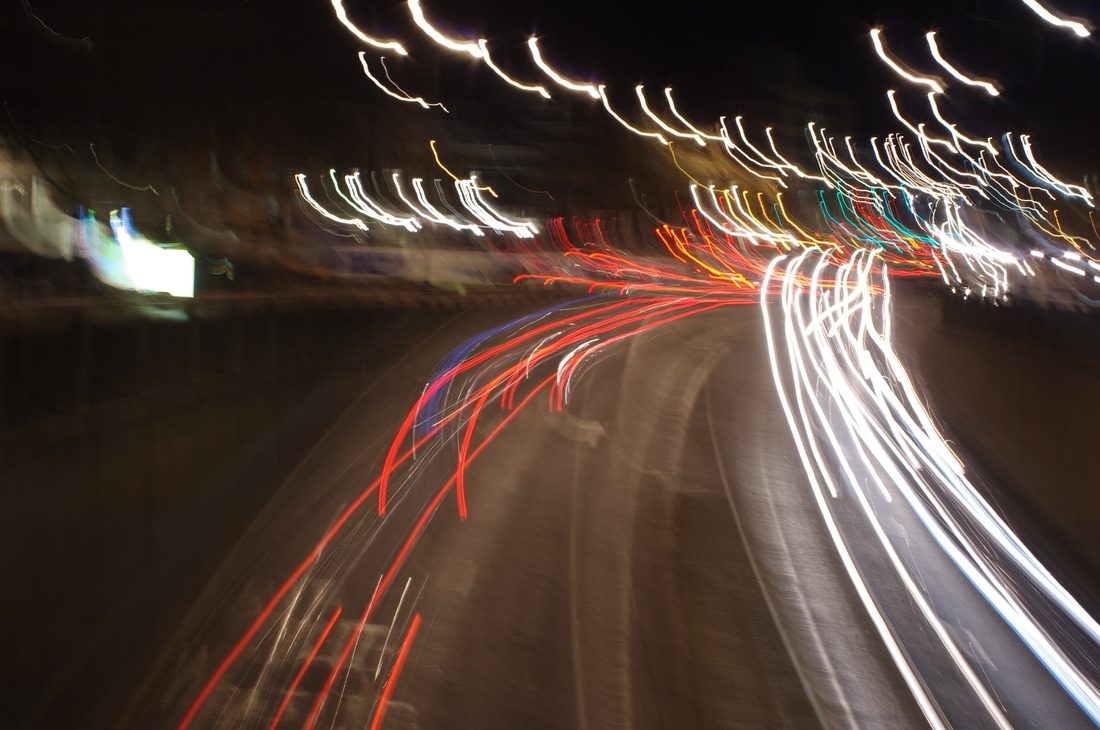
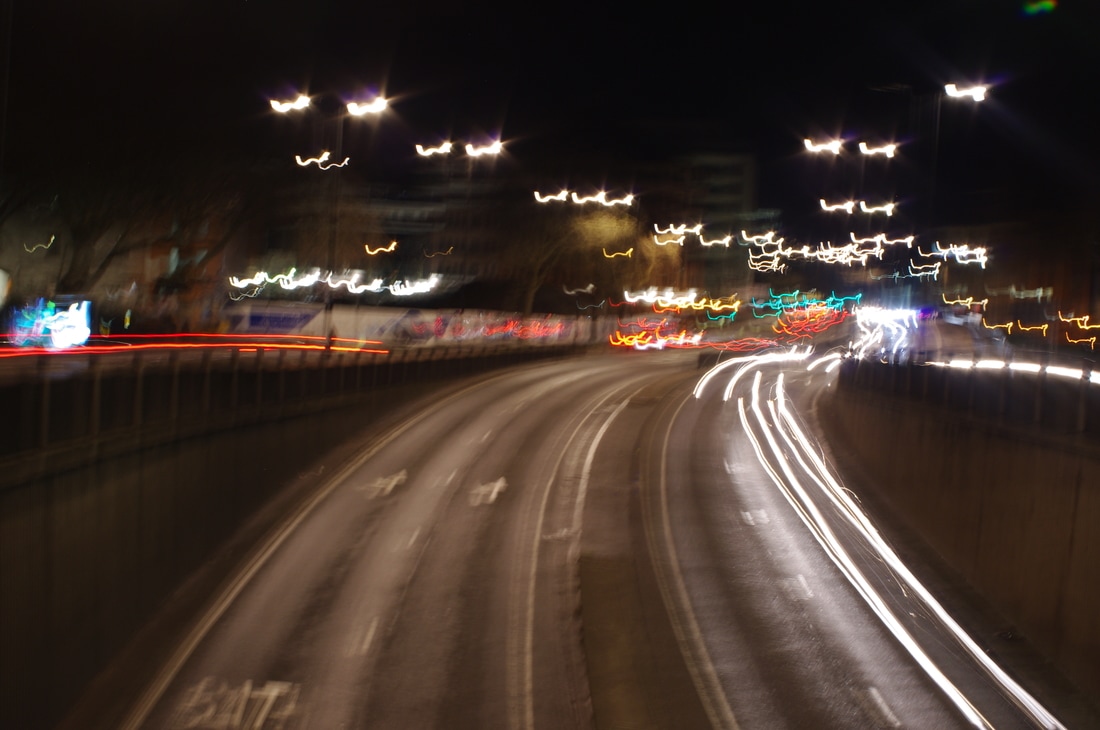
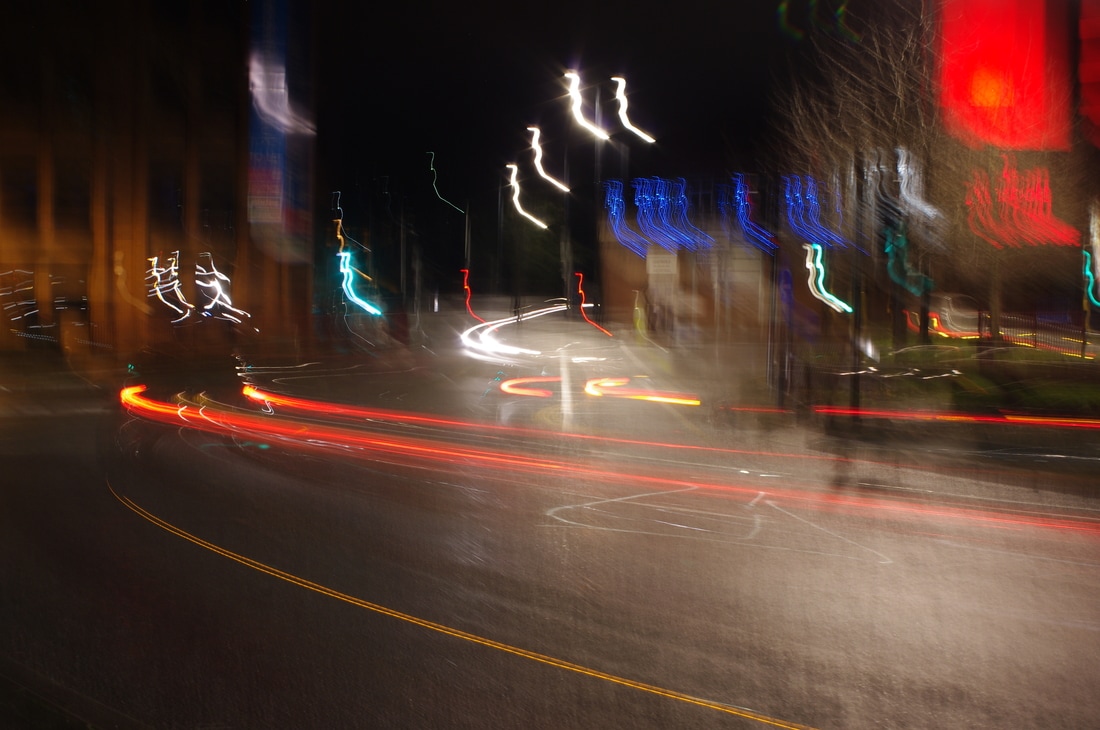
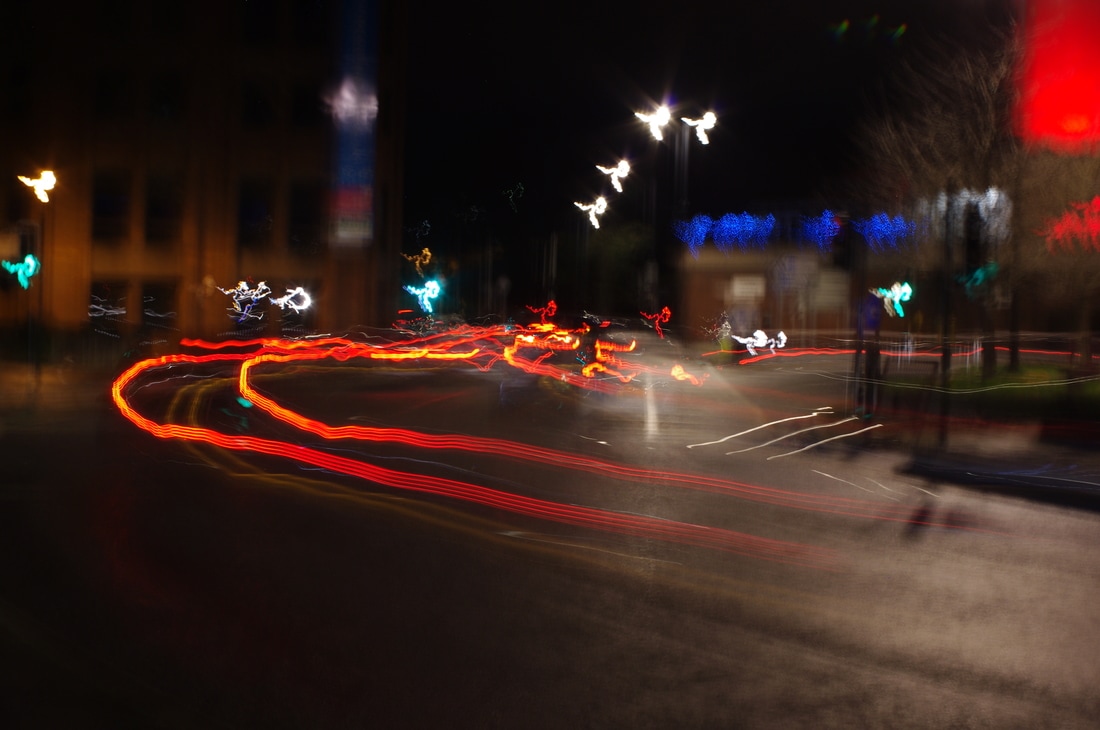
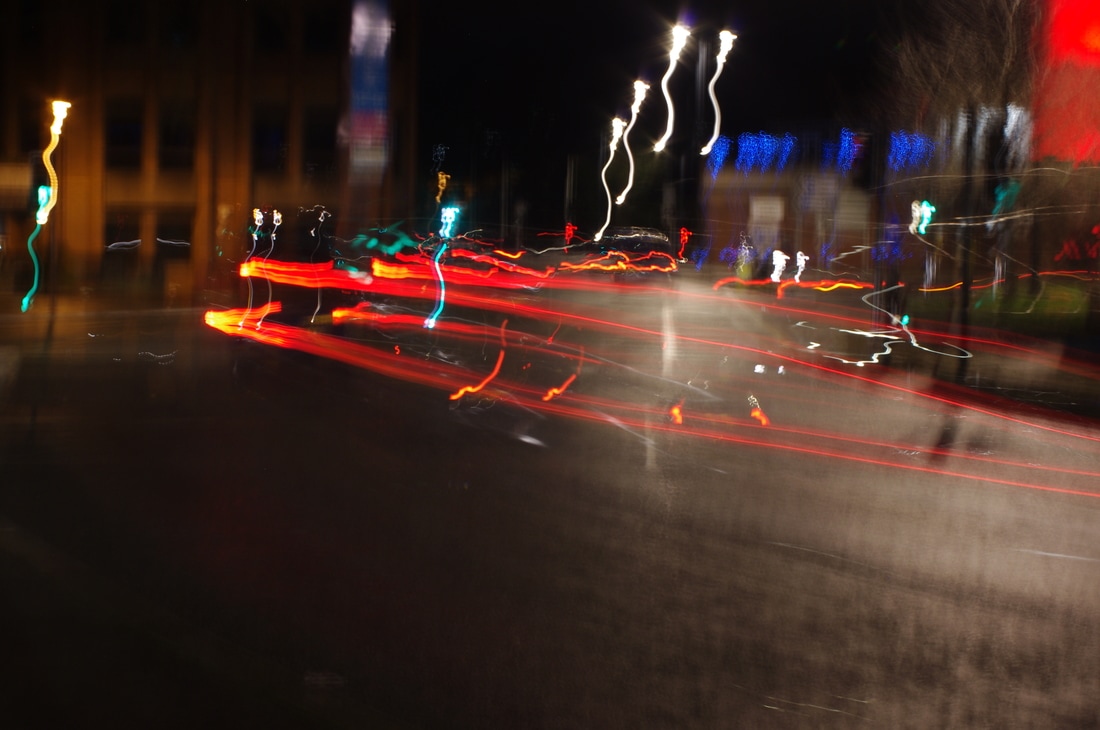
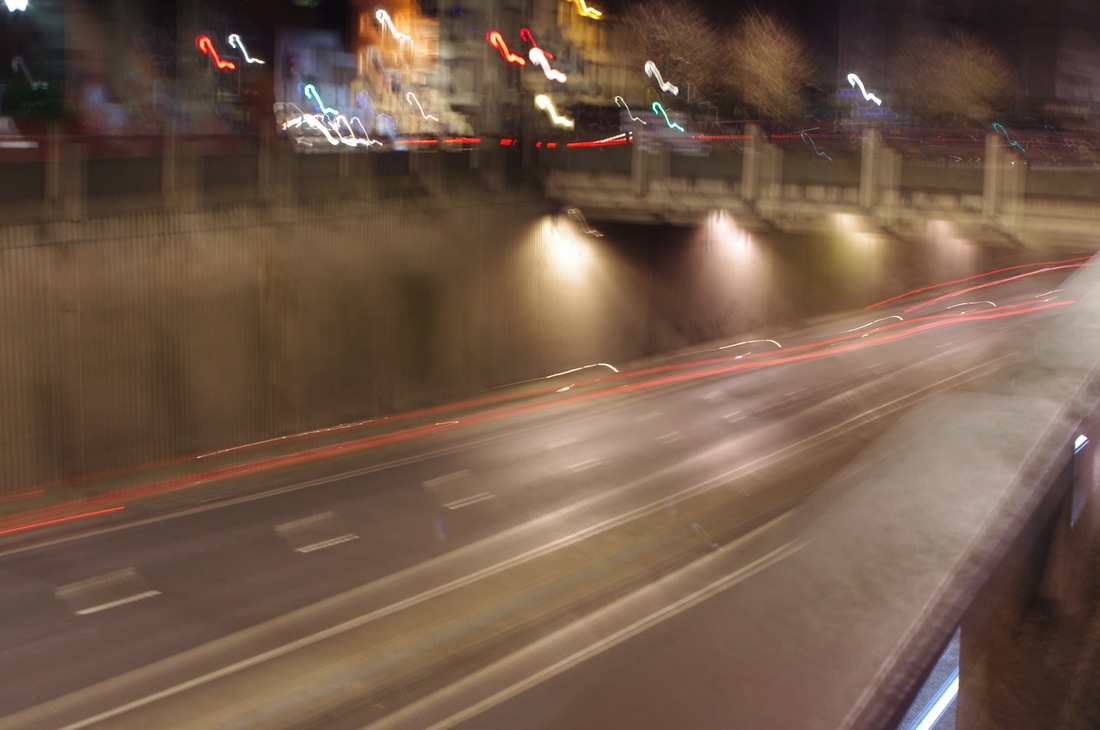
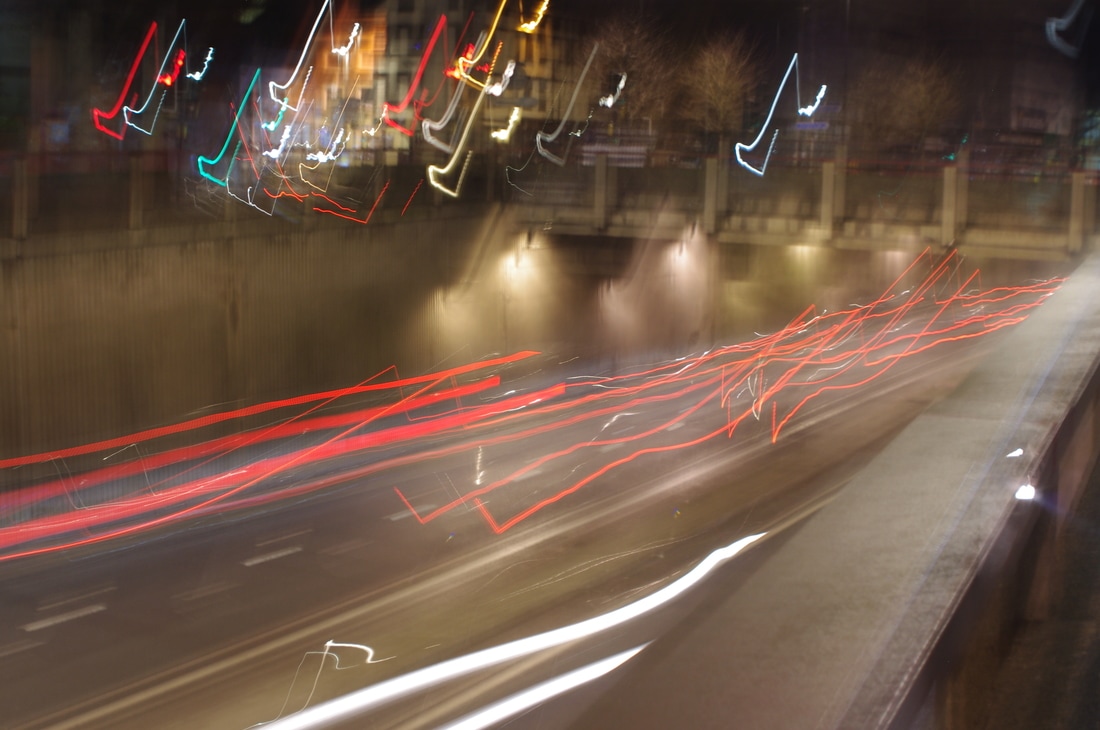
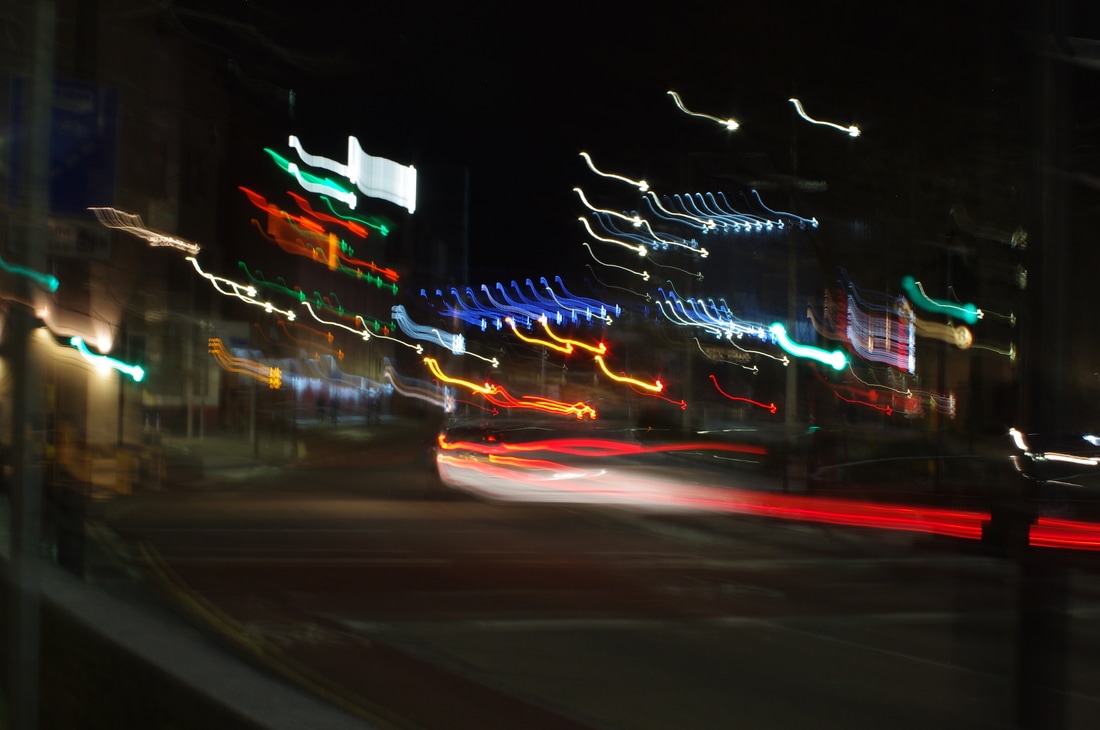
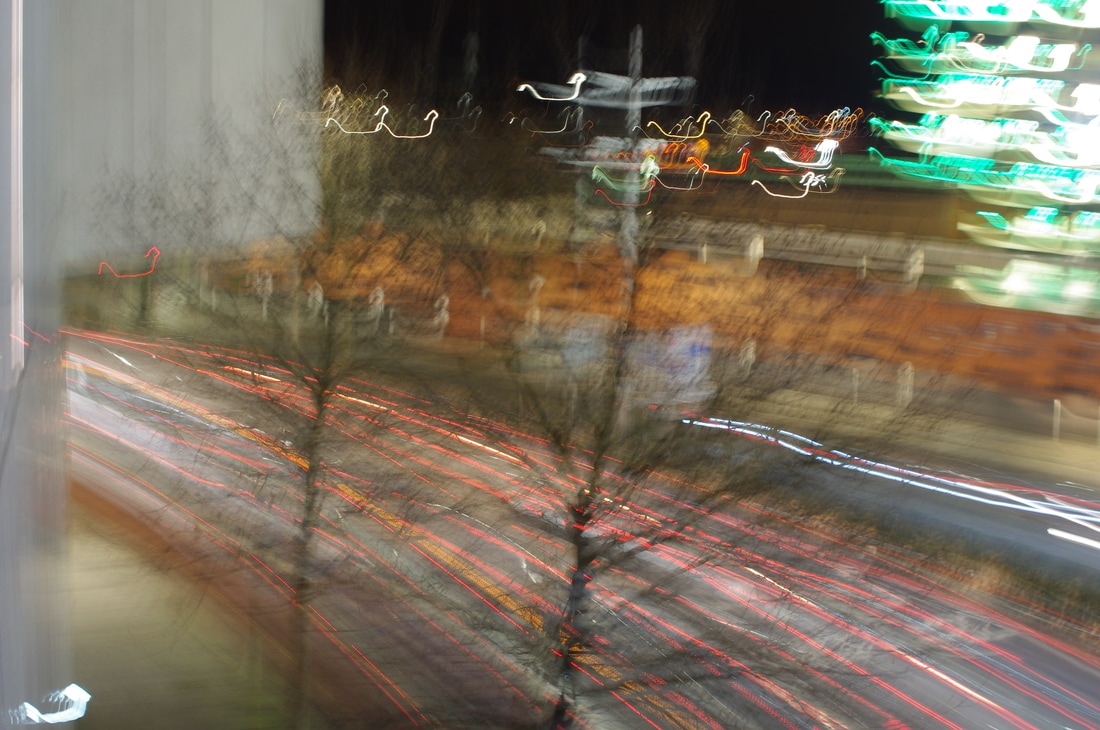

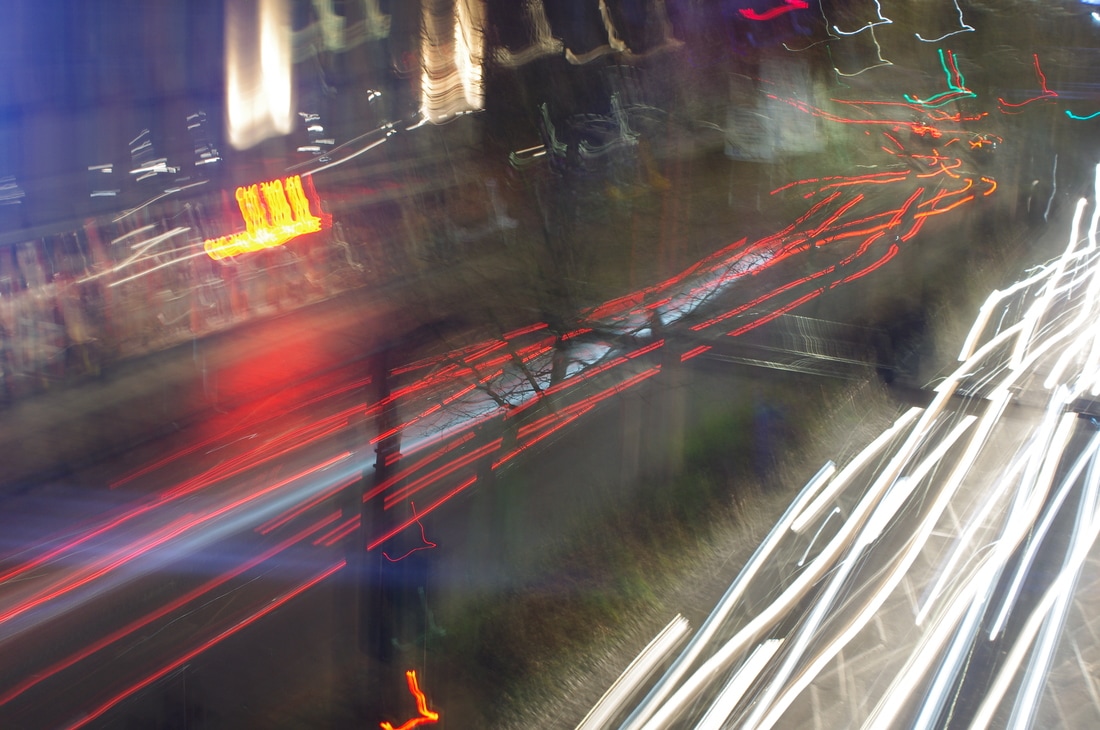
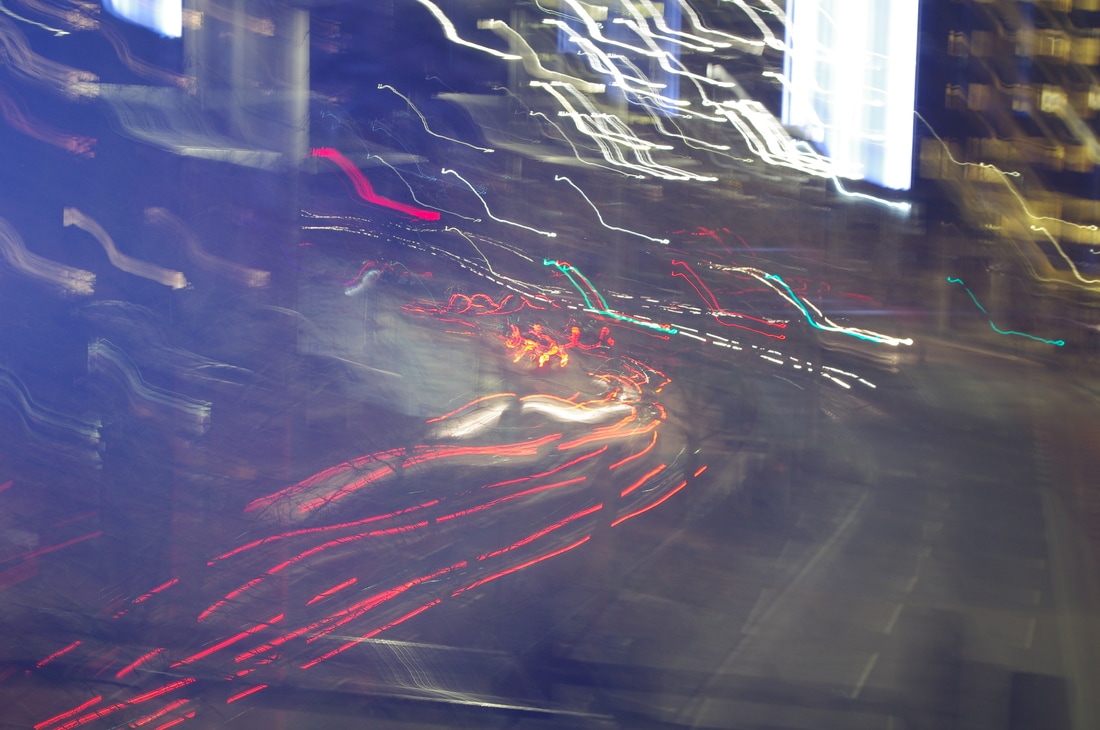
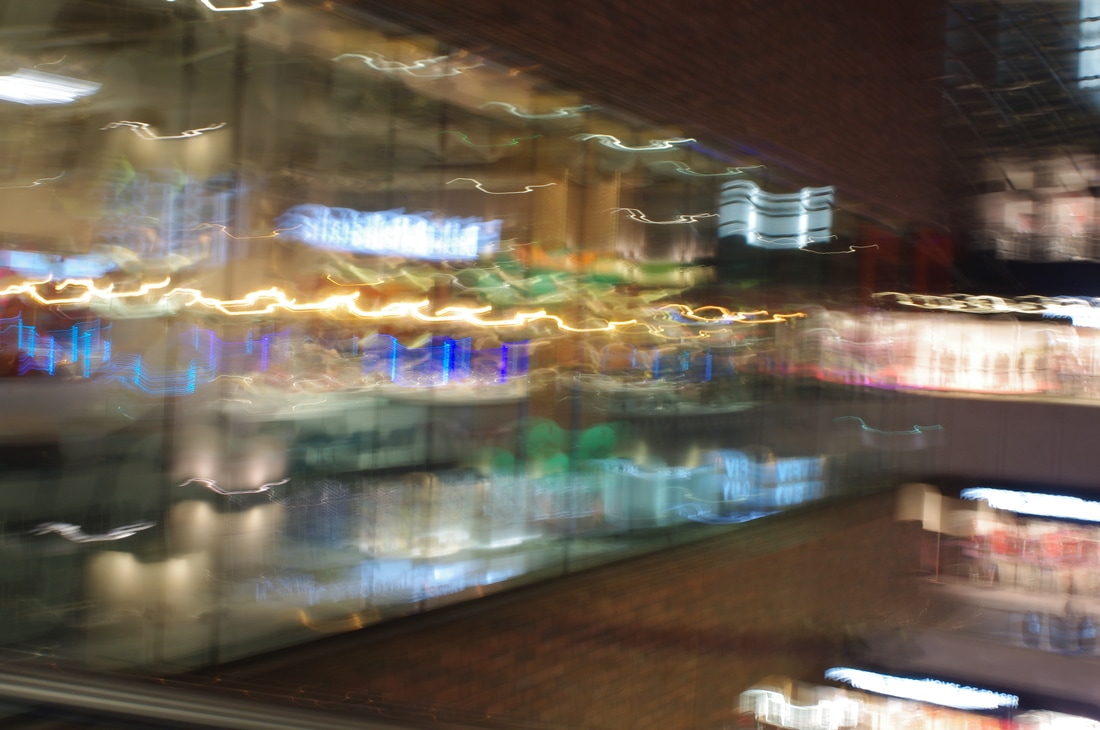
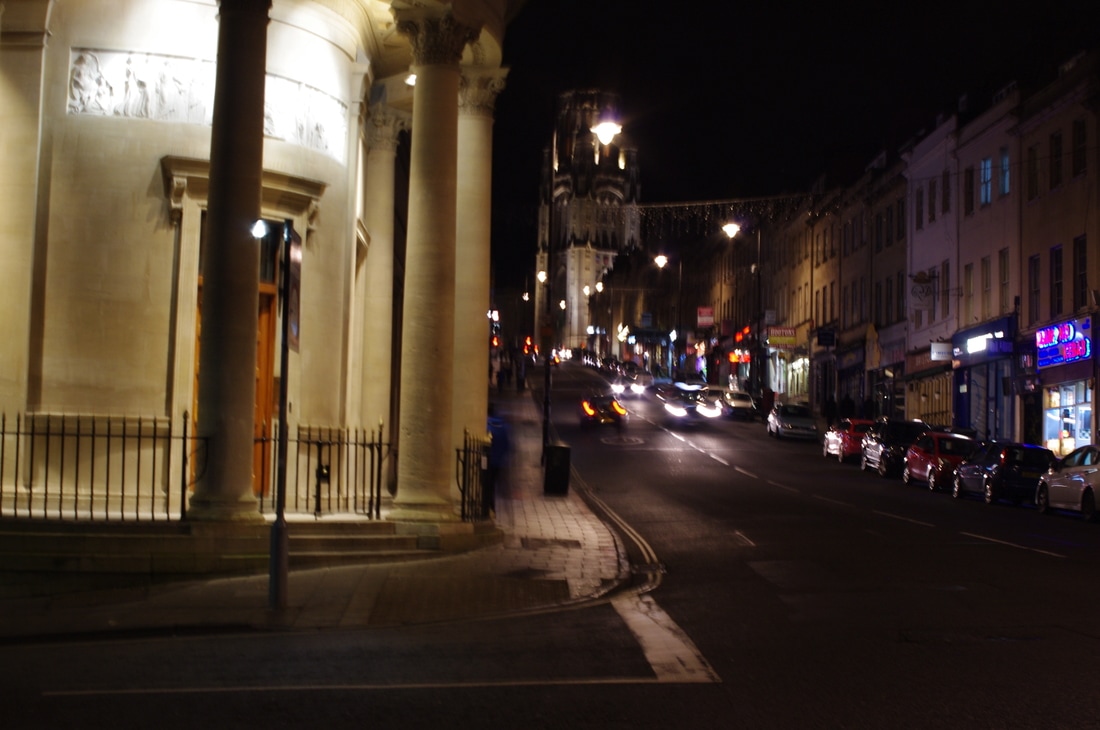

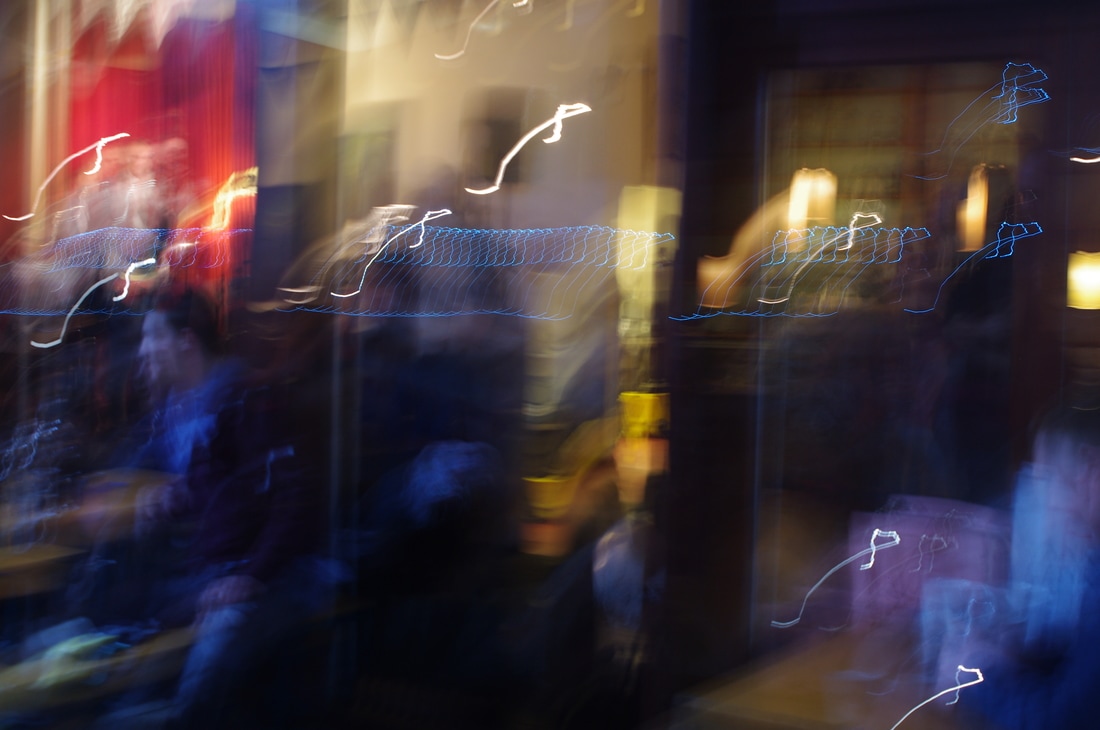


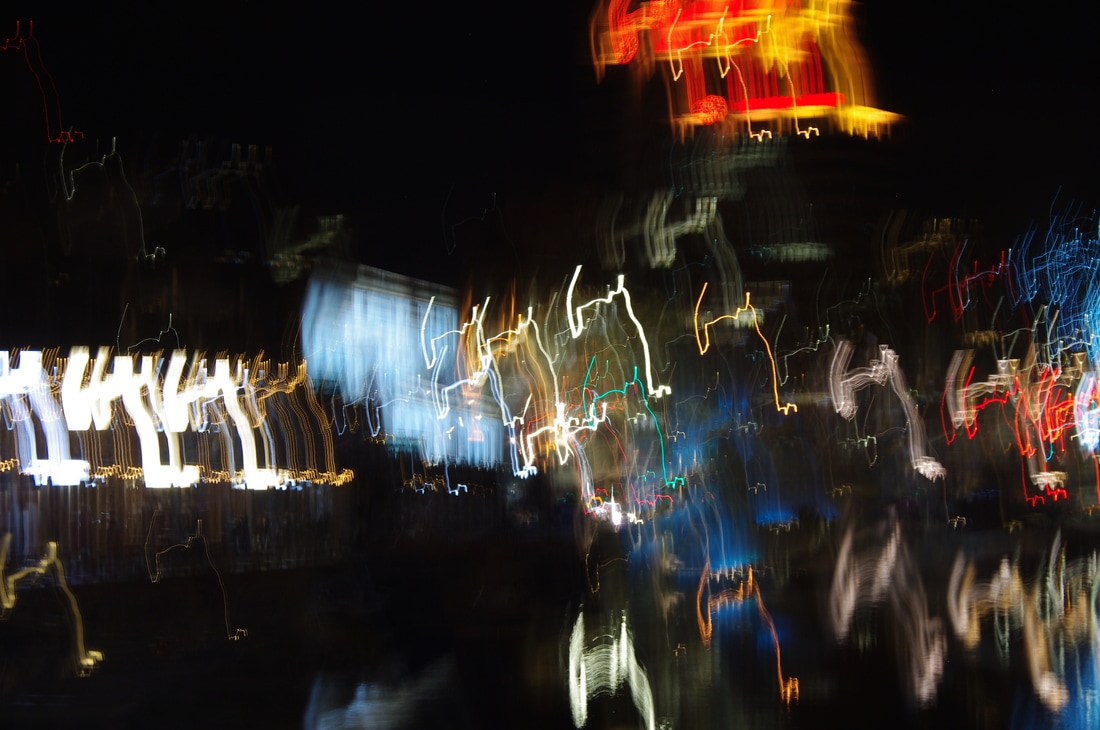
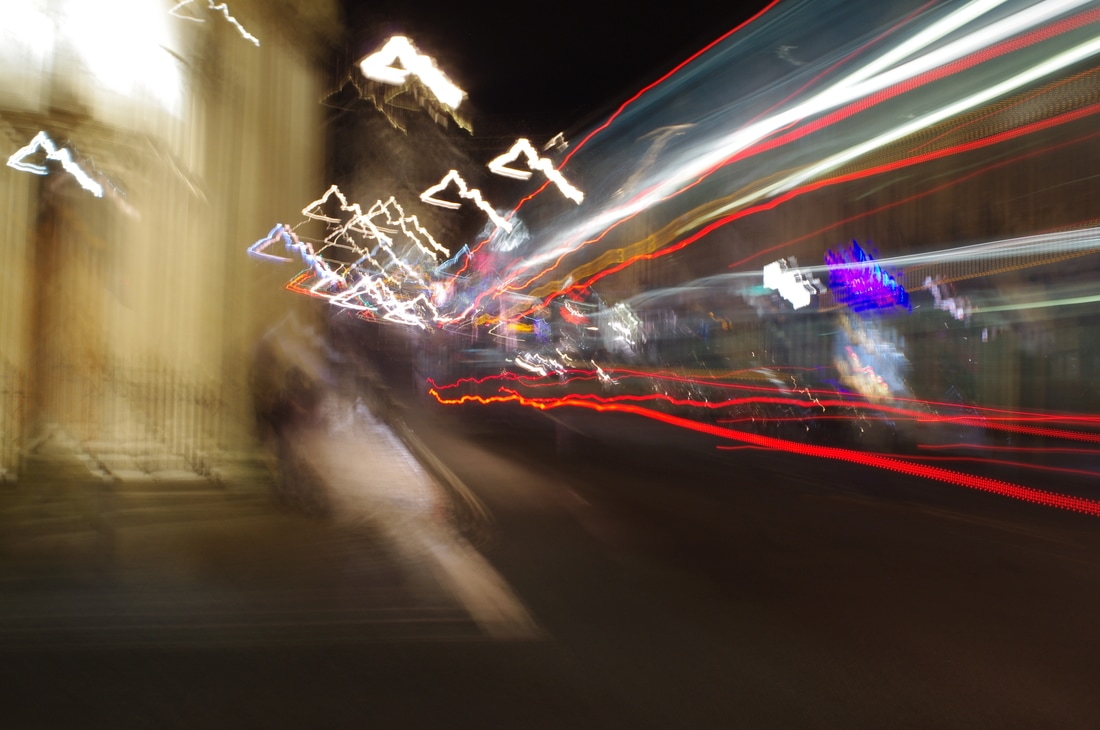
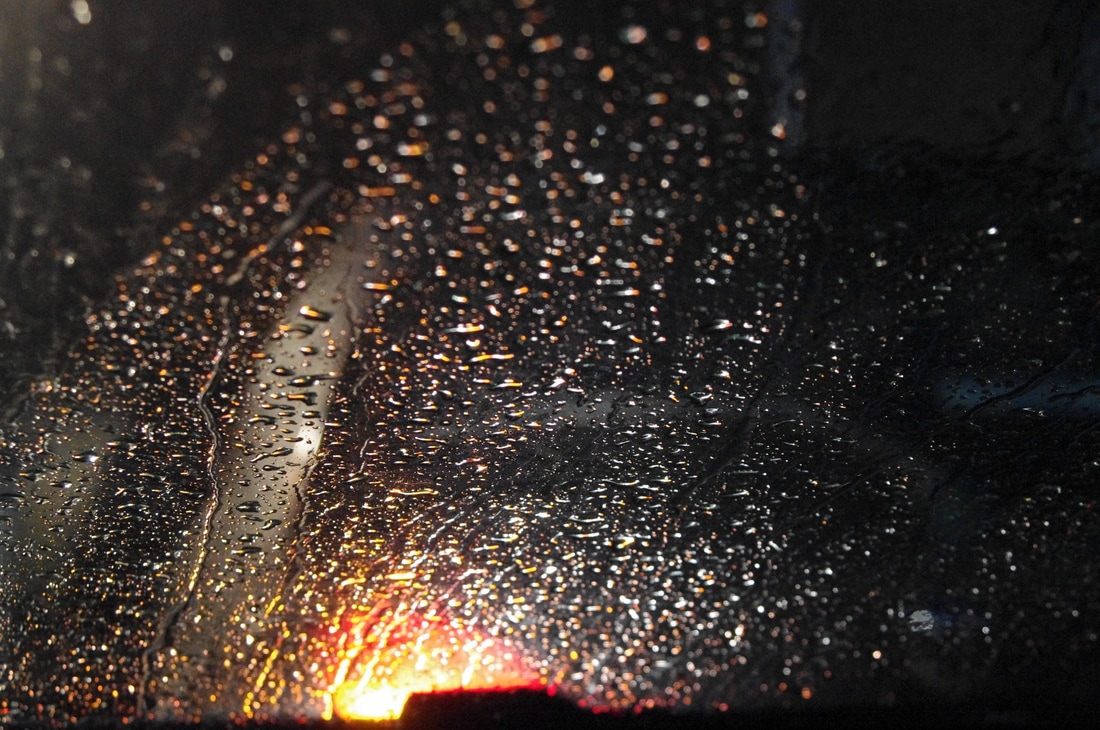
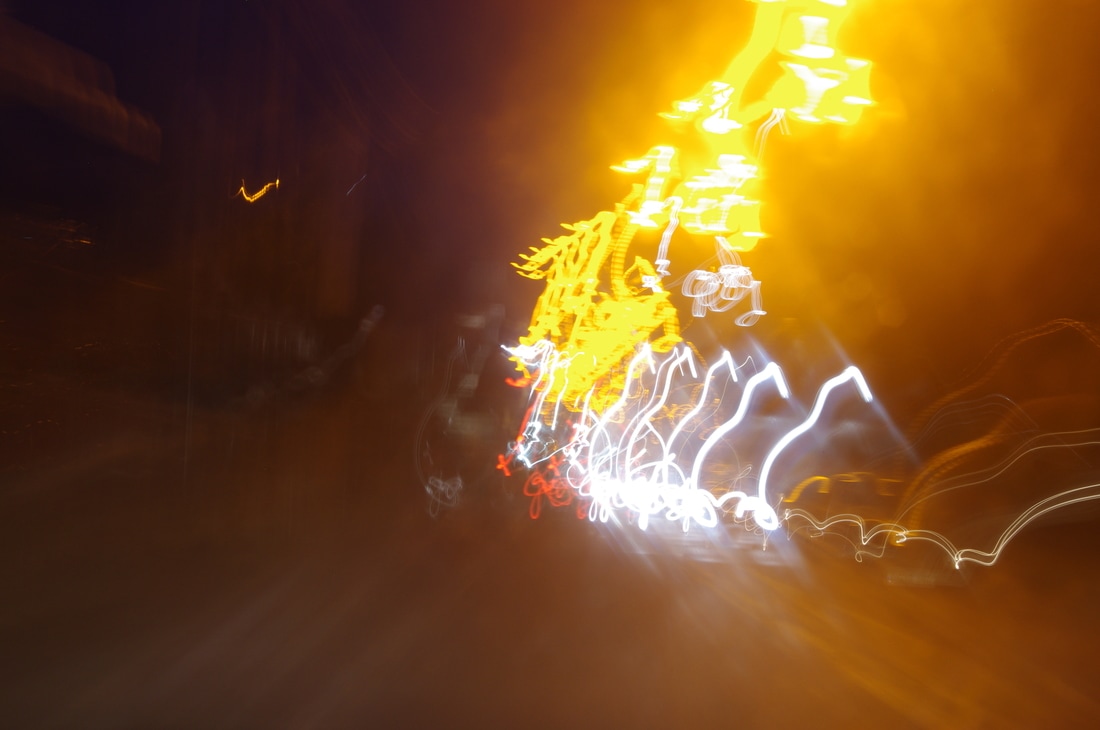
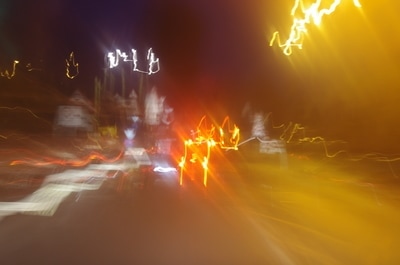
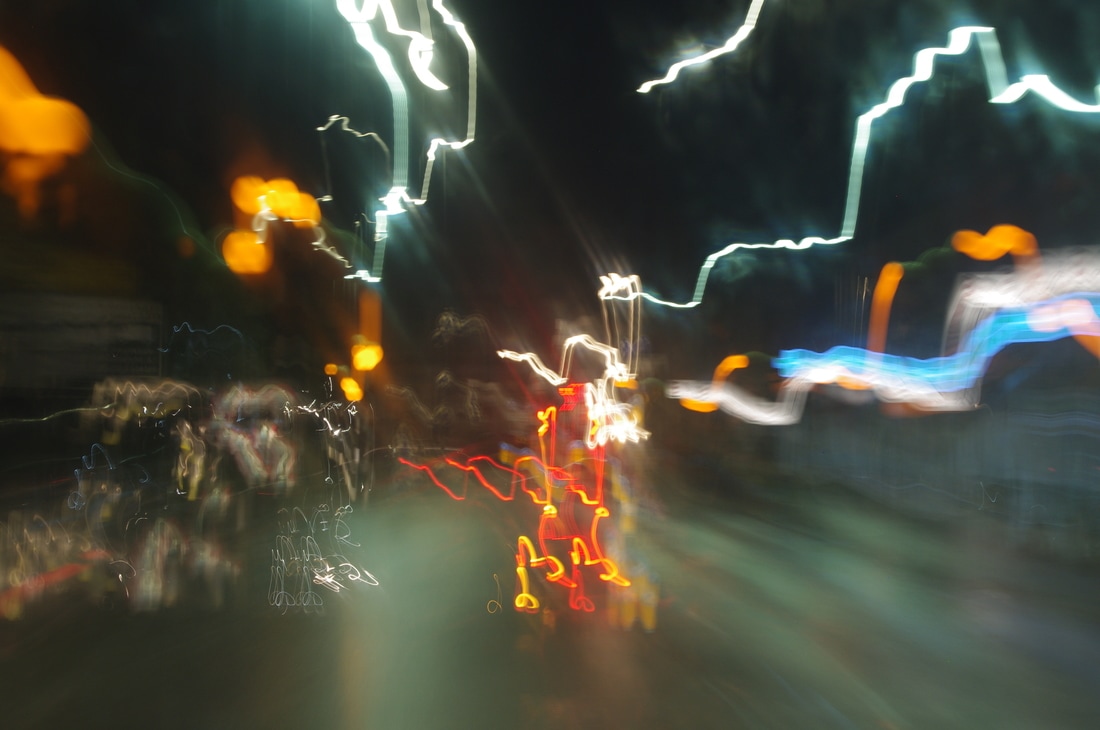
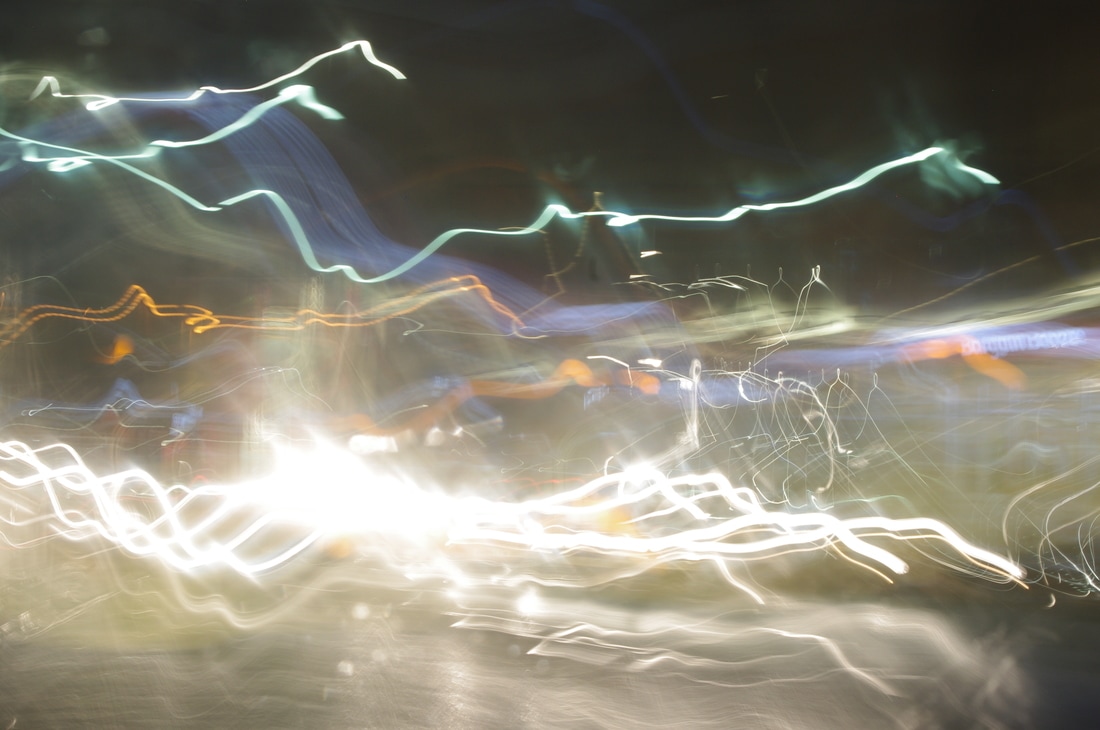
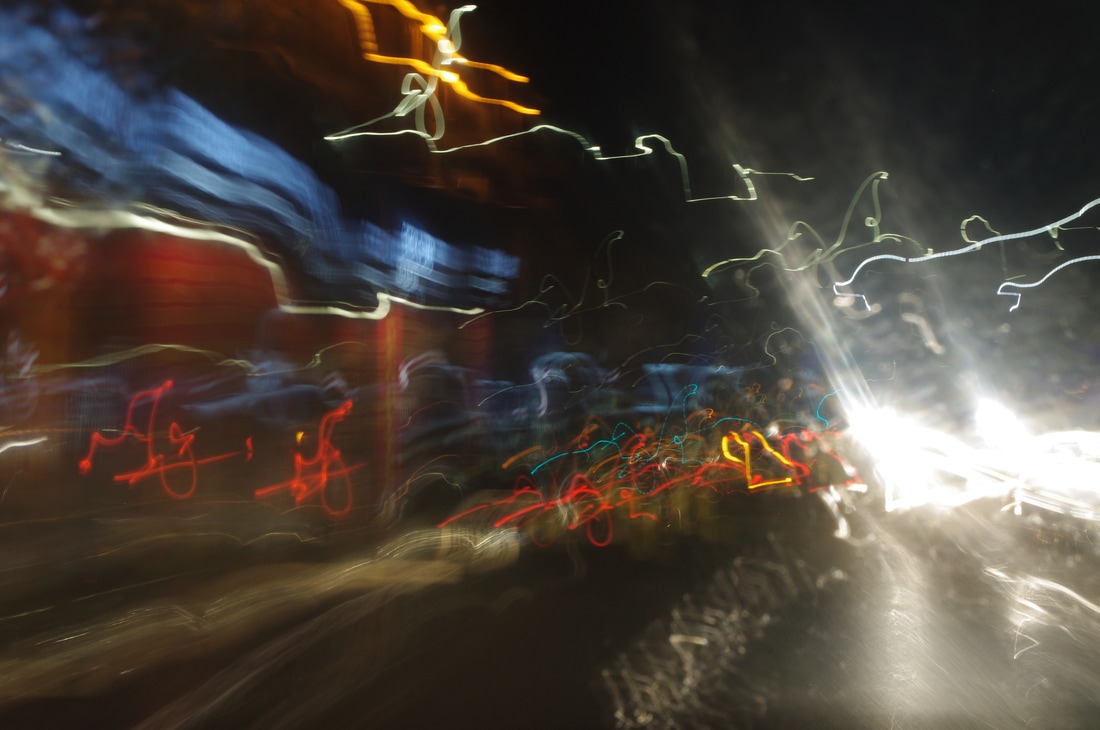
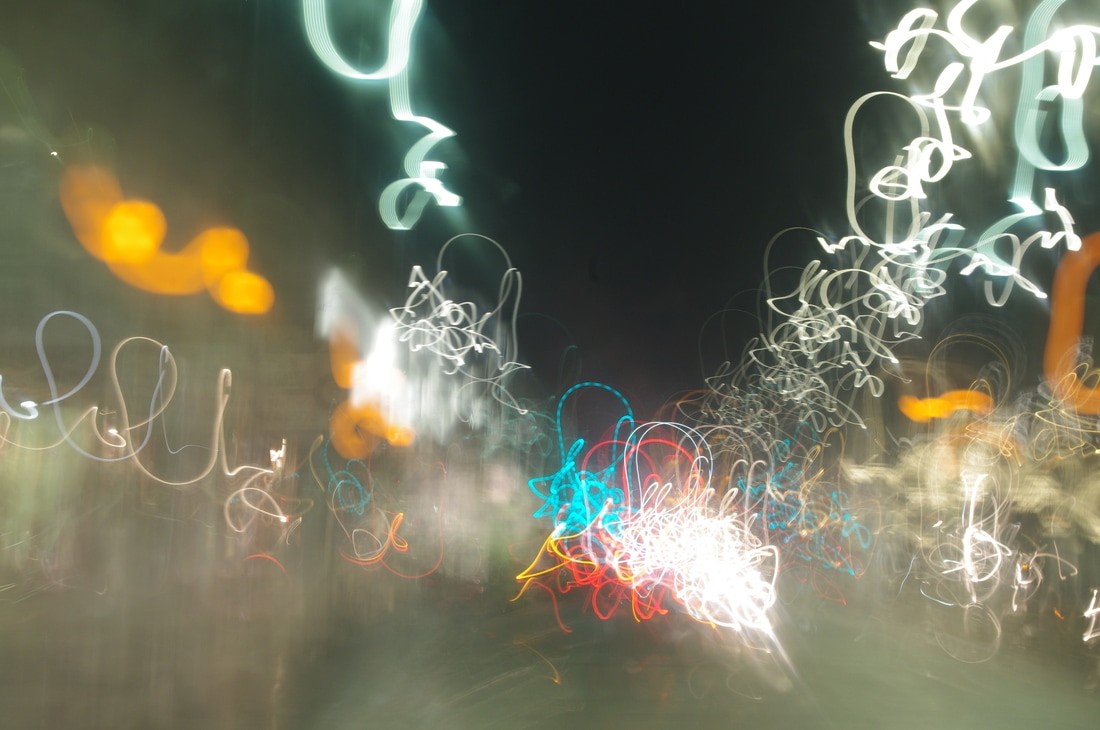
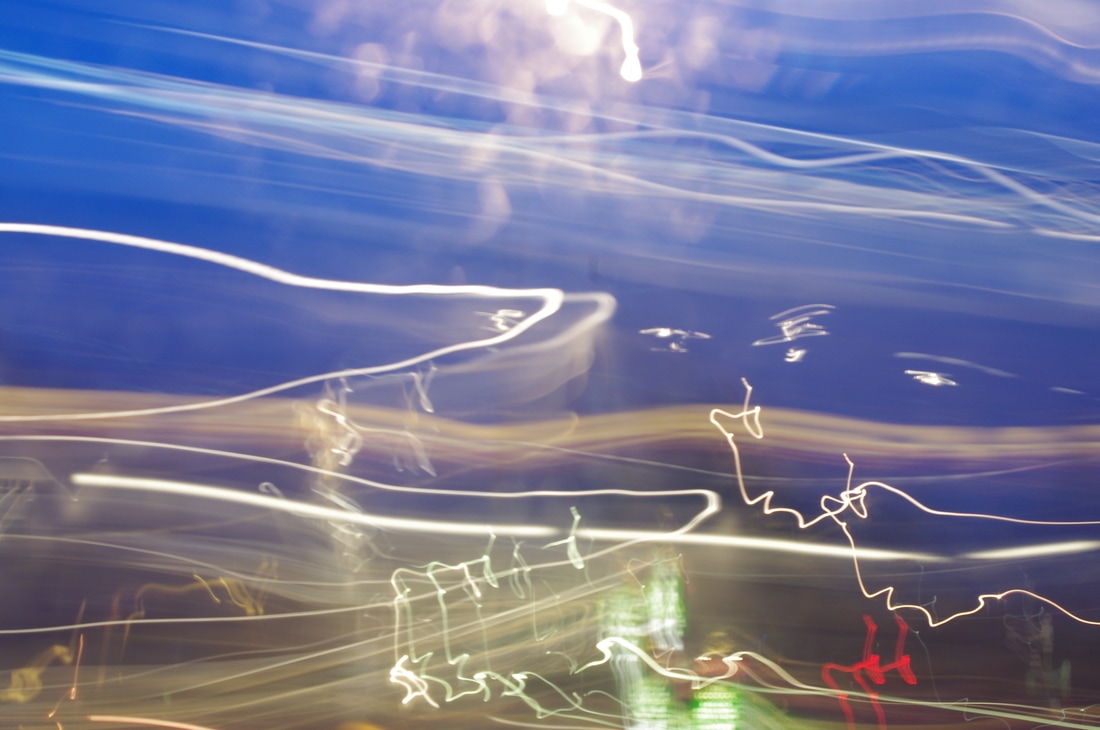
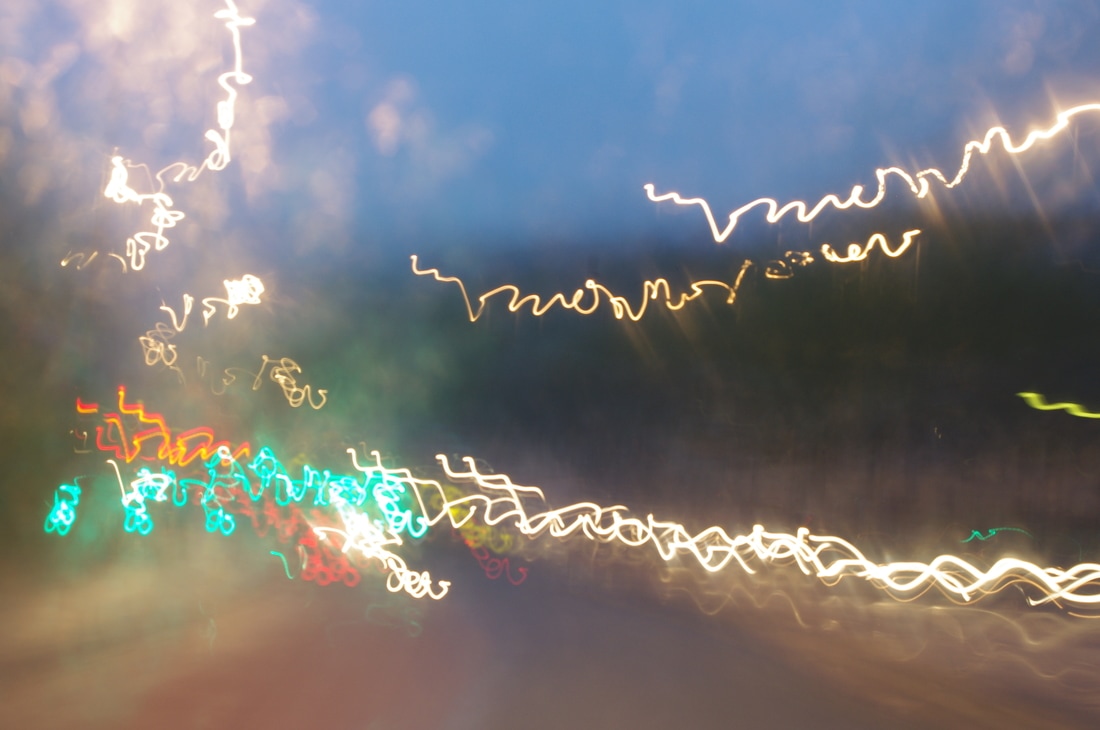
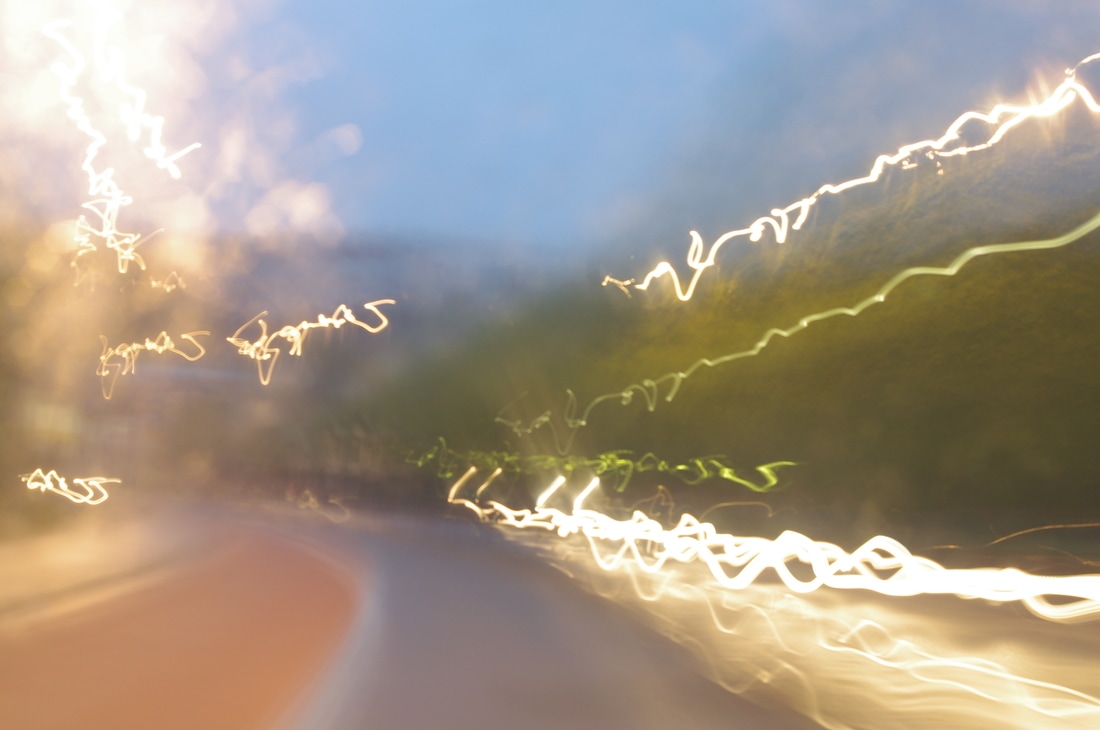
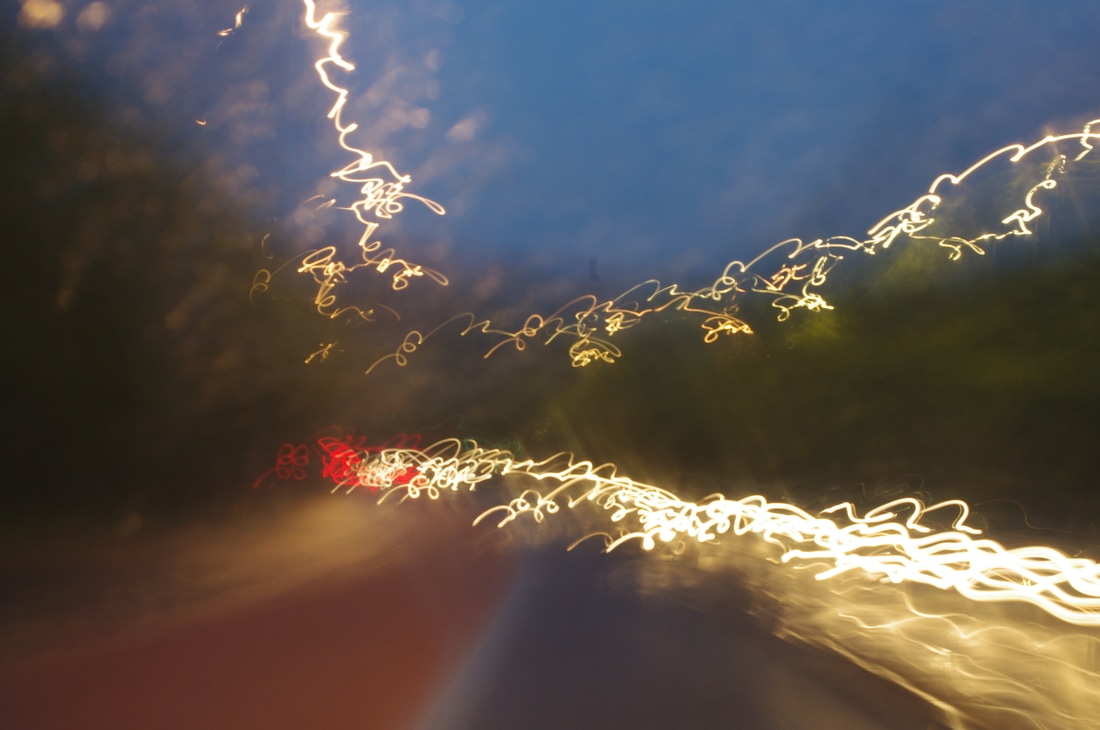
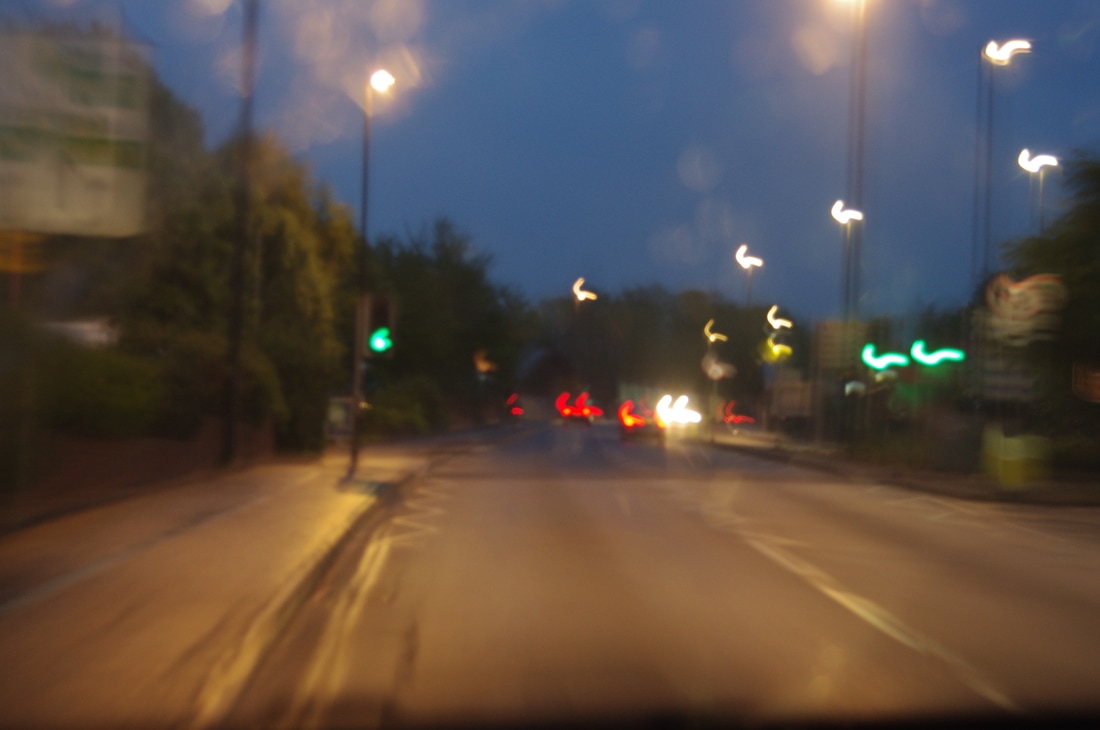
Best Images From This Shoot
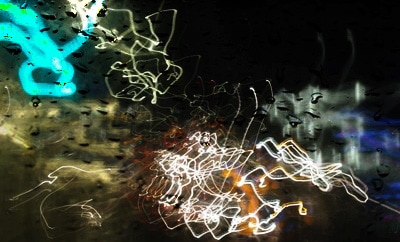
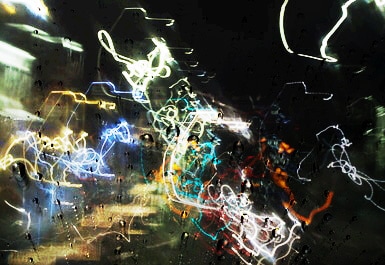
I chose these images because they link to Martin Roemers the most as they feature people and vehicles. The blurry effect displayed makes the photographs look as though they are moving as seen in Roemers' work. I believe the light looks as though it represents high energy which also adds to the theme motion.

|
|
|

|
Photoshop Edits
I edited one of the photographs above using Photoshop. Firstly I clicked Image -> Adjustments -> Brightness/Contrast and changed the brightness to 2 and the contrast to 100. Next I clicked Image -> Adjustments -> Vibrance and changed the vibrance to +100 and the saturation to +1. I experimented with a black and white filter too. I wanted to see the outcome of a black and white filter because Martin Roemers is also known for taking photographs with this filter as shown in his project, 'The Eyes Of War'.
To do this I clicked Image -> Adjustments -> Black and White. The colour levels for this filter were -36% (Reds), 53% (Yellows), 24% (Greens), 59% (Cyans), 23% (Blues) and 53% (Magentas). The following two photographs are the outcome.
To do this I clicked Image -> Adjustments -> Black and White. The colour levels for this filter were -36% (Reds), 53% (Yellows), 24% (Greens), 59% (Cyans), 23% (Blues) and 53% (Magentas). The following two photographs are the outcome.
Photoshop Experiment
For the image below I used Photoshop to experiment with the levels of vibrance and brightness of the colours. I did this by selecting Image -> Adjustments -> Vibrance.
Peer Critique
"It is a good start with the light trails, looks nice and fits well with the picture, you can make some sort of image in the picture. Instead of shaking the camera you could experiment with a lower shutter speed to get the light trails of the car lights and the stillness of the road, one thing that you could improve is maybe shaking the camera less so you can kind of see the people and buildings because in the shoot above it is hard to see the image. Take your time with the pictures because if you set it up right you can get some crisp outlining images with the lights with the movement that would make a good contrast instead of the whole picture being shaky. The two final pieces look really good as you can make out the building and can slightly see the people walking. I feel that the images look best in colour instead of black and white. It is a great first step in the right direction for this topic."
Shoot 2
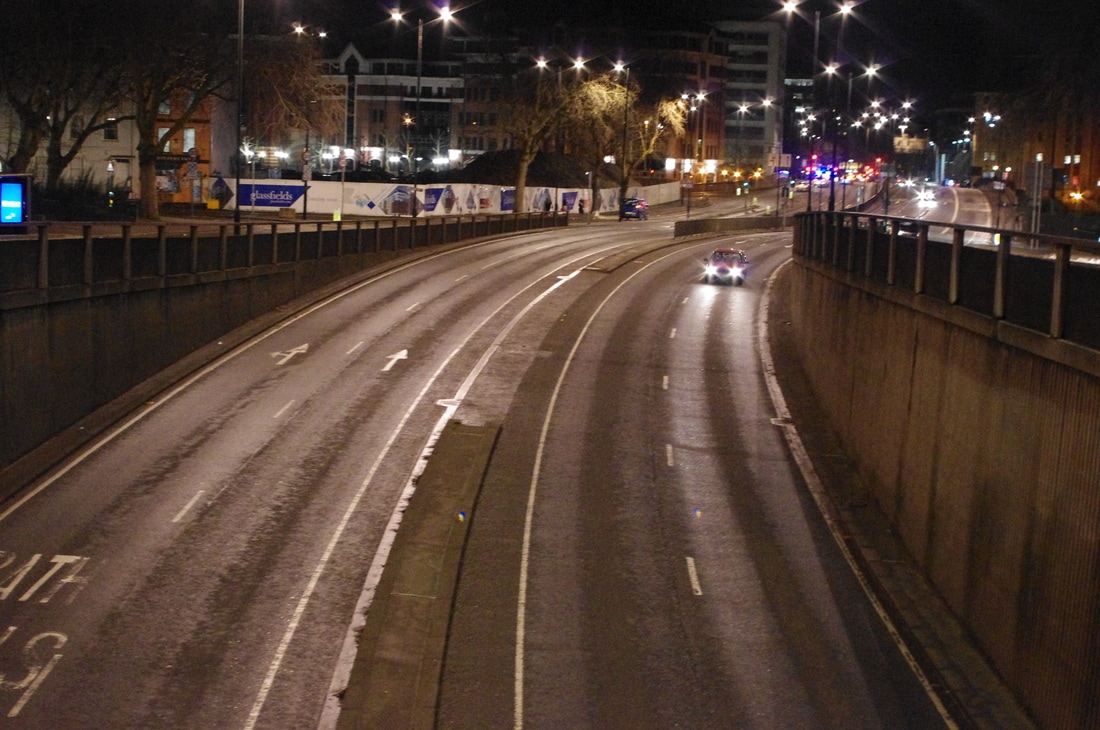
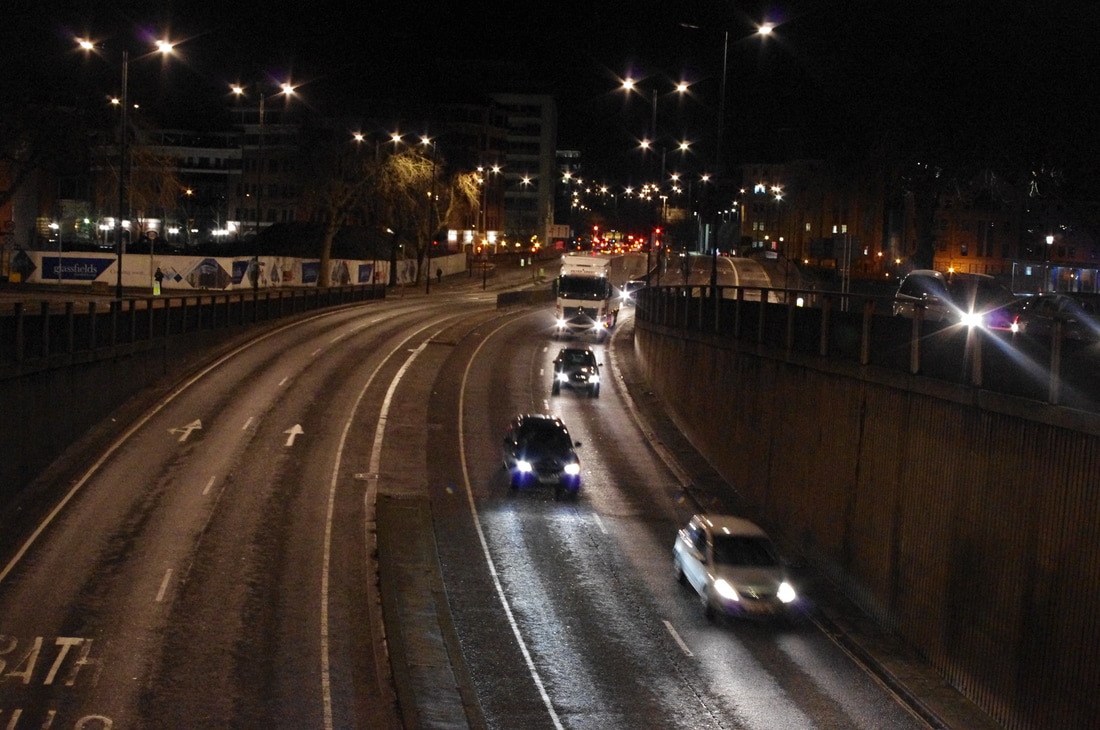
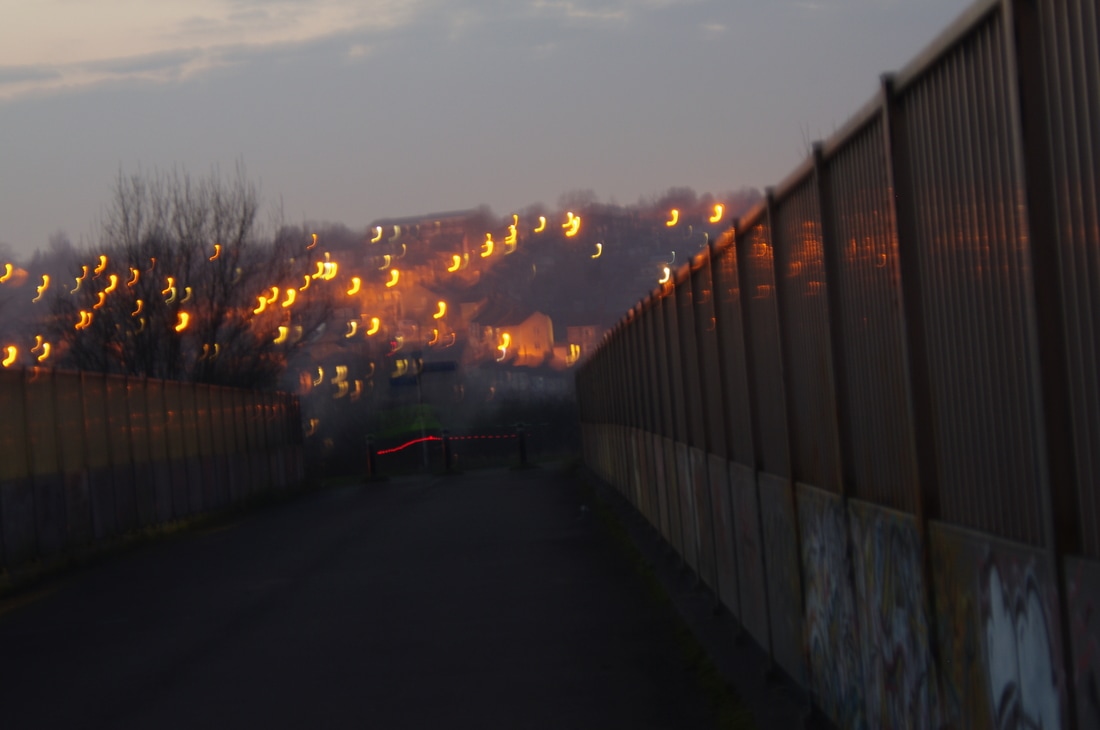
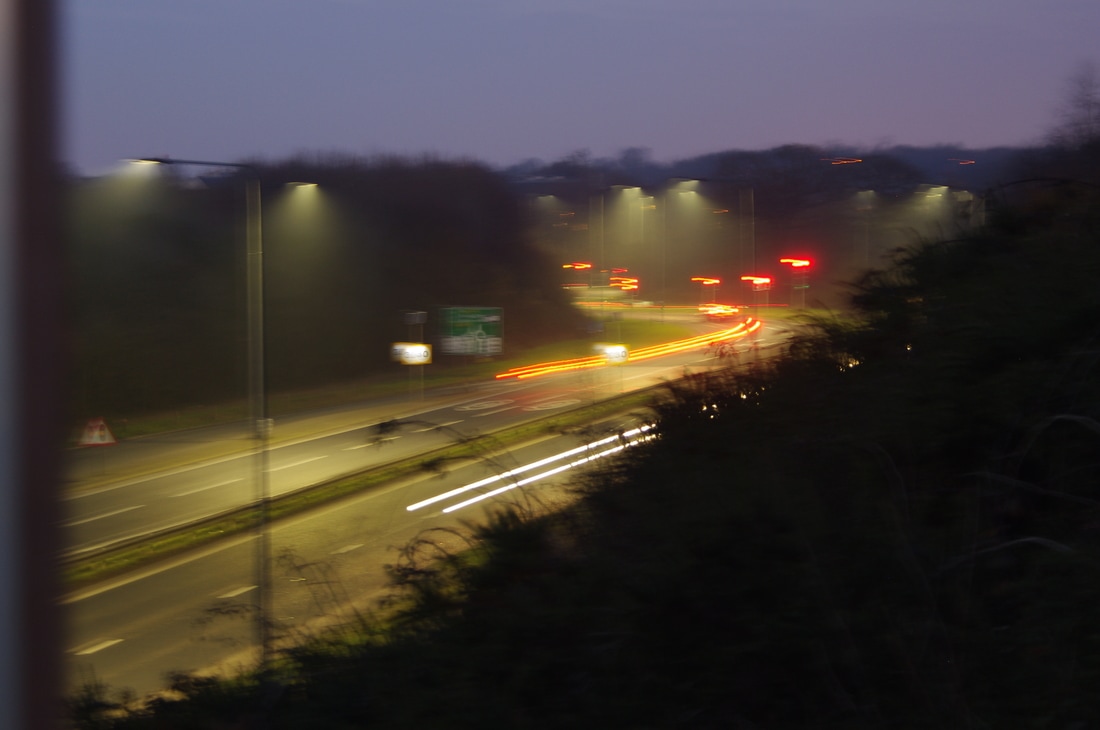
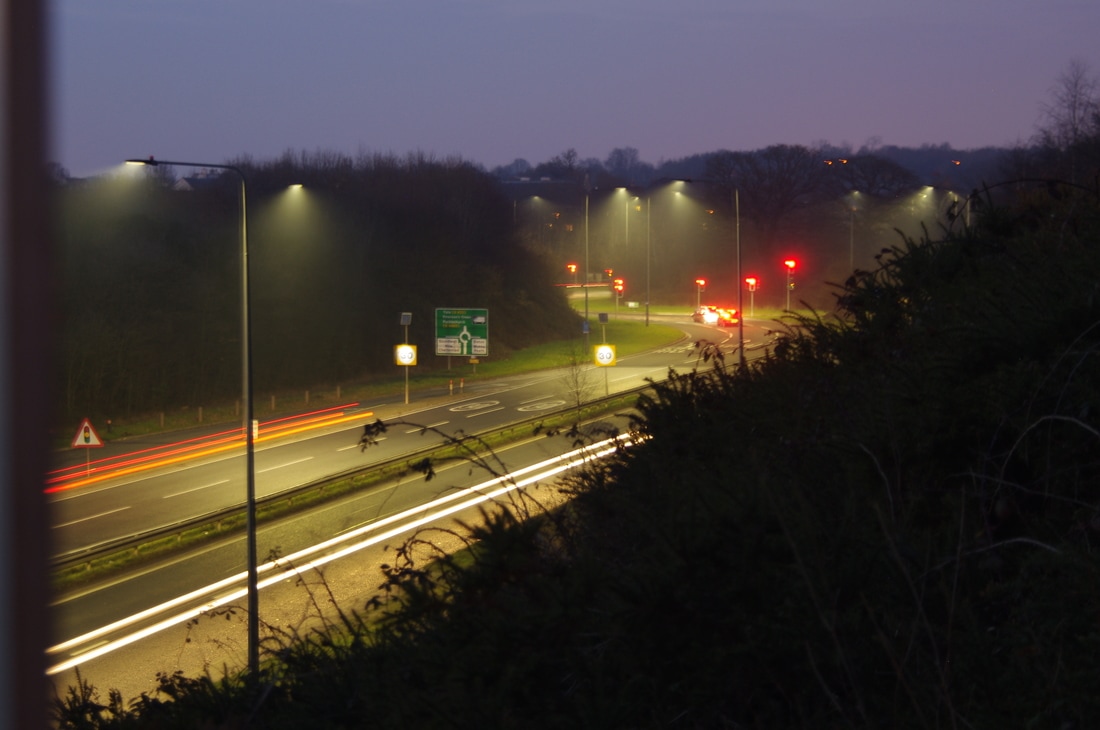
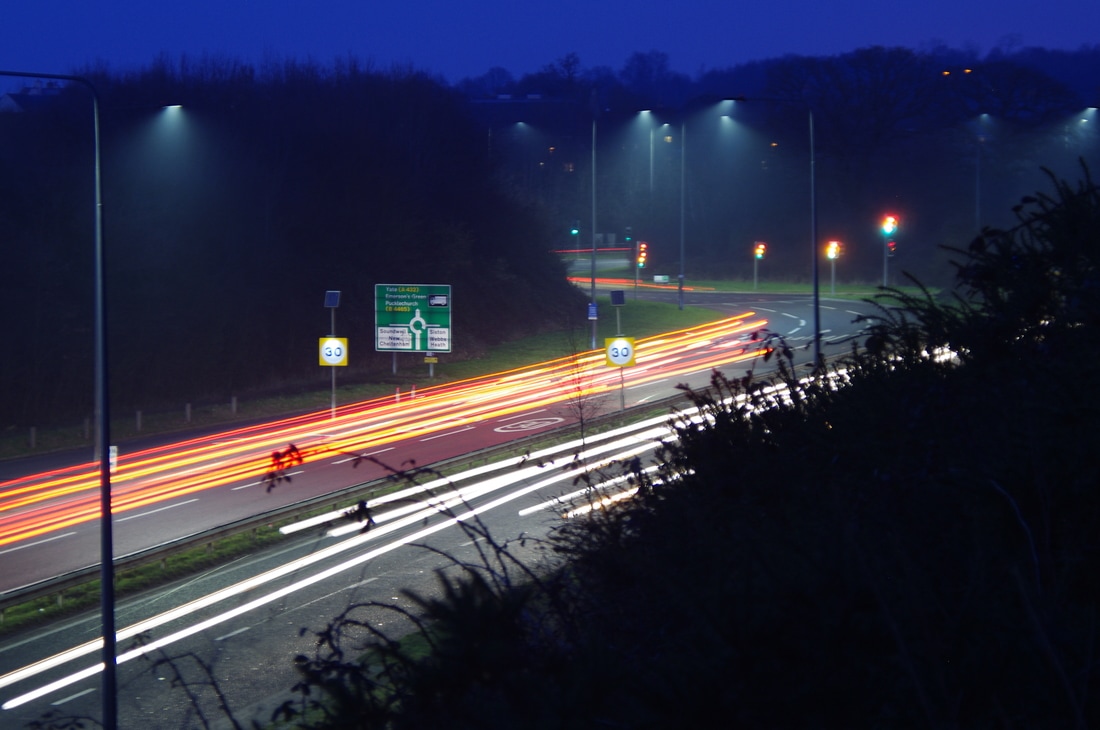
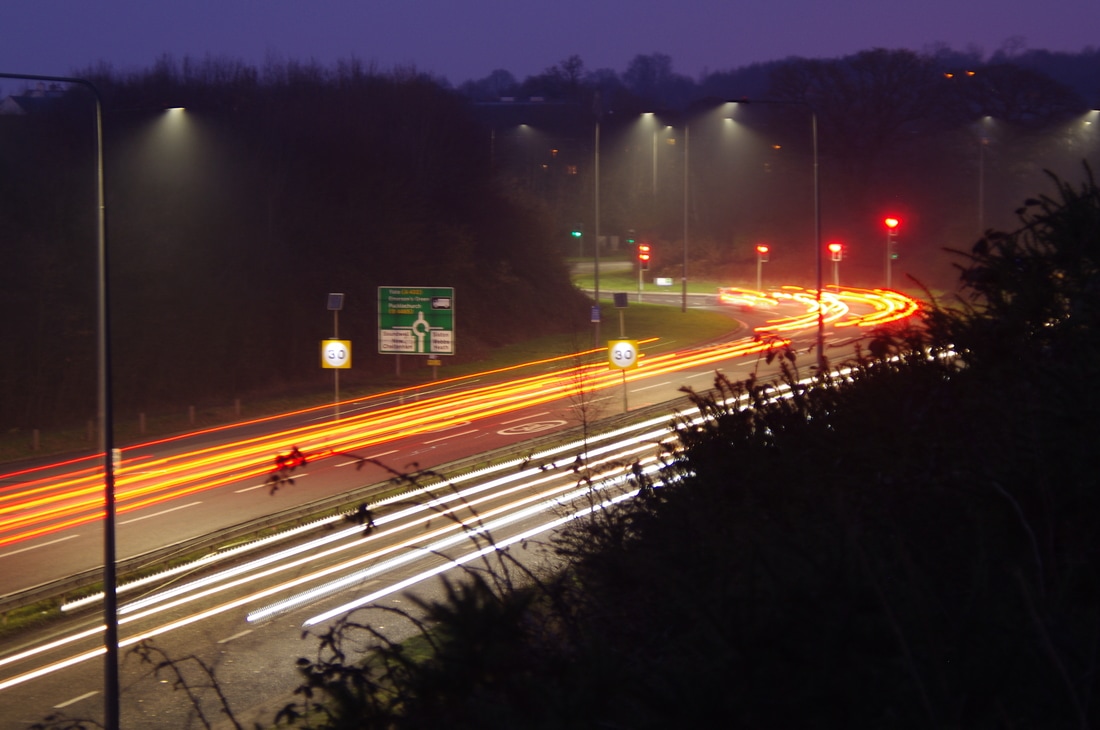
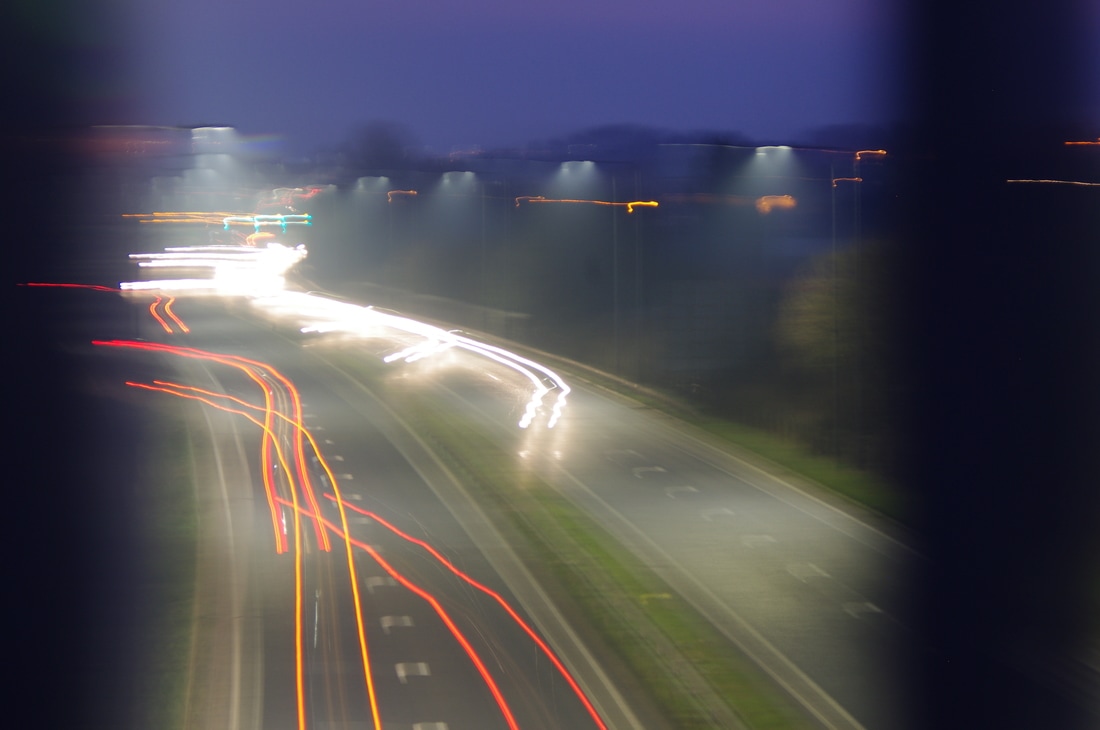
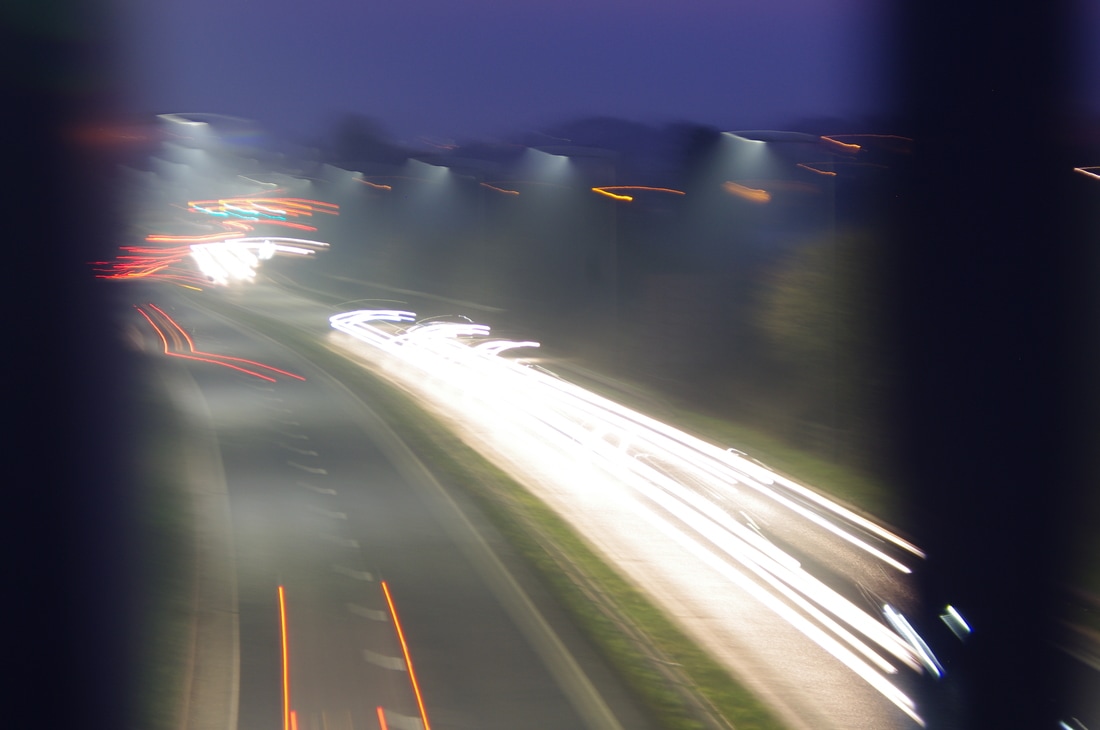
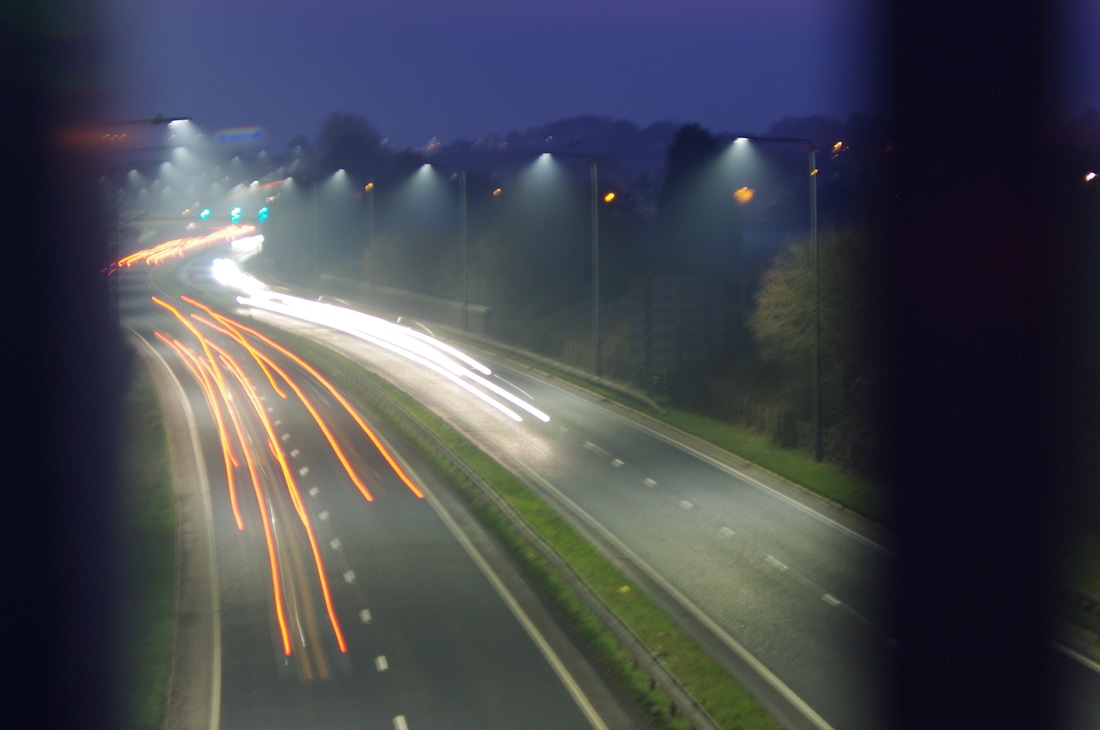
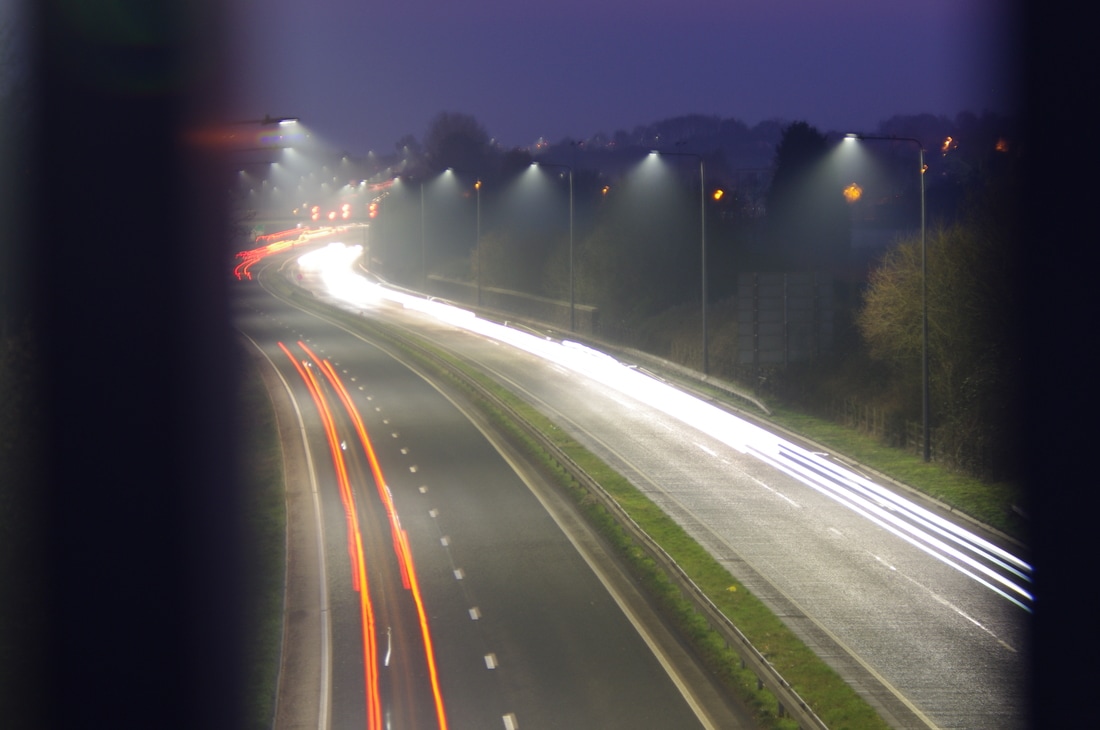
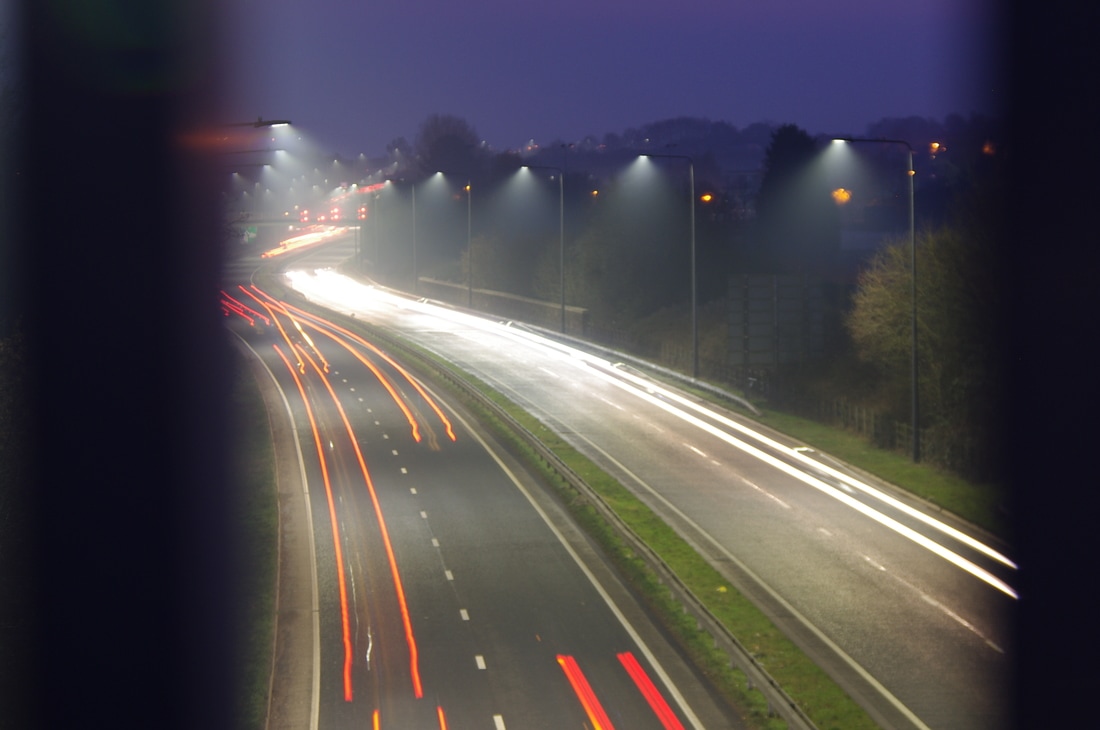
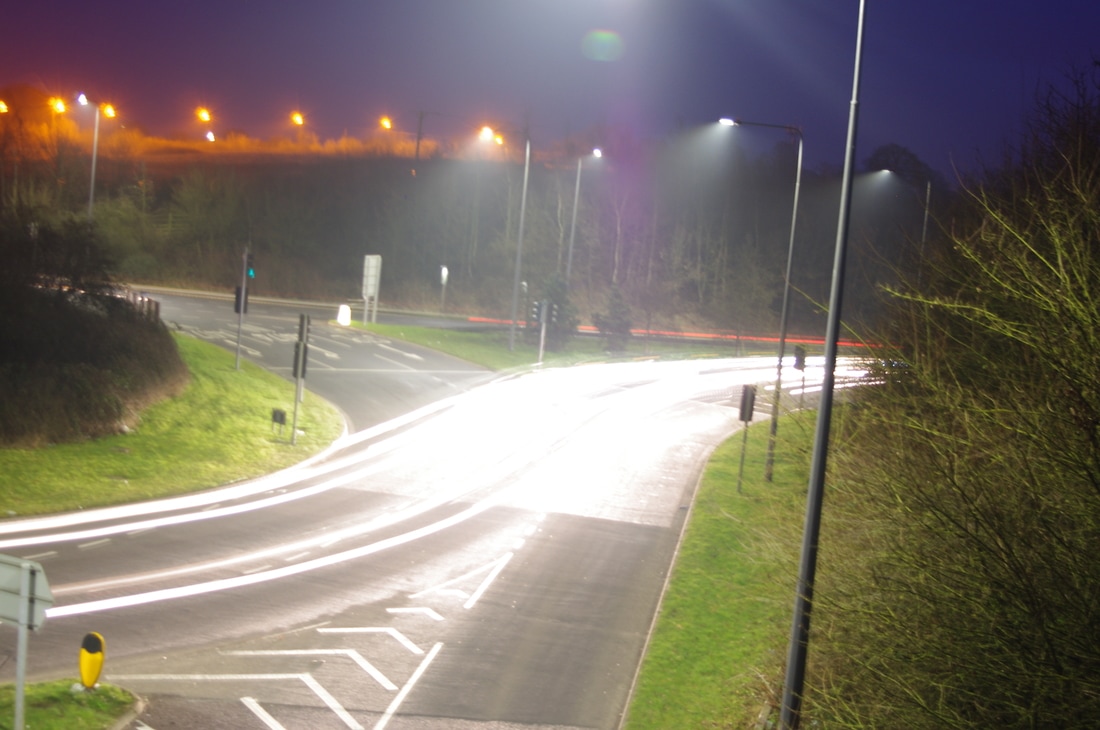
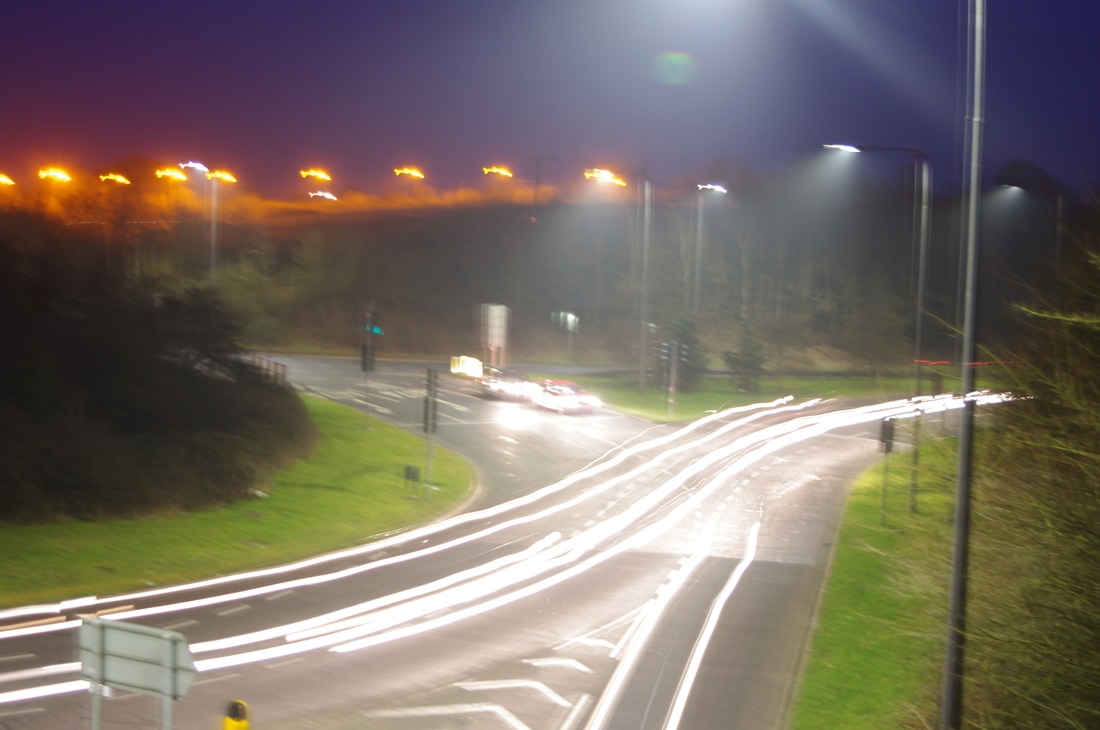
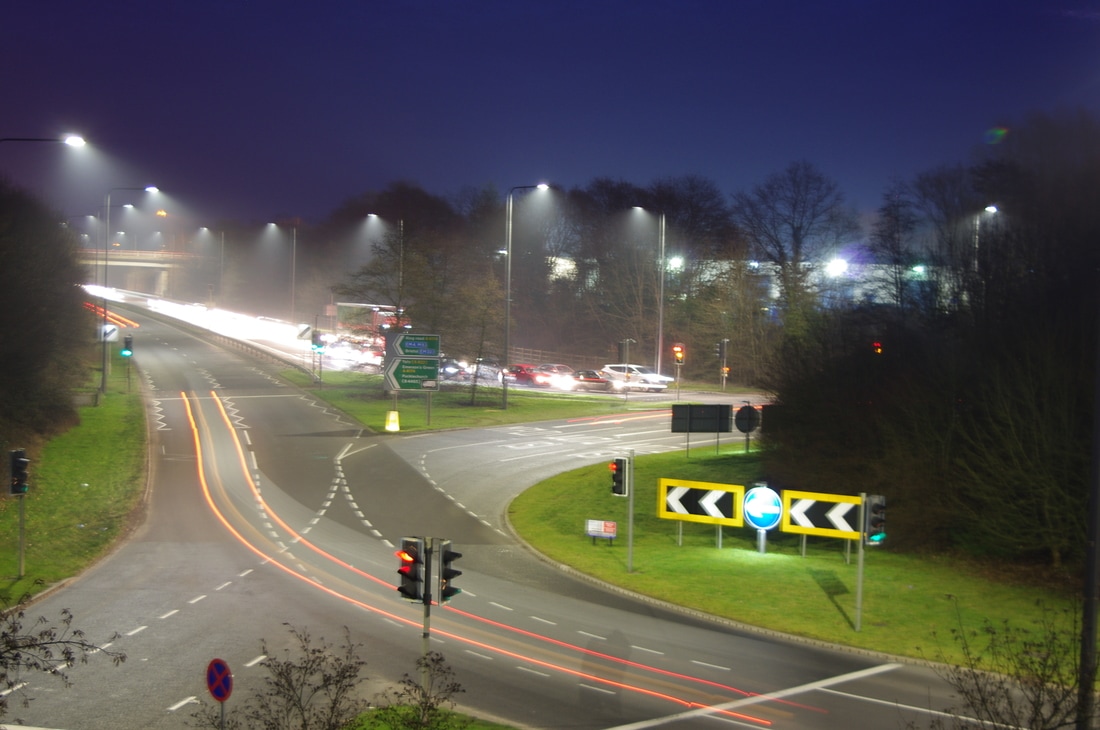
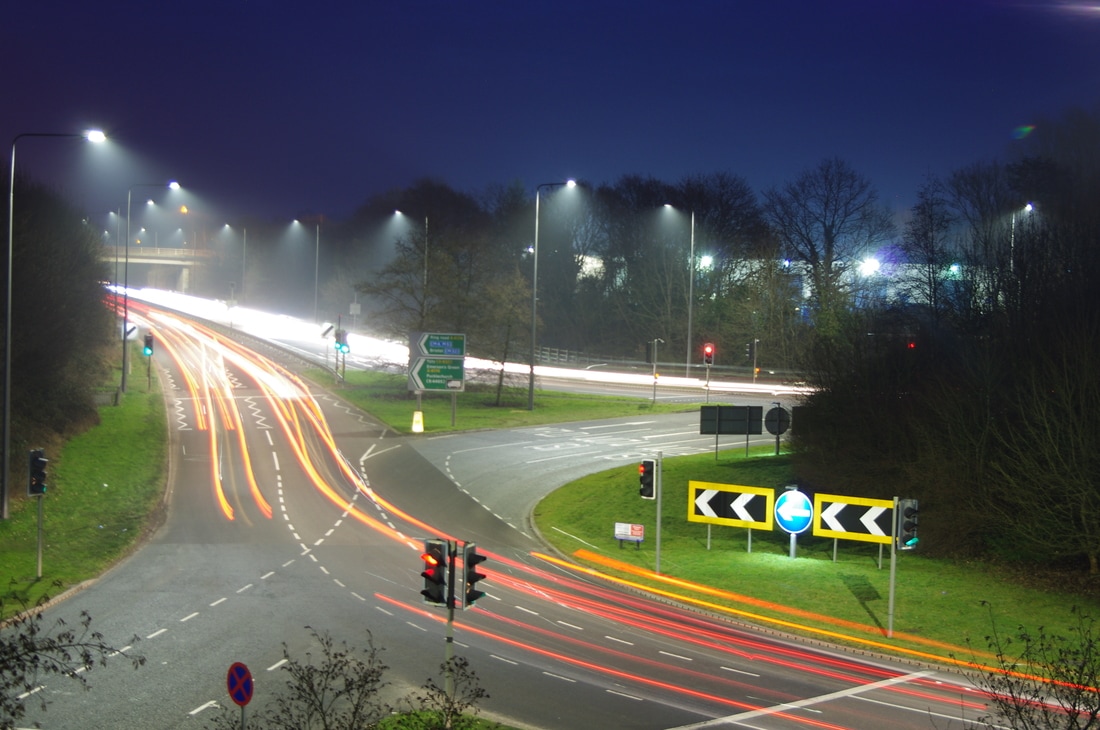
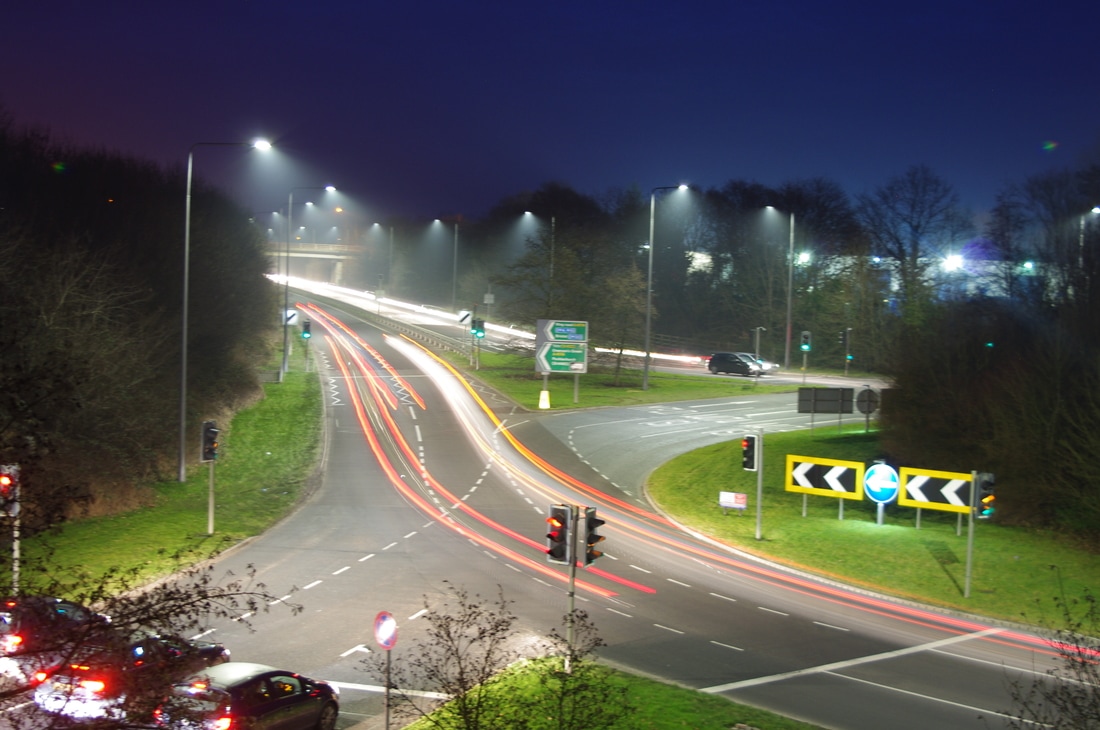
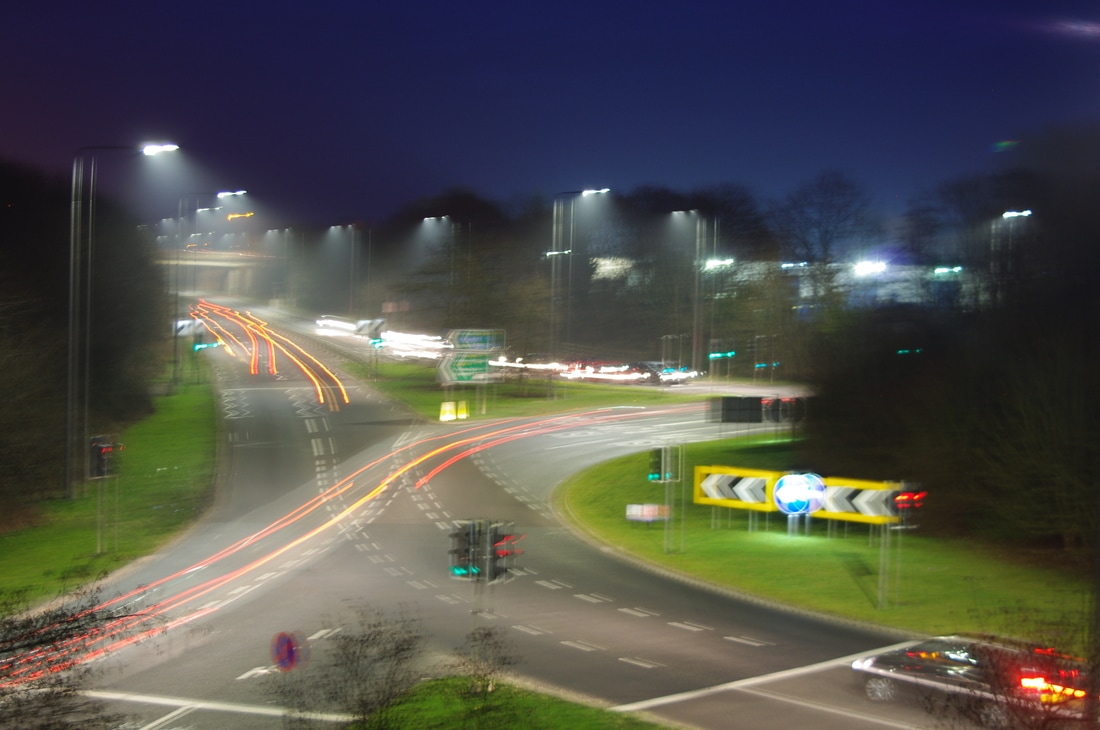
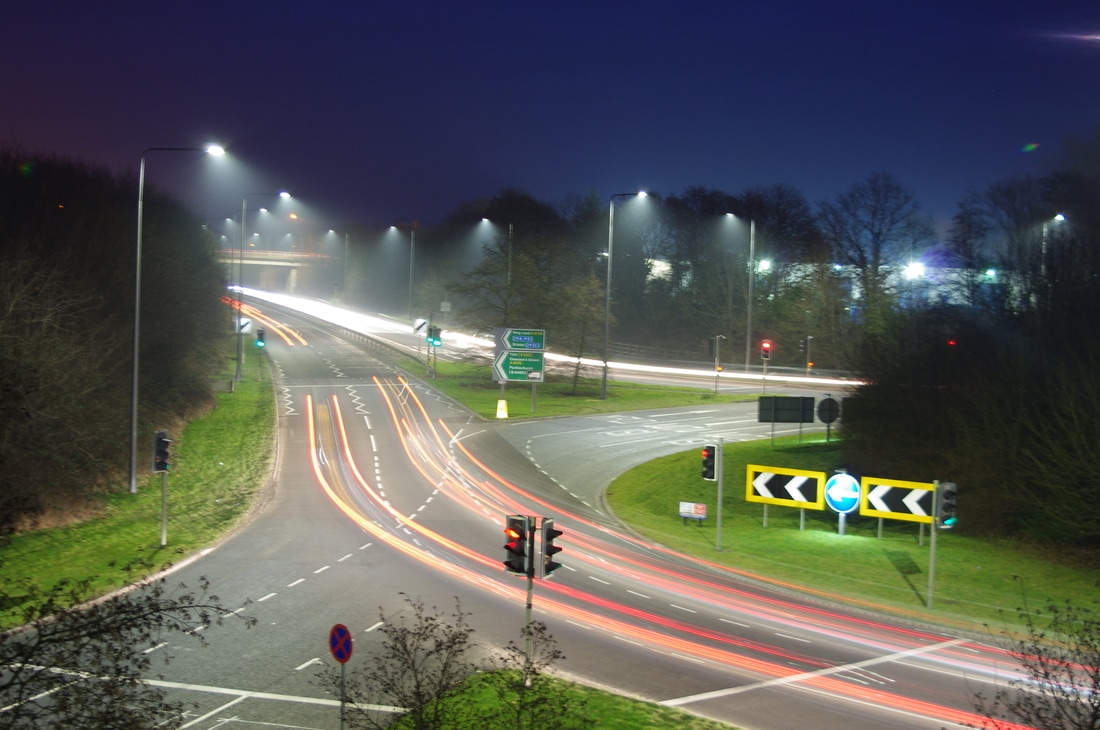
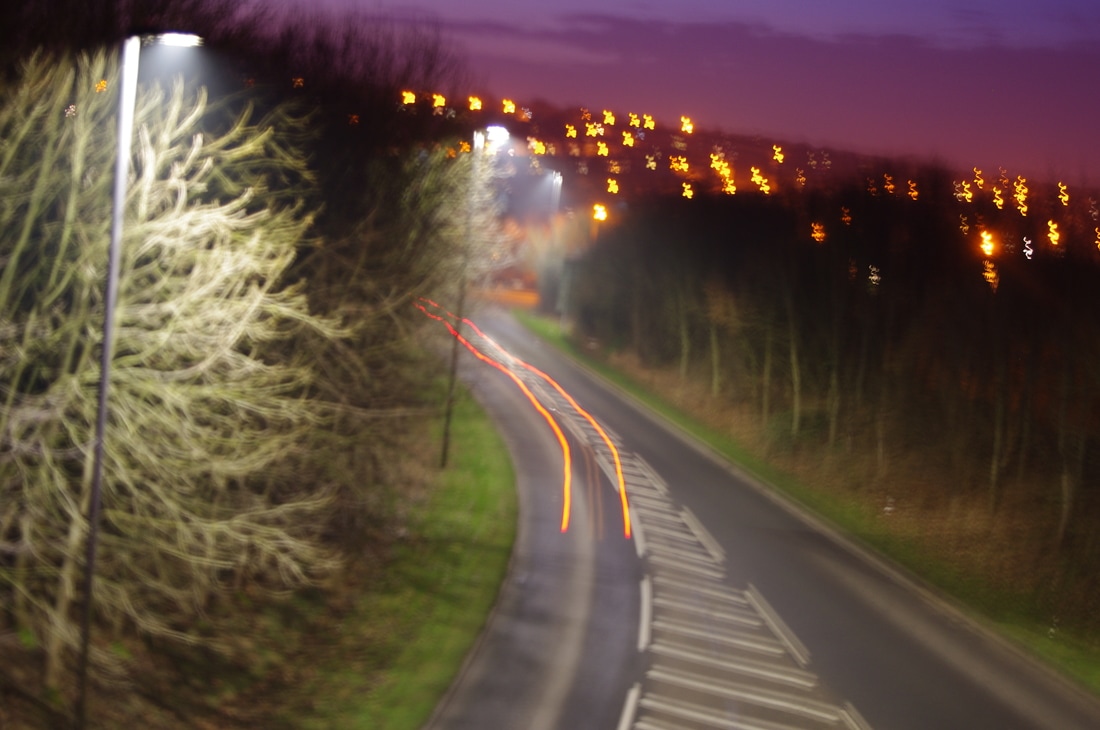
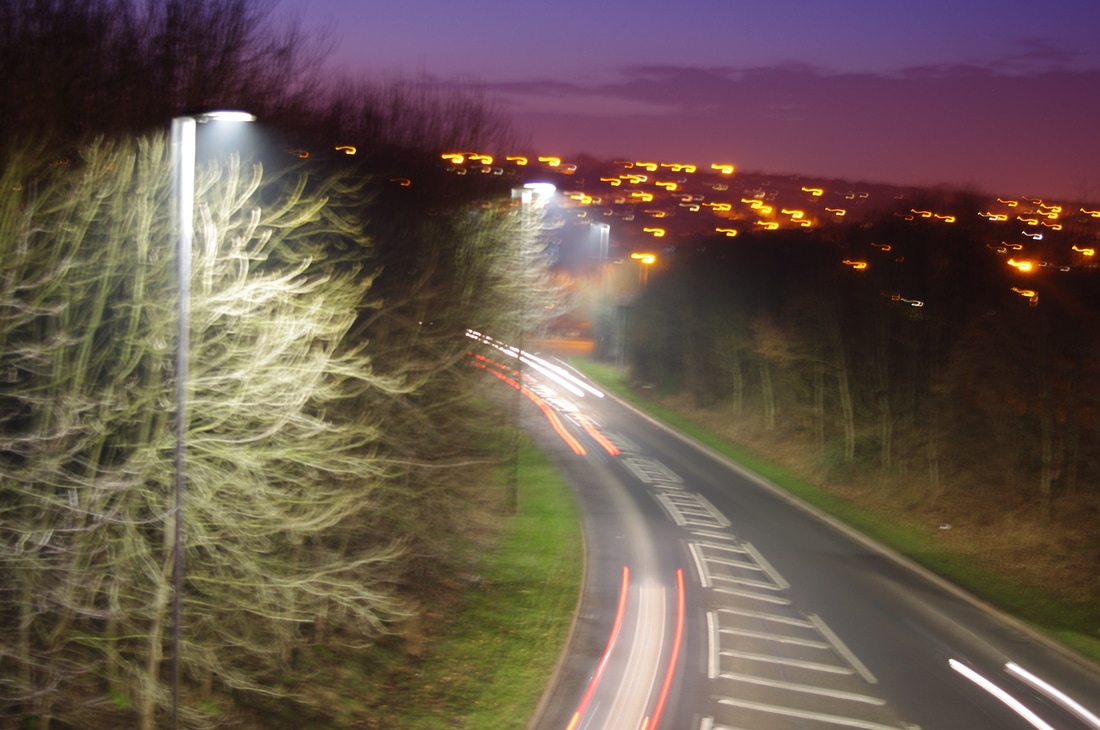
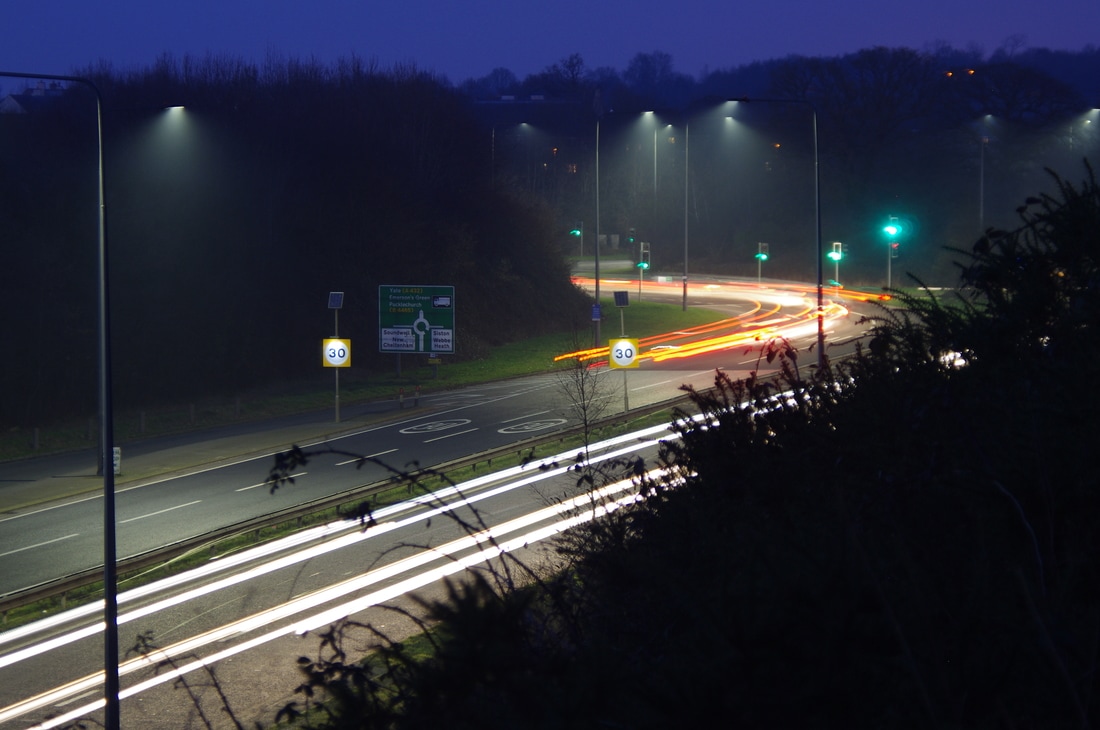
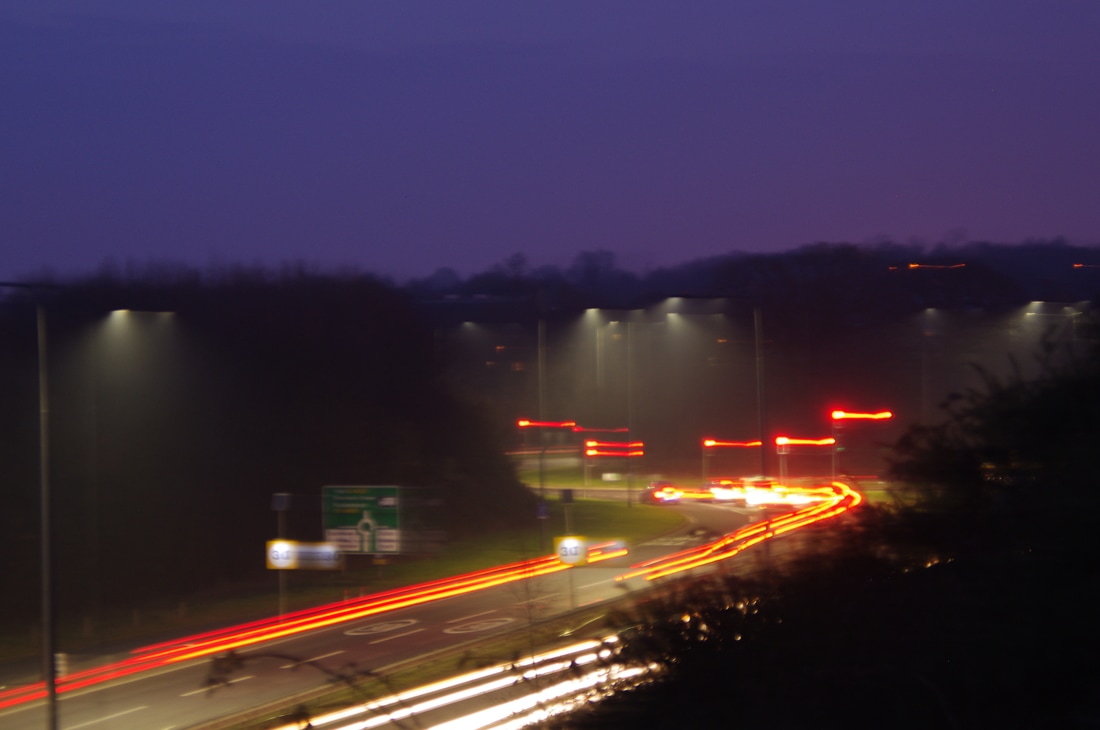
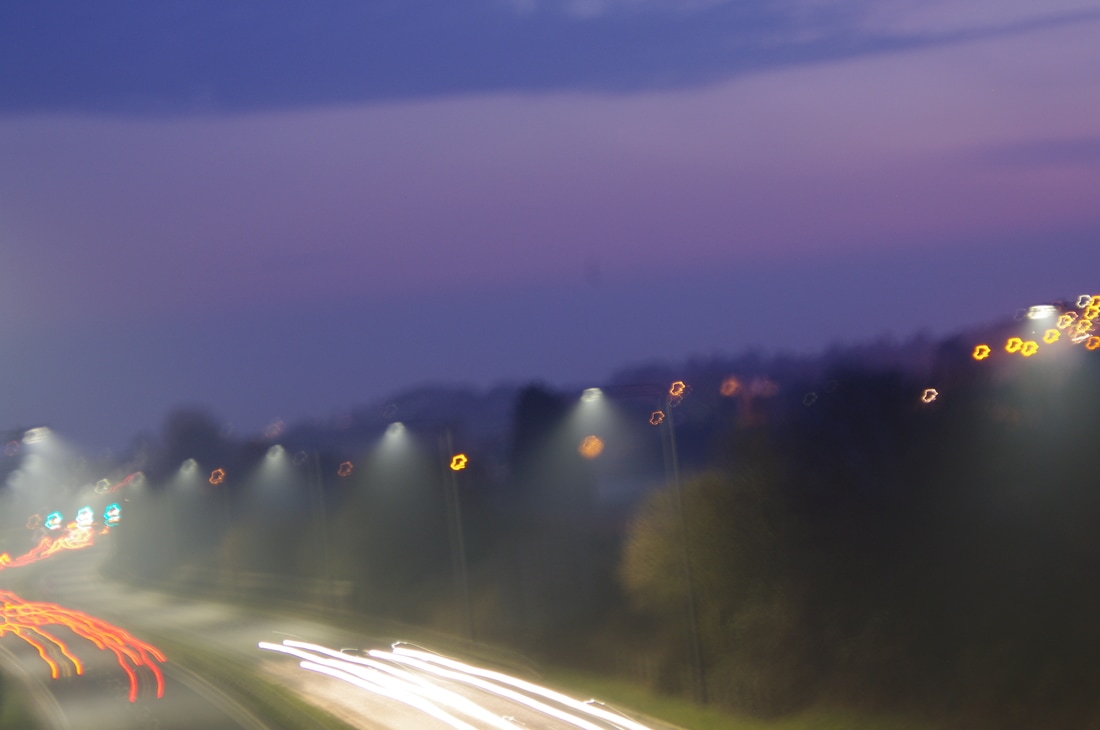
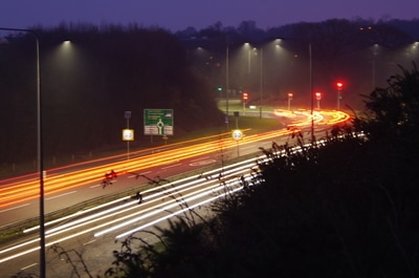
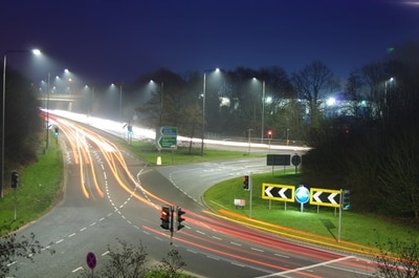
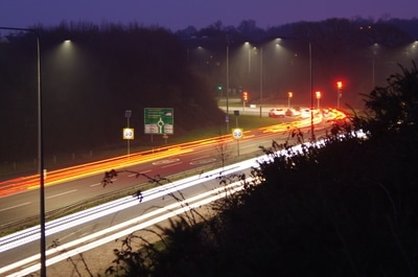
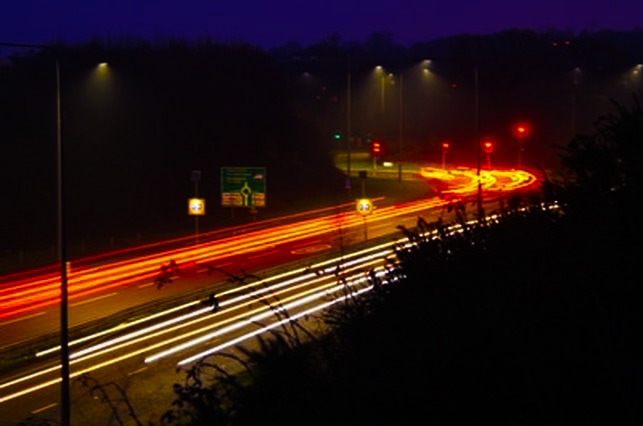
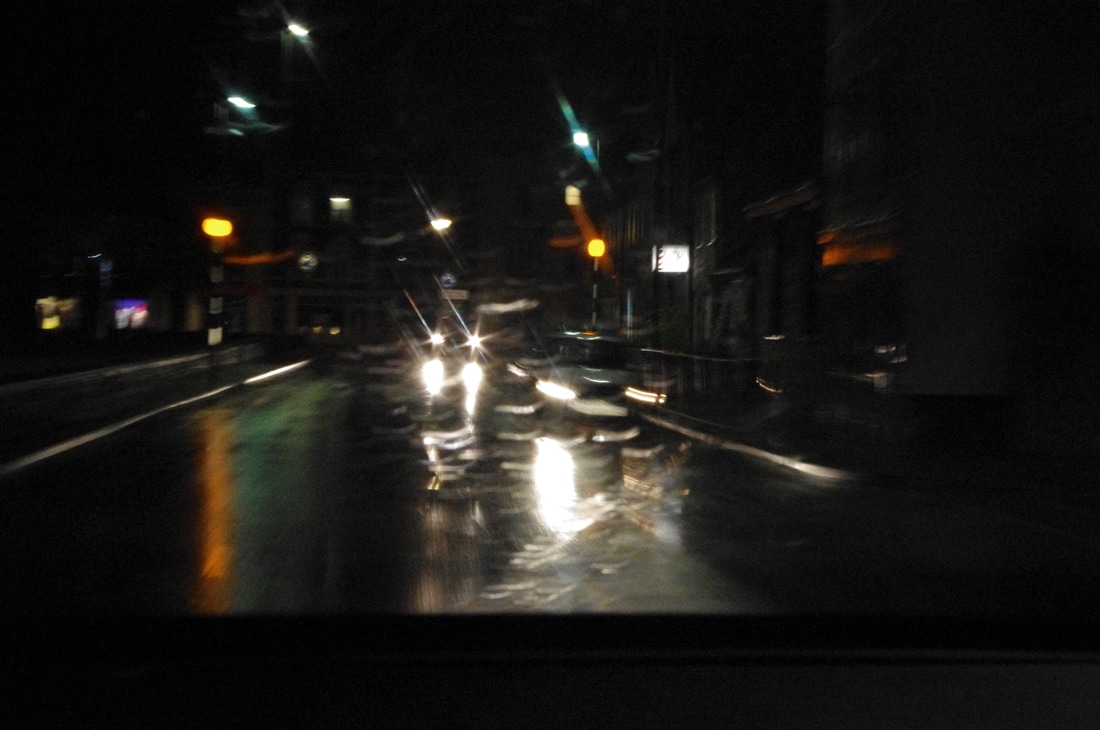
For the following photo shoot I used a tripod. The tripod was used to stop the image from blurring completely. It also helped to keep the image level. I looked at cars and captured a bicycle in one of the photographs. For the following set of images I went to Siston Common/Warmley. I went to this area because it had lots of bridges that overlooked the motorway. This enabled me to get higher ground and achieve the same type of perspective as Martin Roemers. In this photo shoot I briefly looked at capturing different times of the day. I would like to develop this idea further and possibly look into different sceneries/environments. After this photo shoot I have decided to not use a tripod as it creates a more interesting image. I am going to look into a photographer that uses the same type of effect as my first photo shoot.
WWW:- I managed to capture multiple photographs. I experimented with more techniques such as using a tripod.
EBI:- If the images were more clear. If I had found a better way to take the photographs without objects obscuring the images such as the fences.
WWW:- I managed to capture multiple photographs. I experimented with more techniques such as using a tripod.
EBI:- If the images were more clear. If I had found a better way to take the photographs without objects obscuring the images such as the fences.

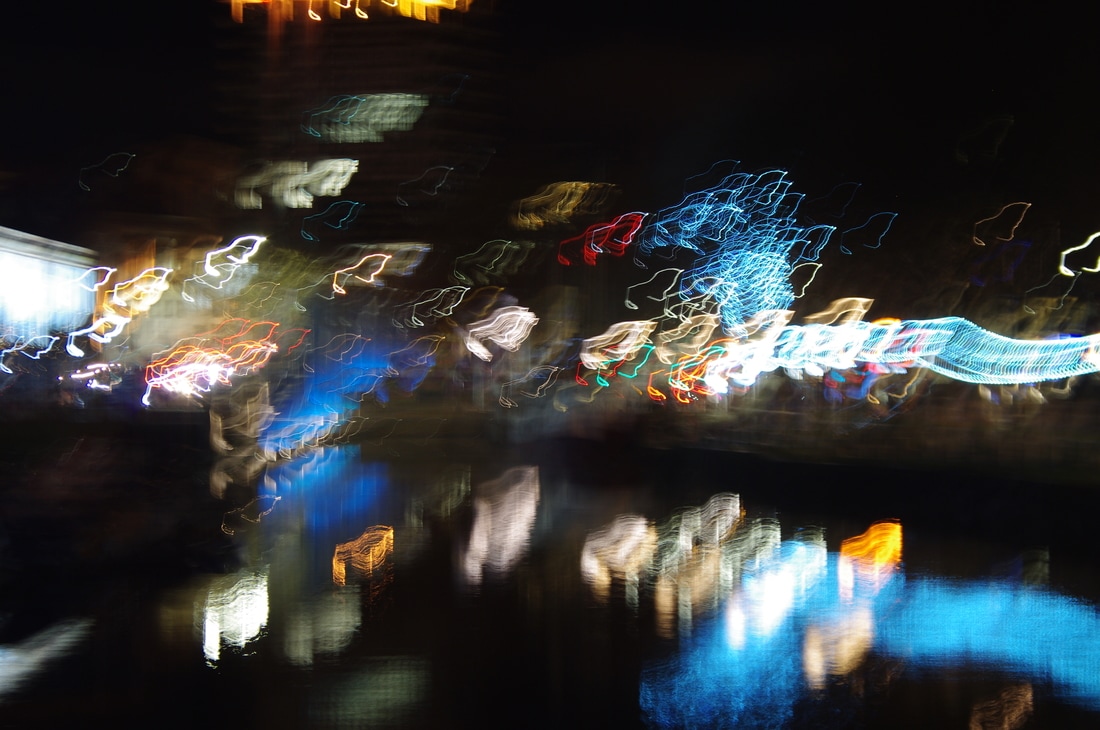
Best Images From This Shoot
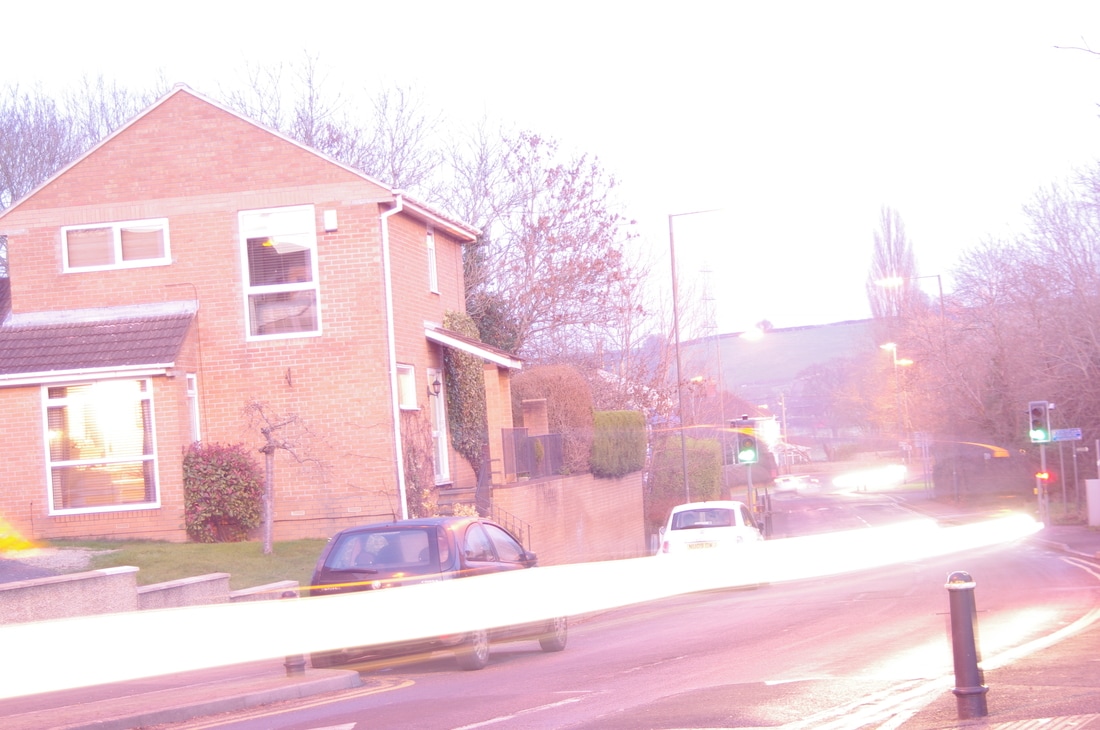
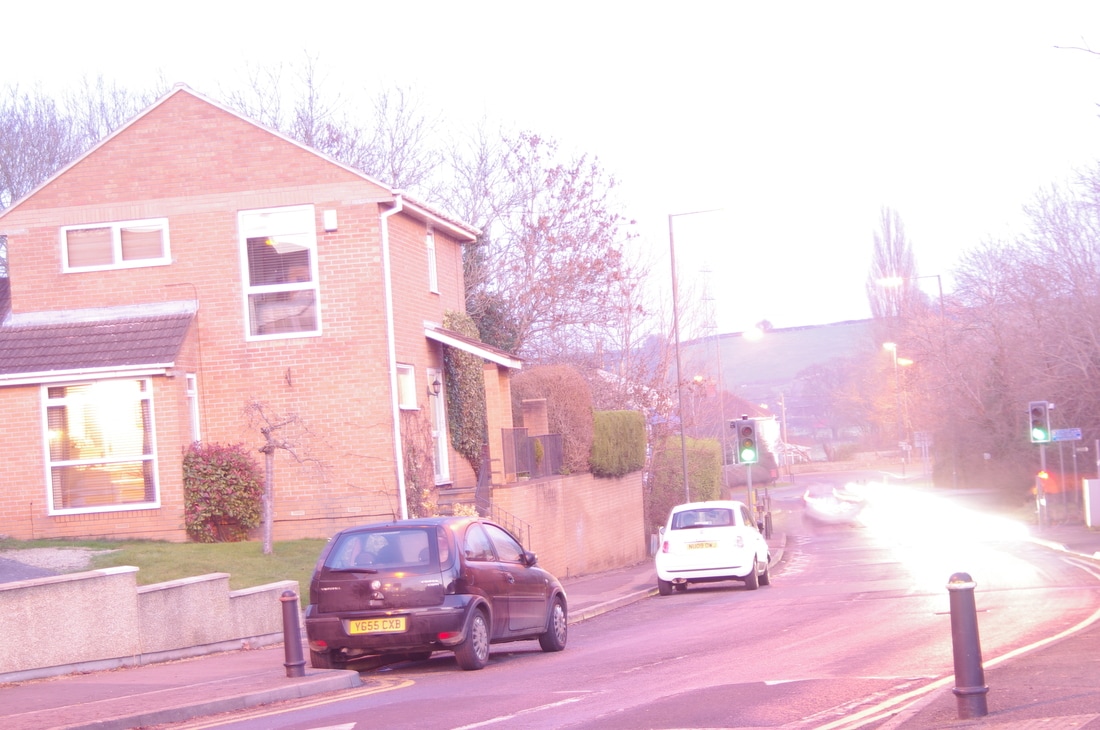
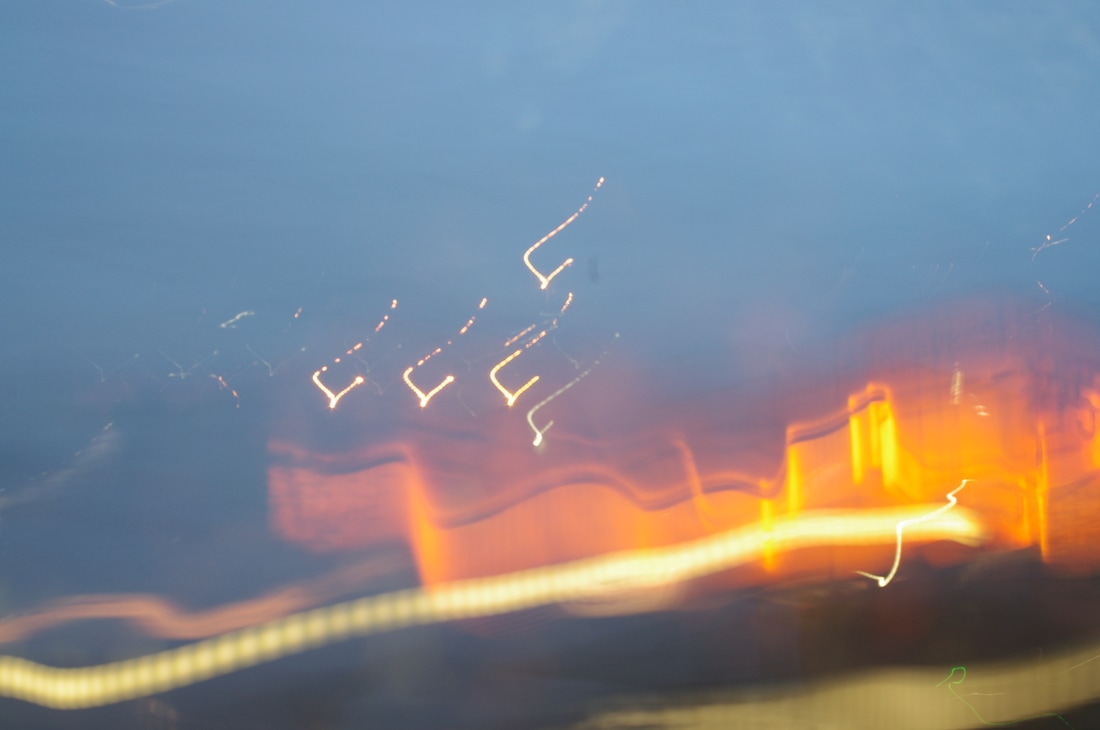
I believe that the following photographs are the best images from my second shoot because they are the most clear and colourful. I captured these images when there were more vehicles passing by which created more light trails.
|
|
|
Photoshop Edits
The following images were edited through Photoshop. For the first edit I clicked Image -> Adjustments -> Brightness/Contrast and changed the brightness to -52 and the contrast to 100. I then clicked Image -> Adjustments -> Vibrance and changed the vibrance to +100 and the saturation to +27. For the black and white edit I found an easier way to change the image to black and white by clicking Image -> Adjustments -> Vibrance and altering the saturation to -100. The edits below are the outcomes.
Christopher Martin
Critical Analysis
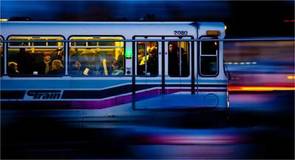
Christopher Martin is a Canadian photographer who lives in Bragg Creek, Alberta. He captures images of motion in cities such as vehicles and also takes photographs of wildlife in action. Christopher Martin grew up with an artistic background. Martin would paint and sketch and even studied Chinese painting in Taiwan. He became interested in photography around the year 2000 and has used photography as his 'primary artistic direction' (Christopher Martin's website) for the past 10+ years. The photographer has been recognized in contests run by the National Geographic, Urban Photograph of the Year, Photo District News and more. He also often donates prints for educational use and for charities. Christopher Martin's work is similar to Martin Roemers' work but is more vibrant and is taken at night. Martin and Roemers link because they have both worked with black and white photography. The two photographers also link because they have both worked with light trails, vehicles and city life. From my first photo shoot I captured abstract images of the movements of lights and vehicles. I believe that my work is similar to Martin's work and I would like to develop this style of motion photography because I prefer my first shoot to my second shoot.
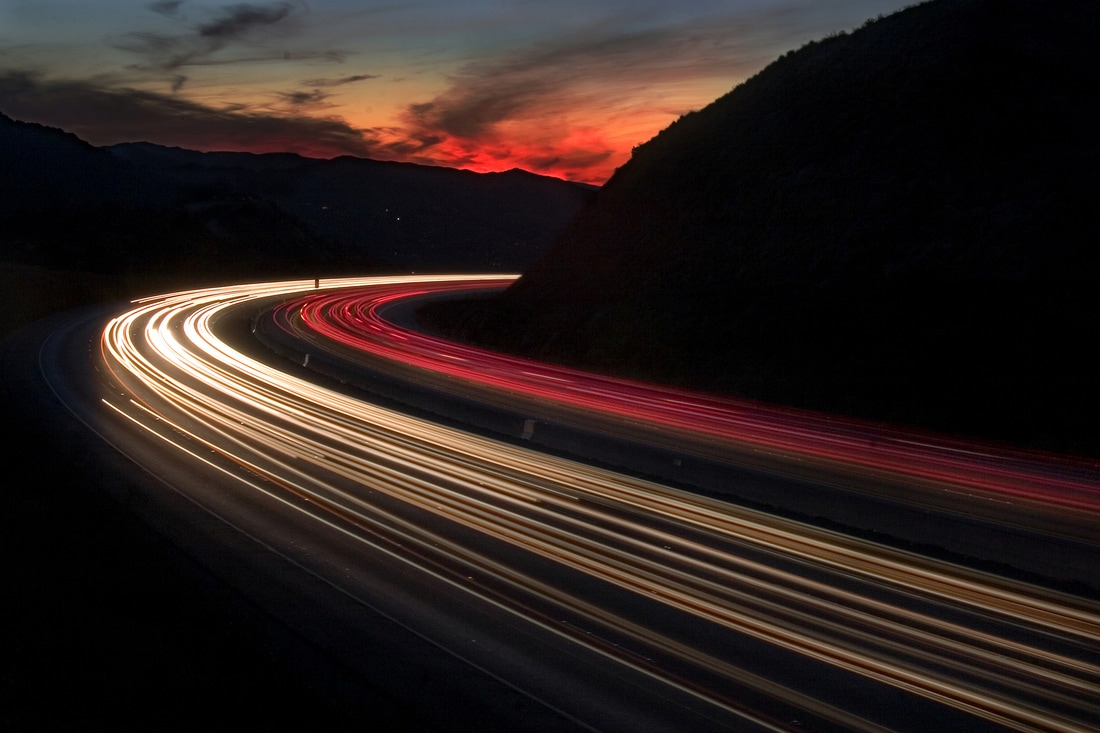
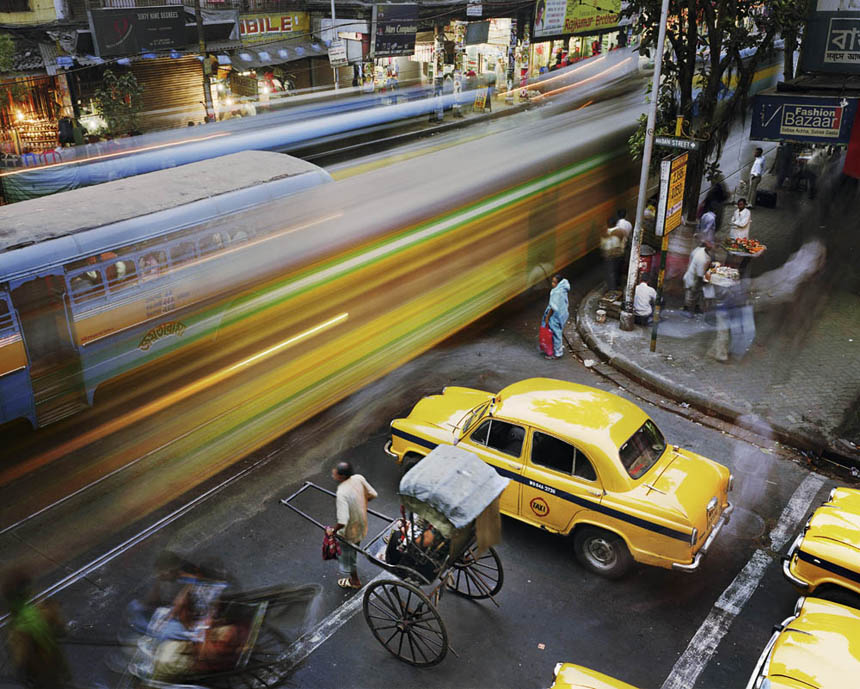
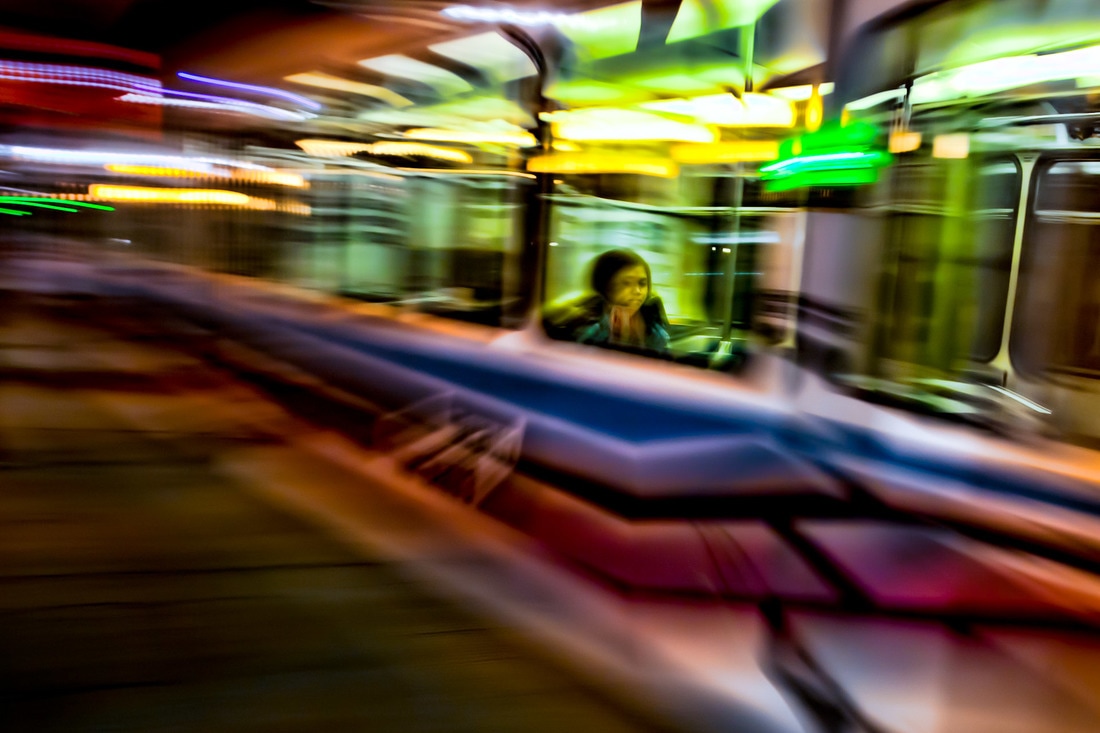
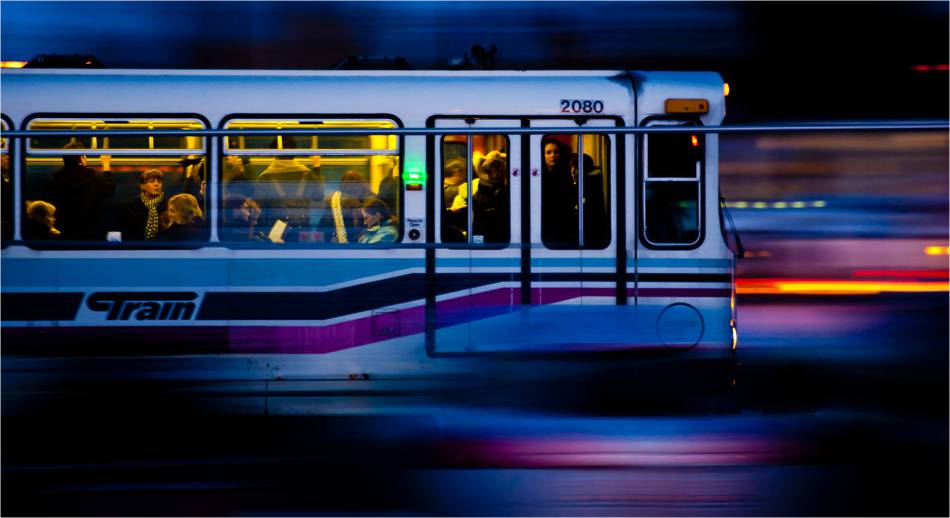
The photograph above was taken by slowing down the shutter speed on the camera settings. To do this Christopher Martin would have lowered the aperture or the ISO. "The subject will remain sharp while the static elements and those moving in another direction or at a different speed will blur" - Christopher Martin's website. The image is of a train moving at night time with passengers inside. The formal elements used in the photographer's work would be colour, shape, form, composition and line. All of these elements help to create a photograph with the feeling of the world moving quickly around us. It looks as though time has stood still, almost like a freeze-frame, which is very effective.
Christopher Martin takes photographs because it allows him "to play with reality, to share it as" he sees "it or to create a version of it through long exposure, wide angles or motion blurs." With the "freedom" of photography it encourages Martin's "creativity" and "enthusiasm to create art" - Christopher Martin's website. I like Christopher Martin's work because each photograph is unique and original. I like how there is a contrast between blurred objects and clear, focused objects. I also like how abstract and brightly coloured his images are. To improve his work the photographer could try taking the photographs at different heights and angles to see the outcome of a different perspective. With this research my next steps will be to further develop my first photo shoot by featuring vehicles/objects other than cars such as buses, bikes and trains. I would like to also experiment with having one part of the photograph focused and the rest blurred. However, I would still like to feature people in my photographs so that is links to my work on Martin Roemers. I chose the photograph above because it also shows people and captures a busy environment, much like Martin Roemers' intentions in 'Metropolis'.
Shoot 3
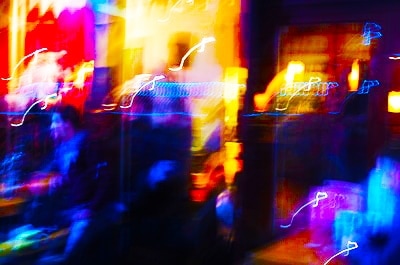
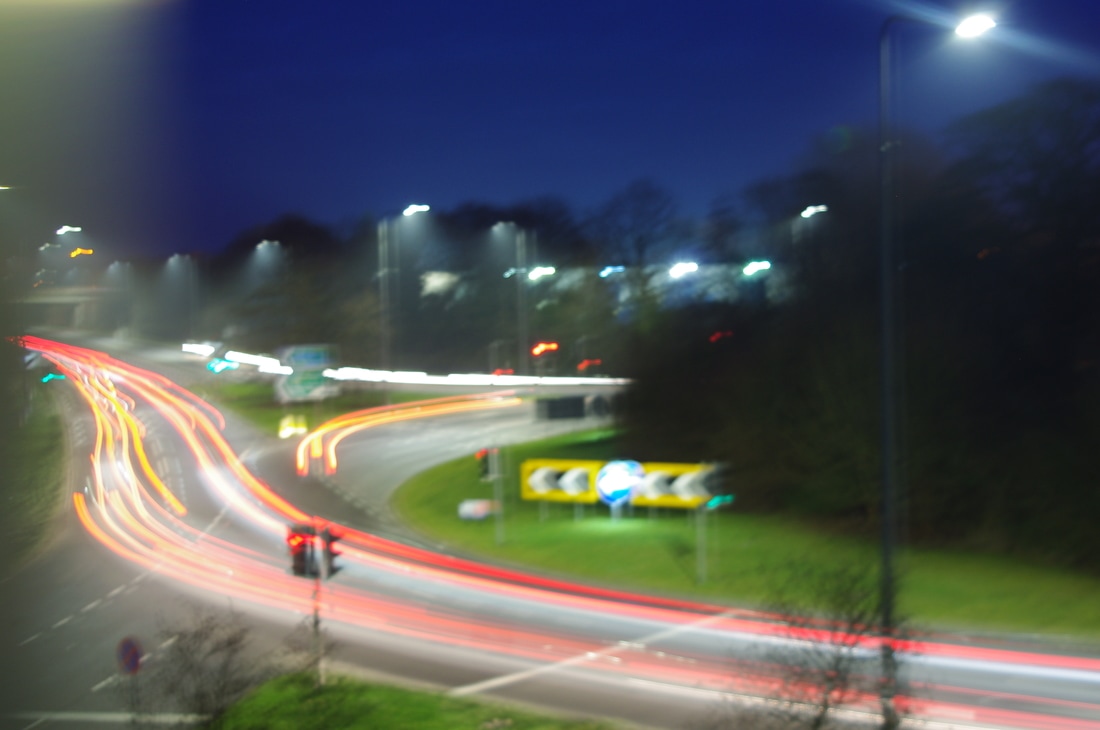
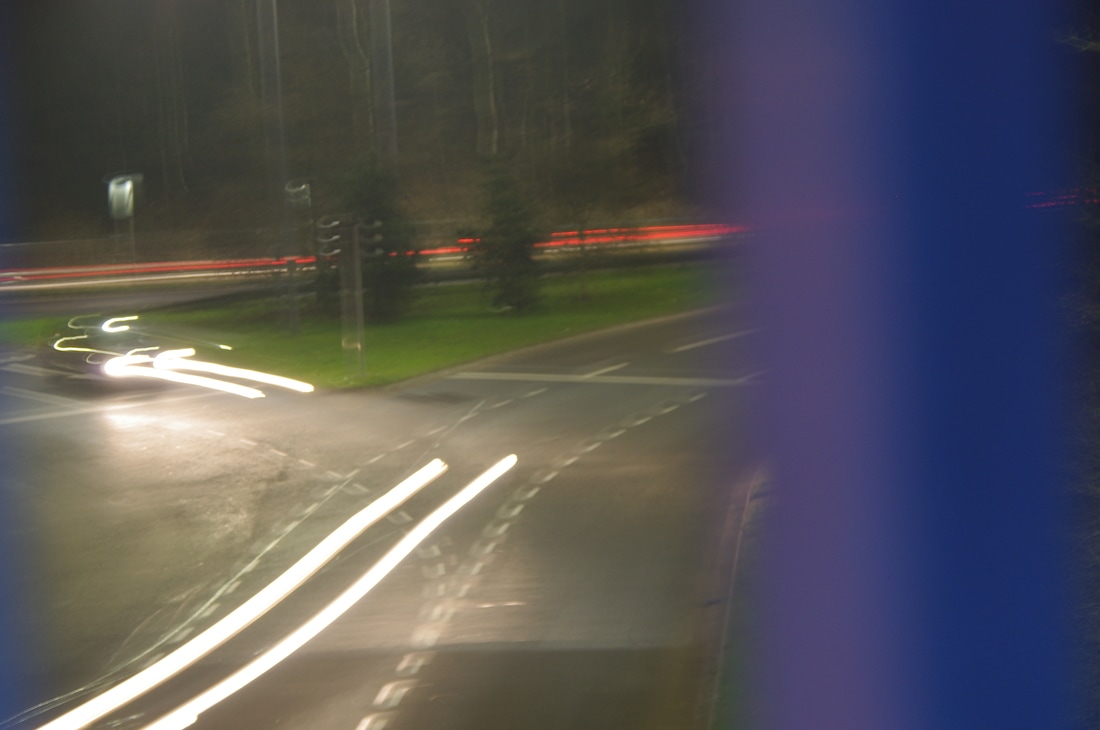
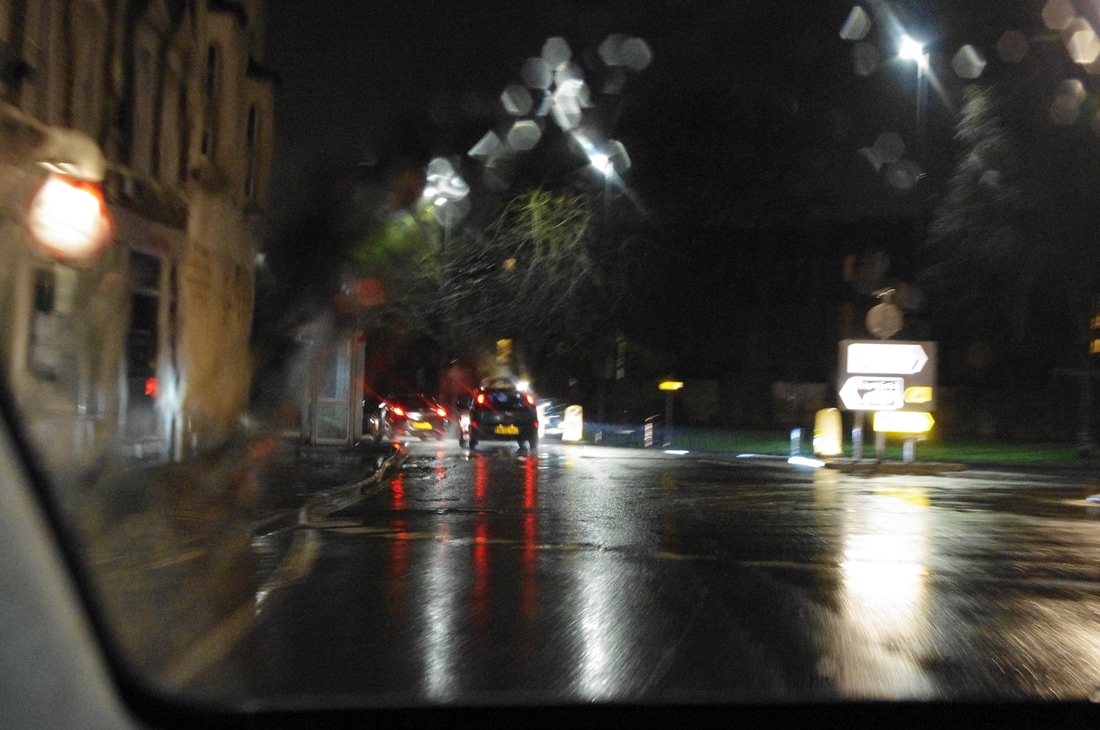
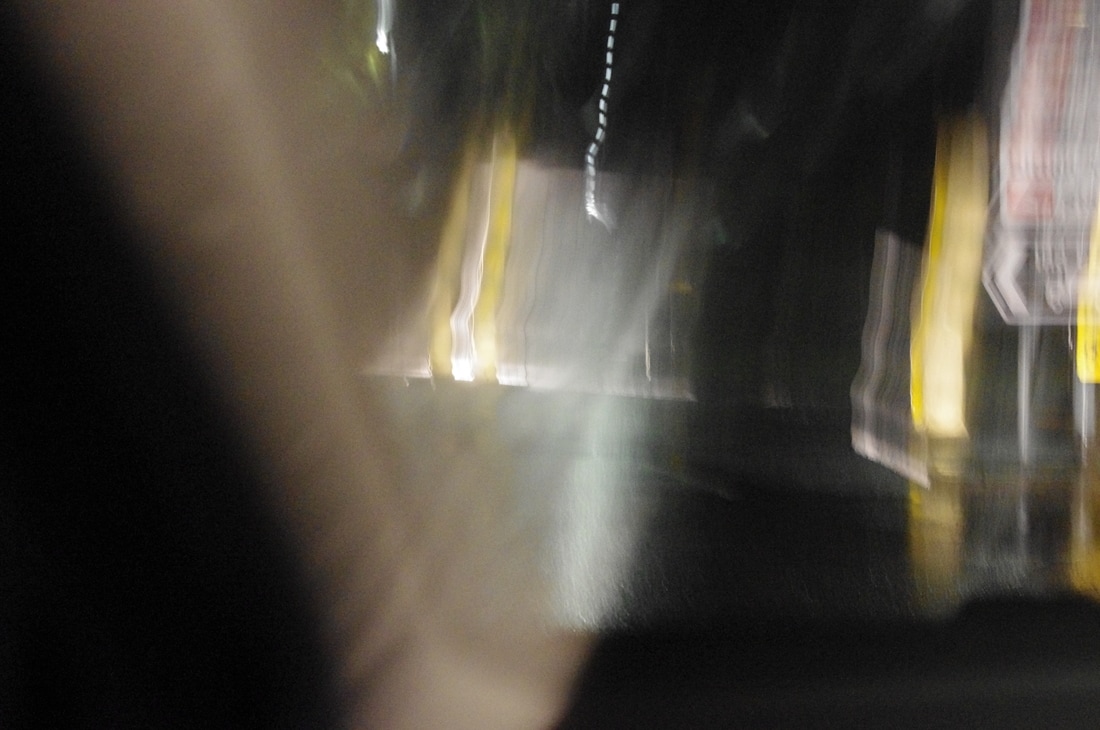
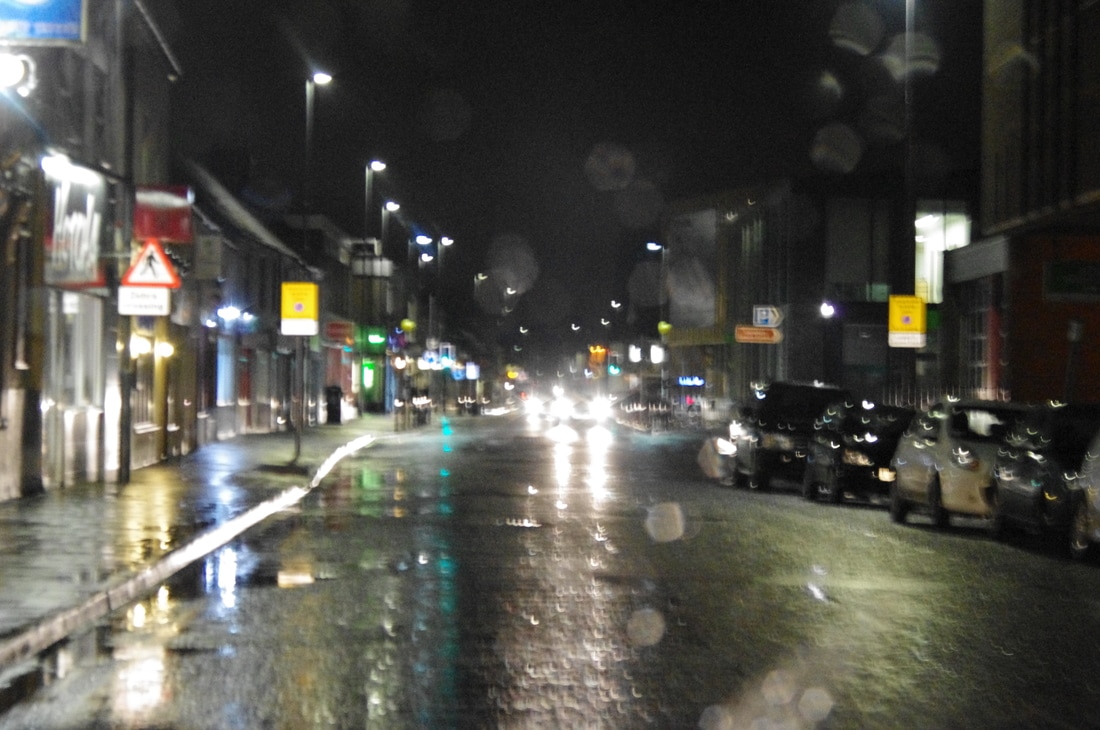
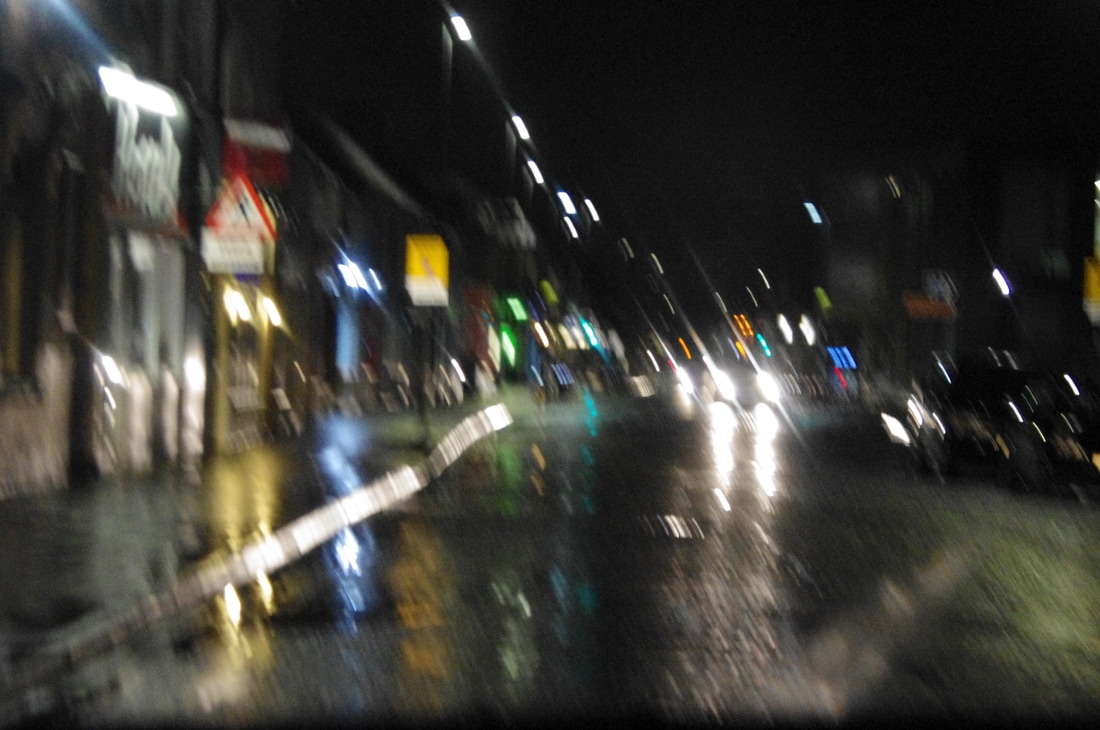
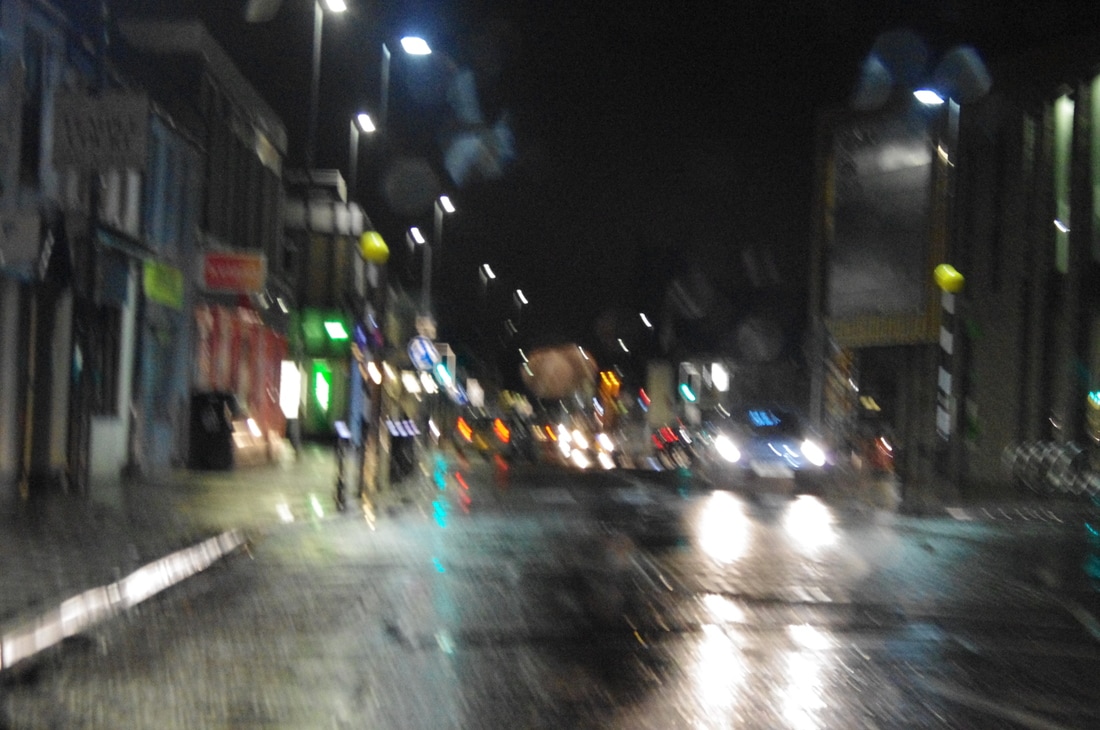
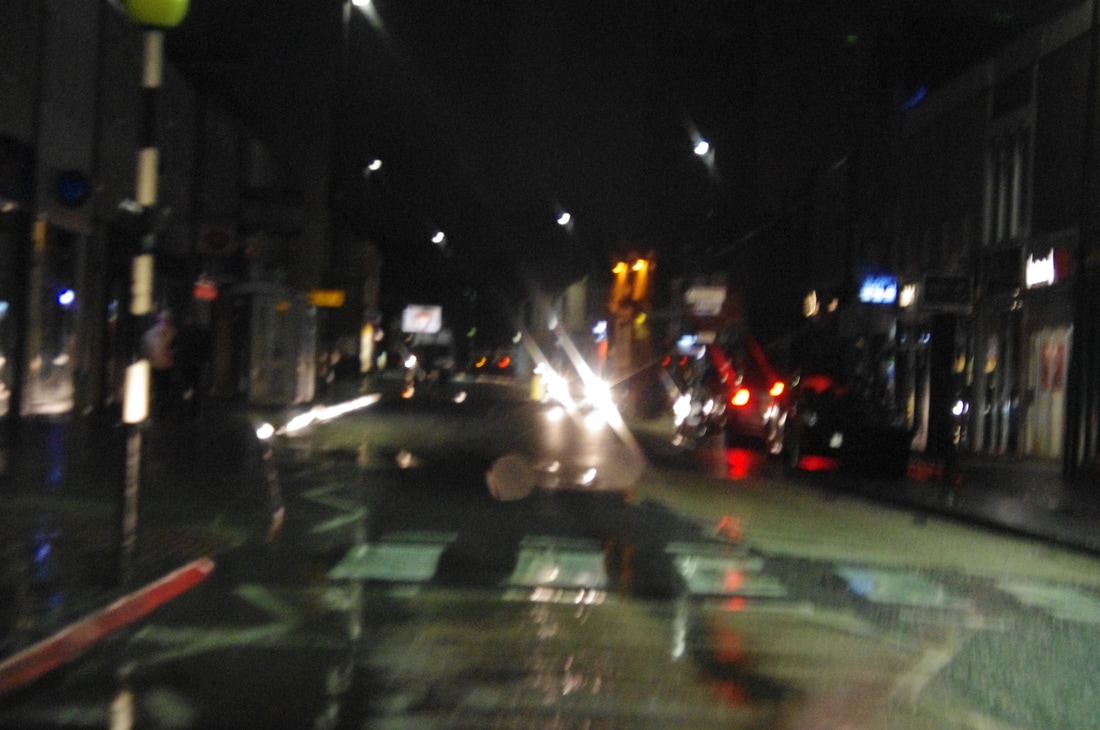
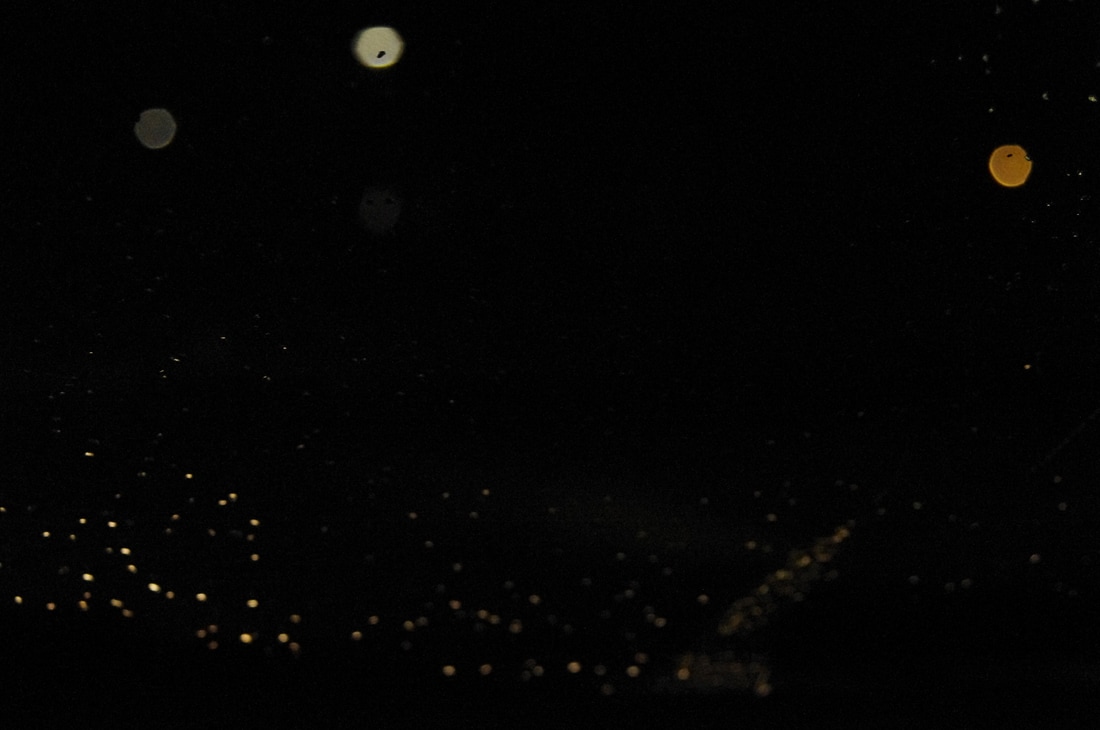
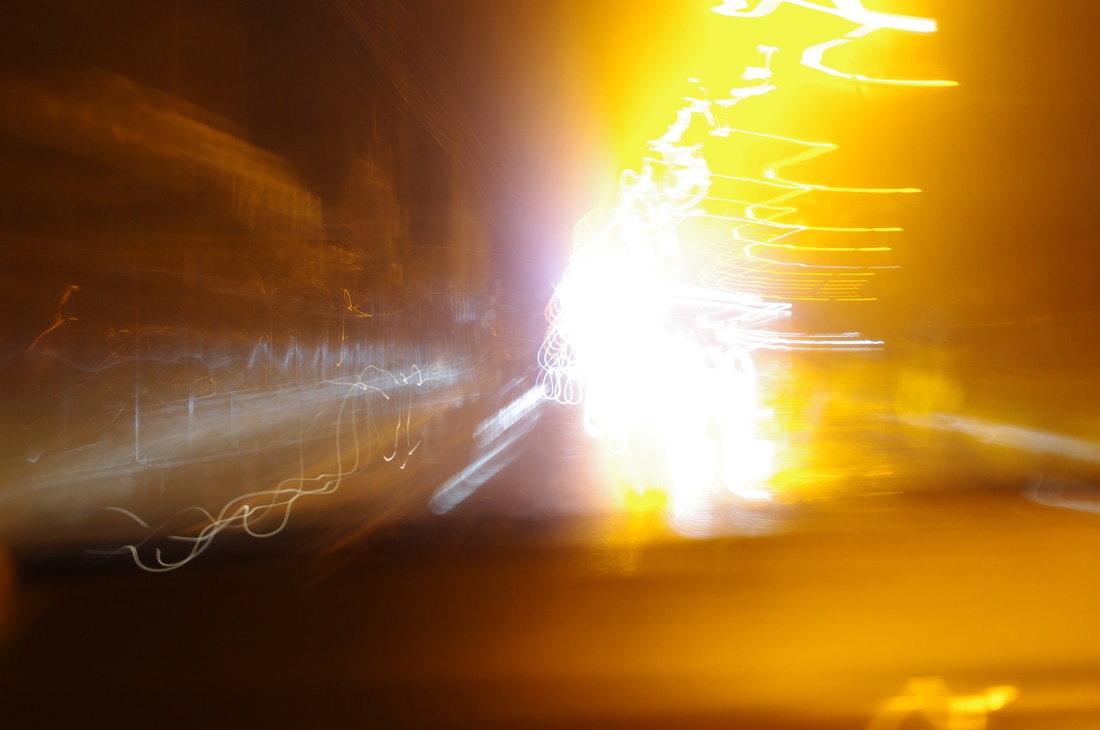
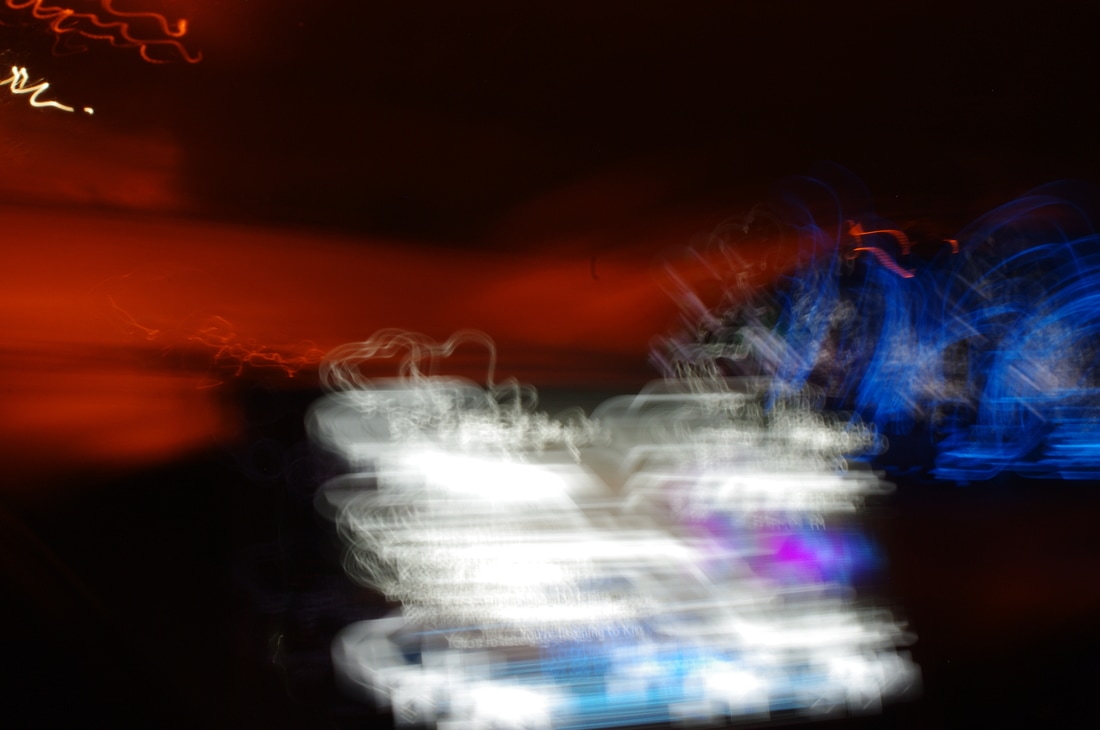
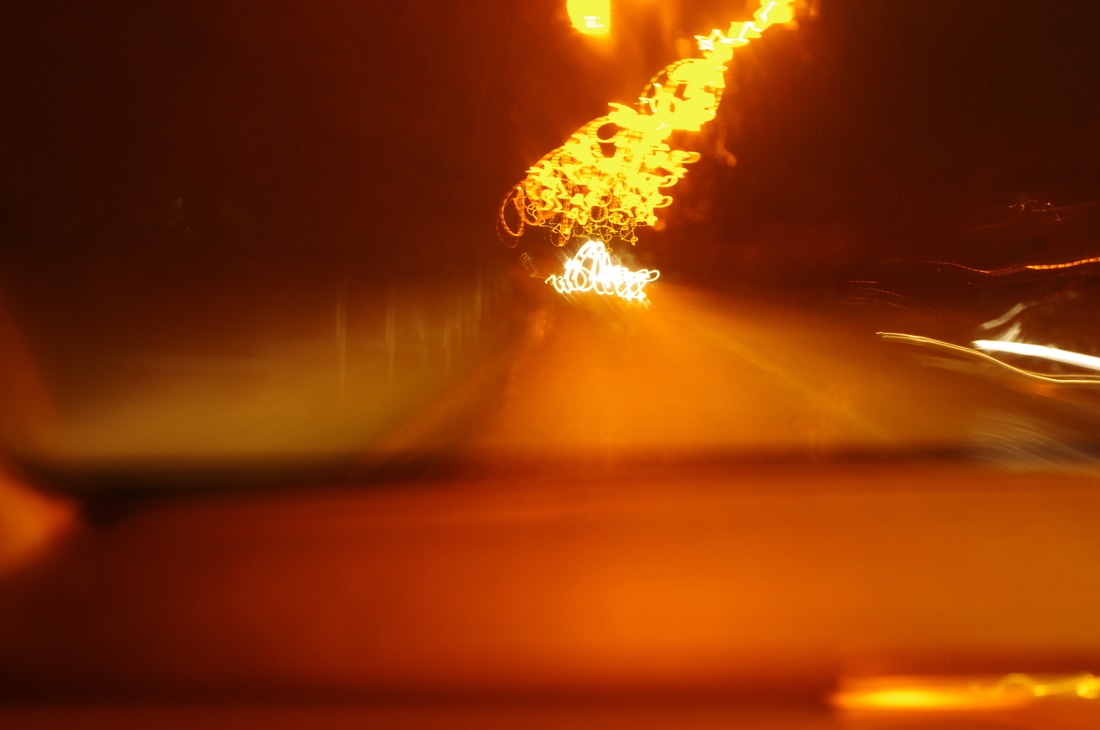
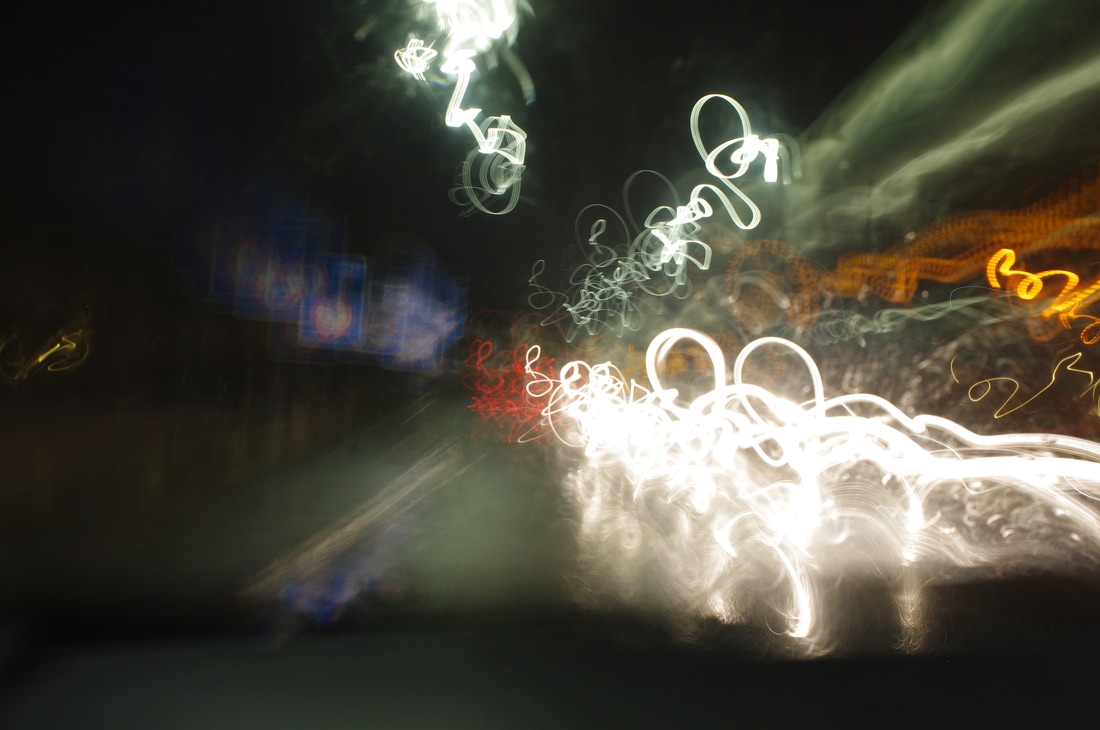
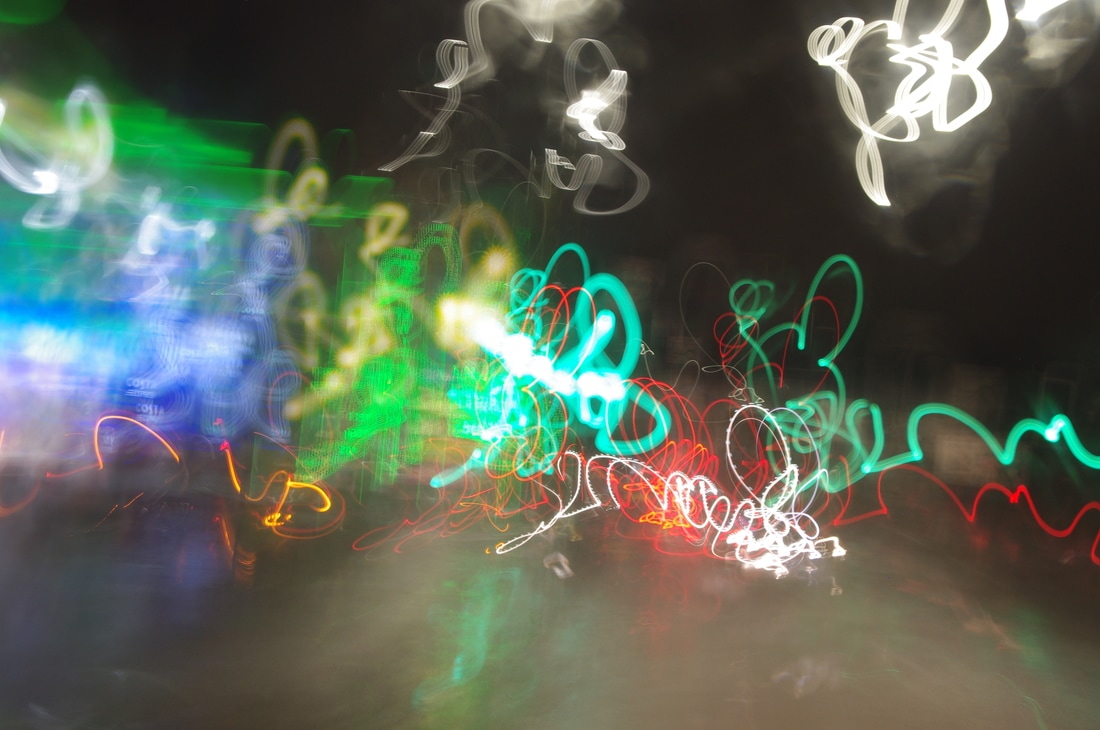
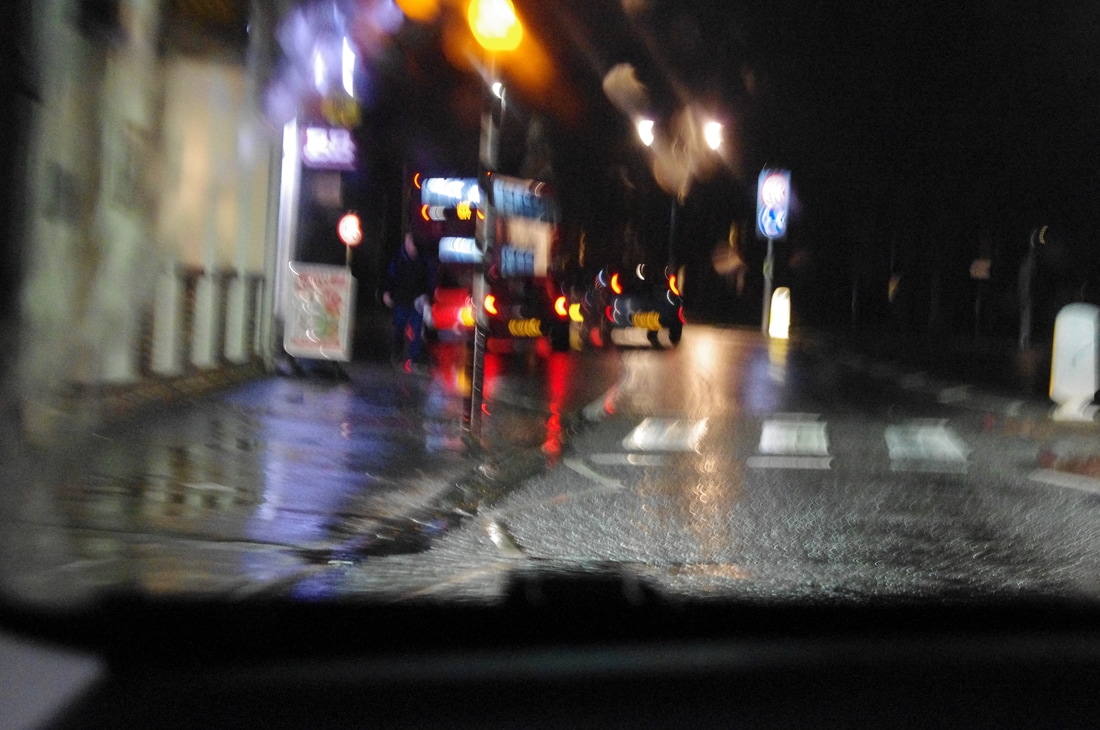
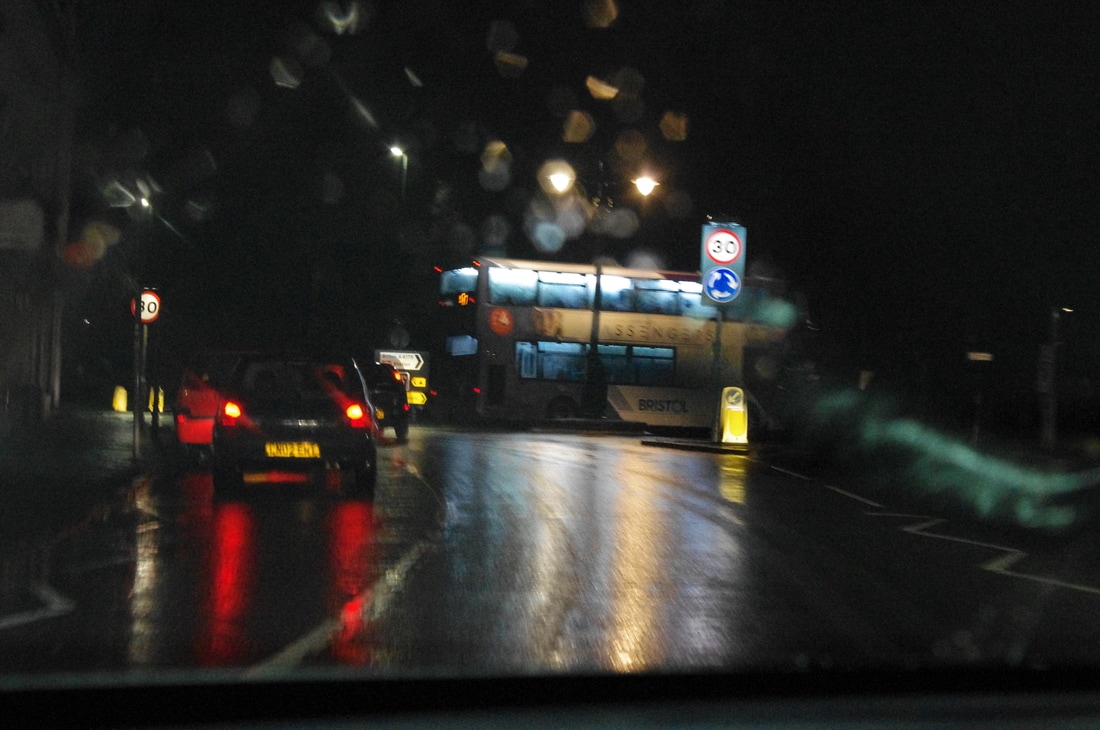
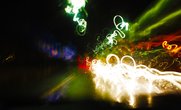
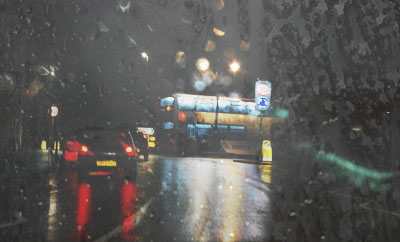
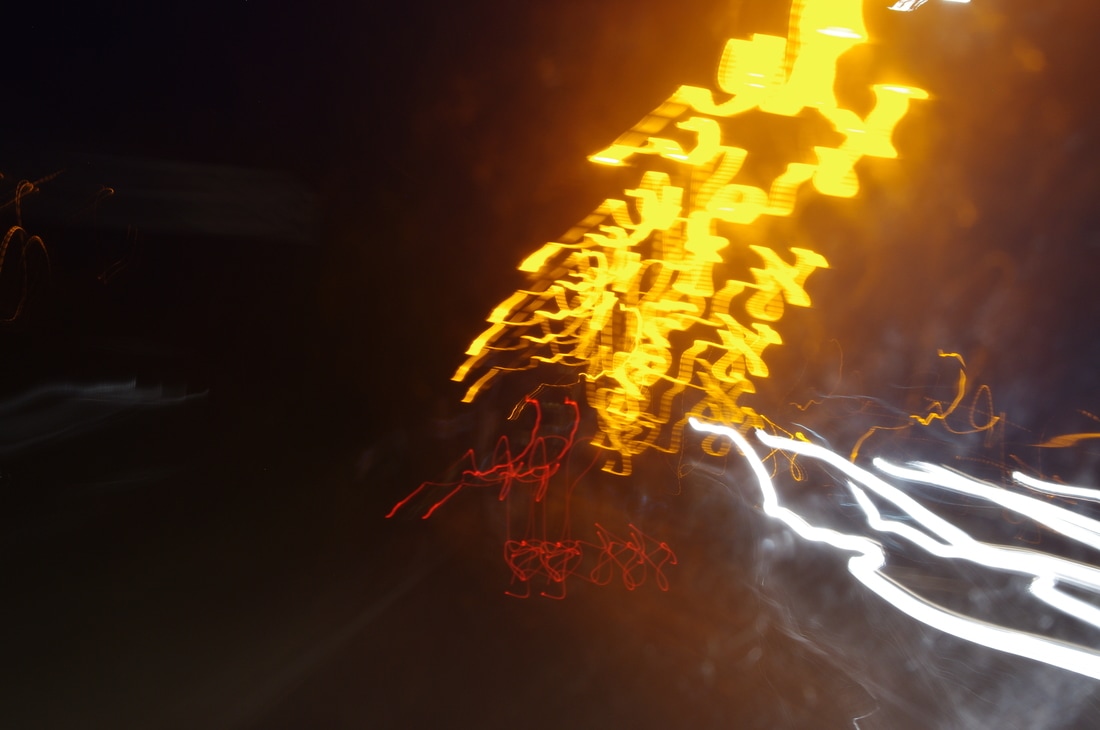
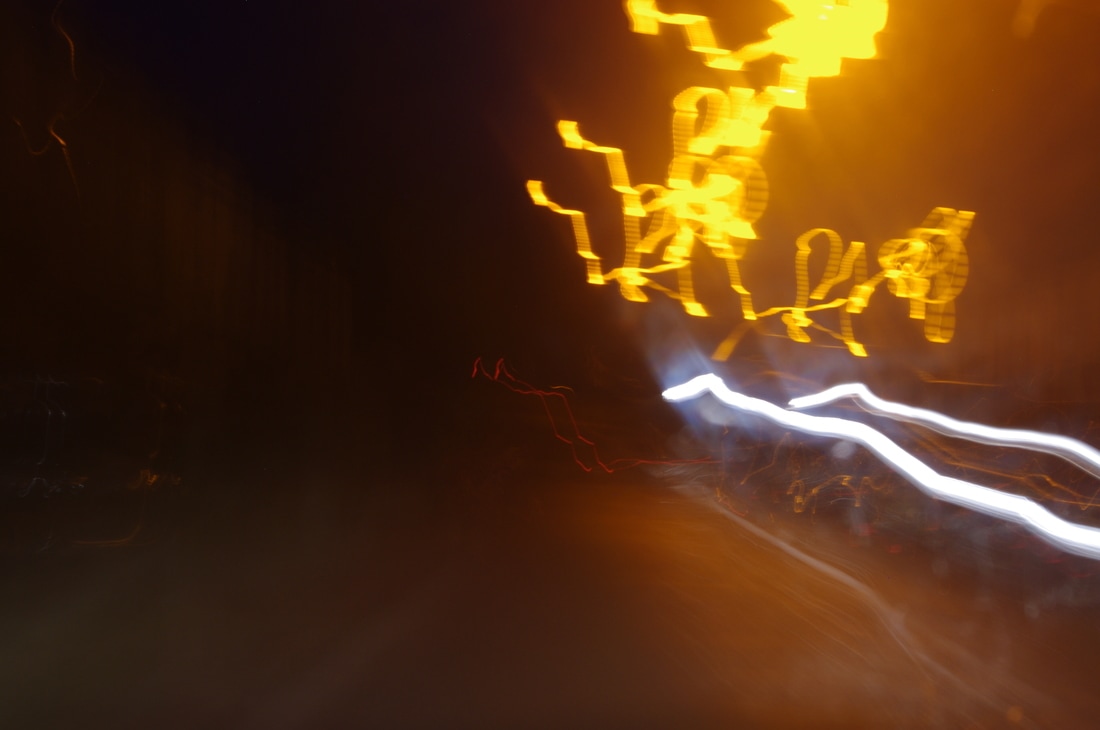
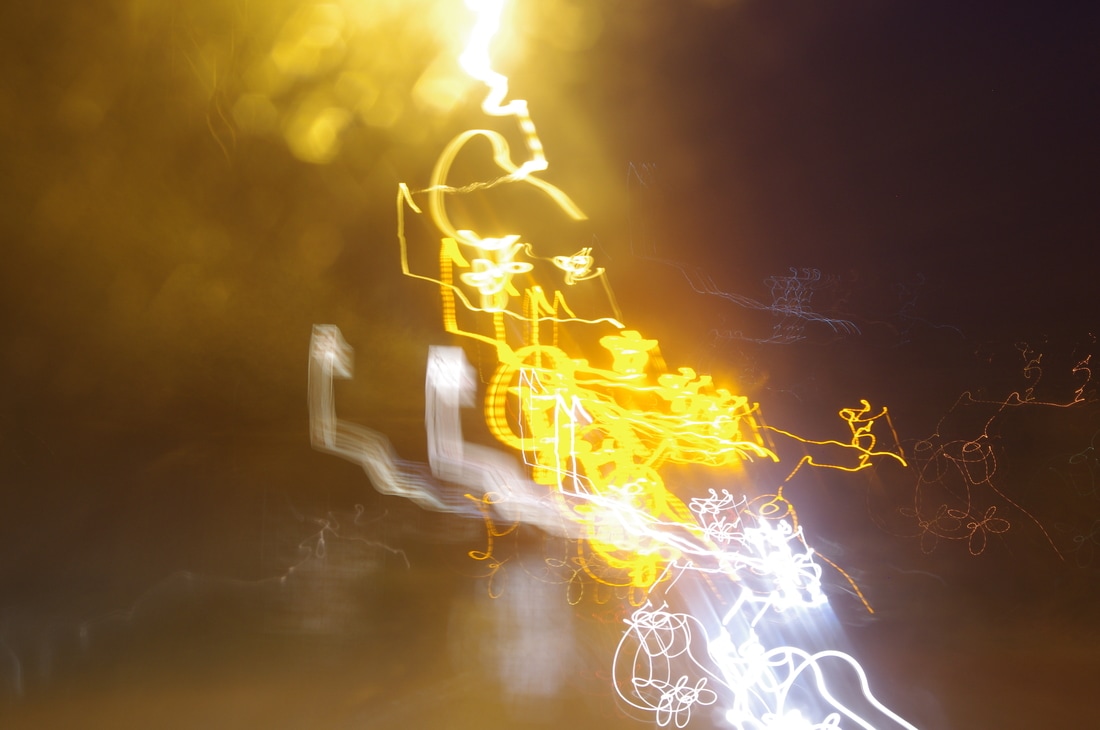
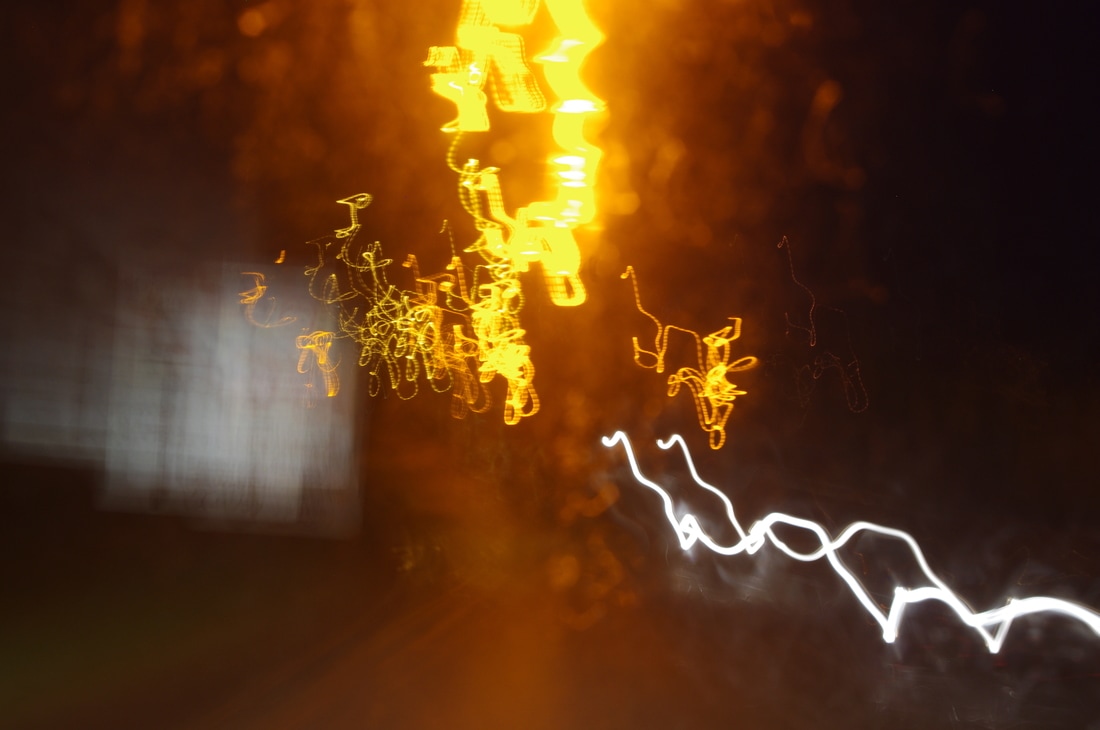
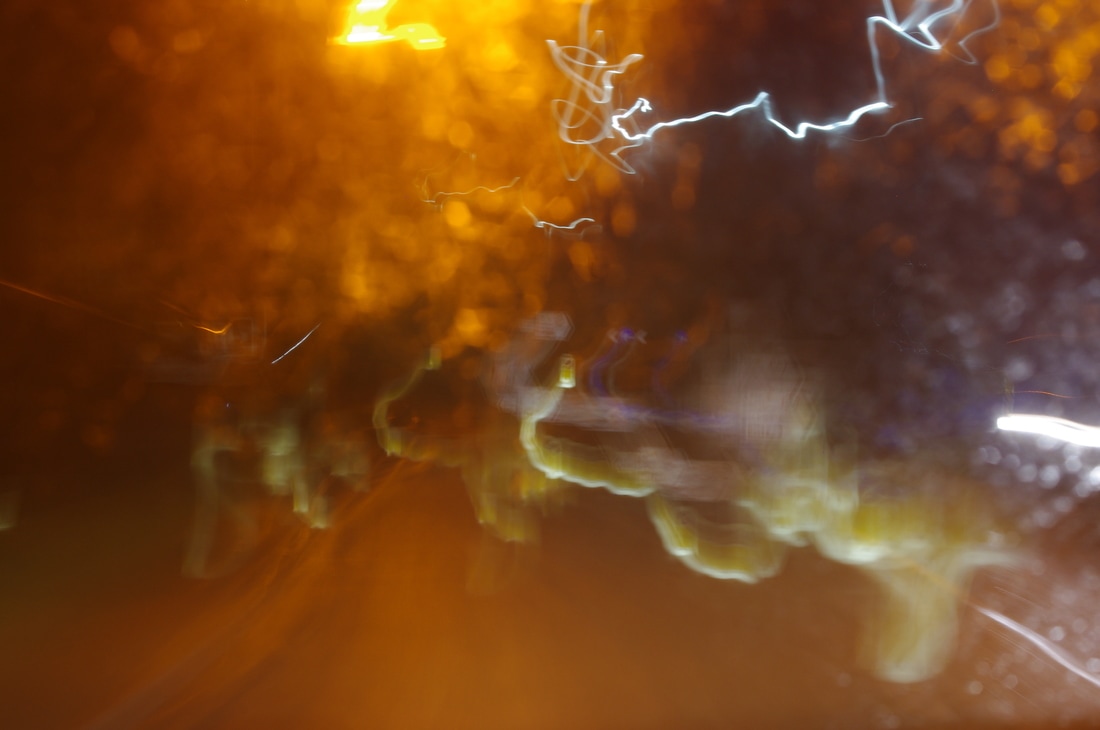
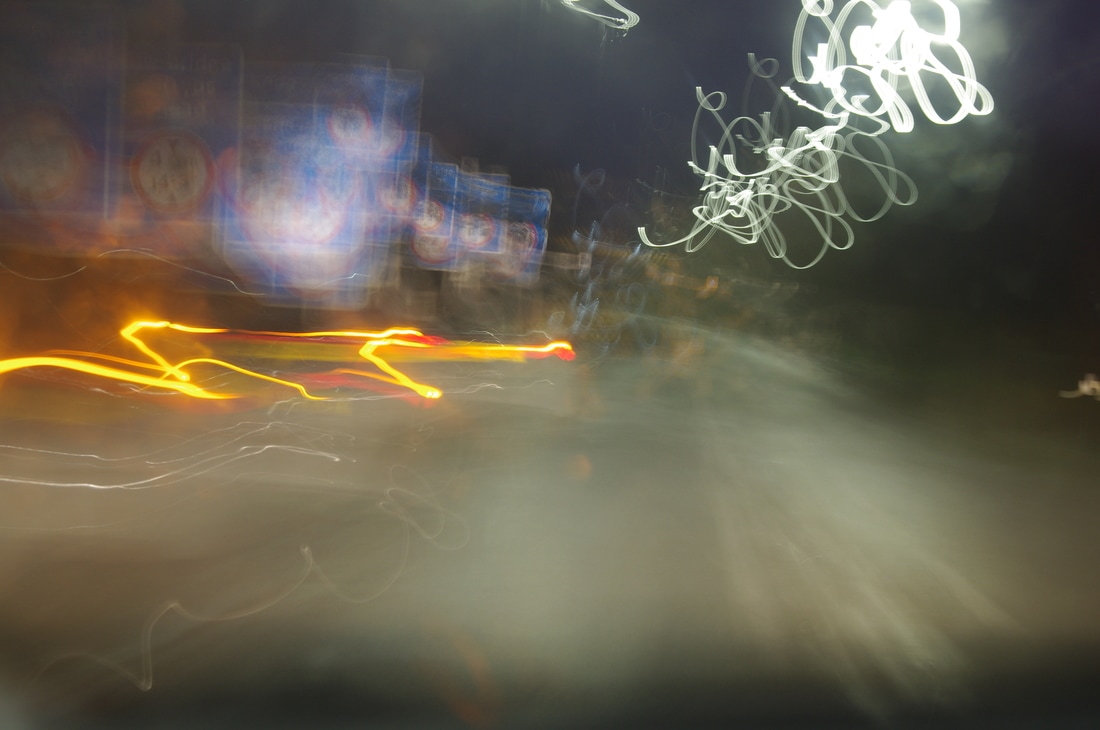
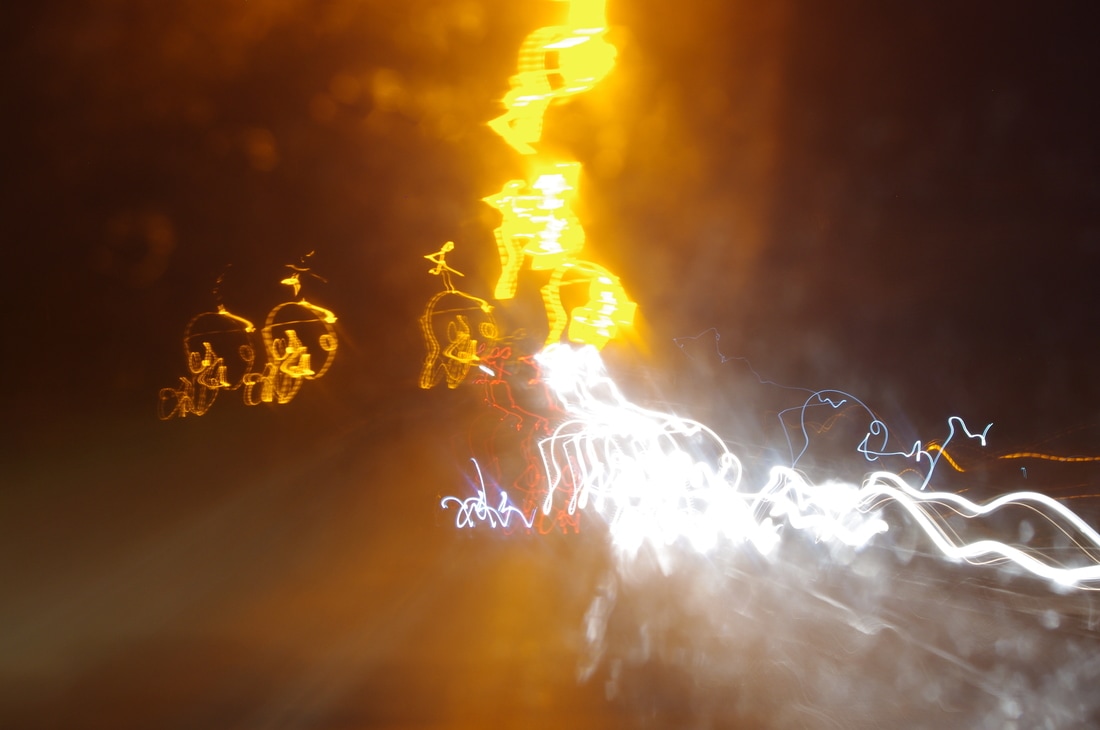
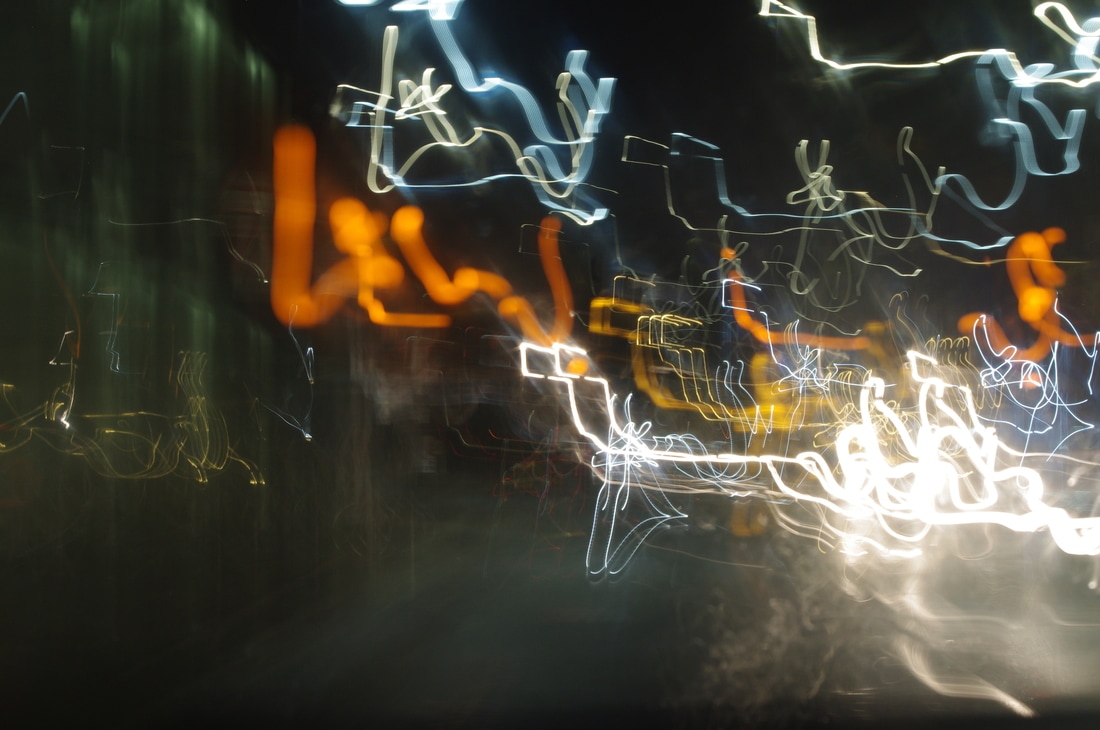
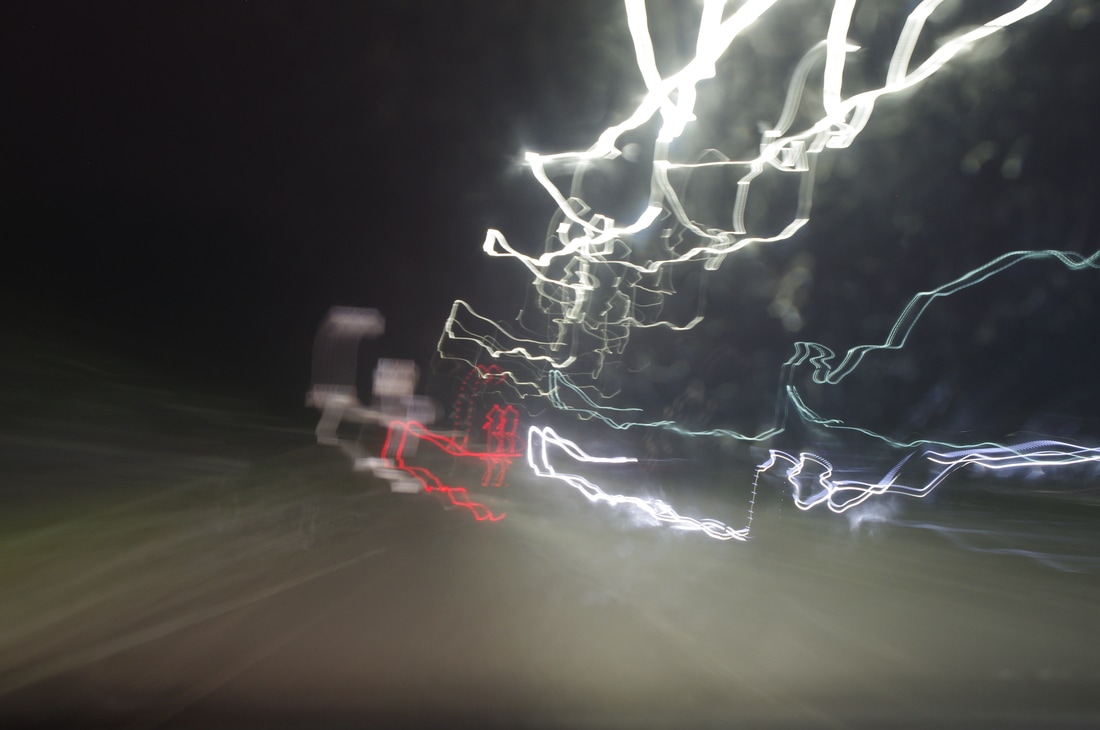
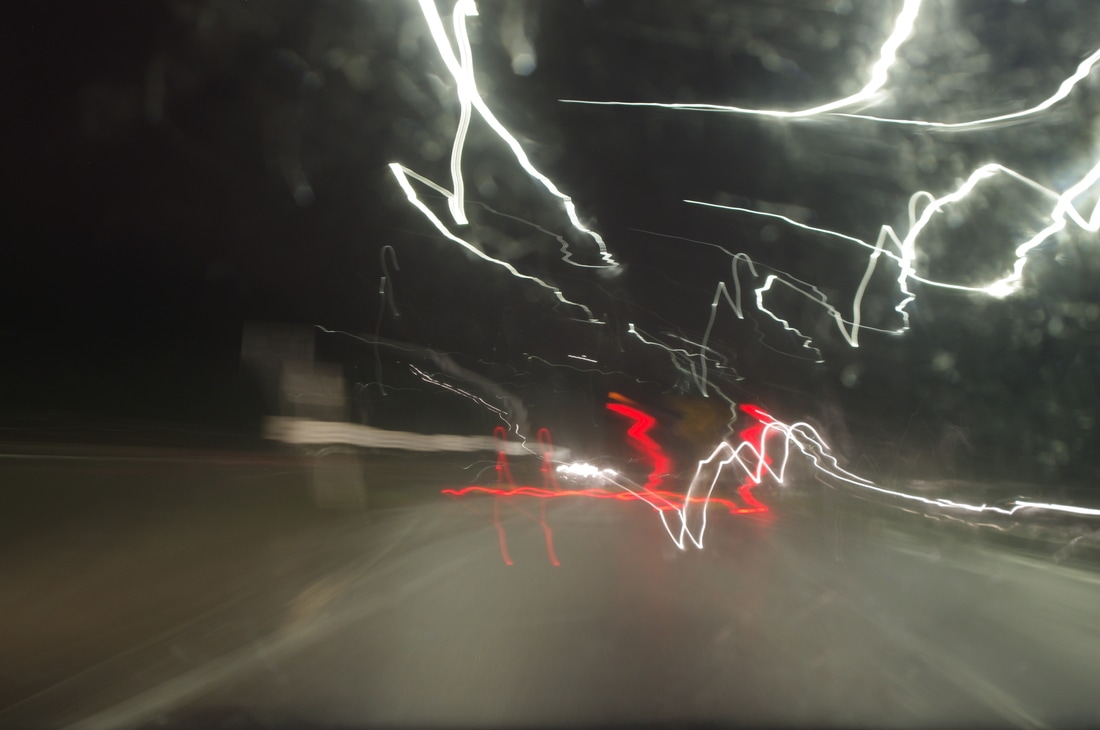
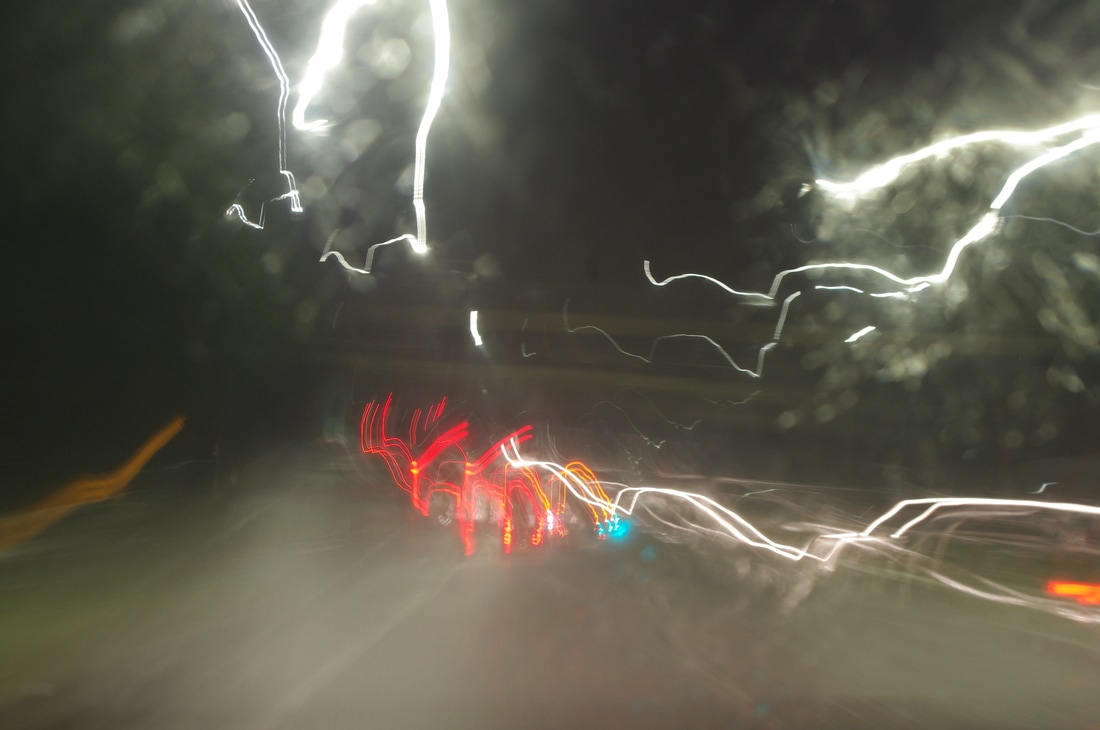
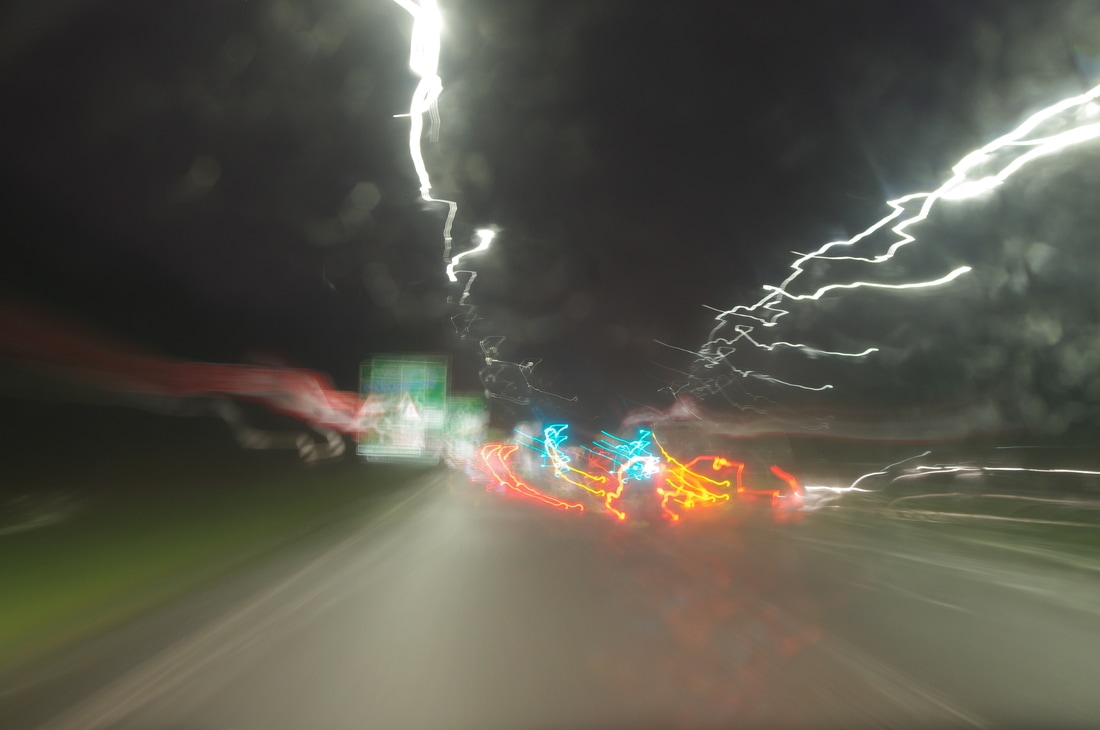
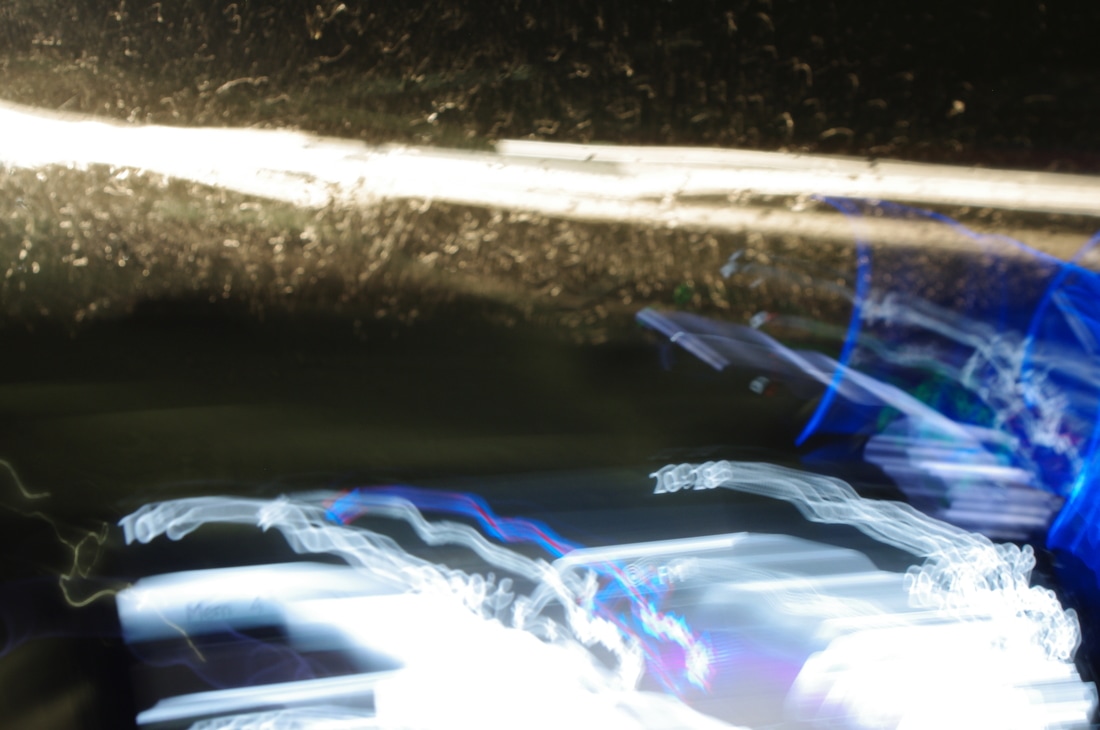
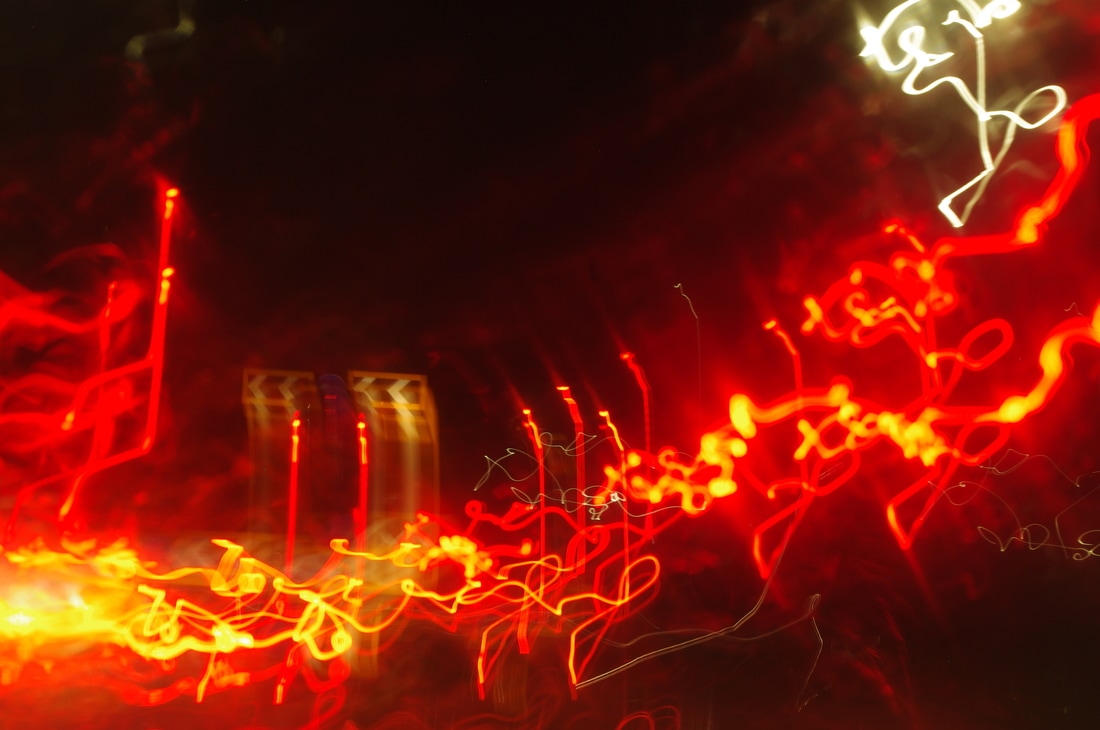
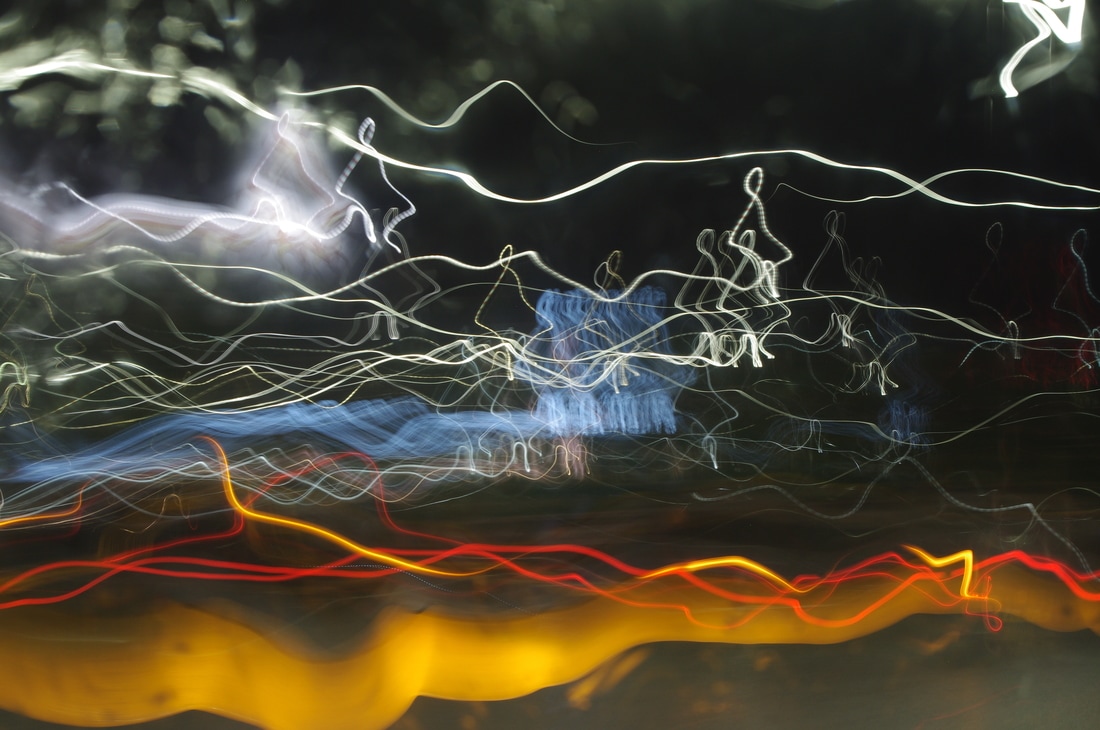
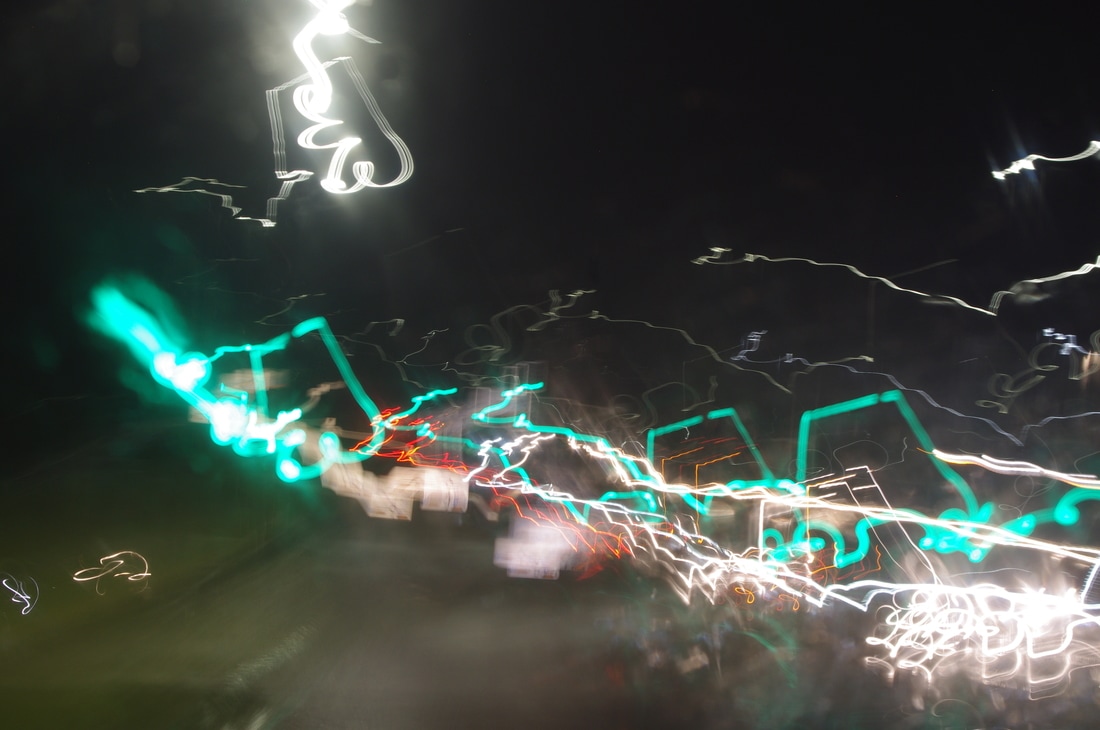
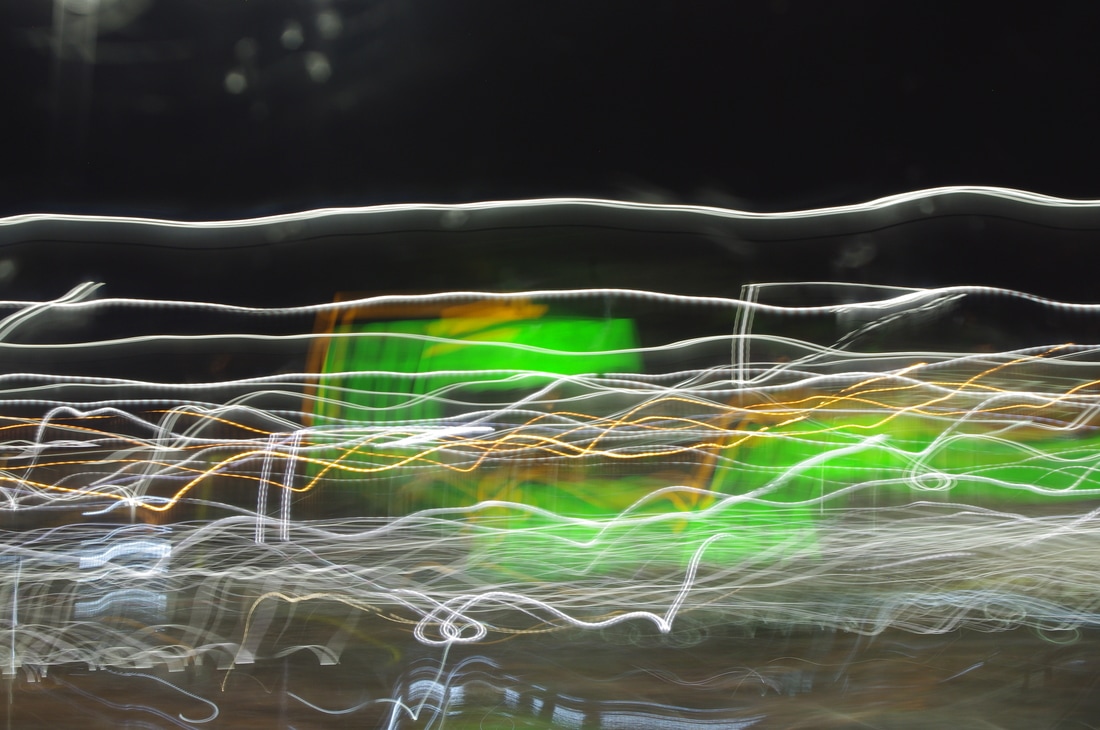
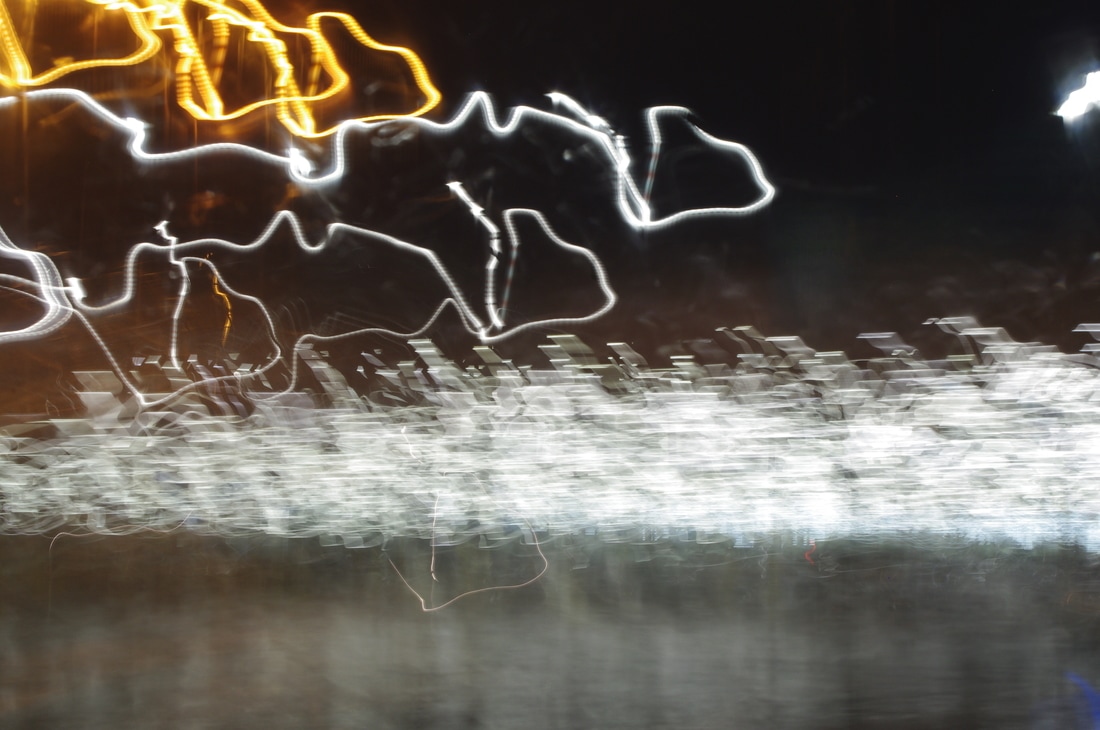
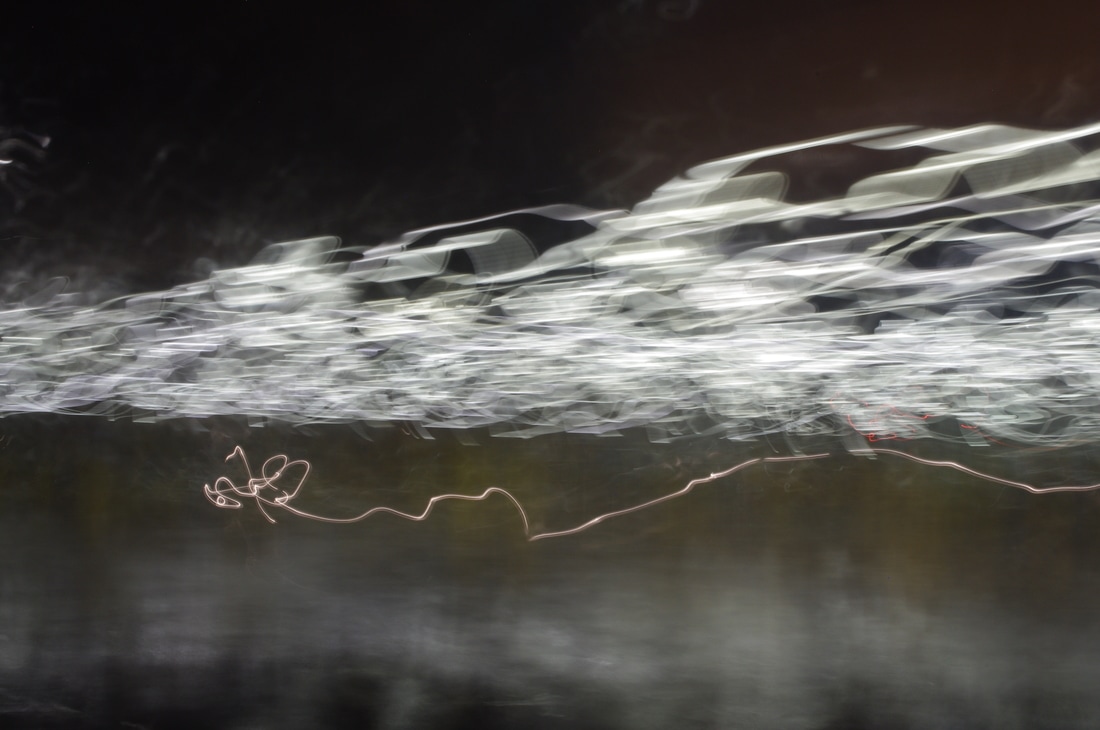
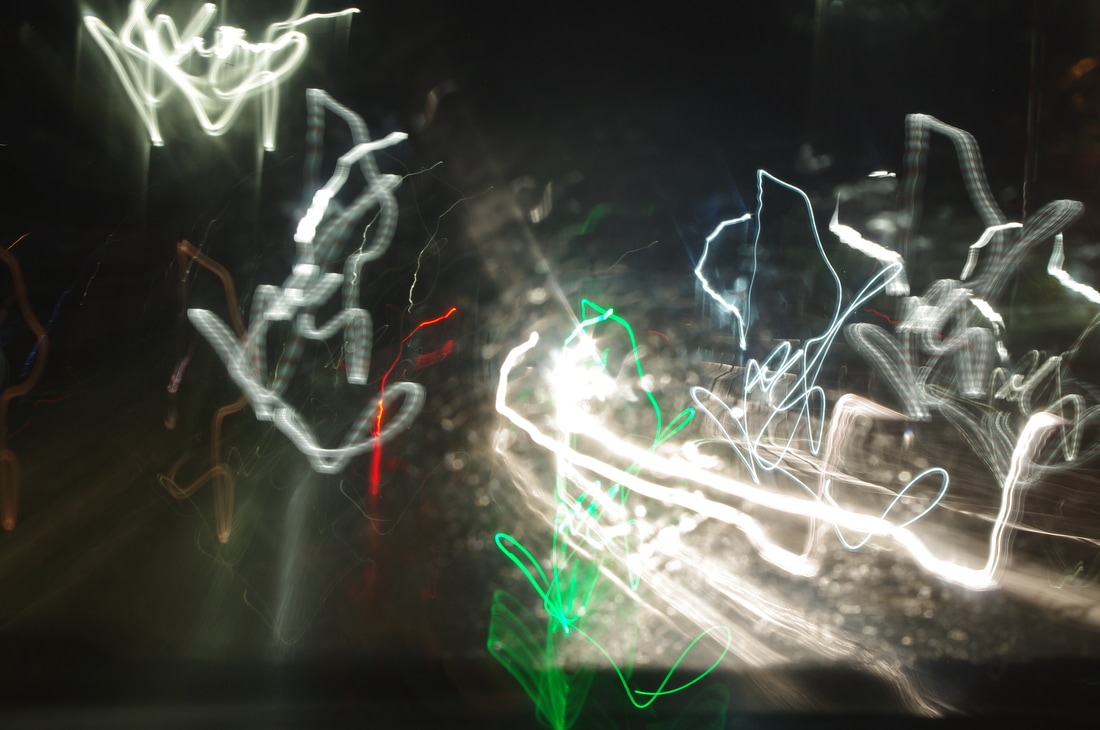
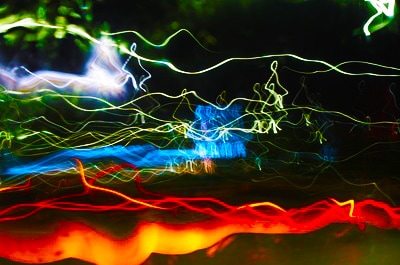
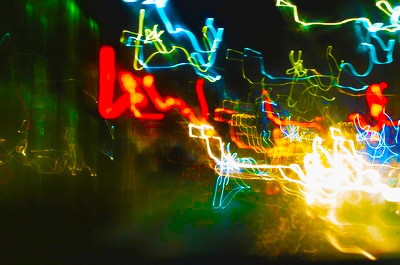
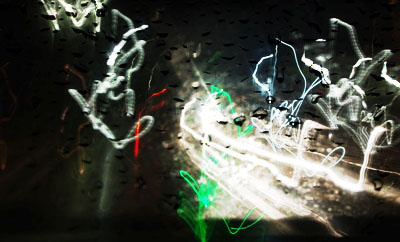
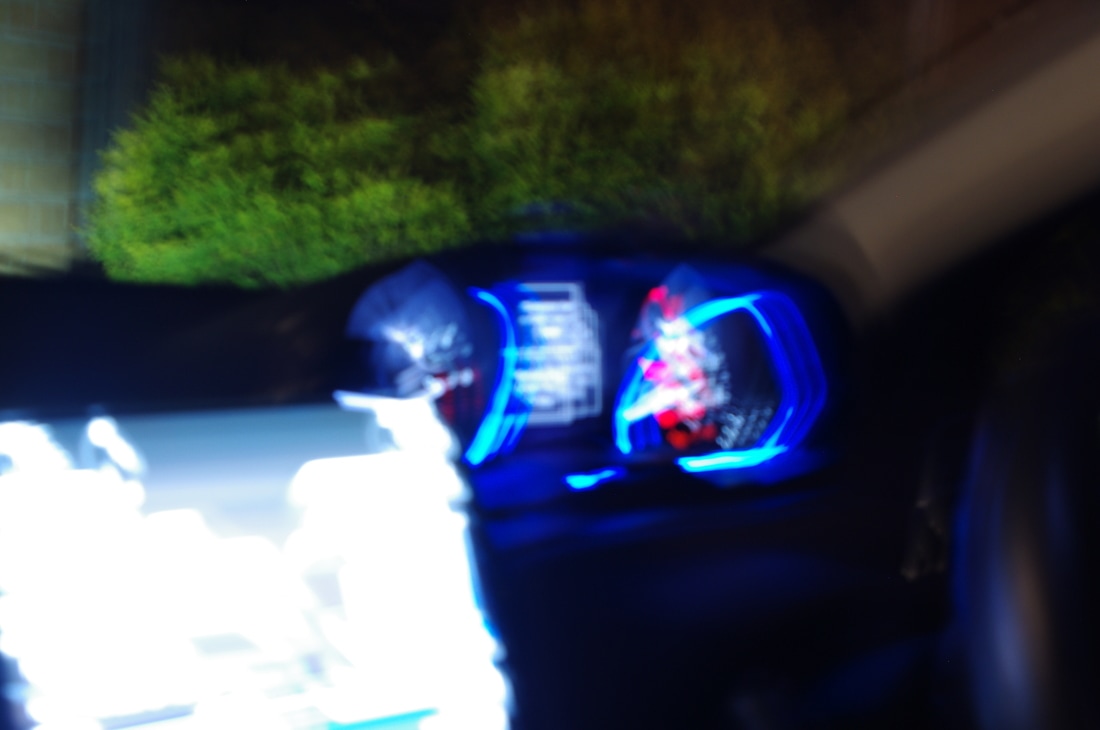
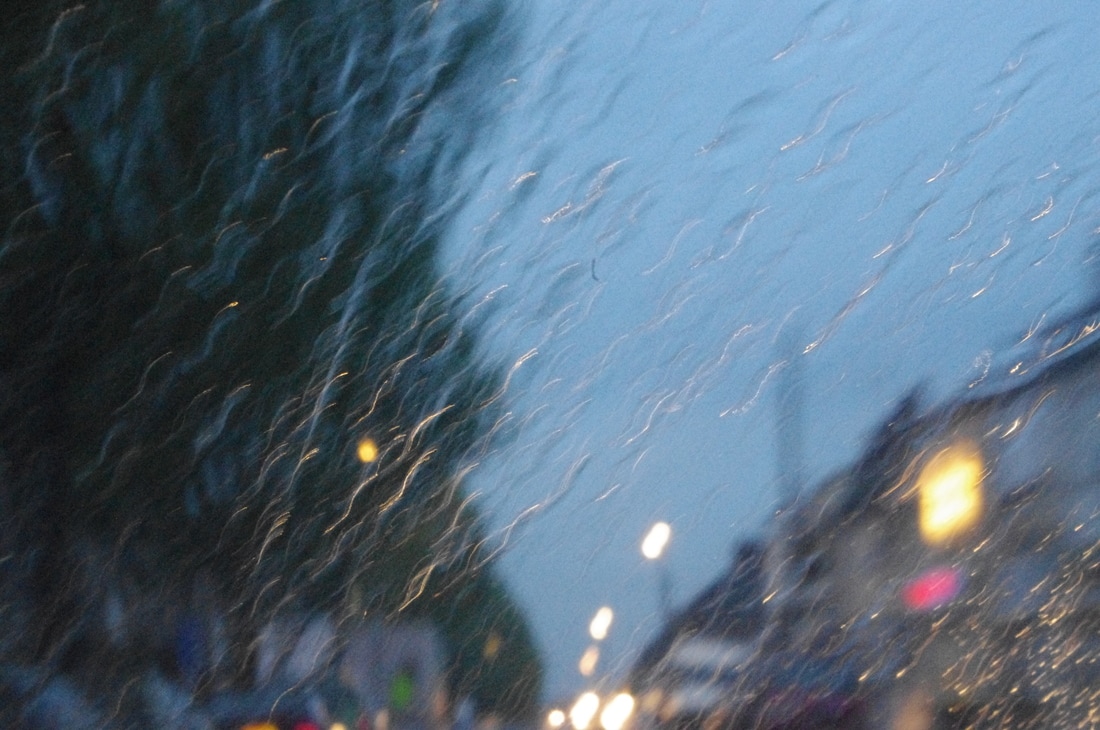
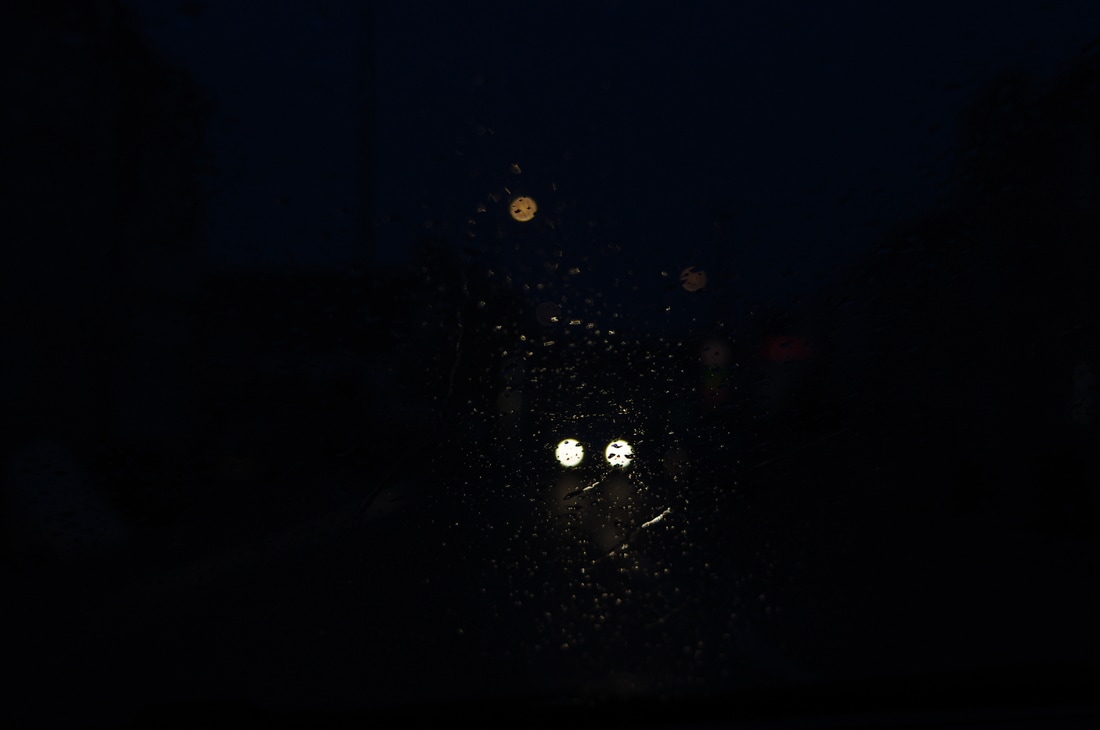
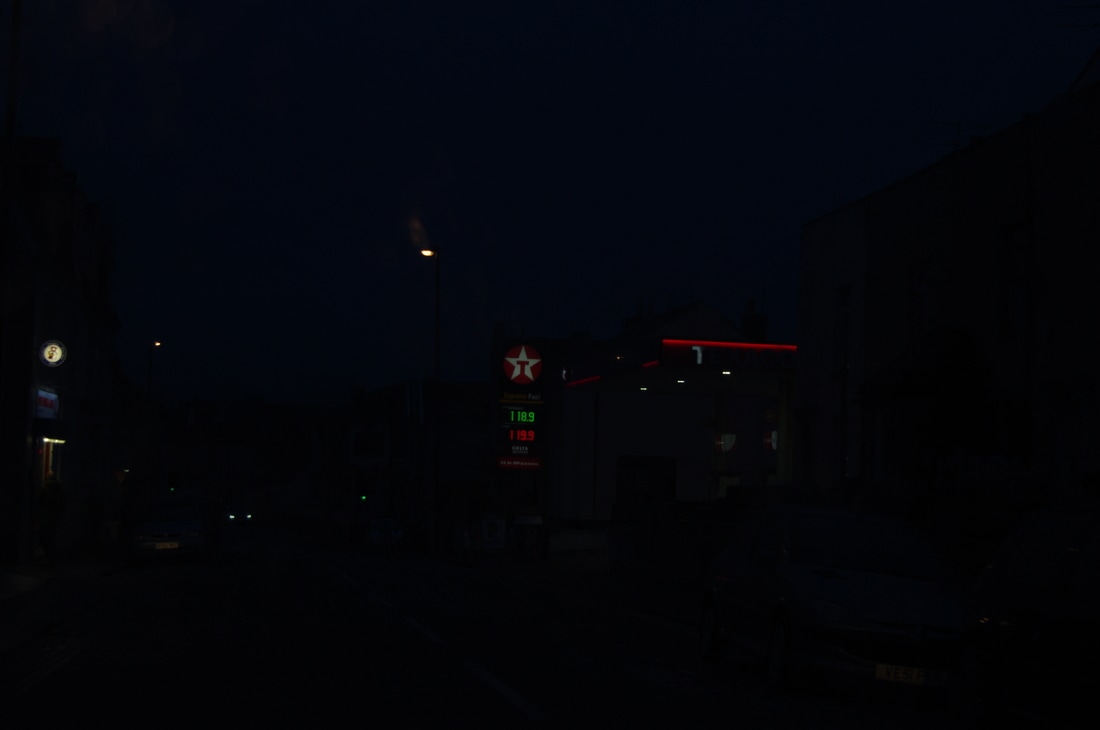
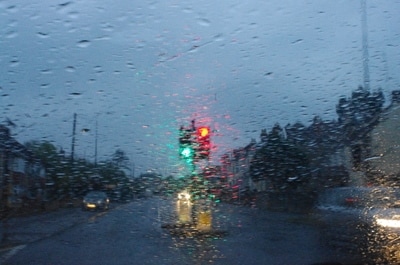
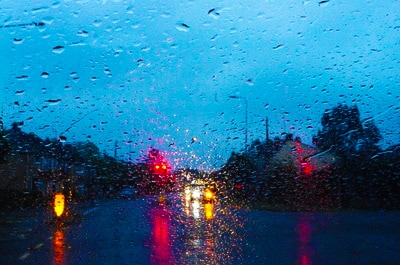
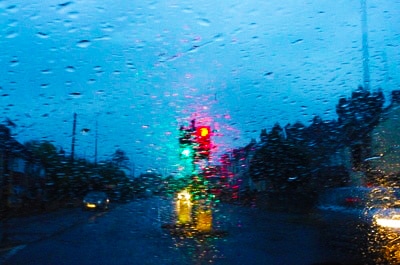
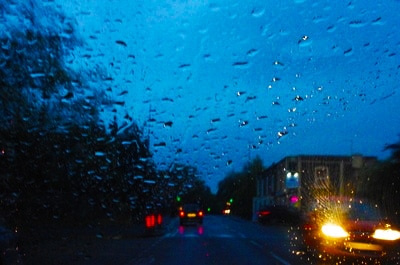
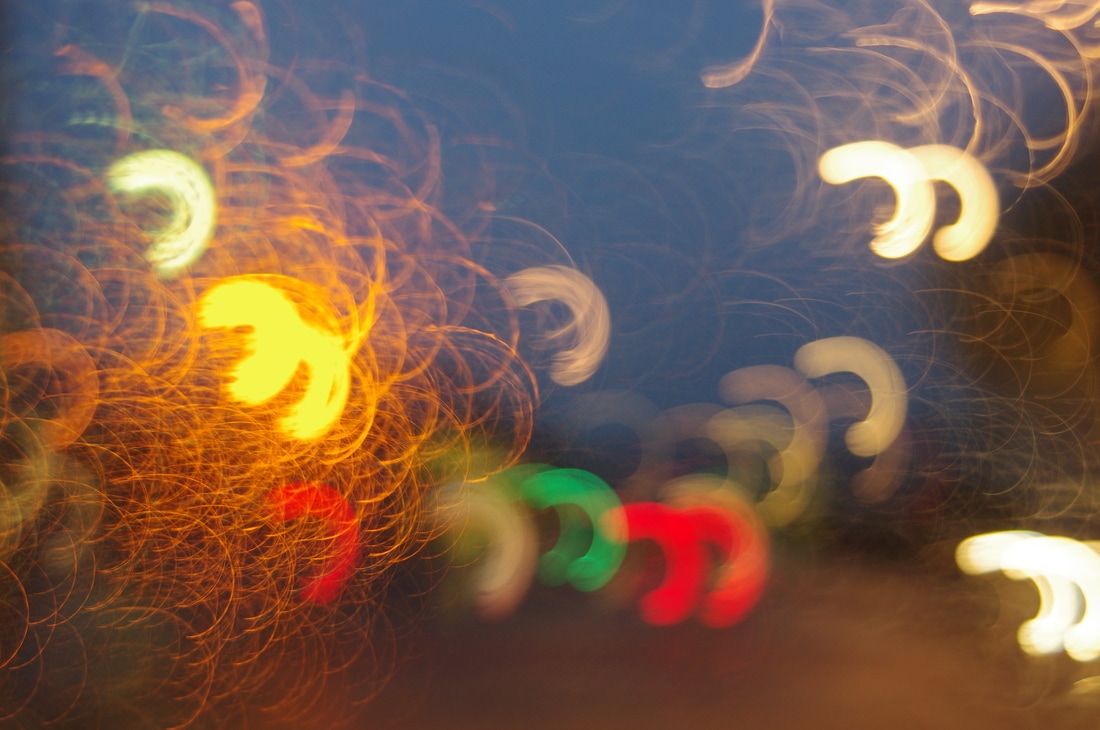
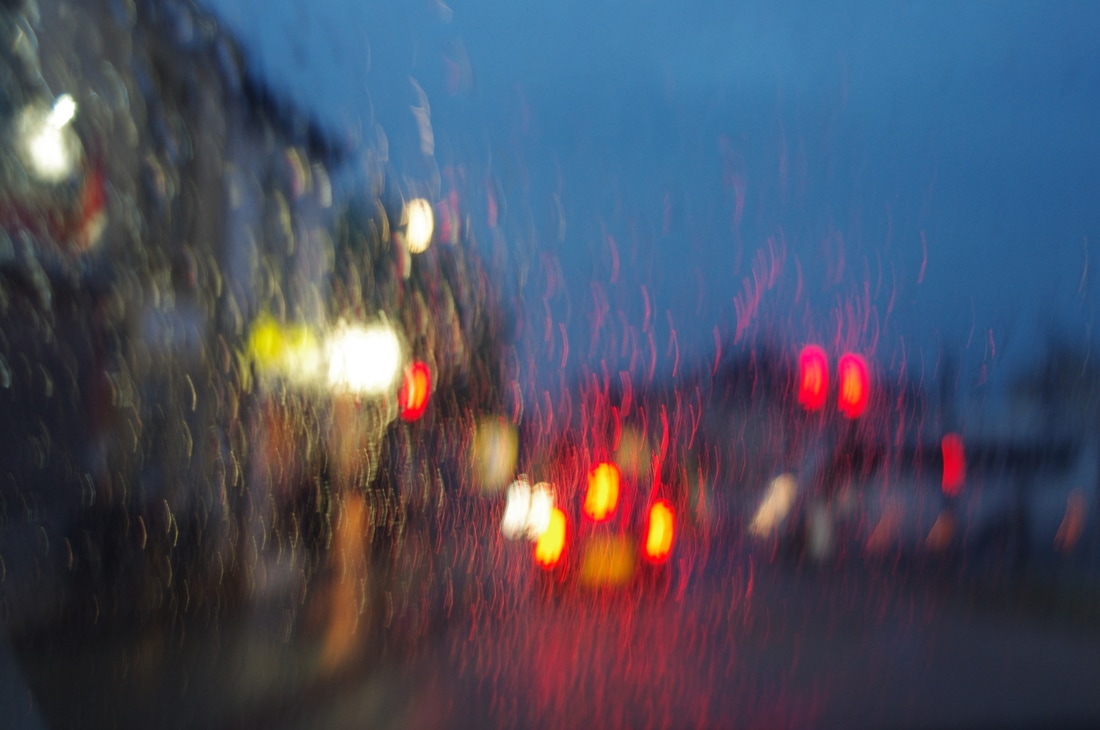
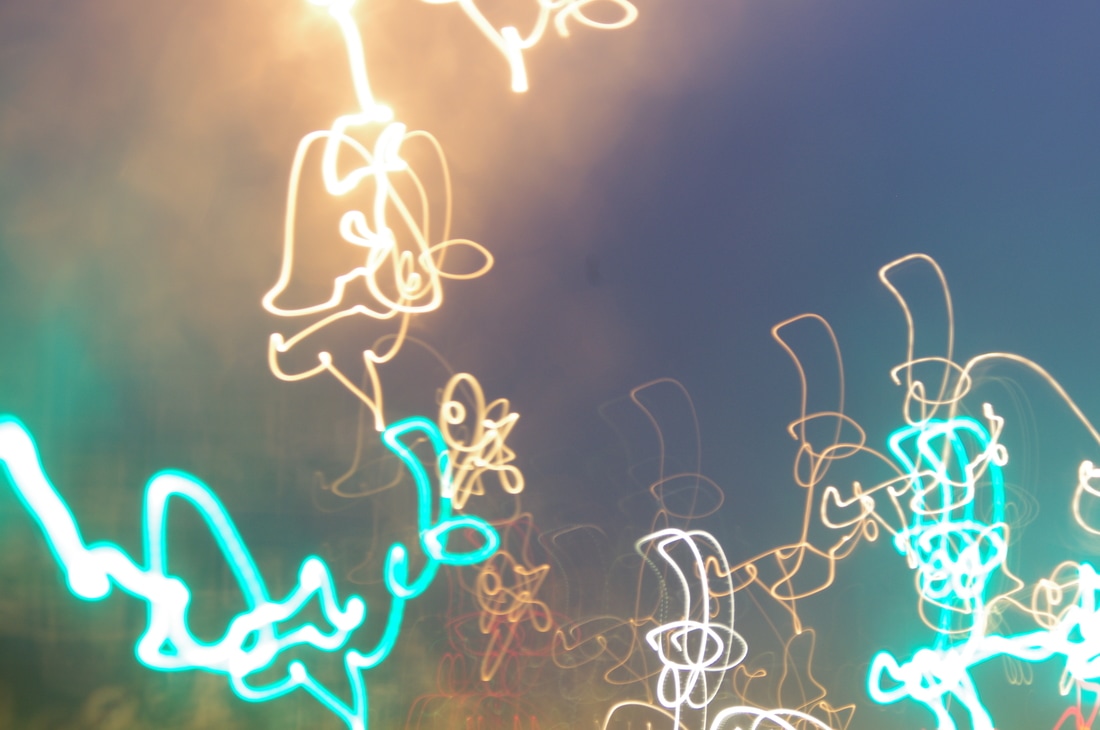
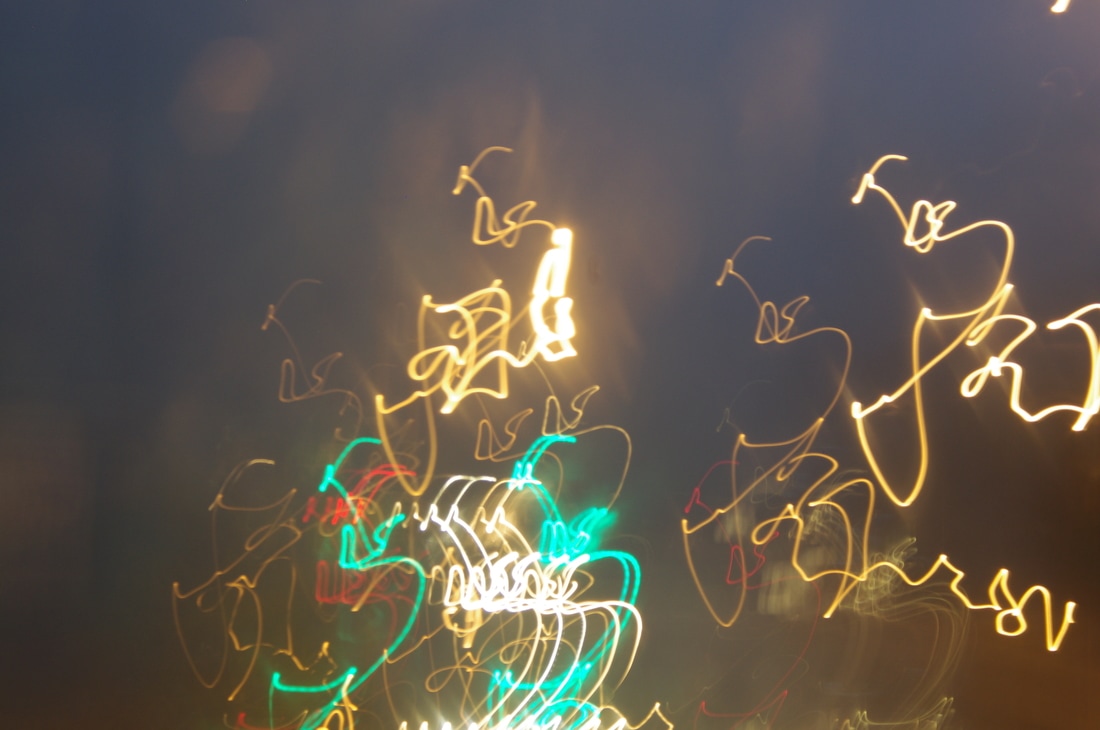
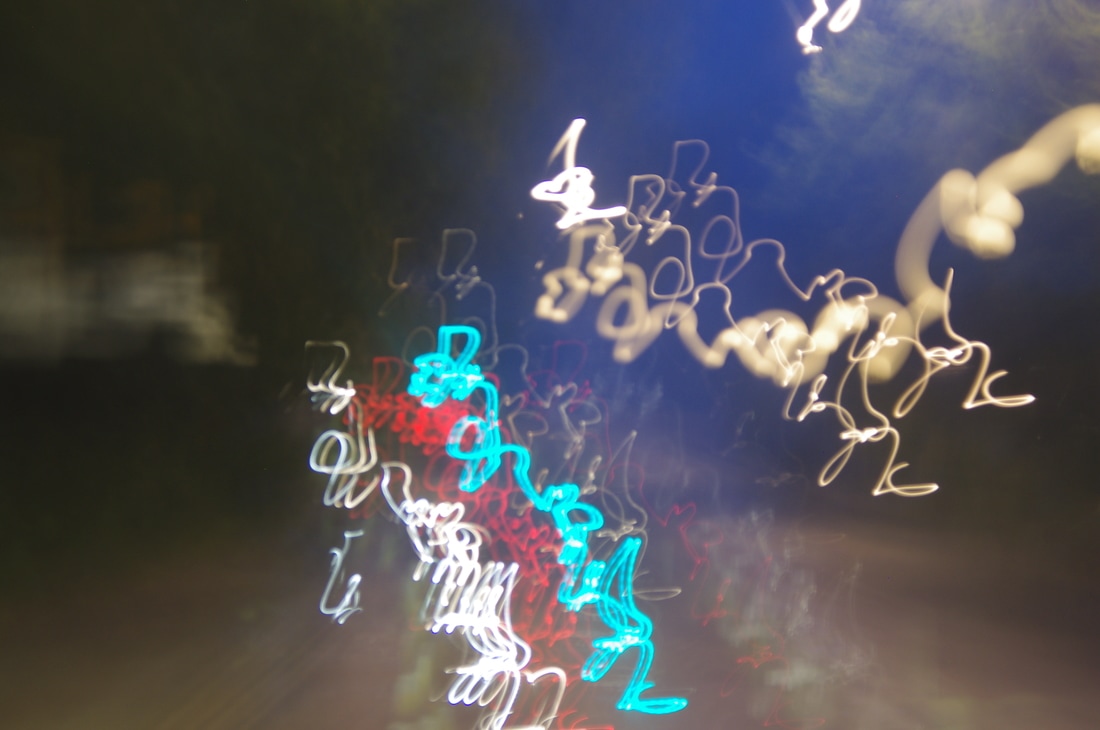
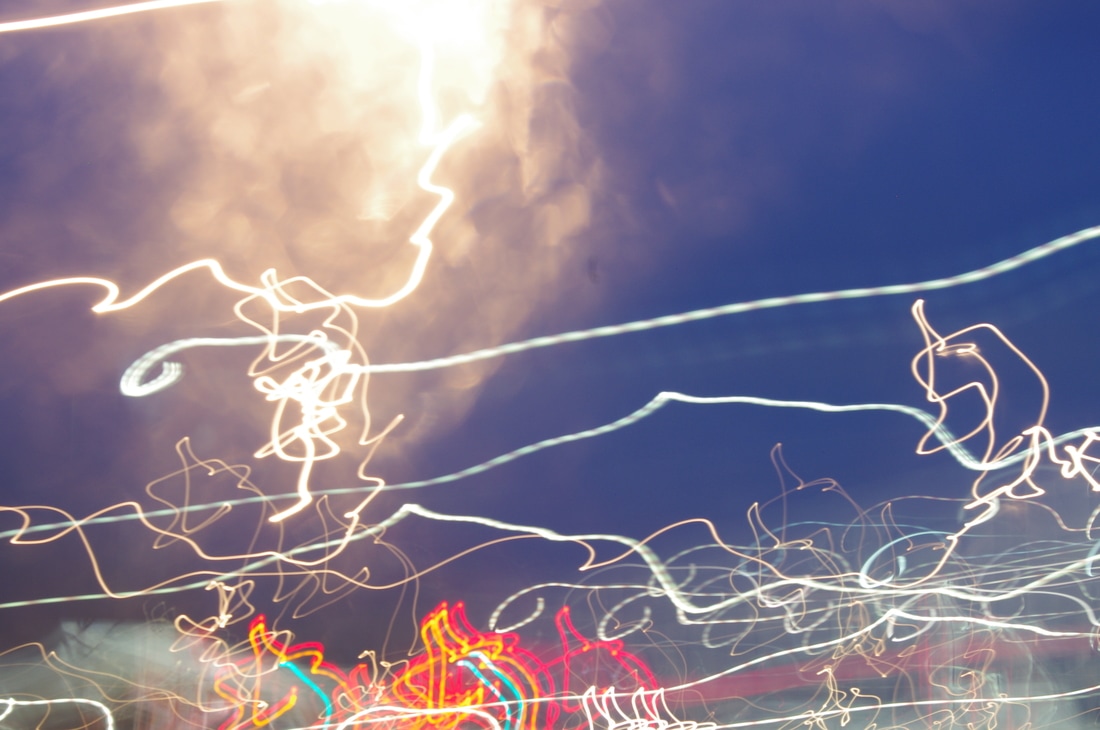
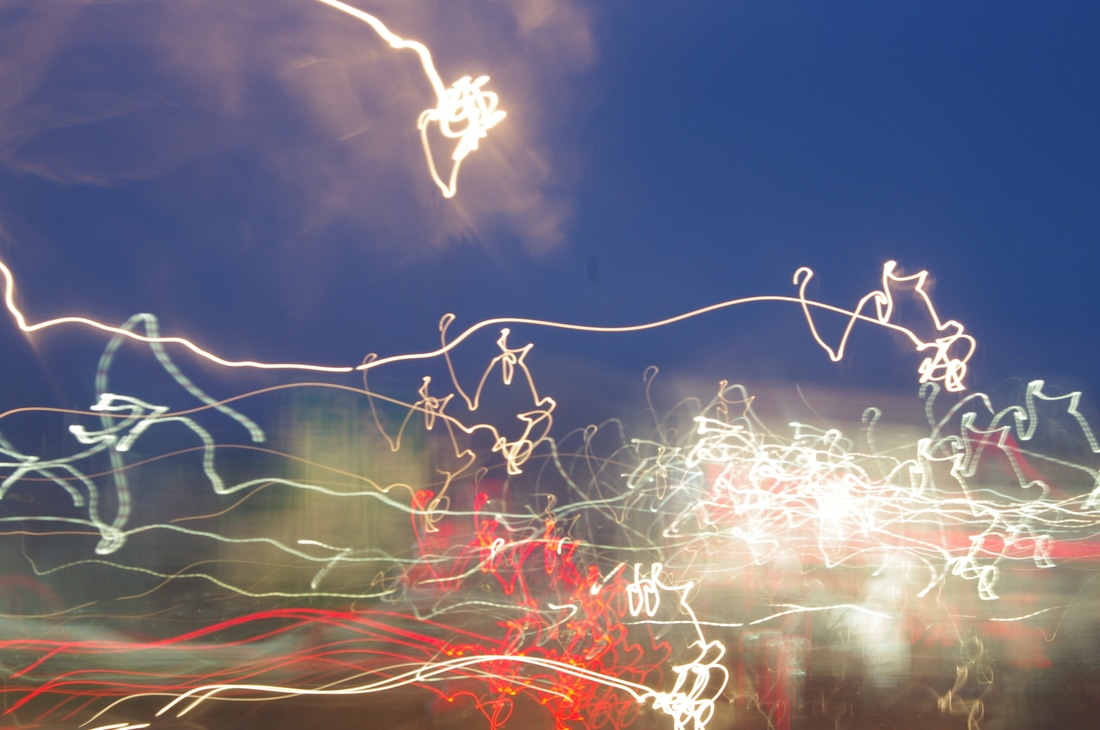
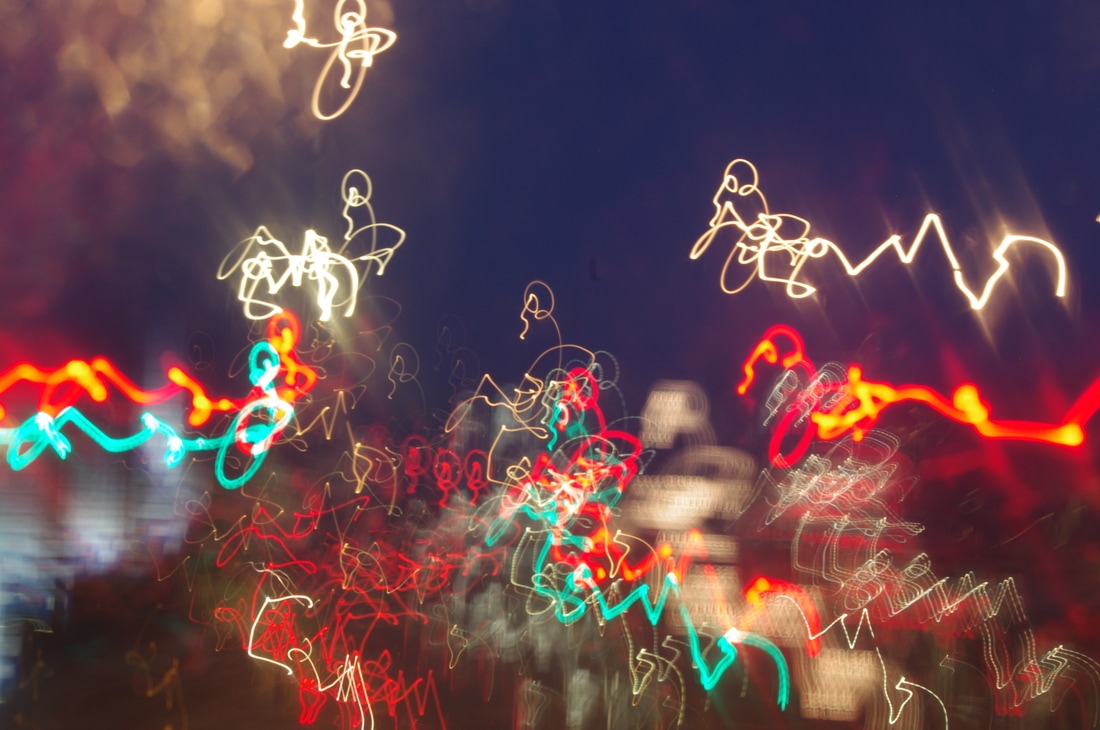
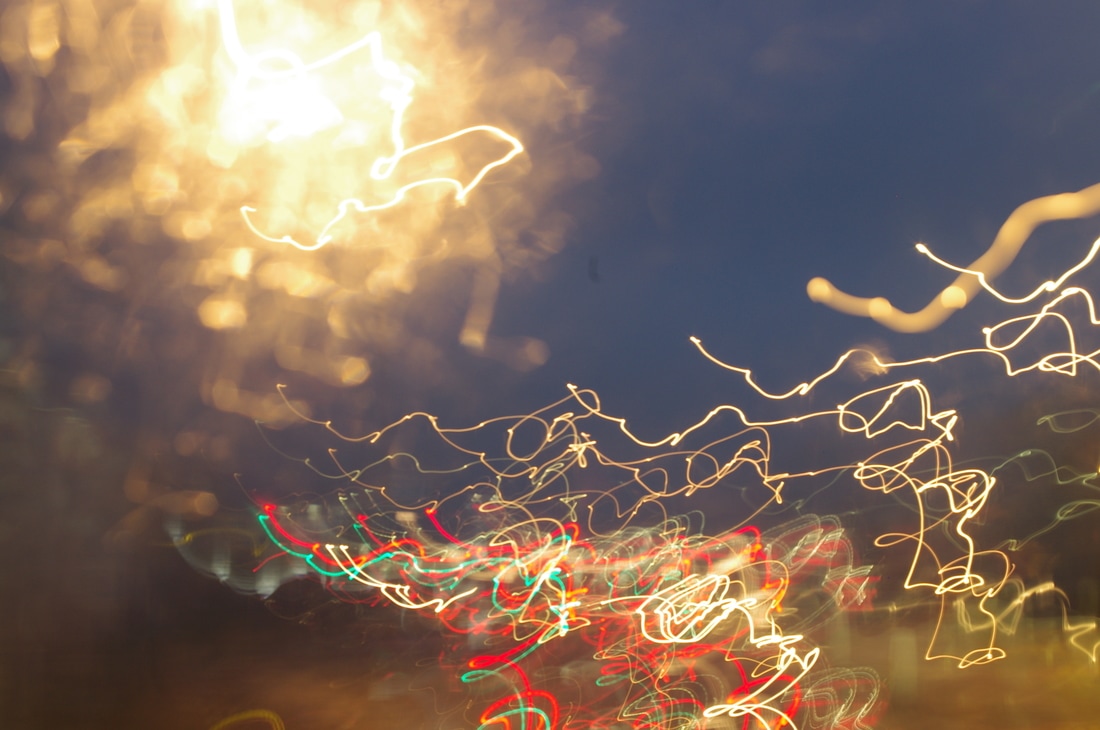
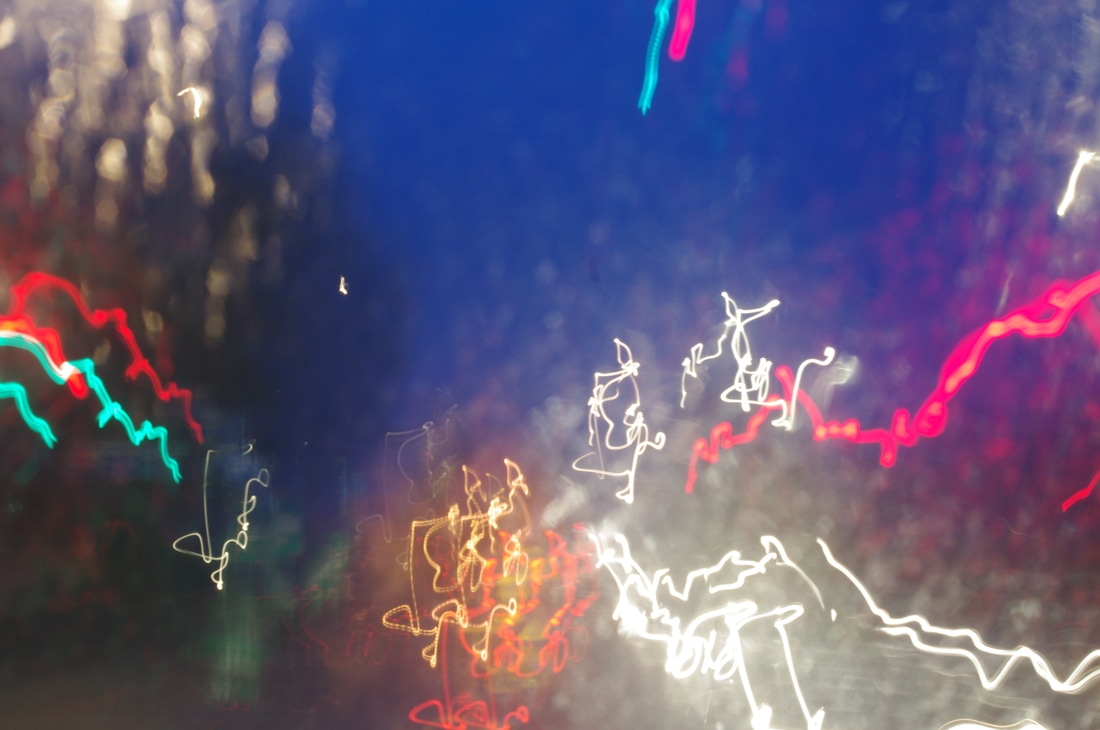
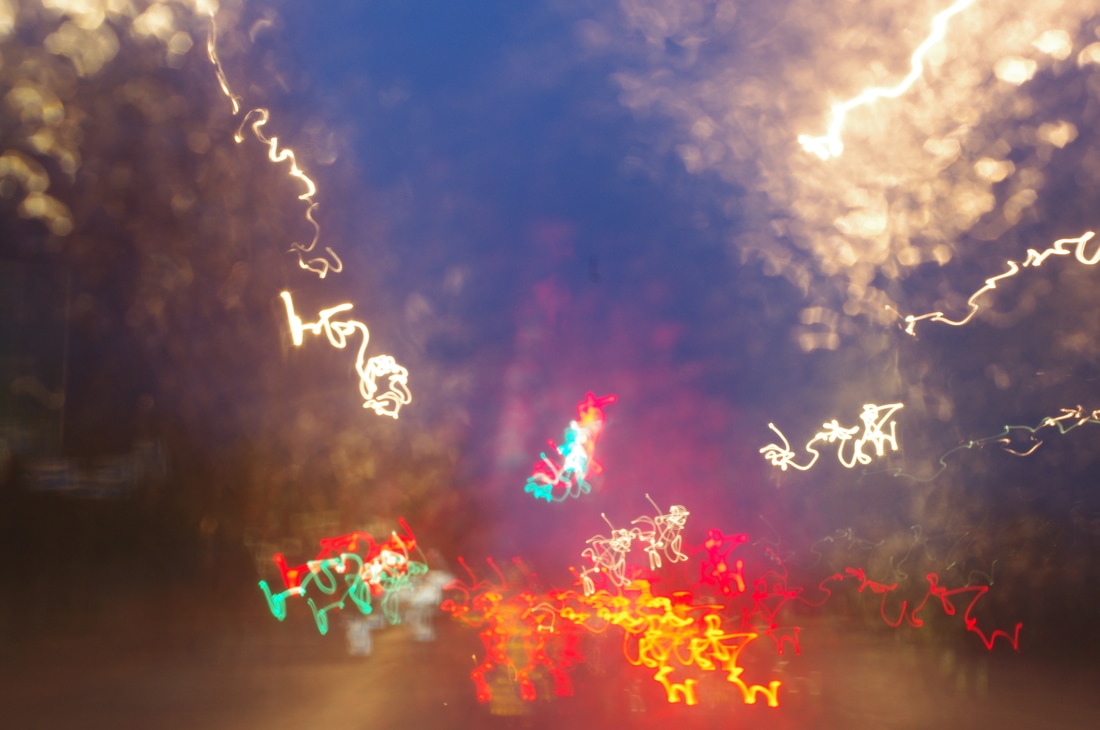
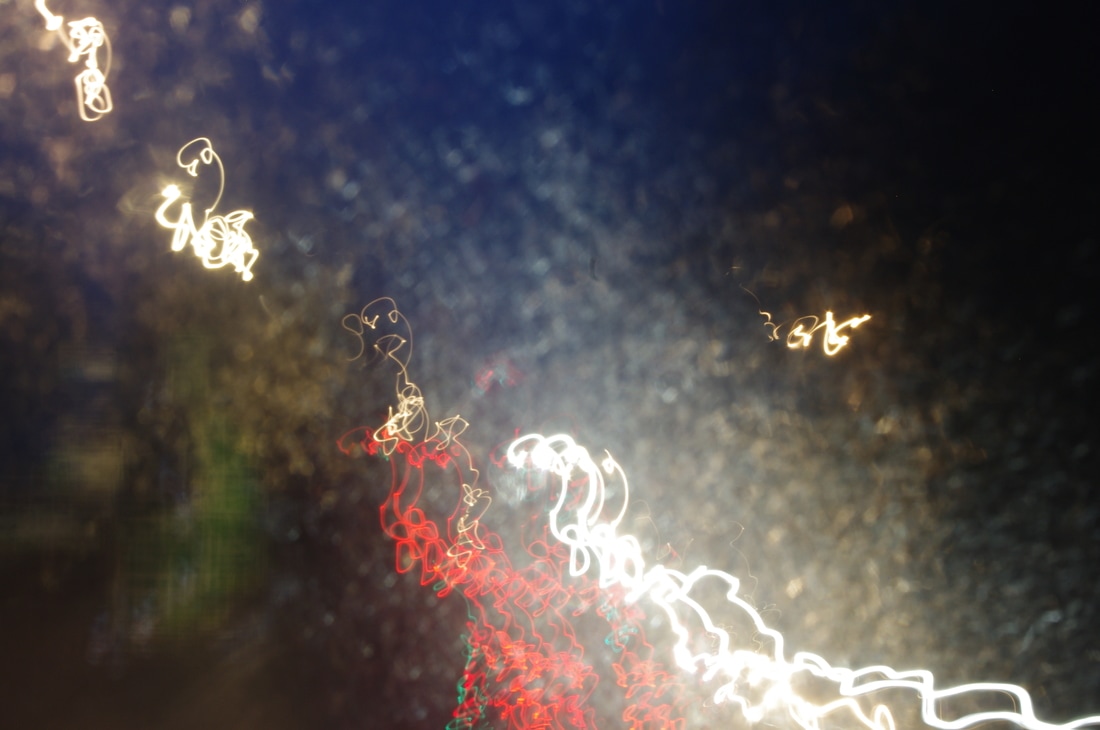
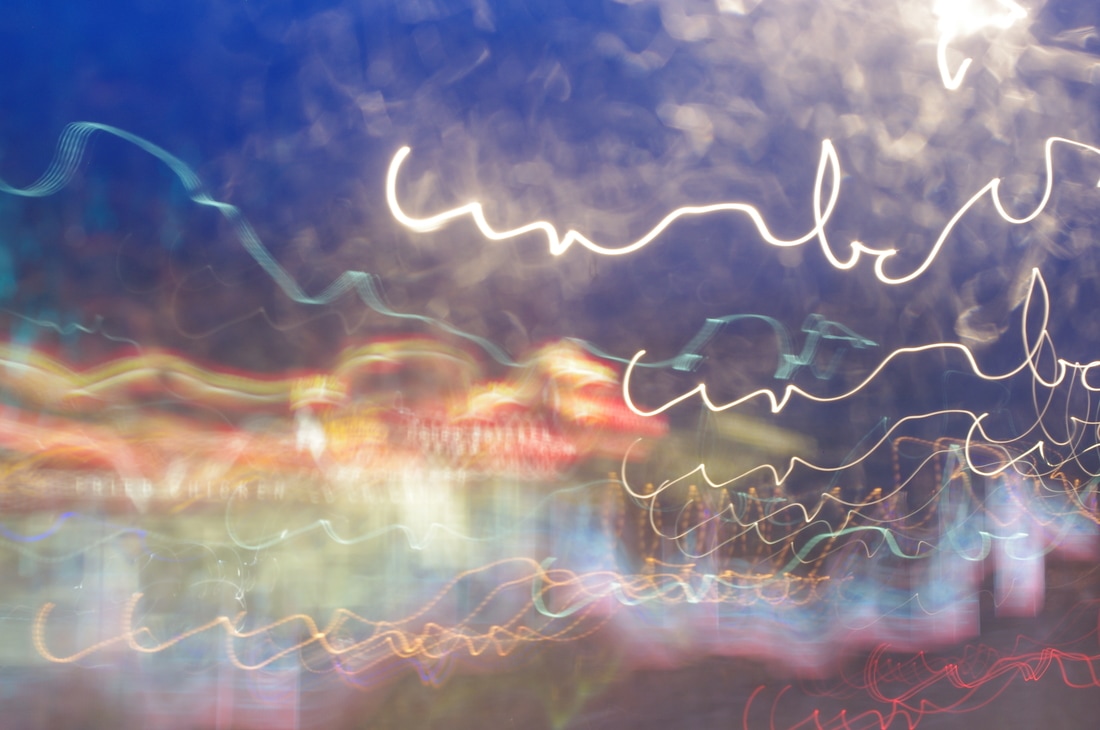
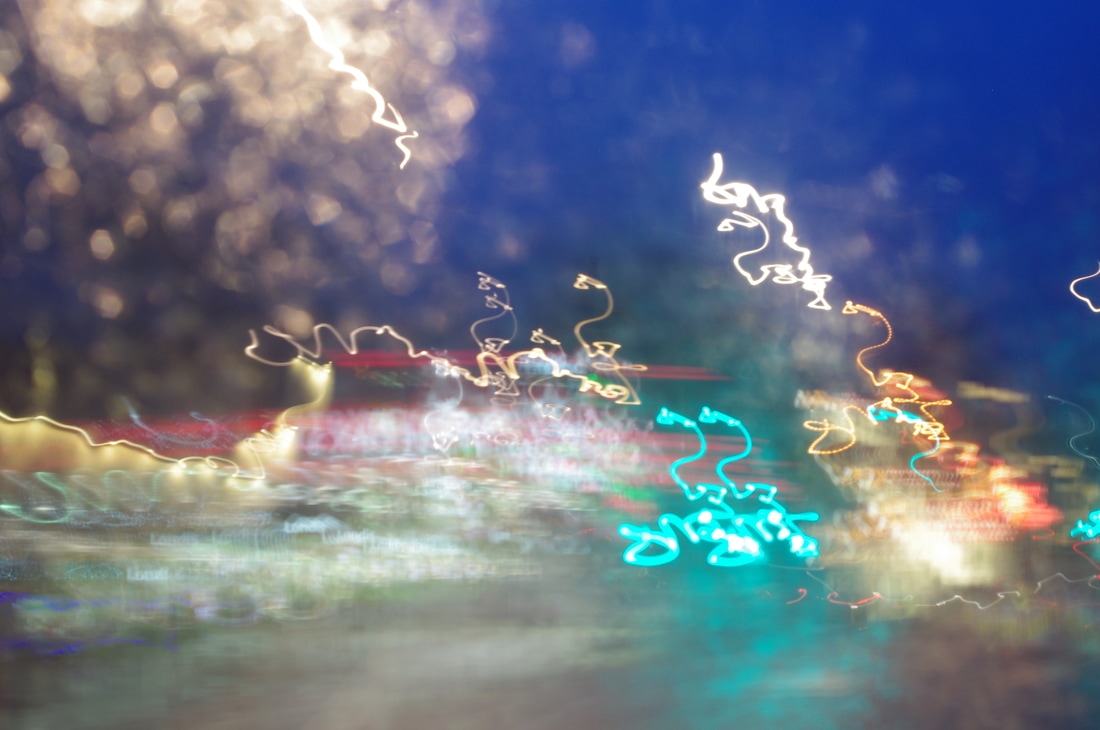
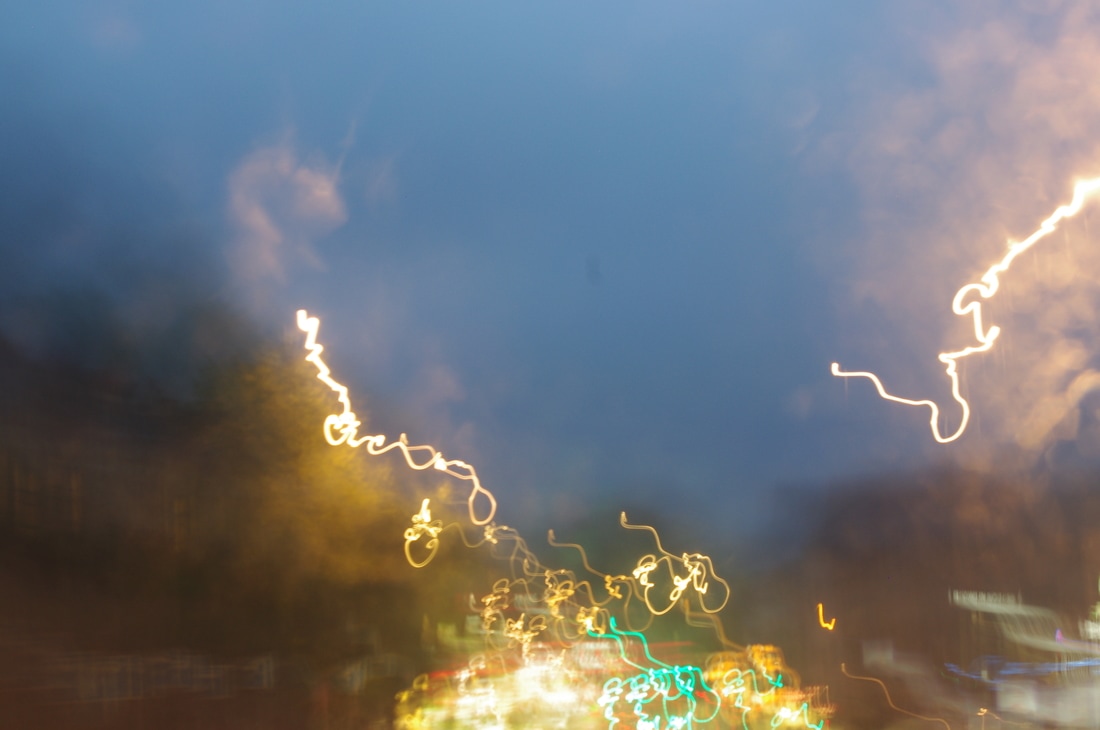
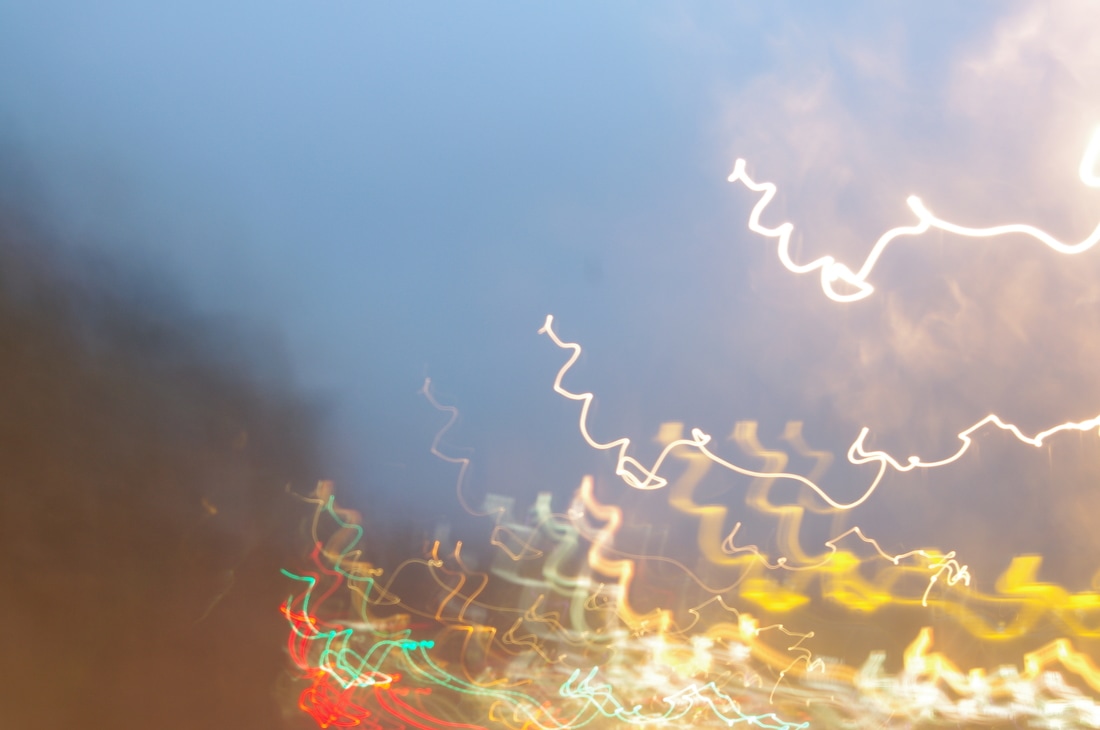
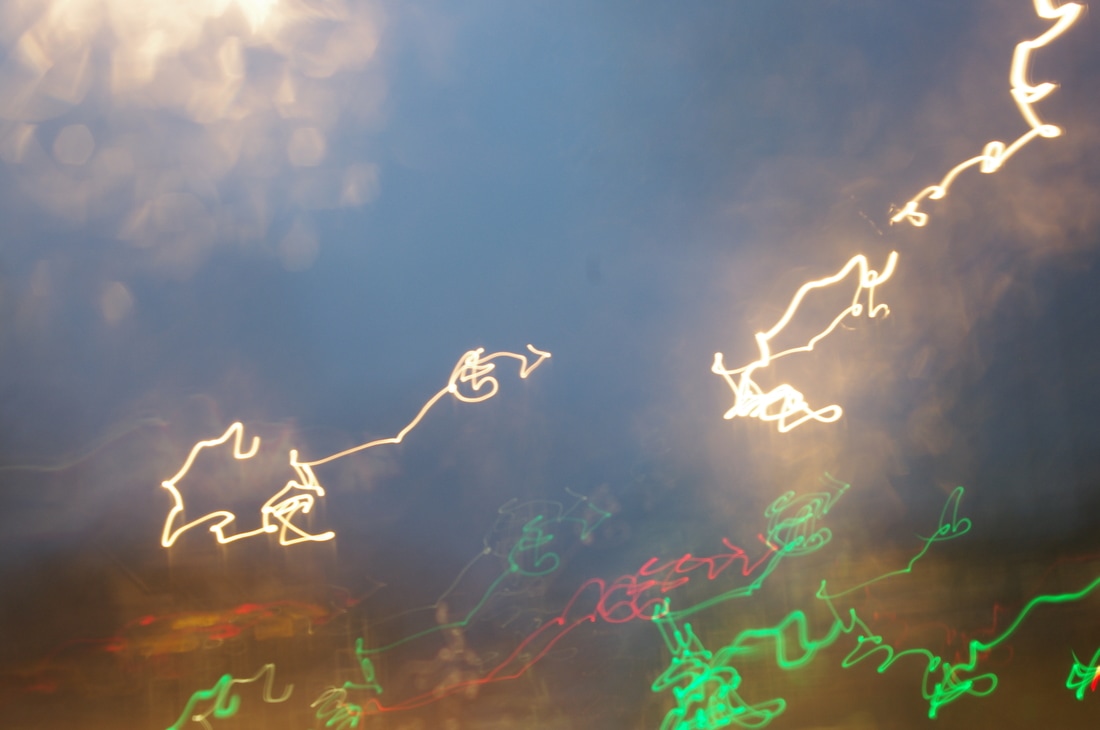
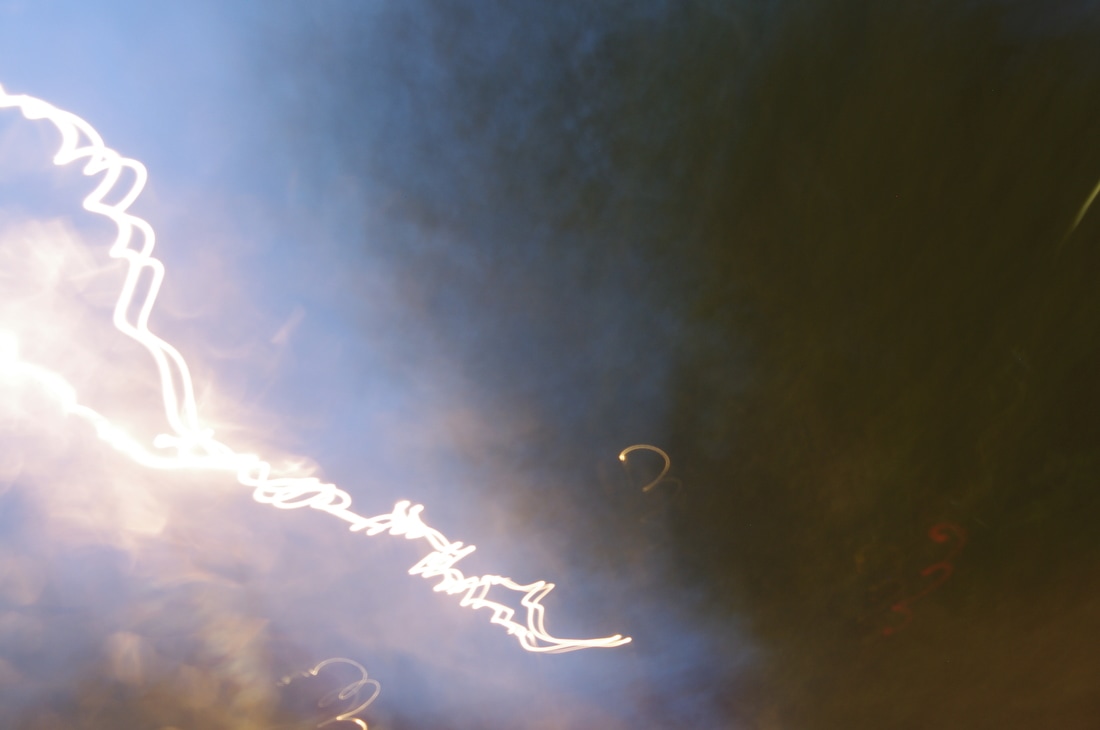
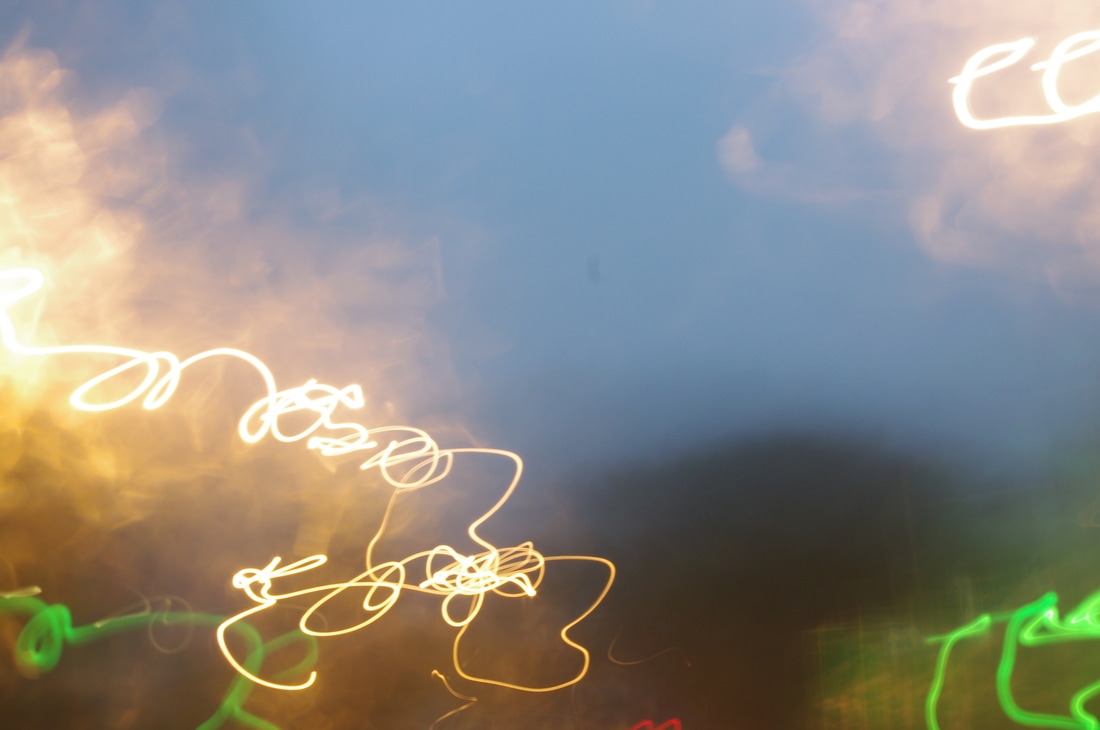
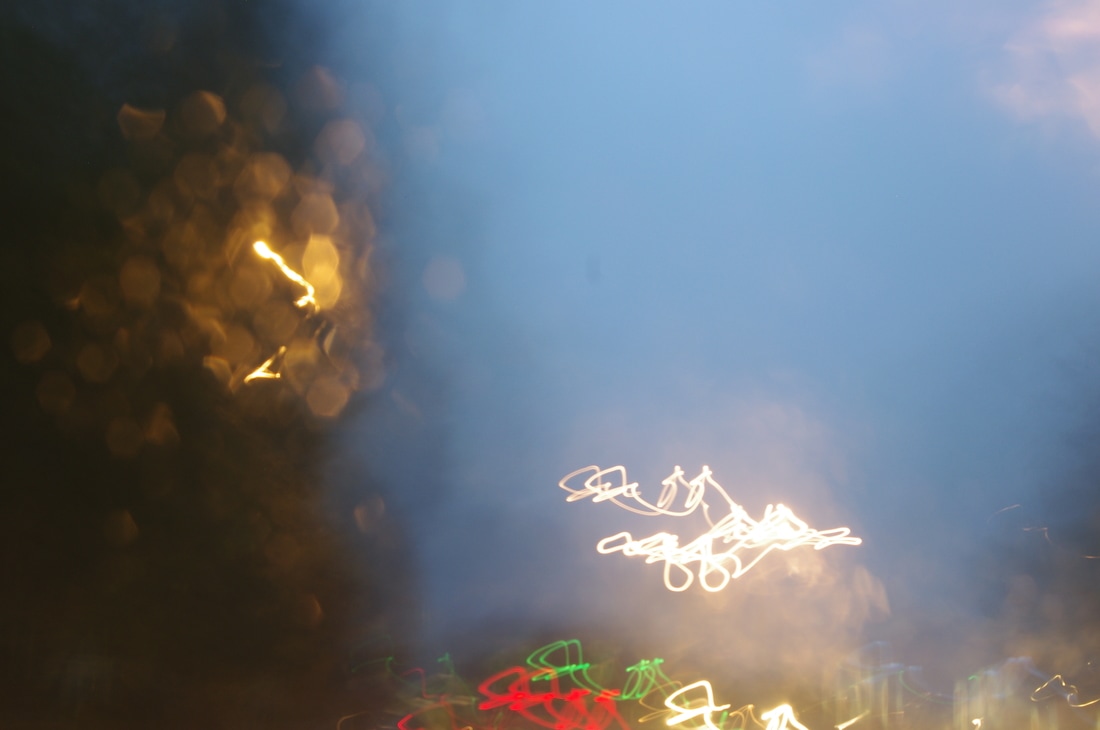
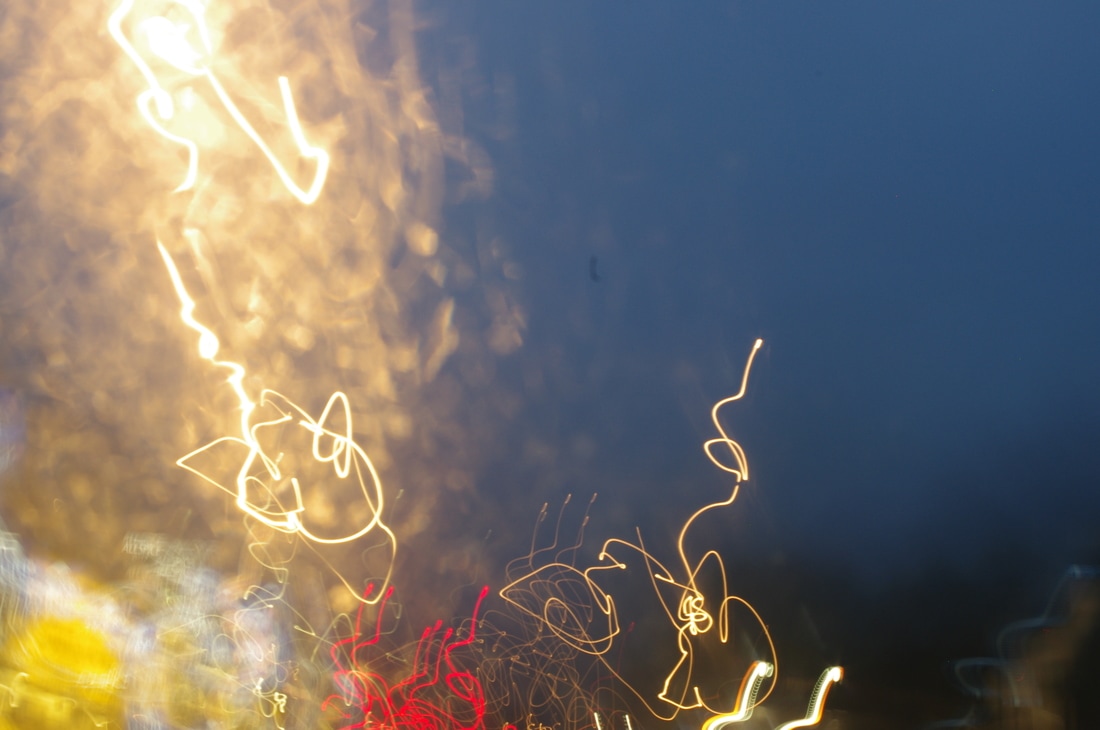
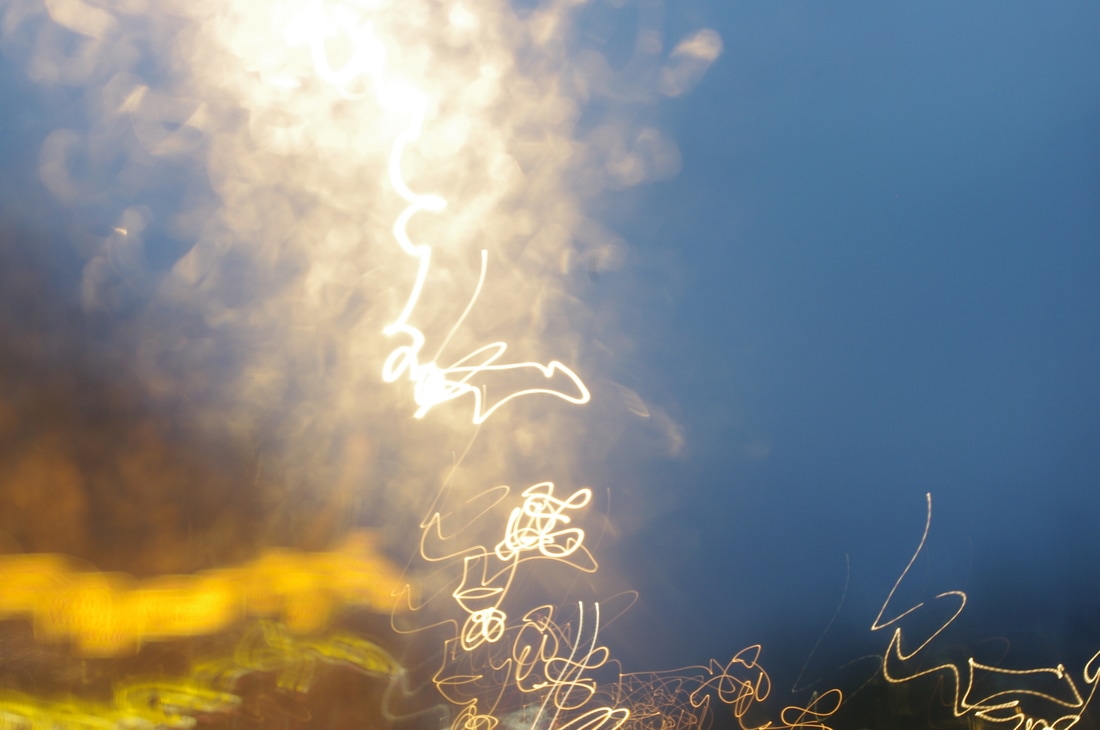
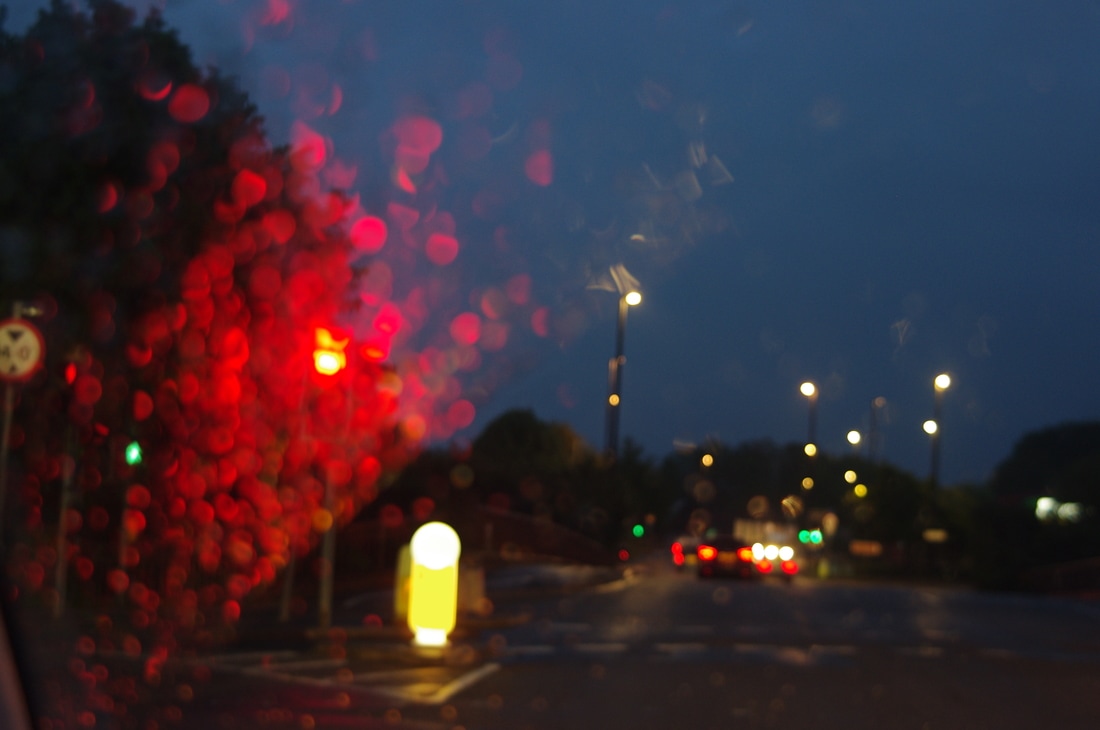
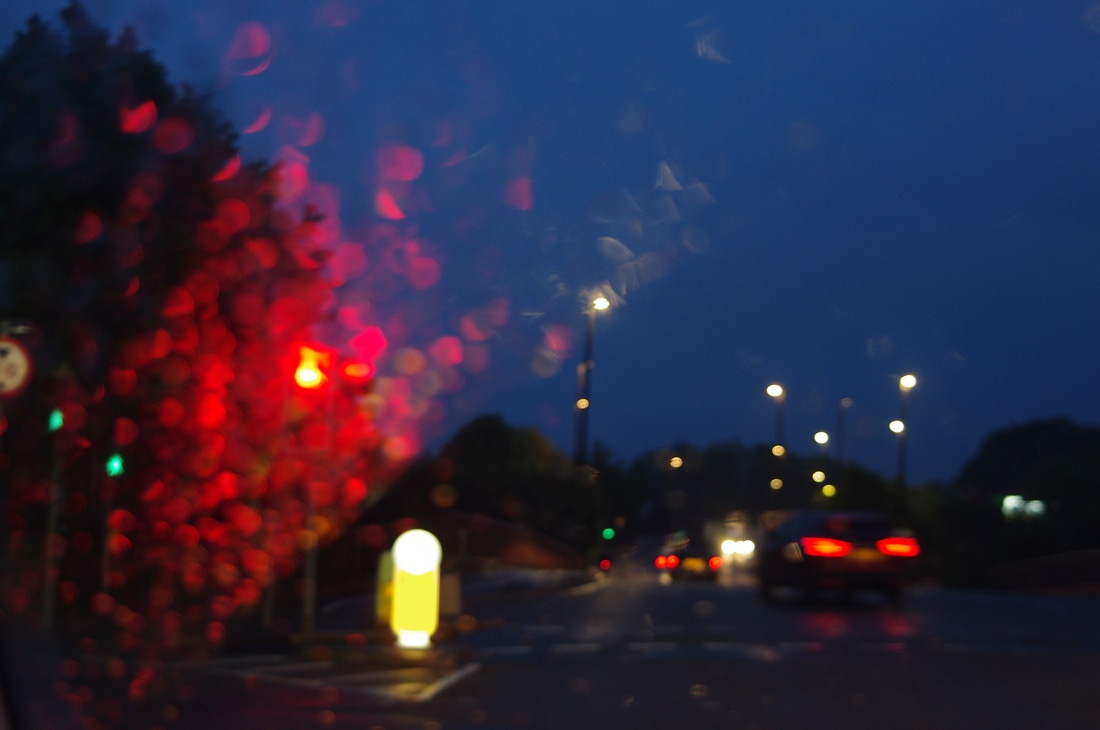
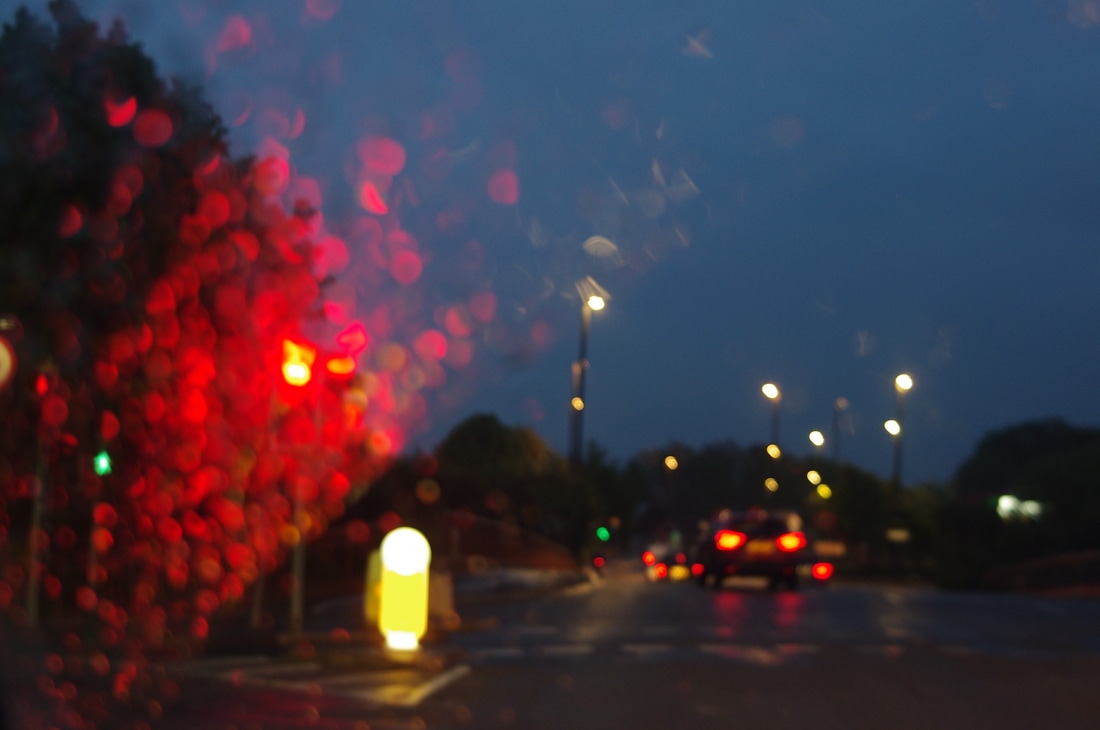
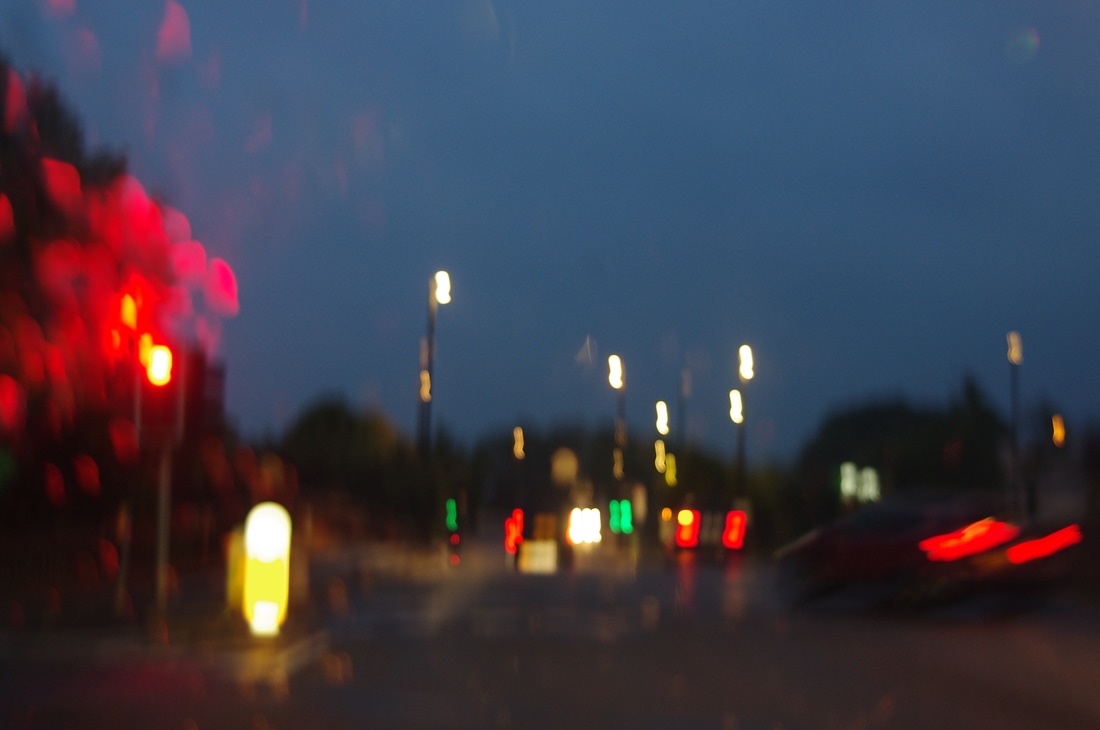
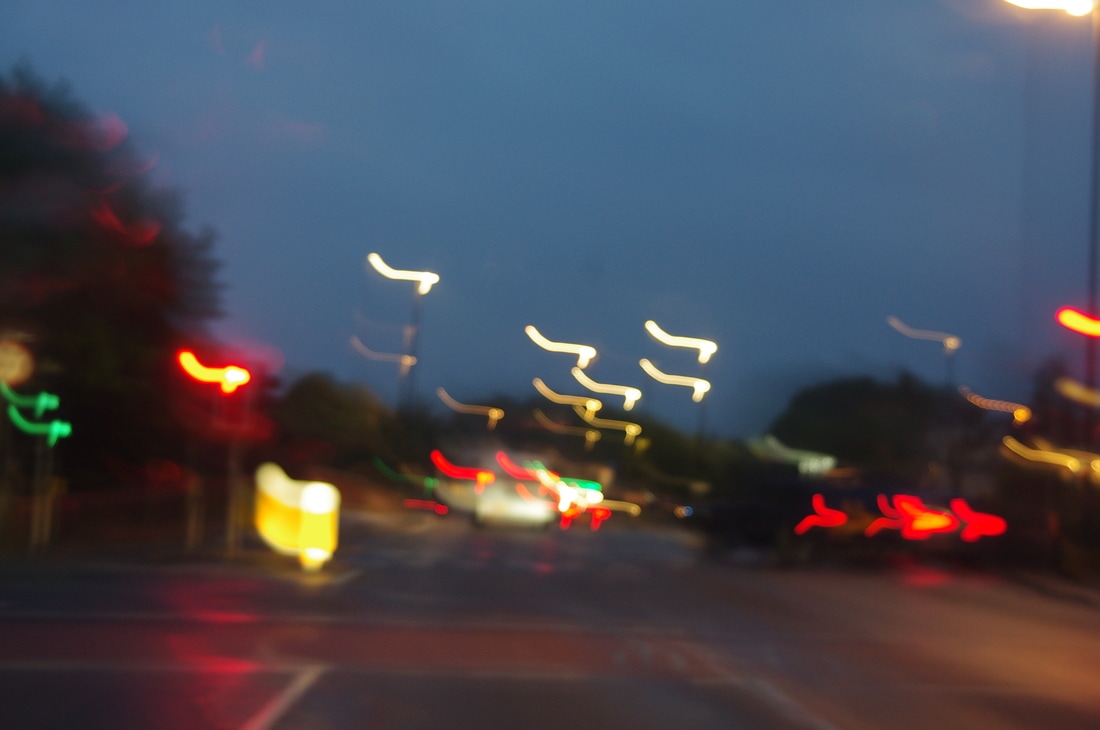
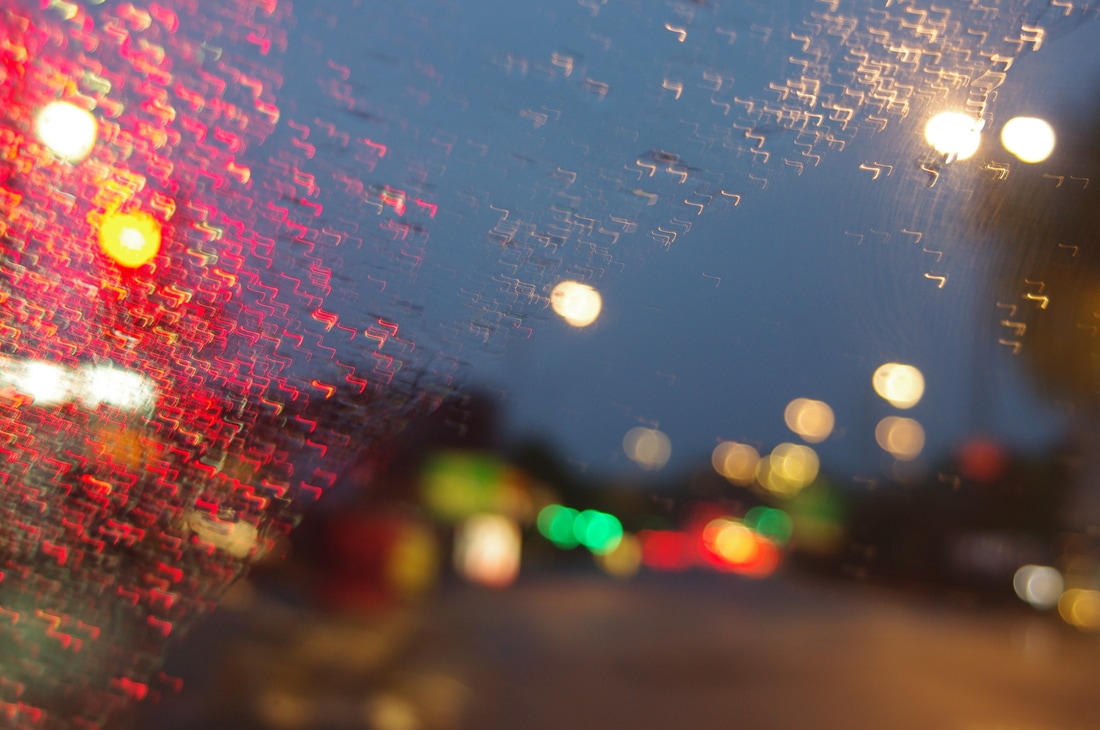
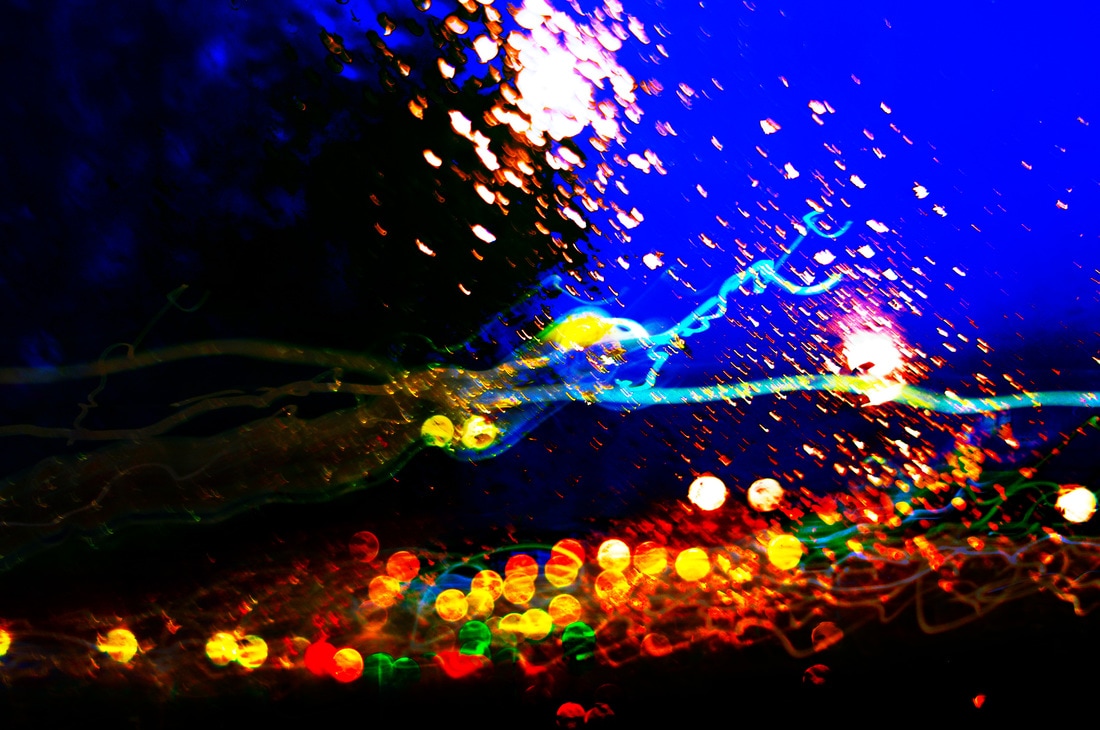
The following photo shoot was taken in Keynsham. I chose to go to this location because of its bright multi-coloured shop lights and busy atmosphere, inspired by Martin Roemers. I took the images while sat in the passenger seat of the car. I held the camera so that is was not steady. This allowed me to capture light trails and achieve a blurry effect which reflects the stormy weather outside.
WWW:- I managed to take a range of different photographs. My photo graphs are colourful. My new idea/technique of sitting in a car and taking photo graphs worked.
EBI:- To make sure that I do not get the car interior in the photograph. I could hold the camera higher to solve this.
WWW:- I managed to take a range of different photographs. My photo graphs are colourful. My new idea/technique of sitting in a car and taking photo graphs worked.
EBI:- To make sure that I do not get the car interior in the photograph. I could hold the camera higher to solve this.


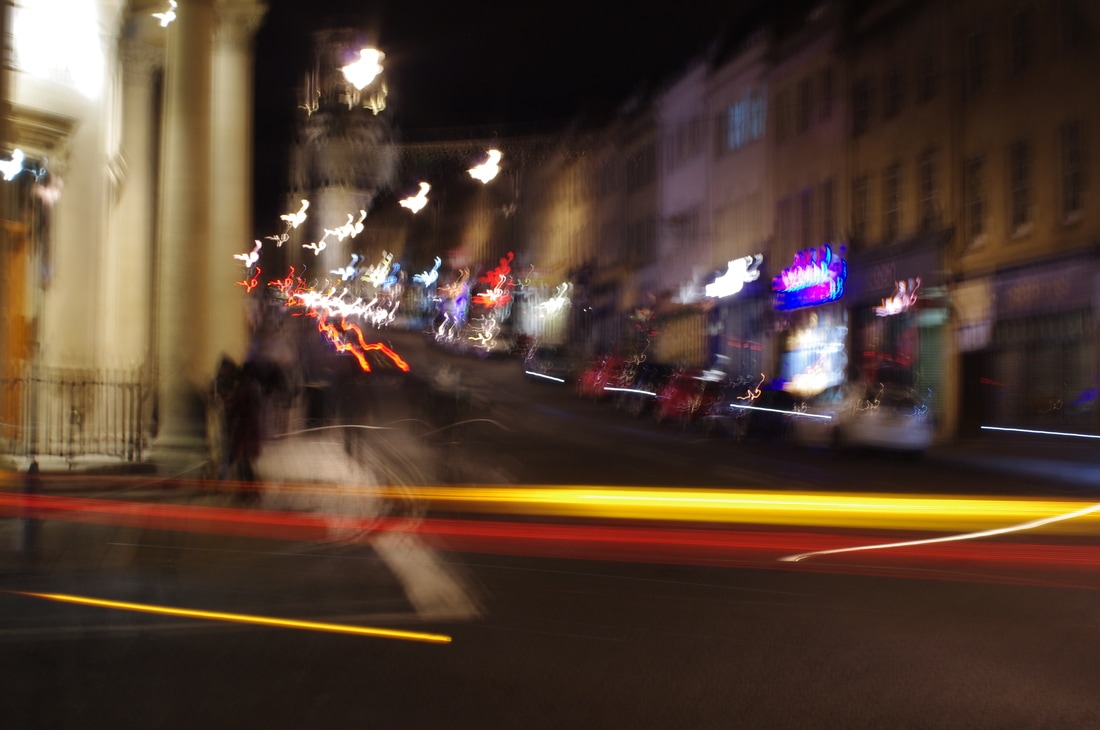
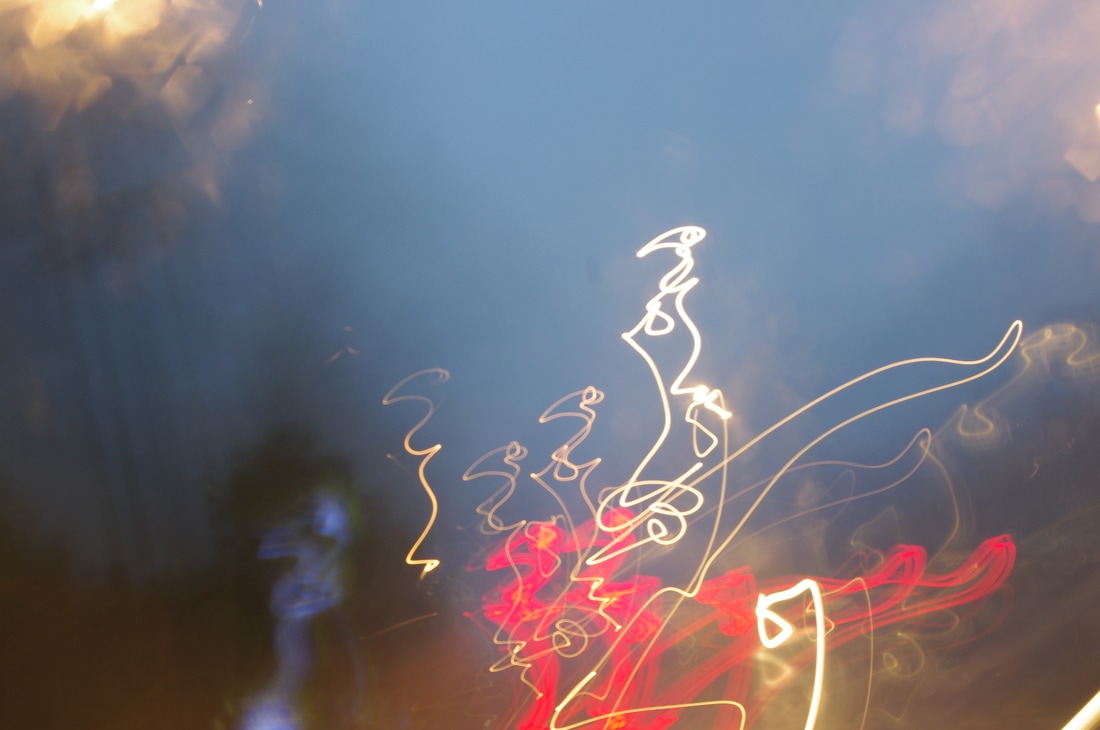
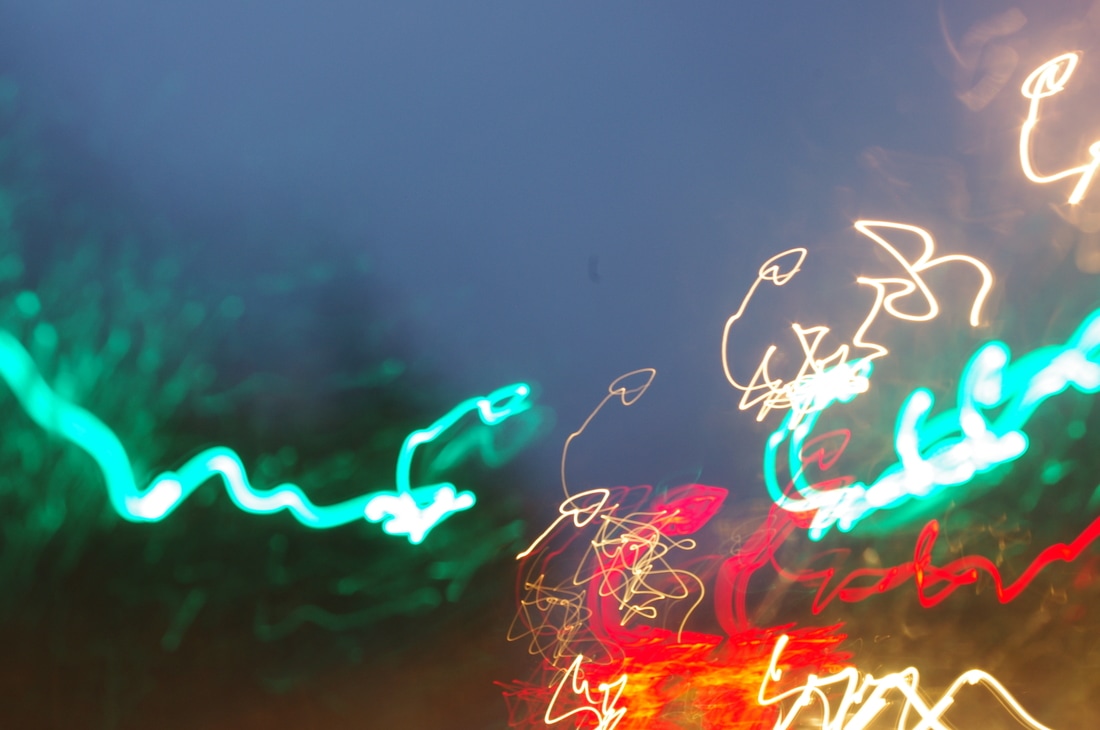
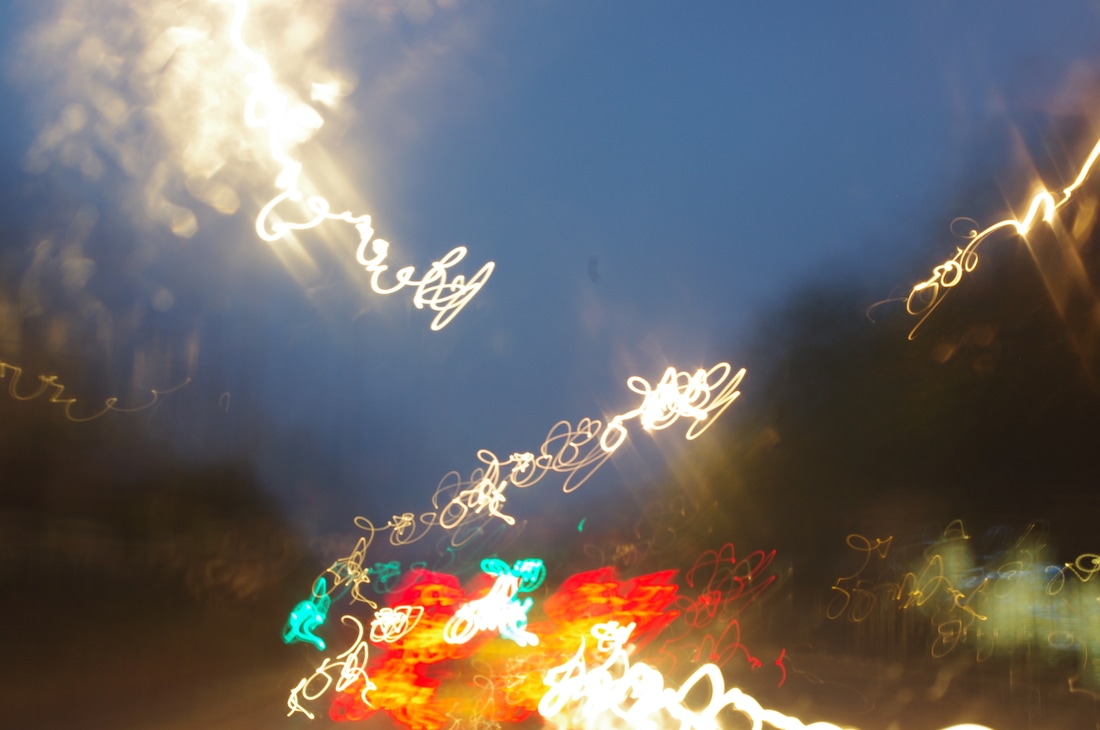
Best Images From This Shoot
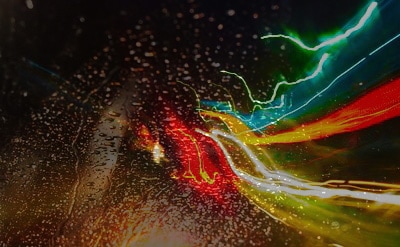
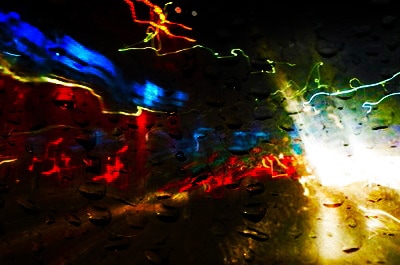
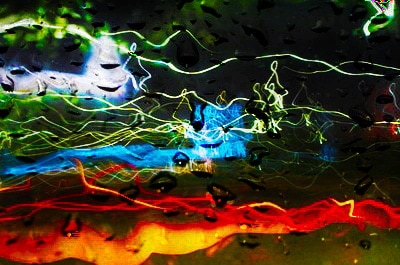
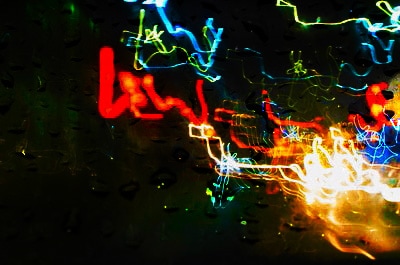
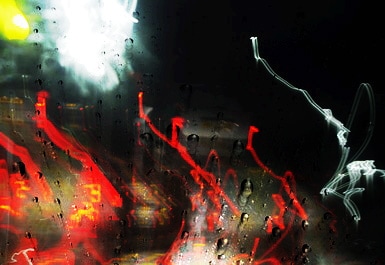
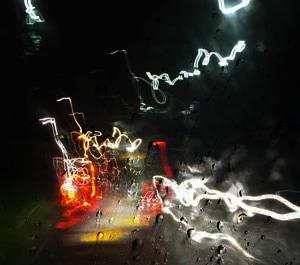
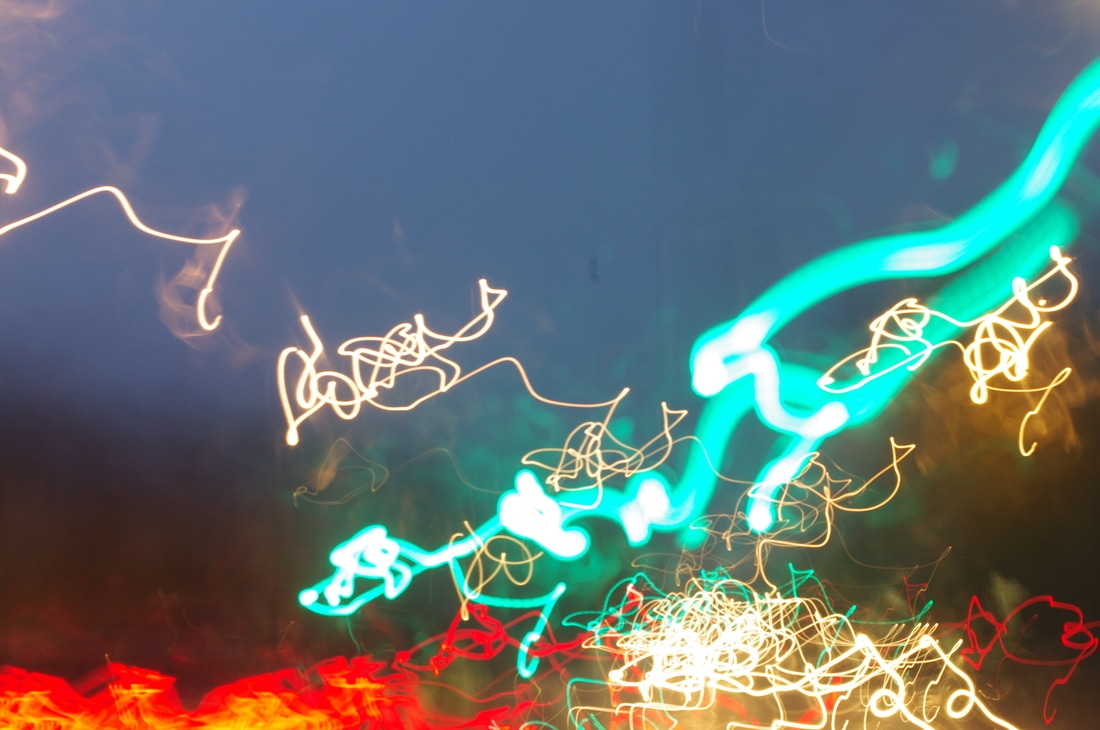
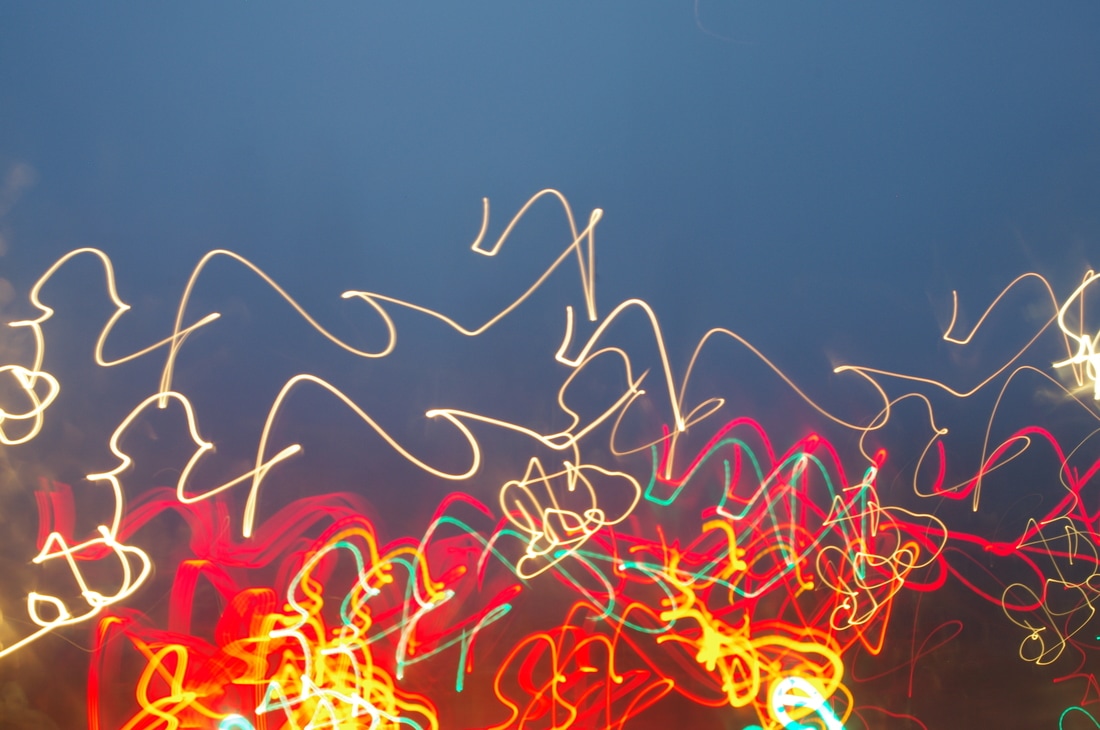
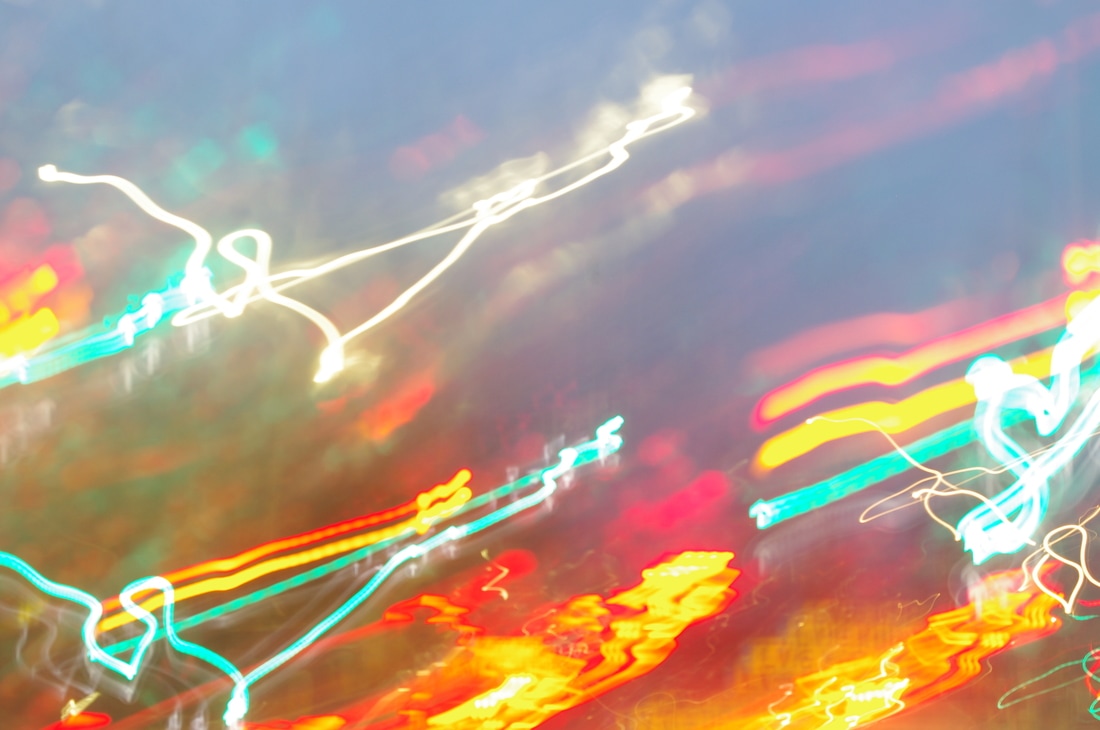
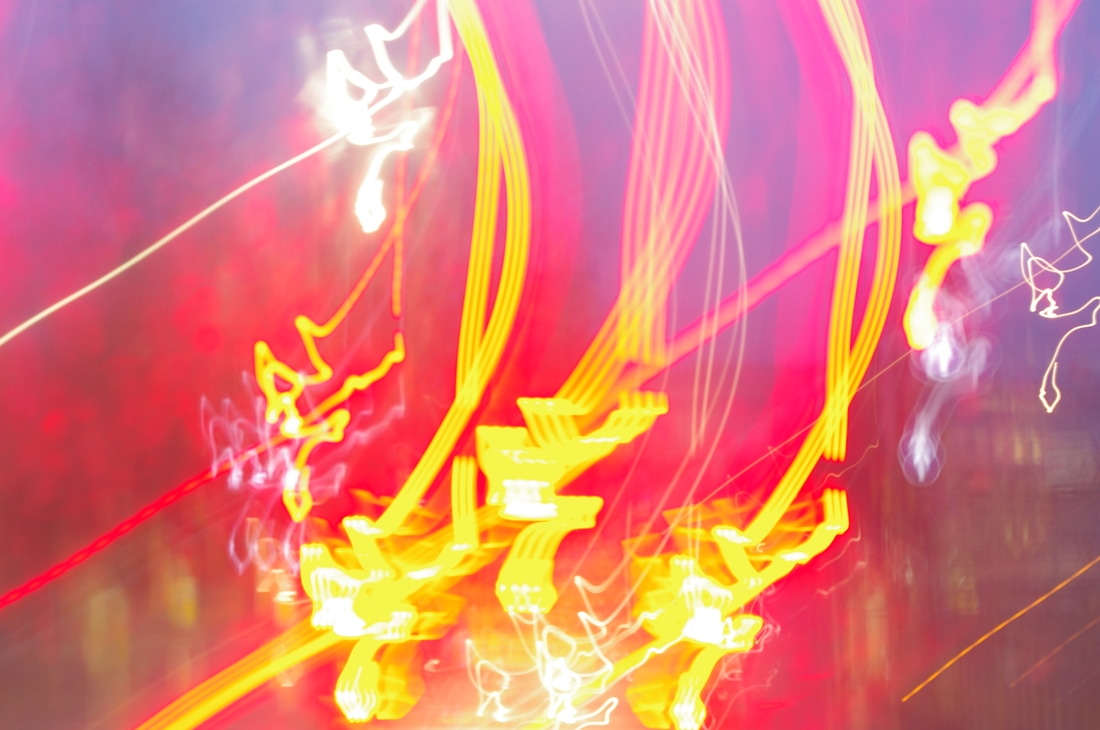
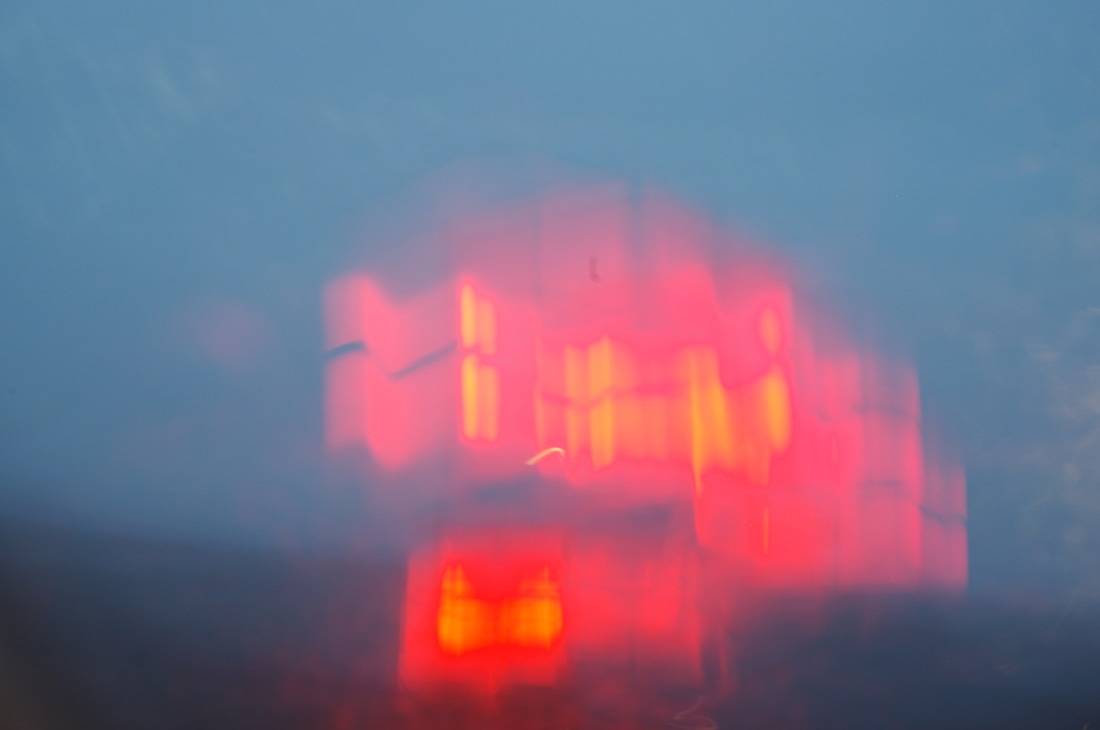
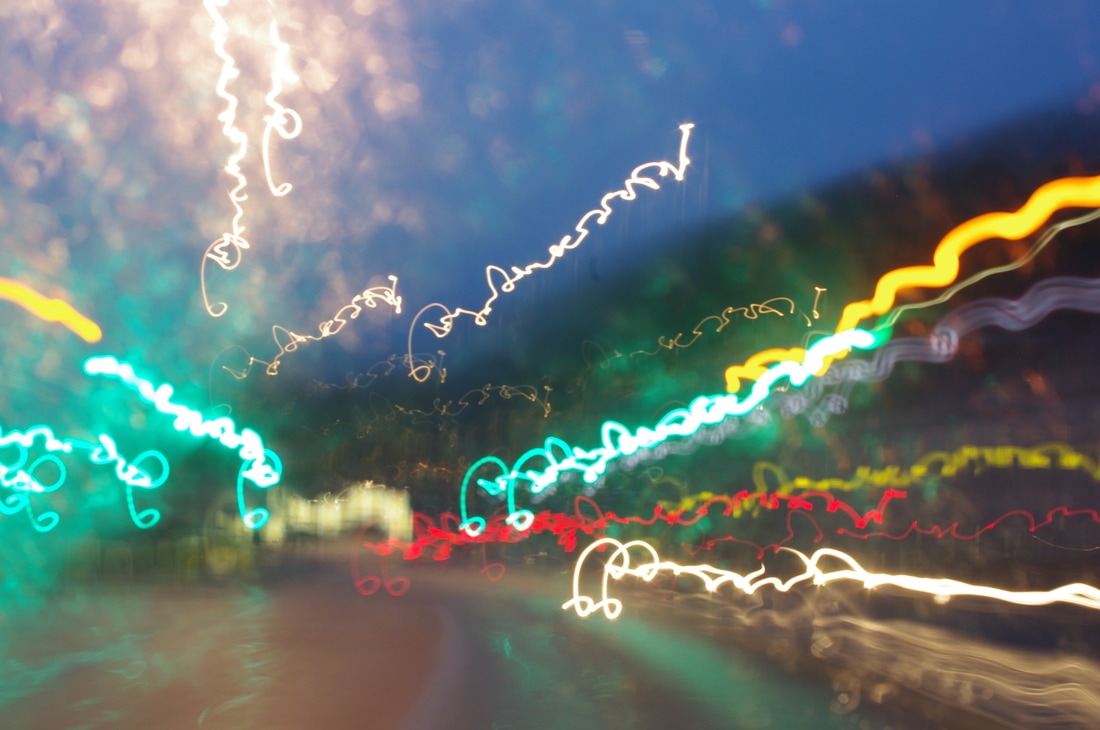
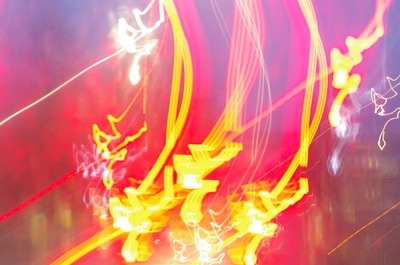
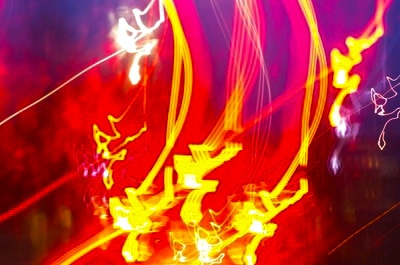
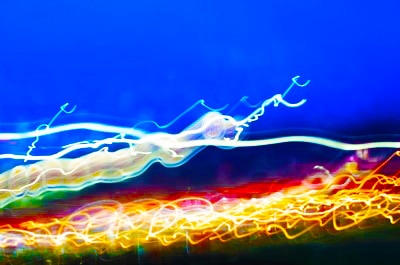
I chose the following images because I believe they are the most creative and original. I believe that they were the most successful from my shoot. They are also colourful, feature light trails and vehicle movements in the images which links to my ideas and the photographers I have researched.

|

|
|
|

|
Photoshop Edits
From the recent teacher feedback I was given I was asked to edit a small section of images. I was asked to increase the vibrancy of these photographs. The following images are the outcome of this experiment.
|
|
|
|

|
|
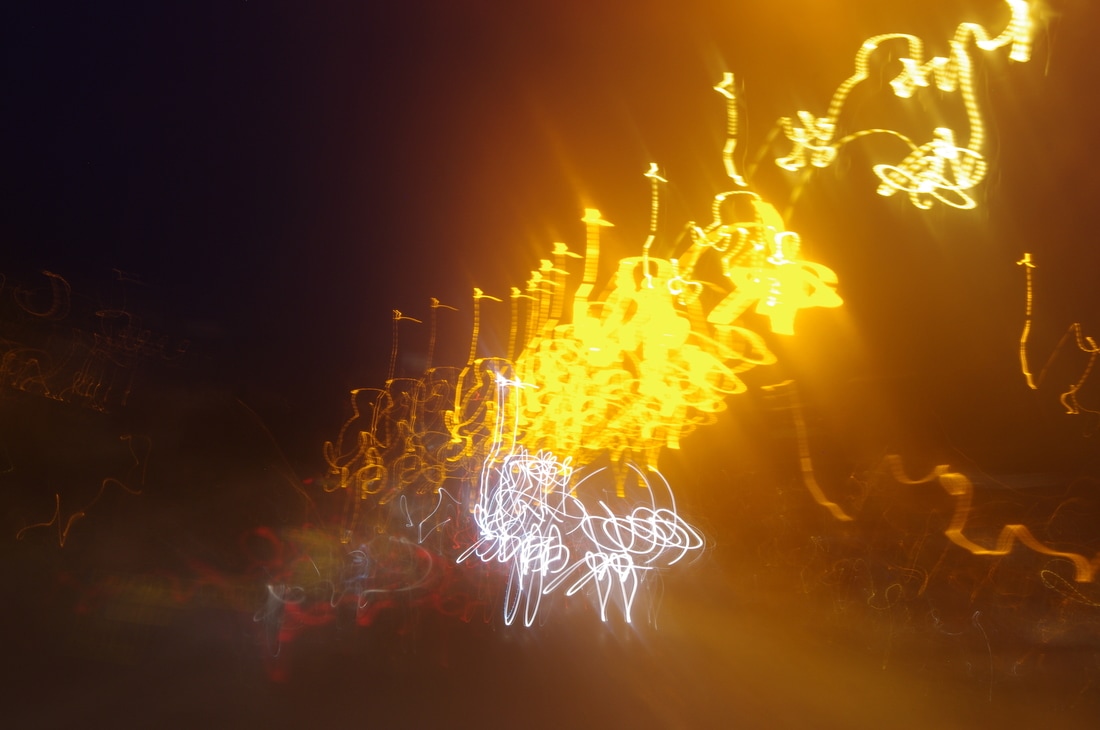
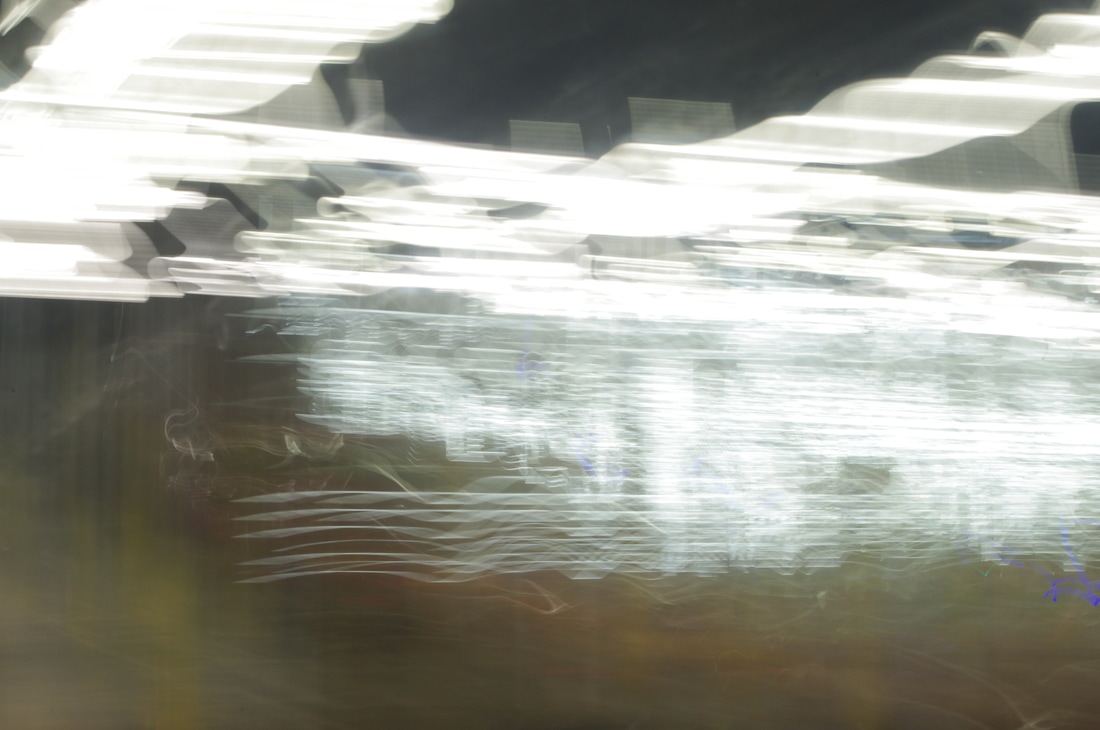
Experiment with HDR Toning
Using Photoshop I wanted to experiment with creating really vibrant images. This is because of my research into highly vibrant colours featured in Christopher Martin's work. To do this I worked with the HDR settings and achieved the image below. I increased the contrast, saturation and vibrancy of the image. I also increased detail which displayed unusual white lines. These lines/shapes are mainly seen around the sides of the image.
Experiment with HDR toning, re-edit and critique.
Lichtfaktor
Critical Analysis

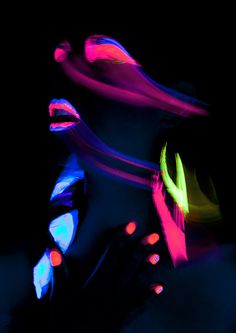
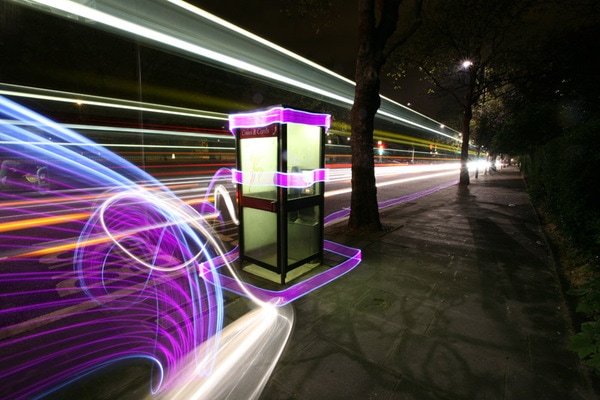
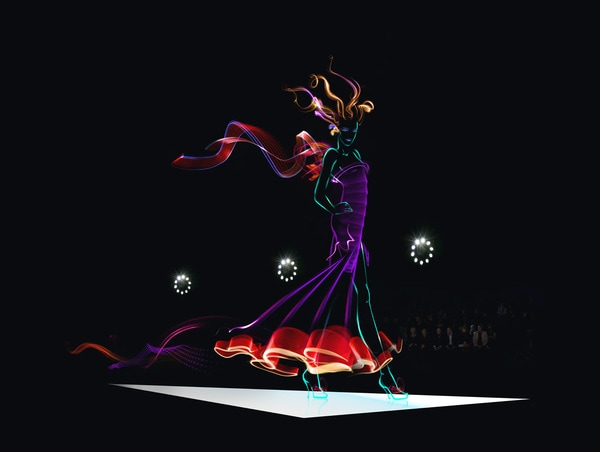
Lichtfaktor meaning Lightfactor are a group of German photographers, light artists, dancers and technicians who create 'light paintings' using long exposure photography. Lichtfaktor are based in Cologne, Germany and have been around for 10 years so far. The group first consisted of 3 members Marcel Panne, David Lüpschen and Tim Fehske. Lichtfaktor was formed when Marcel Panne was commissioned to create a video production project for 'Energy in Motion' then David Lüpschen and Tim Fehske became involved. Lichterfaktor's style of light writing was majorly influenced by their backgrounds as street and graffiti artists. The group has increased in members since then and are seeking new creative people to join them still. Lichtfaktor are well known for their unique light painting style and for creating animations using this technique. The group have worked for many clients including telecommunications companies such as TalkTalk.
Lichtfaktor find their inspiration from artwork and light paintings from other people. The group are known for mostly planning their ideas and then travelling to produce them. However, sometimes they gain inspiration while on location. The group have said that they 'enjoy the contrast of using different light sources to create their images' - written by Jason D. Page, a light painter.
I have chosen Lichtfaktor because I would like to experiment further with light trails through their style of work. I have chosen to analyse the image on the left because I believe it relates to my work so far. This is because the photograph features light trails created by car lights. To create this Lichtfaktor would have used a tripod and long exposure settings. The photograph contains vibrant colours. These are purple, blue, yellow, orange, red and white. The formal elements of the image are line, shape, composition and colour. I like the work because it is colourful and energetic. To improve the photograph I believe that Lichtfaktor could have drawn images using the torches such as vehicles to make it more interesting. I believe that the photograph was taken to encourage creativity with its originality.
I will use Lichtfaktor's style to inspire me to experiment further with light trails. I would like to continue to create my own light trails but with different colours to make my work more vibrant like Christopher Martin and busier like Martin Roemers. I am also going to look at drawing specific images using torches. I will combine these ideas with vehicles being featured in the photographs too.
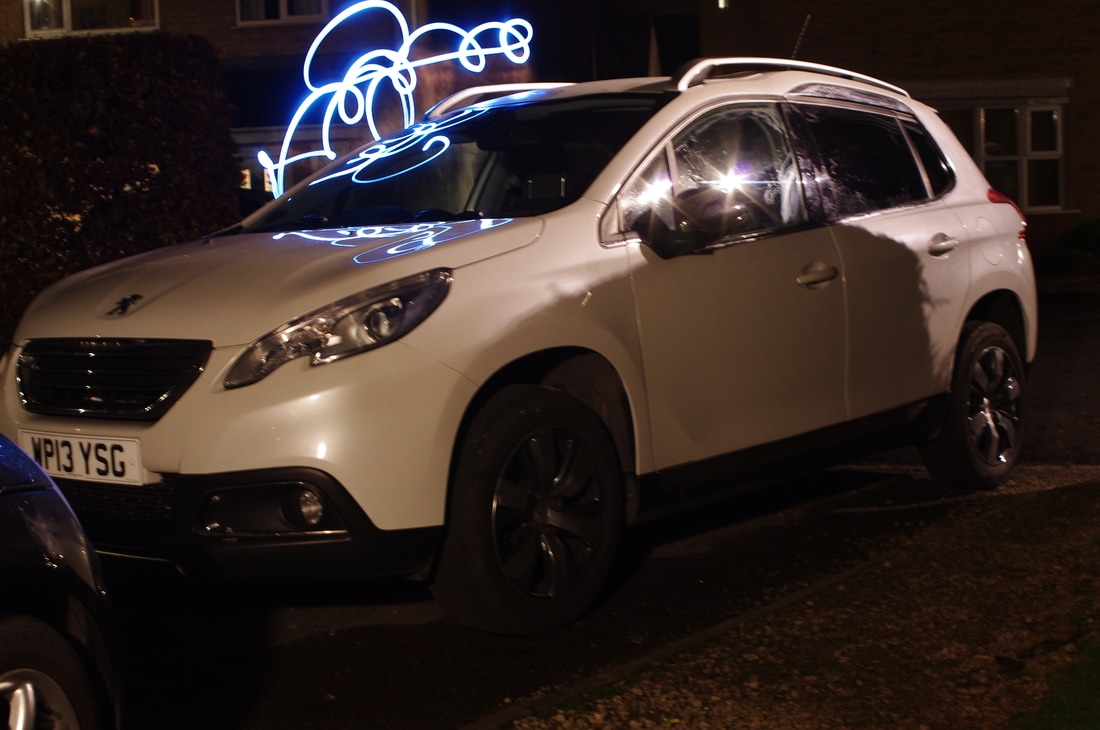
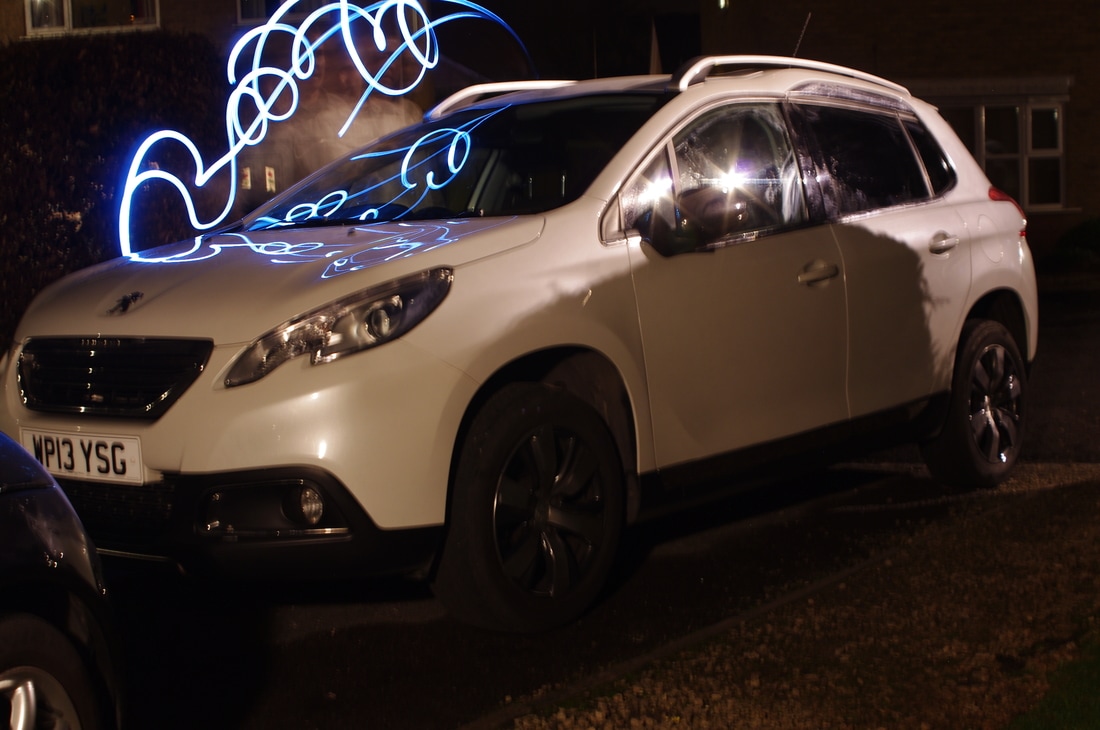
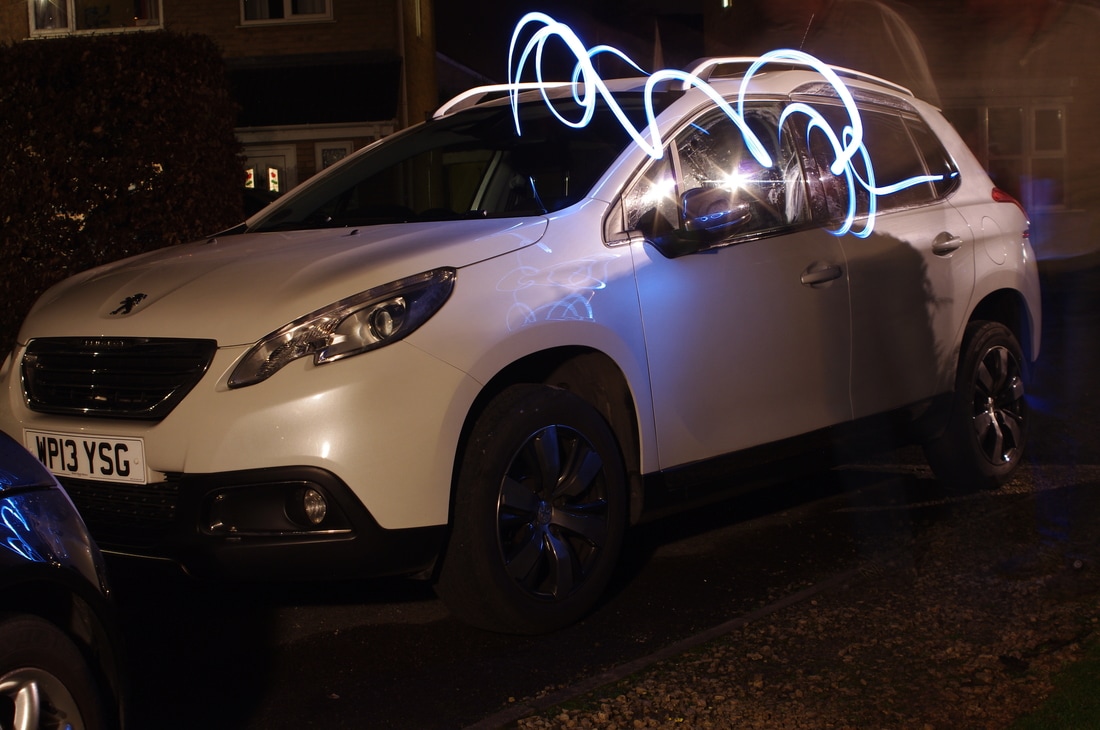
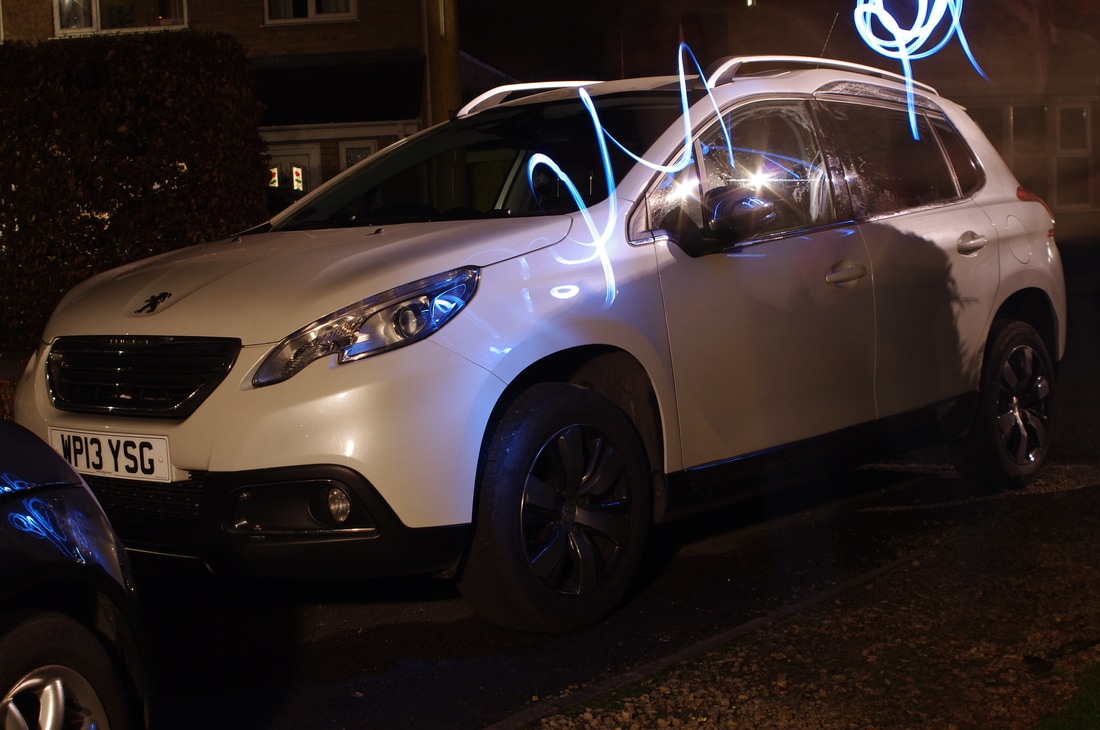
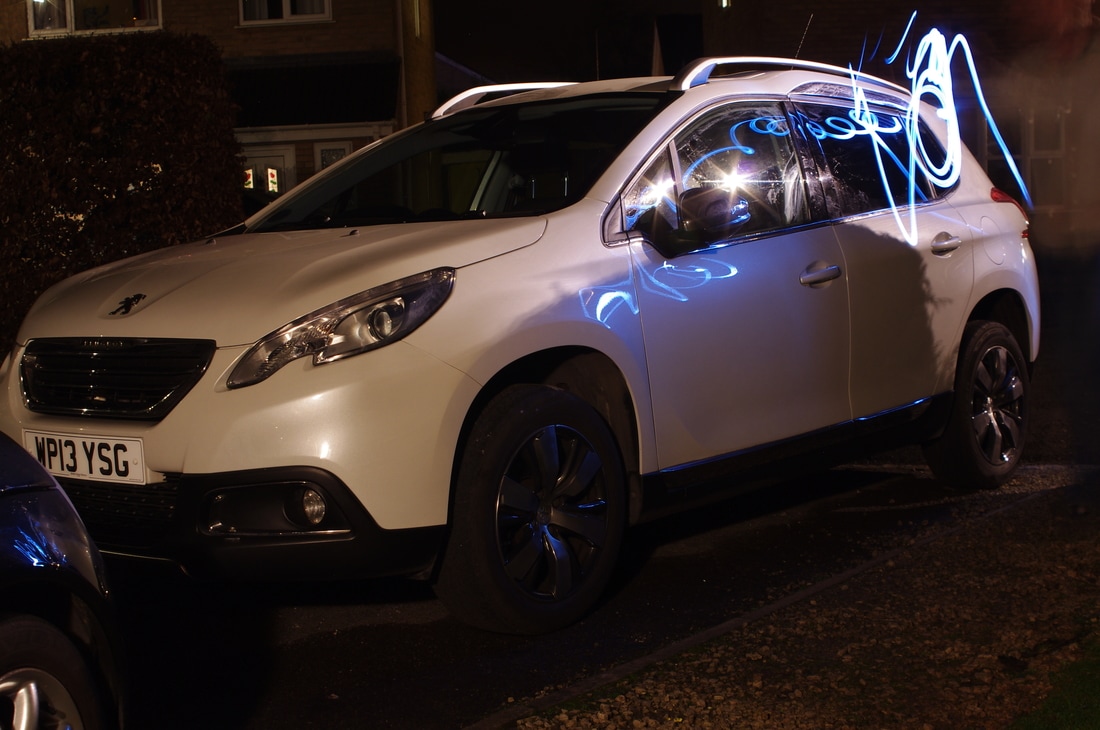
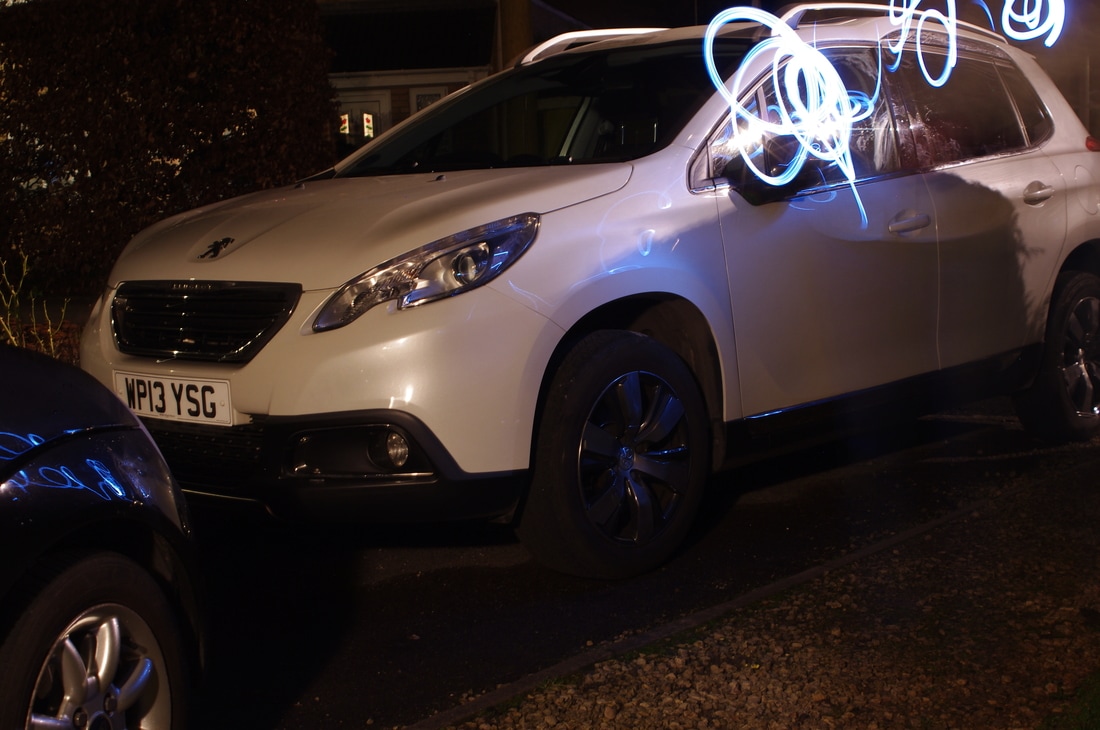
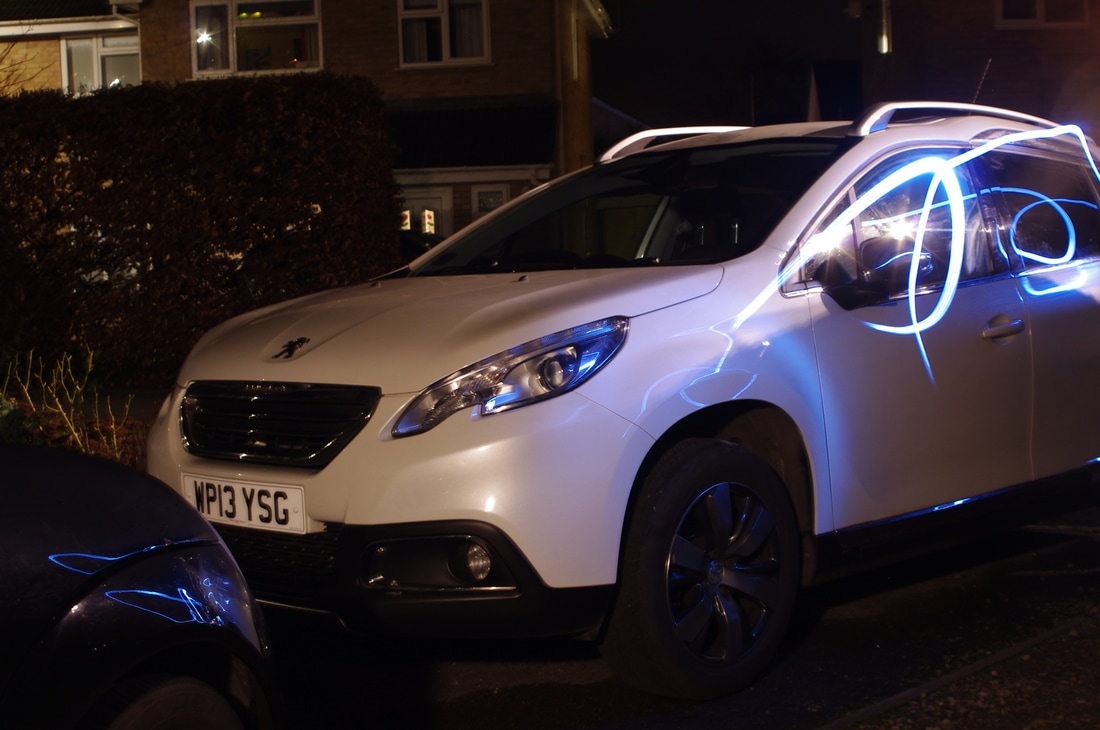
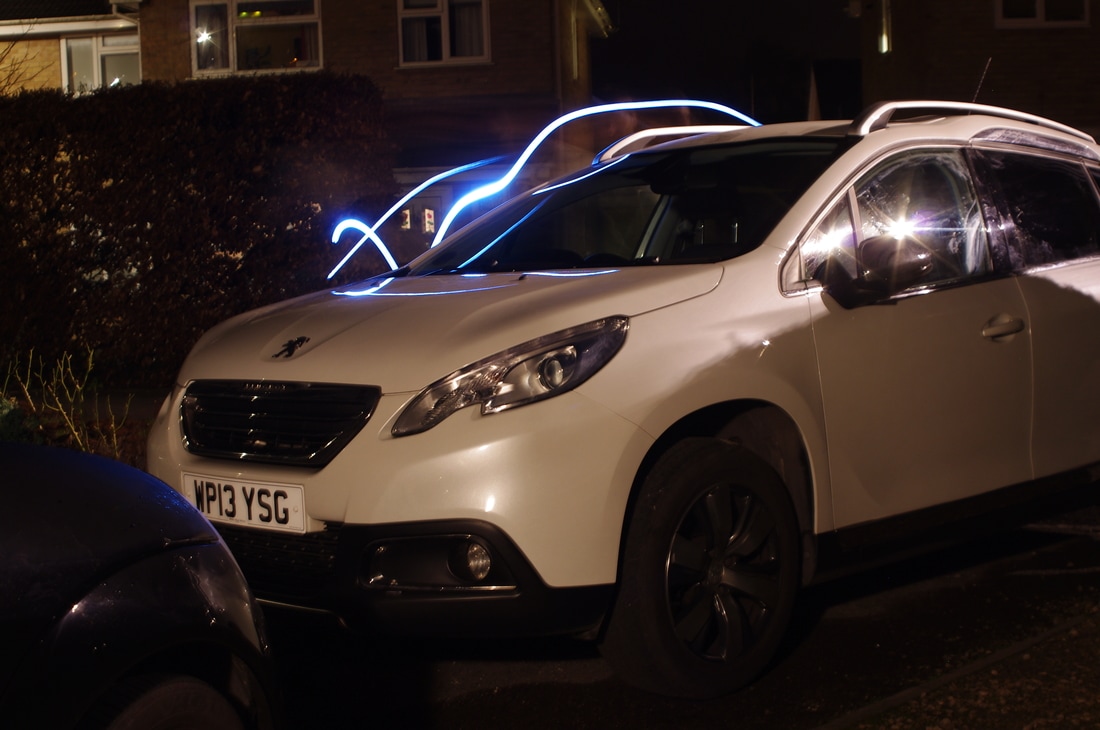
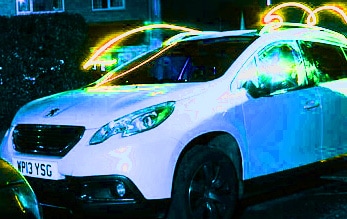
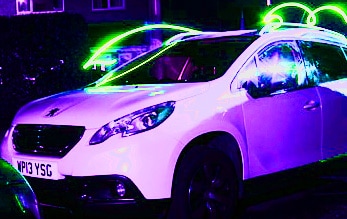
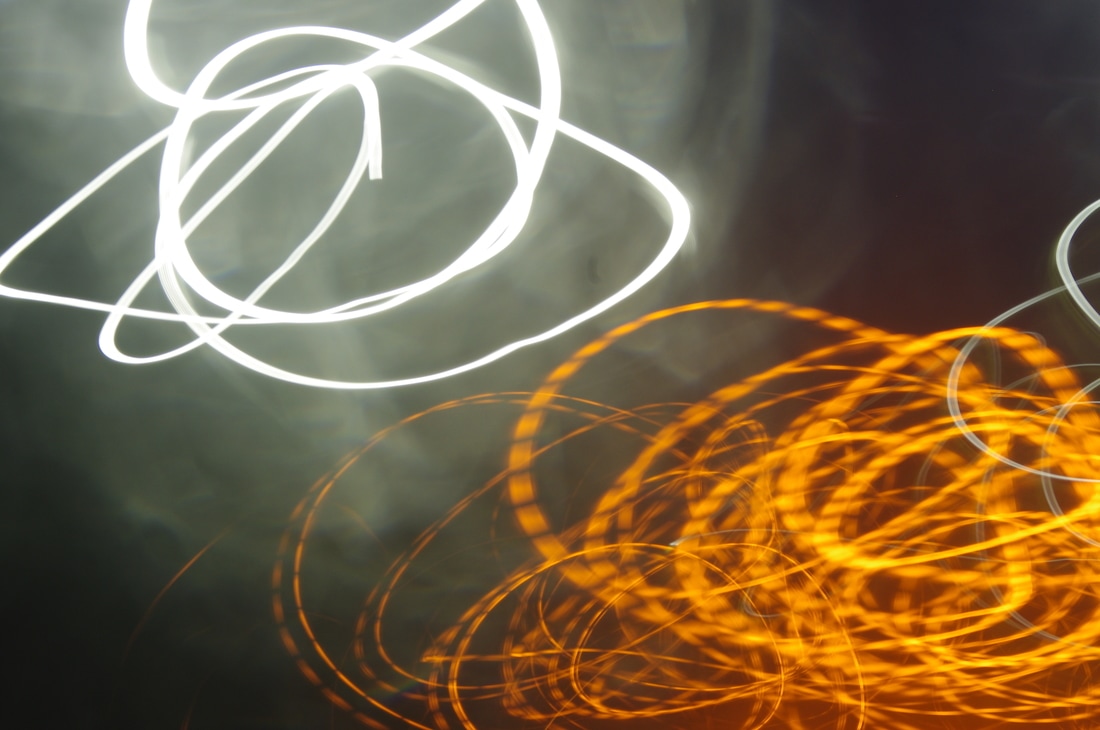
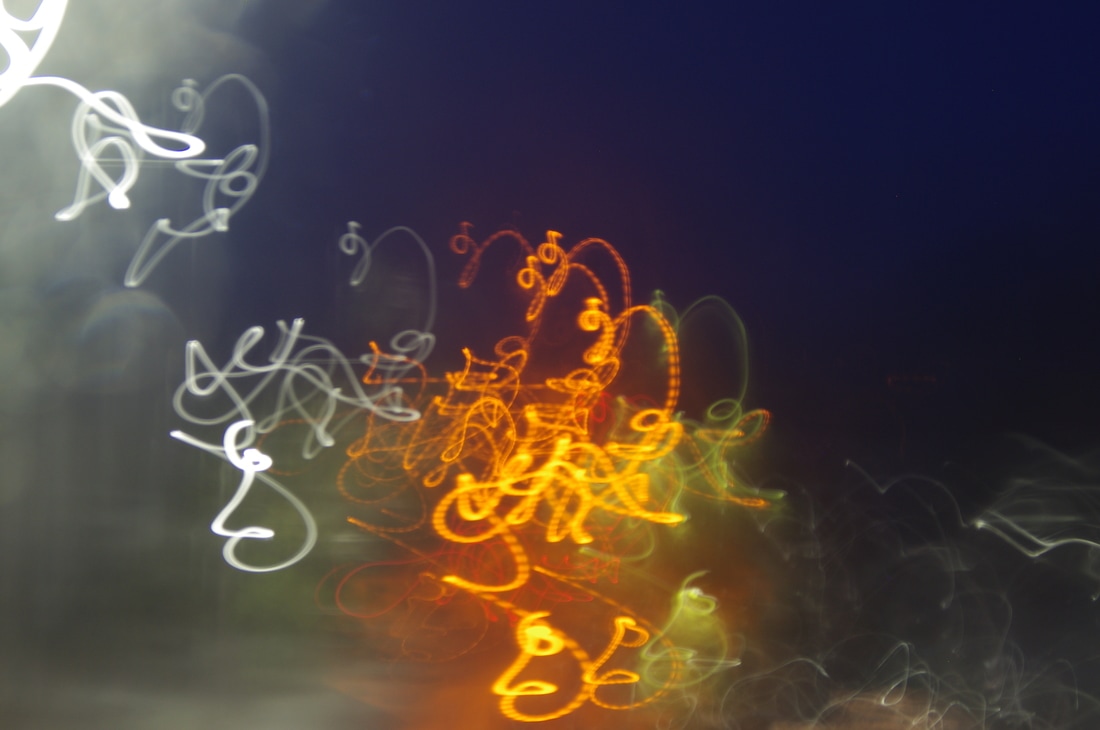
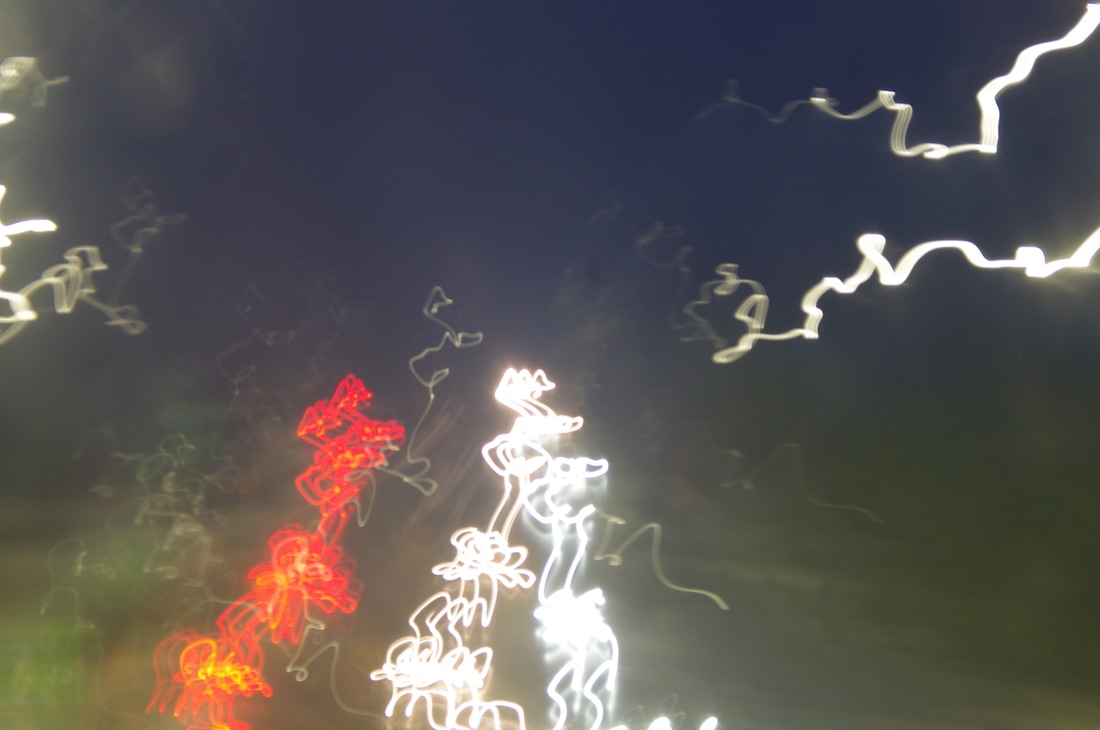
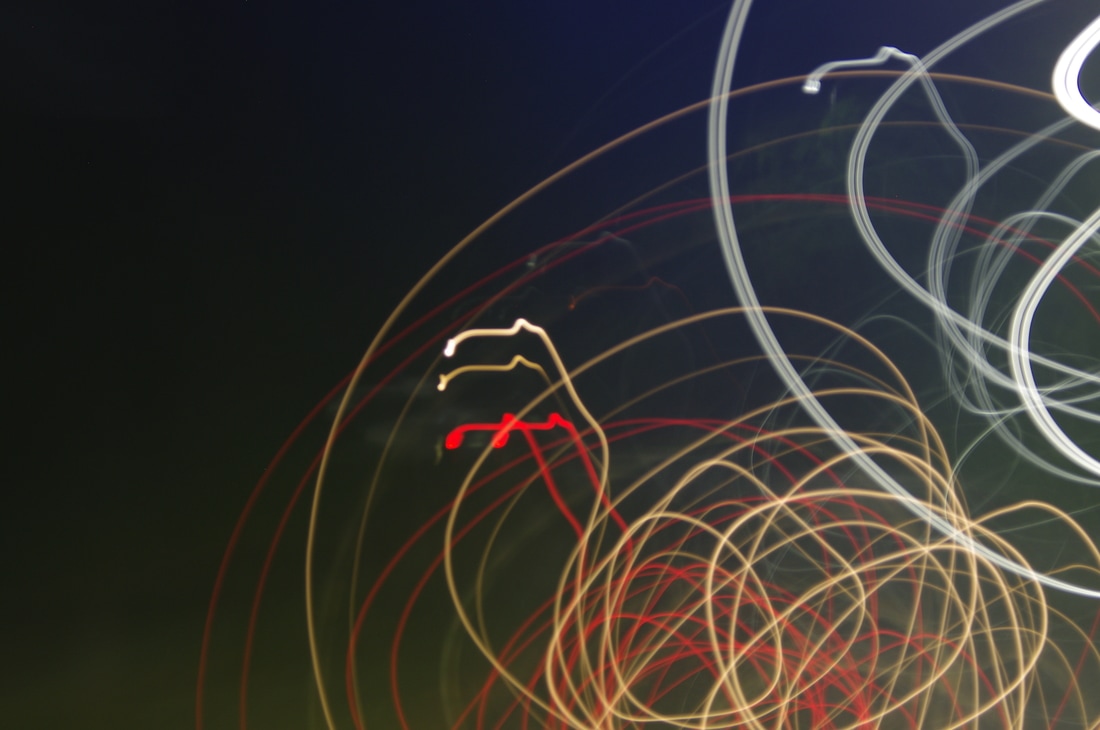
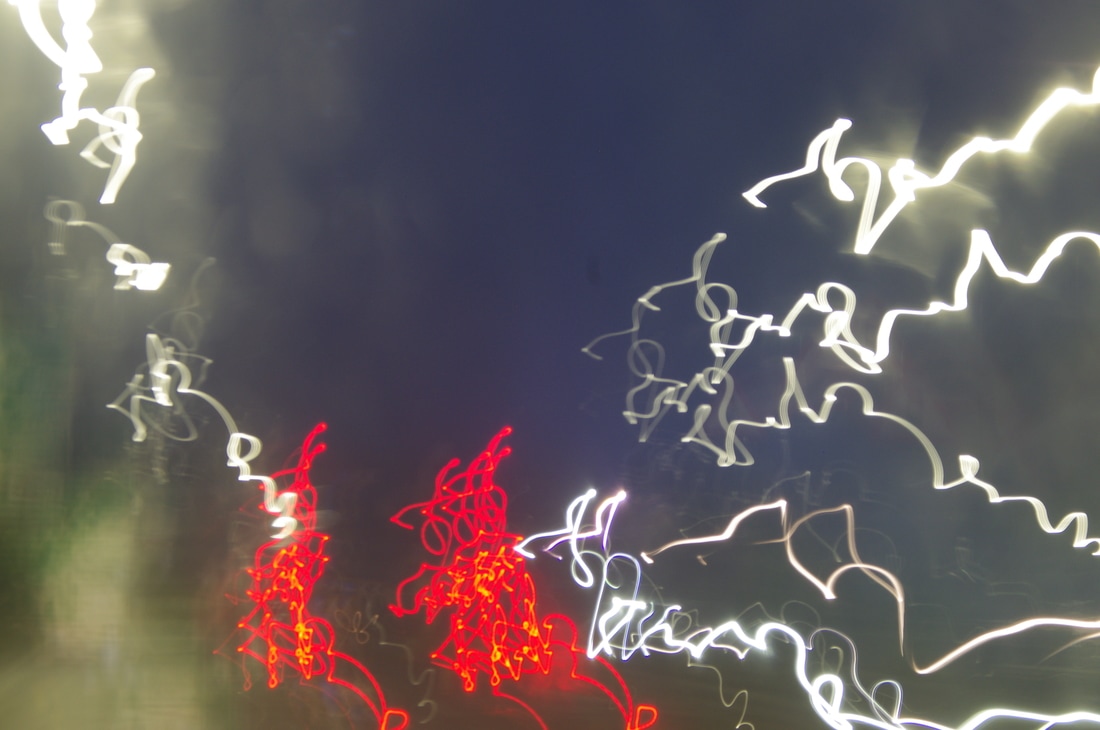
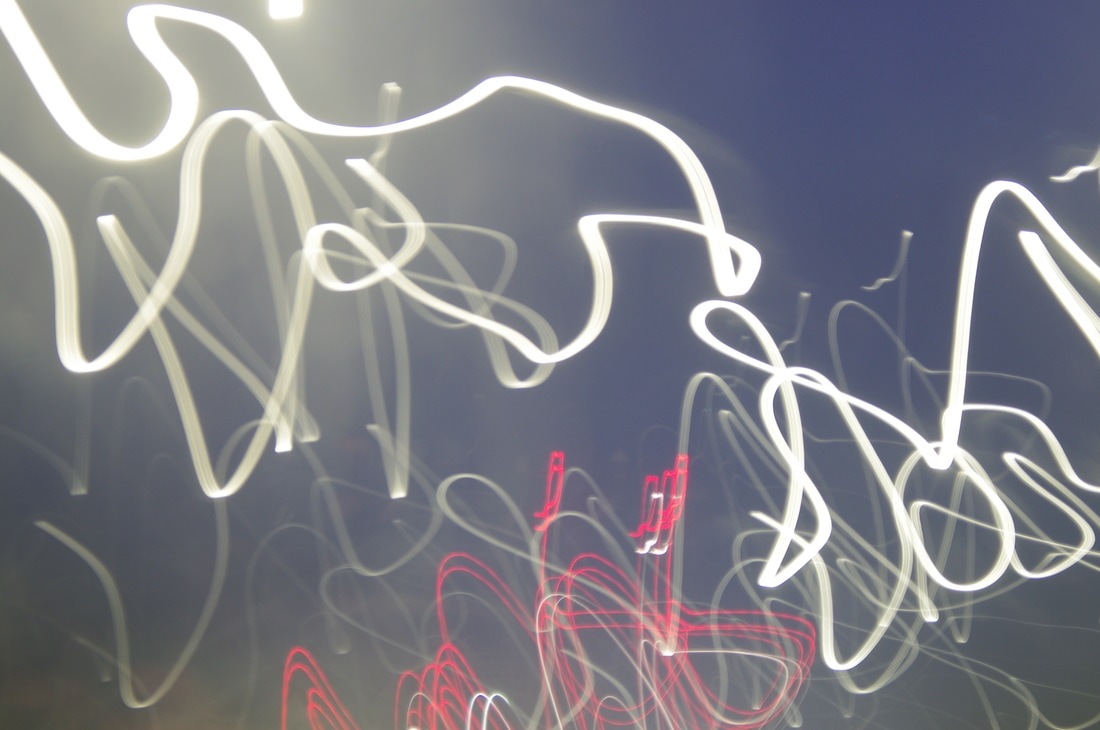
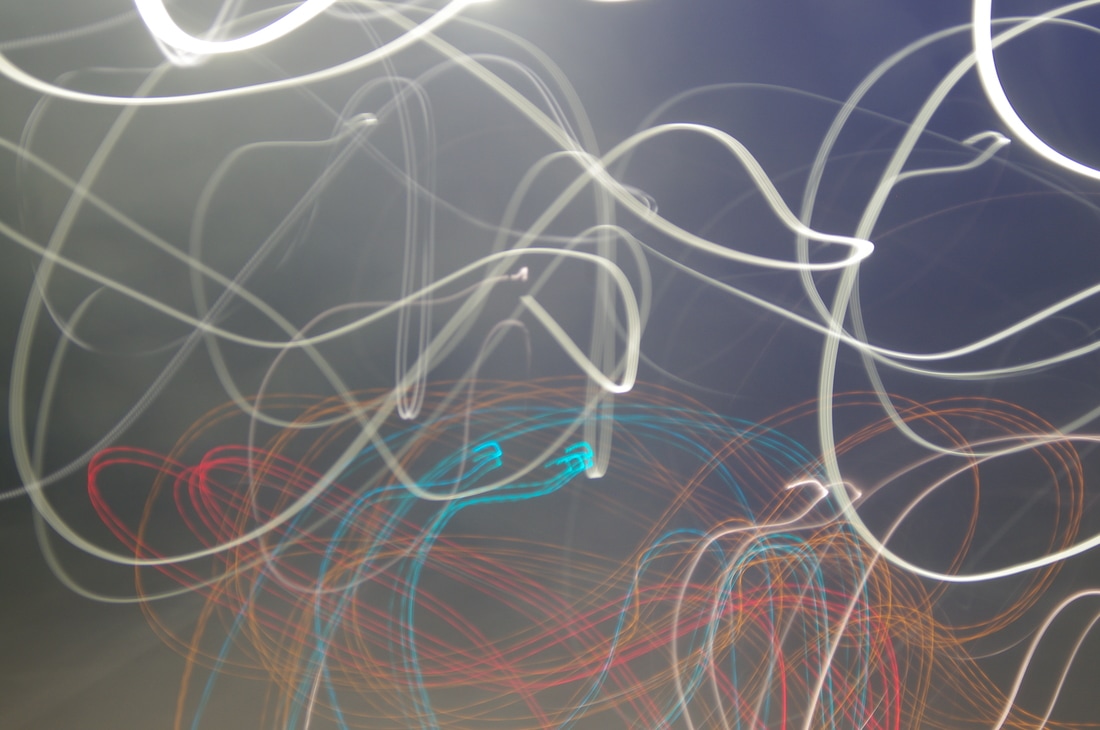
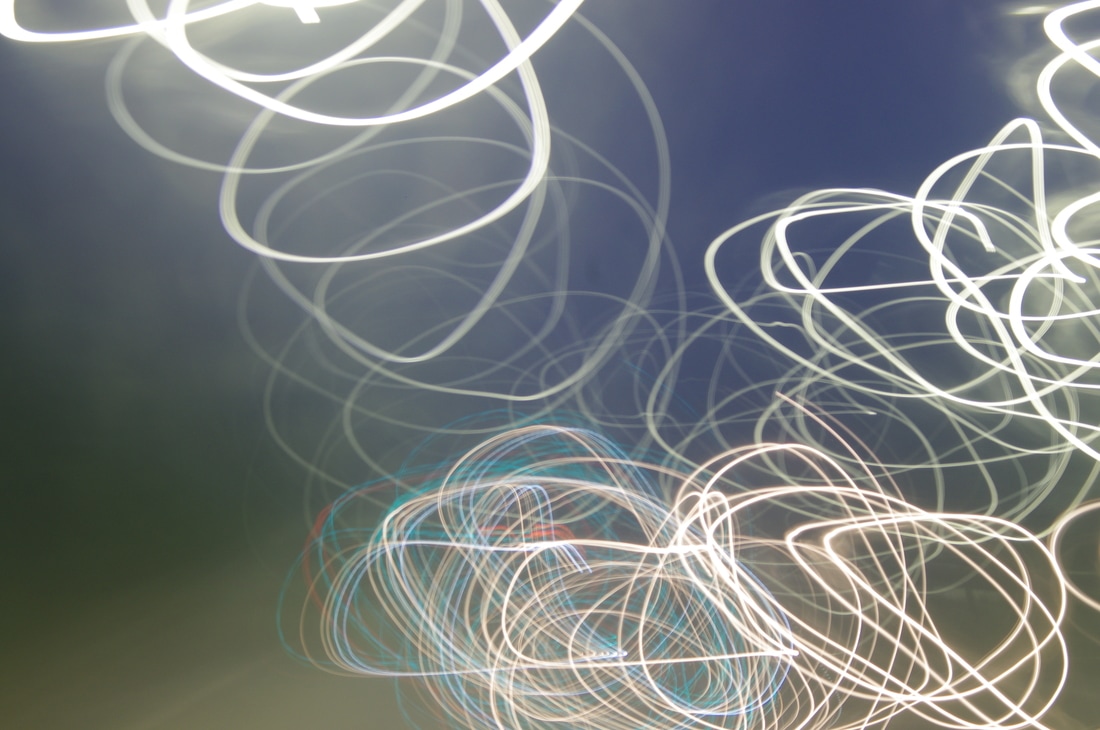
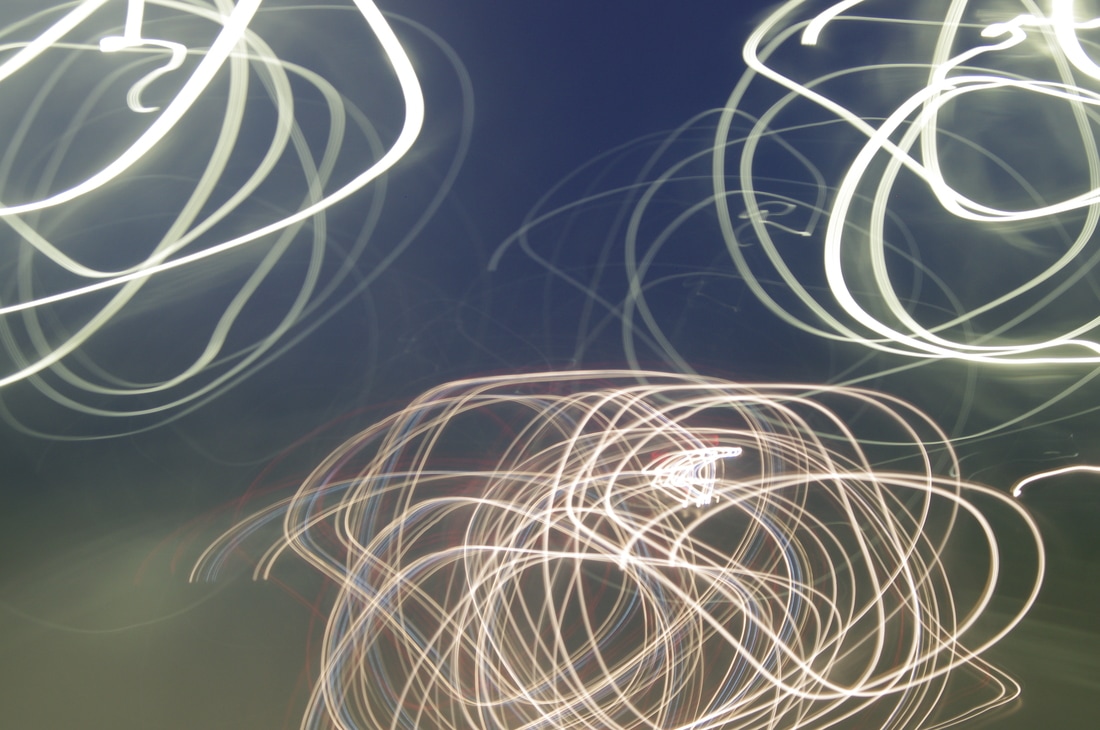
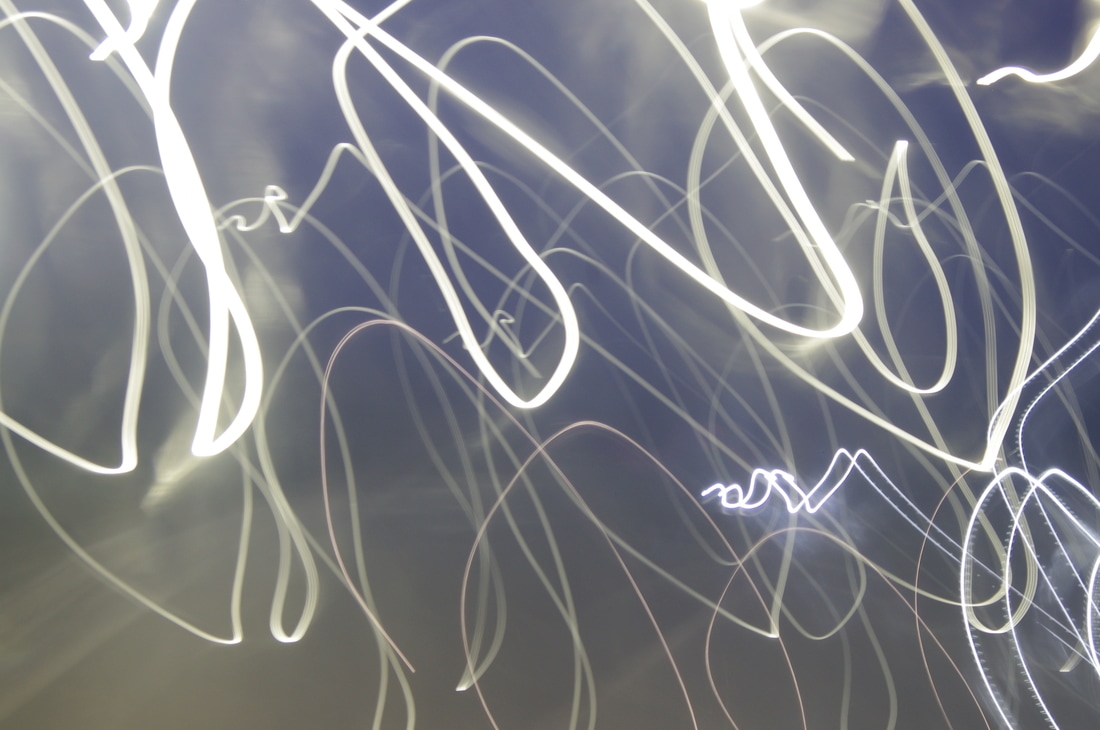
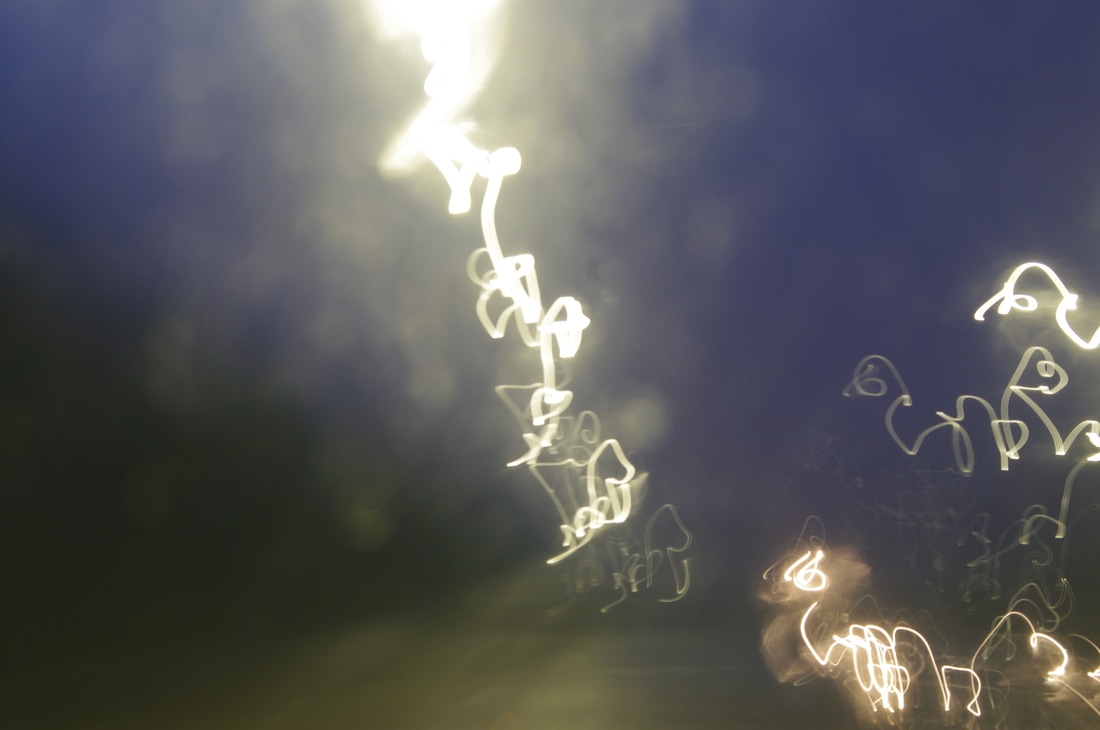
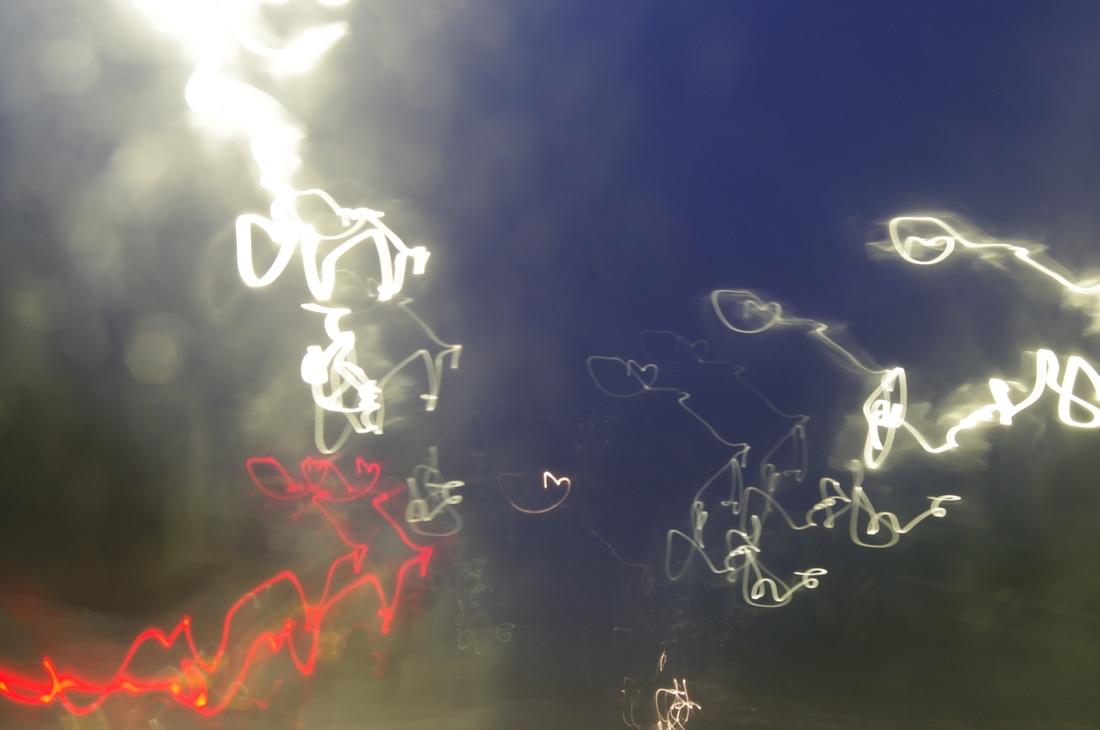
Shoot 4 (Experimental Shoot)
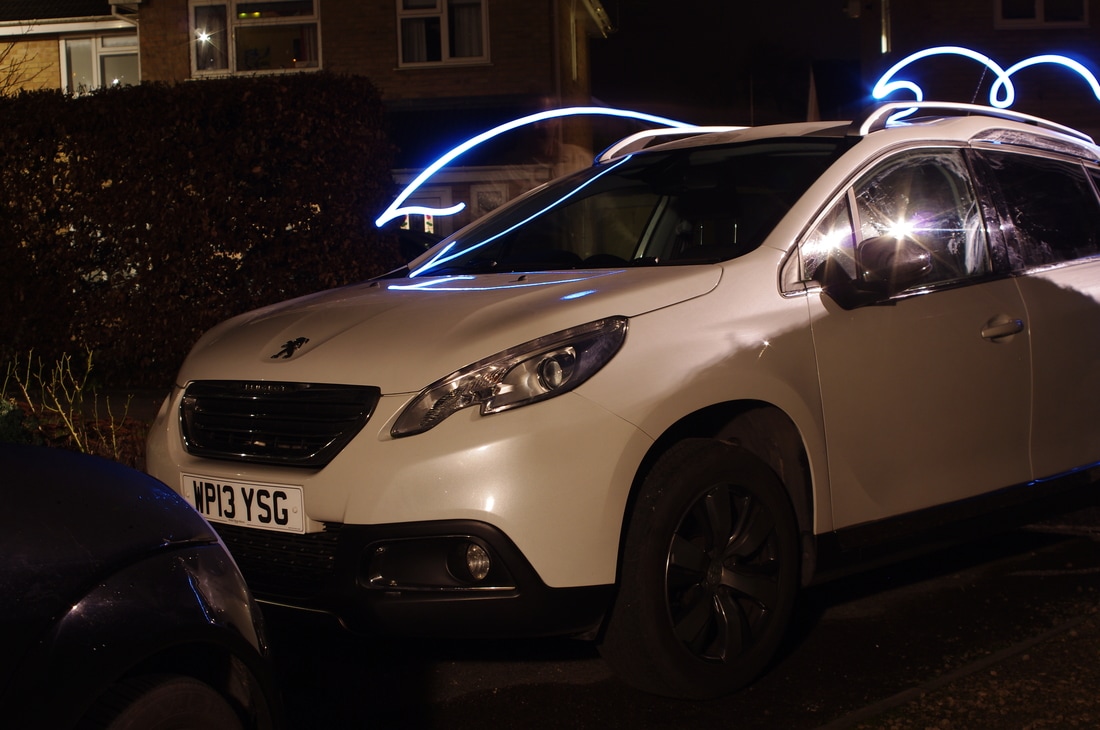
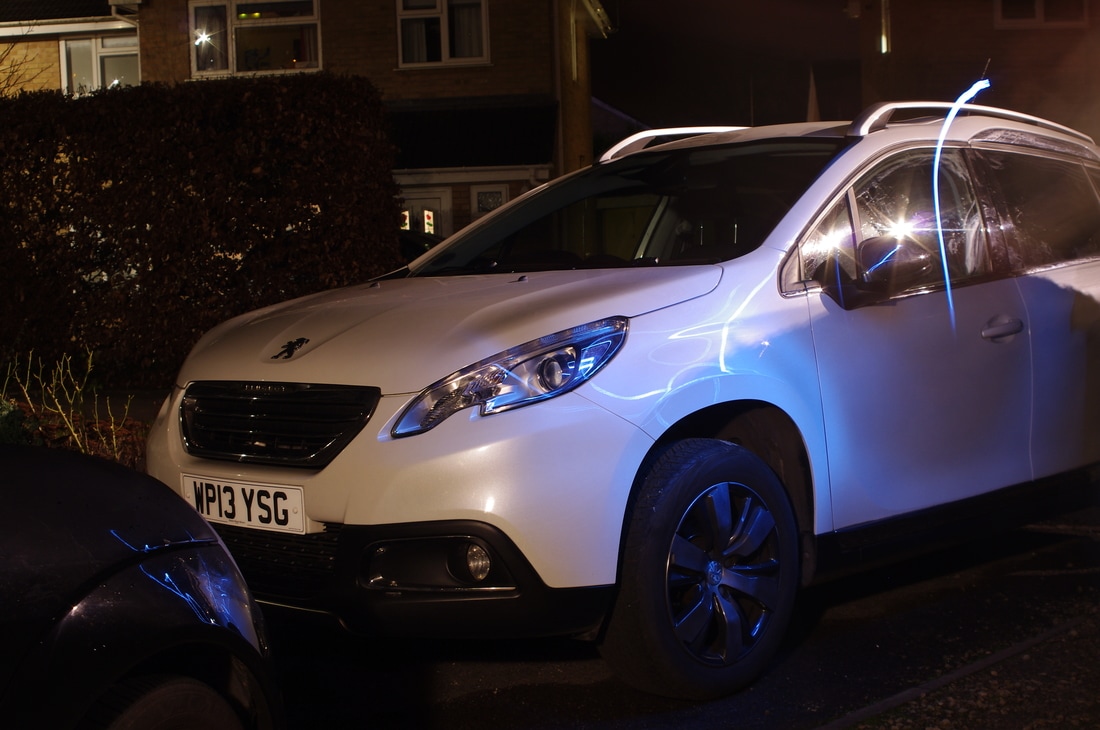
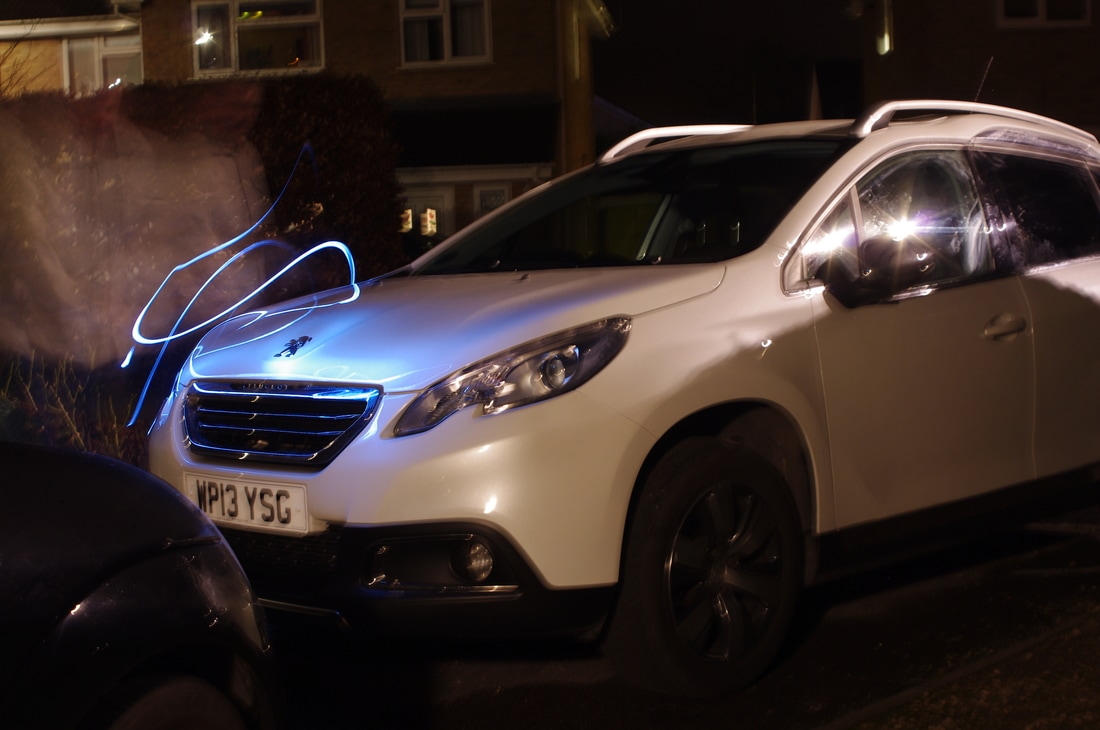
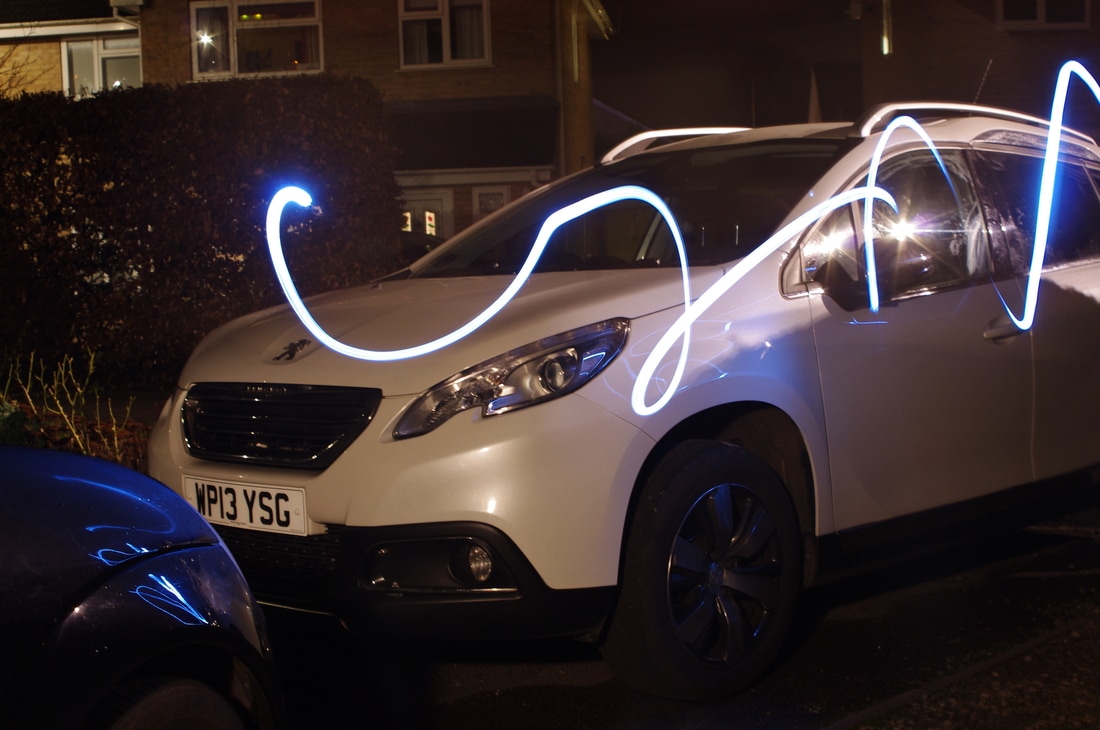
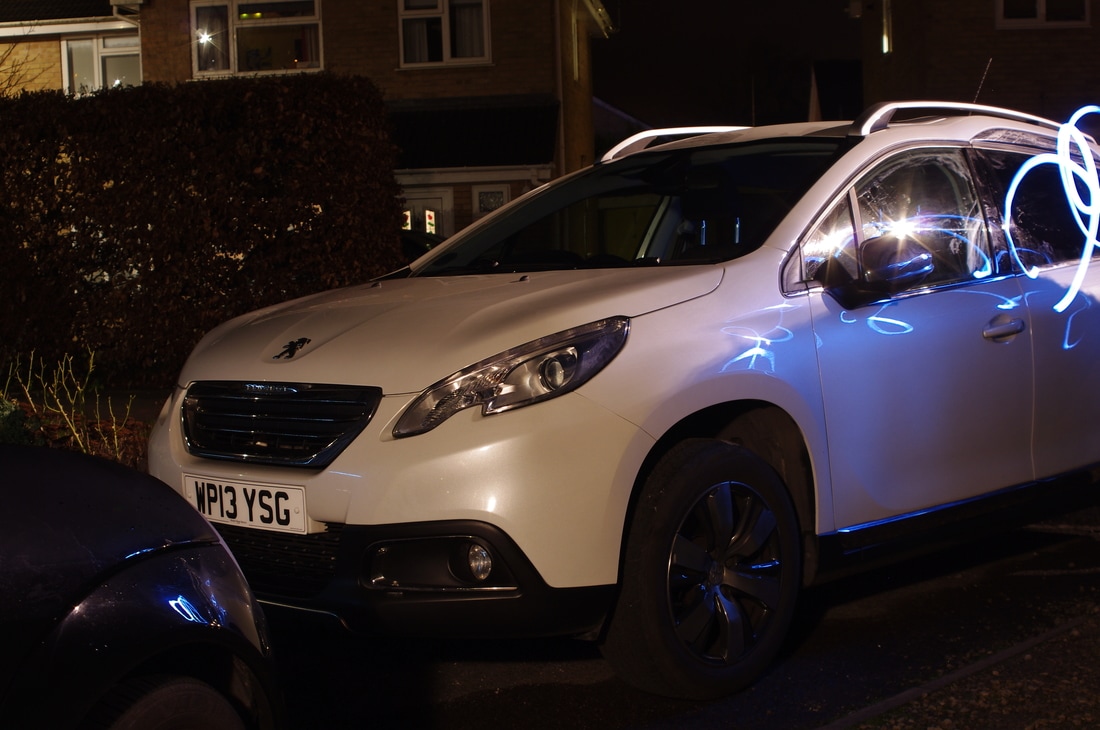
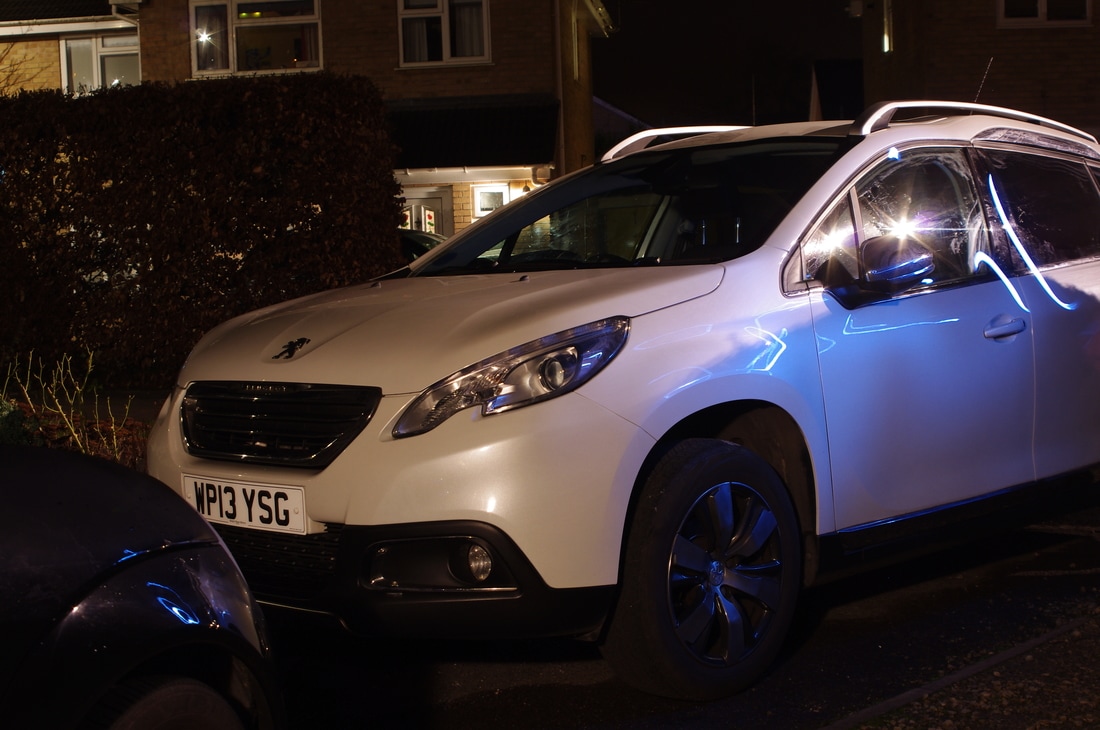
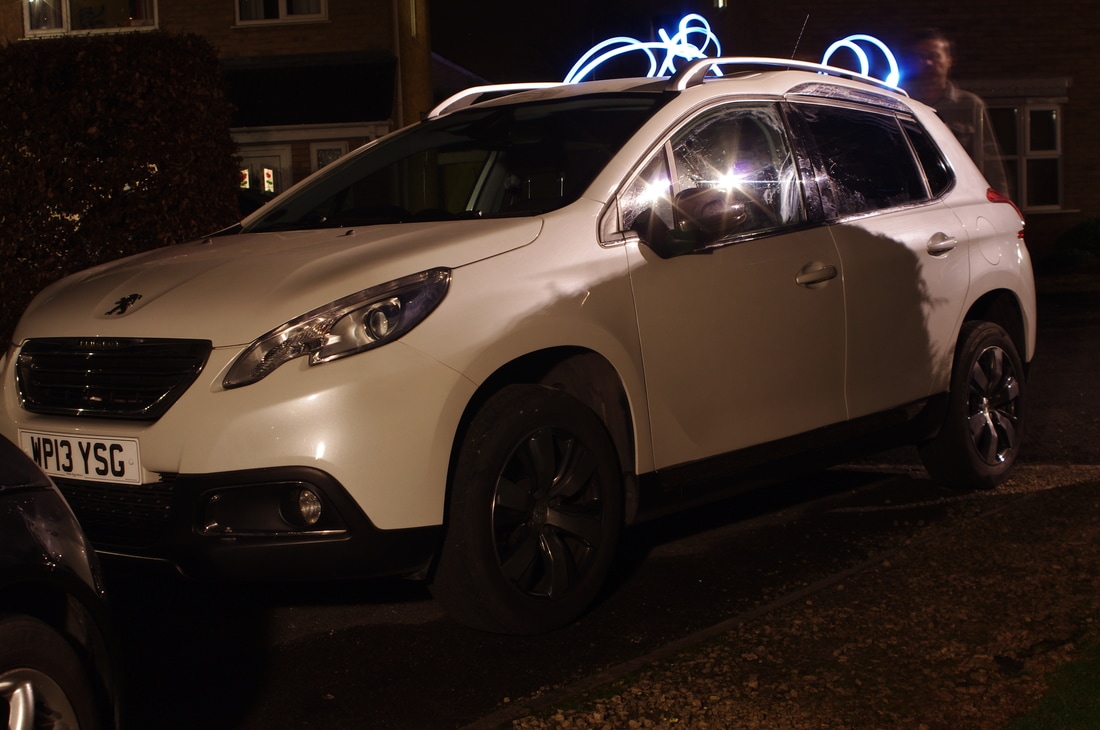
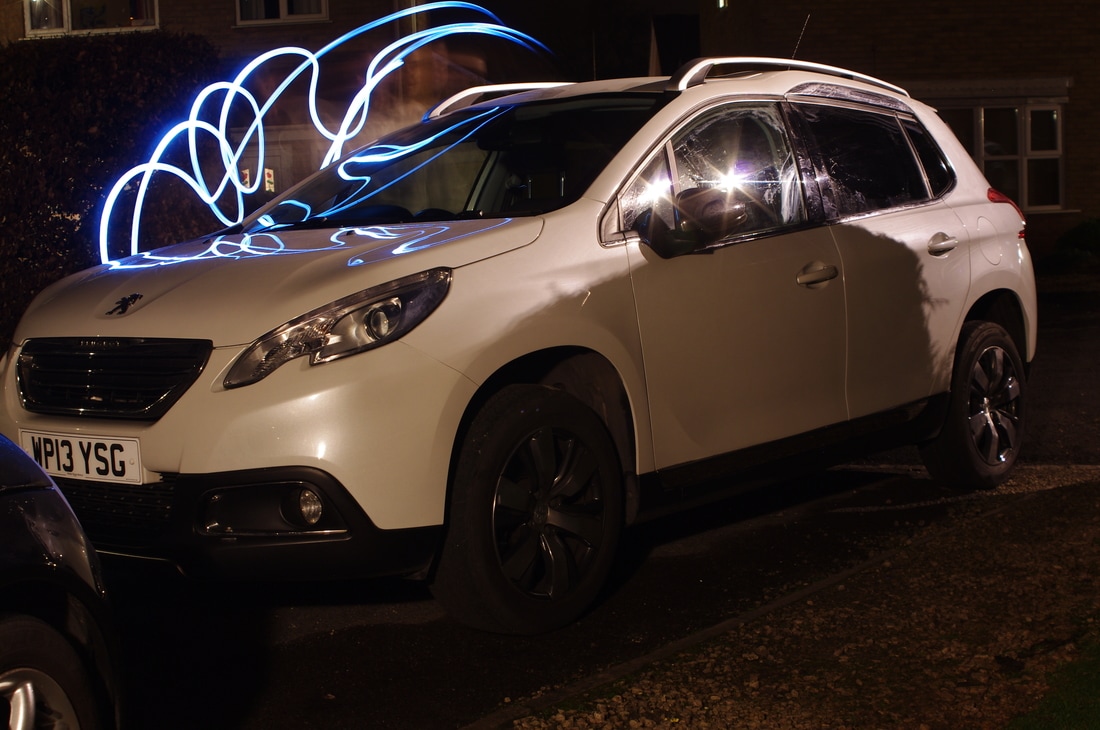
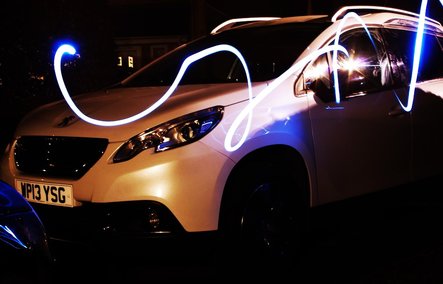
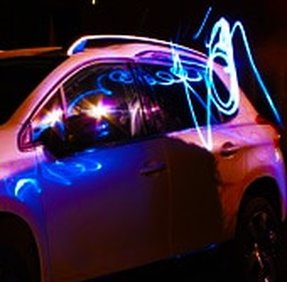
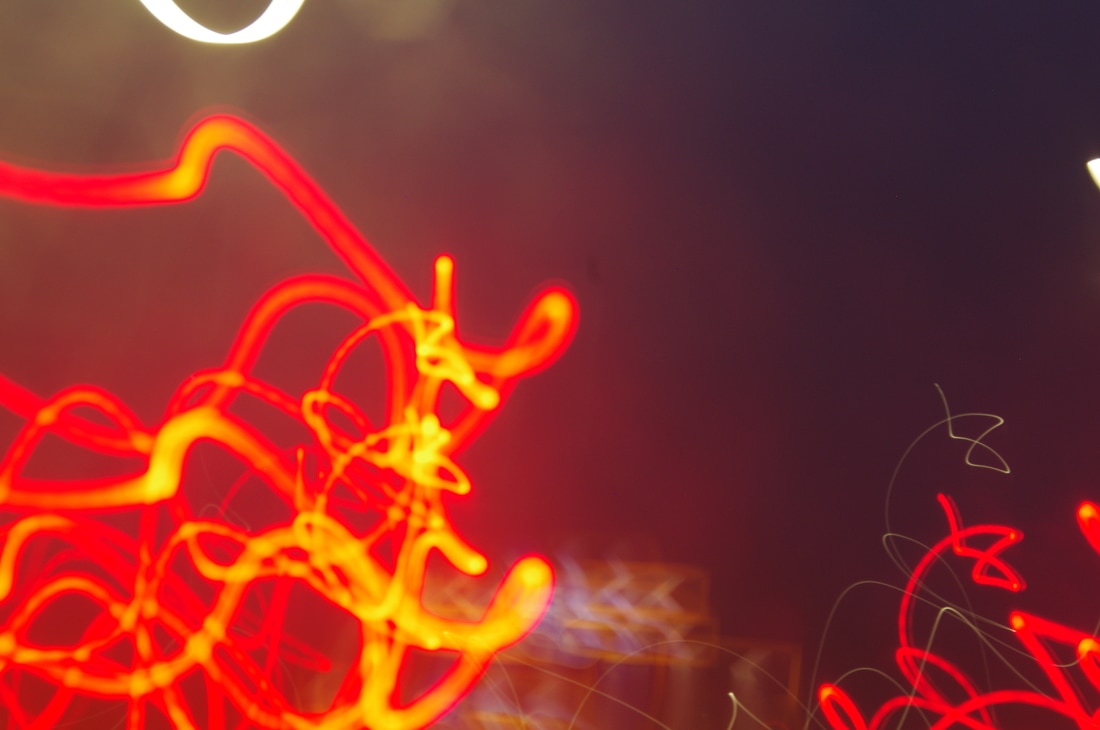
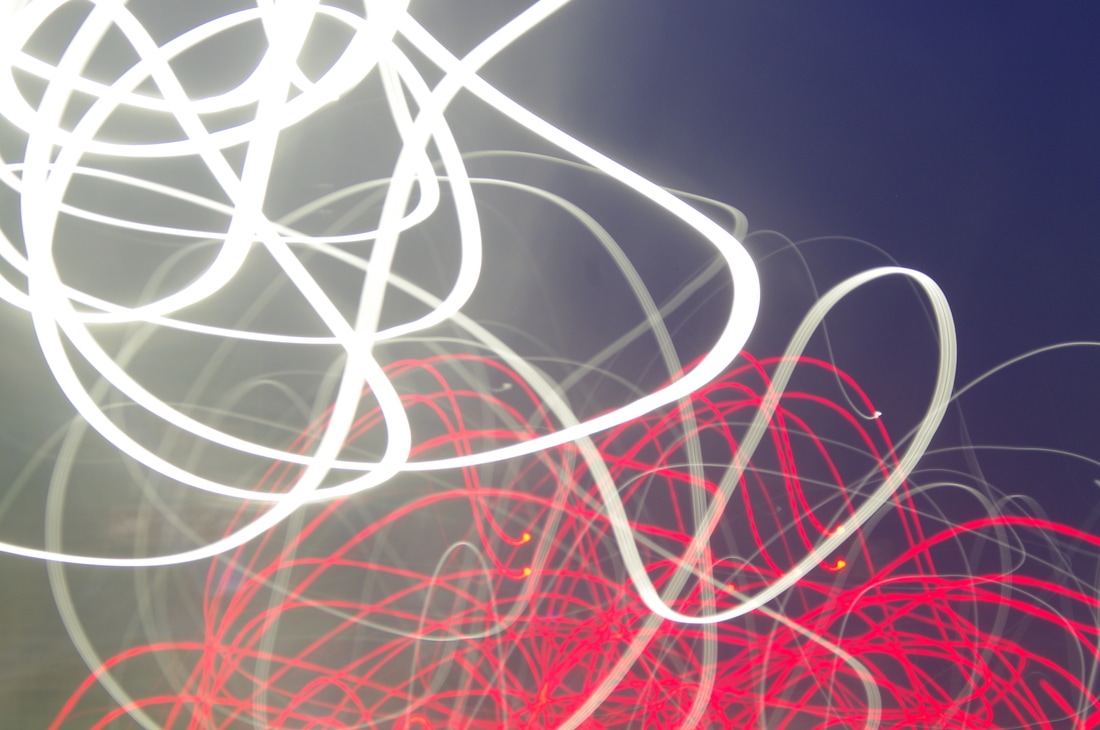
For my 4th shoot I wanted to experiment with creating light trails myself but also link it with vehicles. This idea was inspired by a group of photographers called LichtFaktor.
I wanted to express movement through lights. For this shoot I used a torch and went outside to create light trails around my car. I used a tripod and my camera. With my camera I changed the ISO setting to 200 and the shutter speed to 6 seconds.
WWW:- My experiment with creating my own light trails worked. I managed to achieve a range of different images. I also like the fact that some of the photographs feature people which links to Martin Roemers' work.
EBI:- I could experiment with different colours and could draw pictures with the light. I could use more vibrant colours to link to Christopher Martin. I would also like to take photographs of different angles of the car - composition.


Best Images From This Shoot
I chose the images below because I believe that they were the most successful from my shoot. I also like the fact that the images feature people which links to Martin Roemers and Christopher Martin.

|
|
|
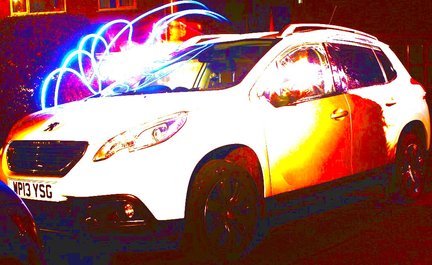
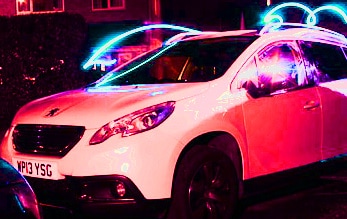
Photoshop Edits
I edited the image above using Photoshop. First of all I cropped the photograph and then changed the contrast to 100. I then increased the vibrancy.
|
|
For the next photograph I cropped the image first. Next I changed the contrast to 100 and the brightness to 80. I then experimented to HDR toning to try and recreate the vibrant colours that Christopher Martin produces. The radius was changed to 500px, strength to 4.00, gamma to 9.99, exposure to +1.58, detail to -98%, shadow to +100%, highlight to +100%, vibrance to +100% and saturation to +100%. The following image is the outcome of this experiment.
I also experimented with Hue/Saturation. This made the images different colours and more vibrant like my researched artists.
|
|
|
Experiment With Layers On Photoshop
Here I experimented with layers to create bright abstract images. I used photographs from previous shoots to create this. I used the fade option to blend the images together, the following photographs are the outcome.
|
|

|
Ideas For Developing My Project
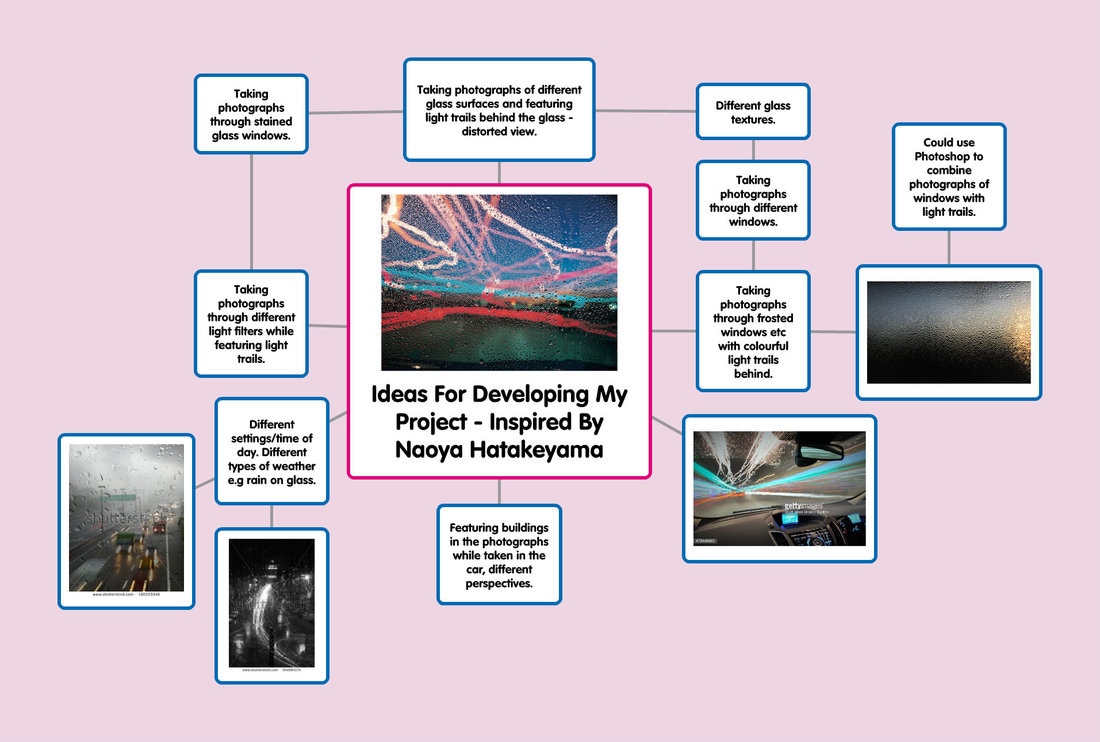
Naoya Hatakeyama
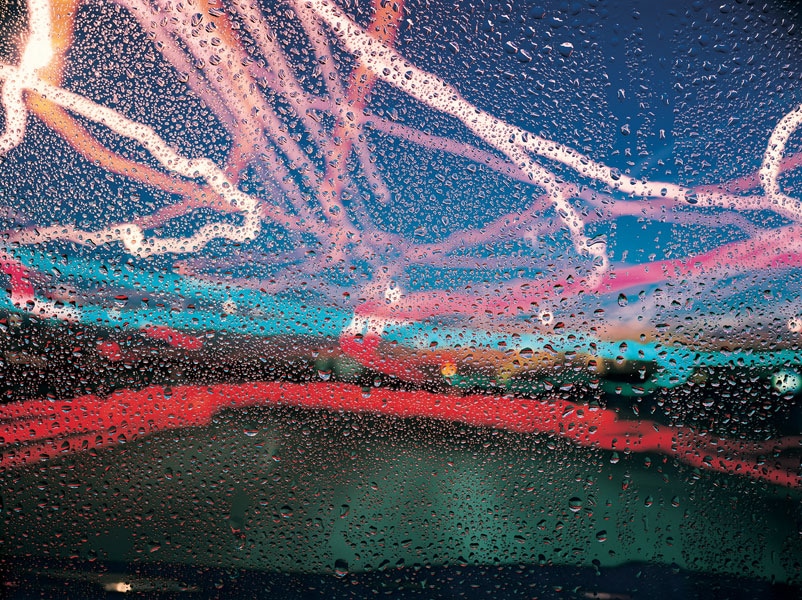
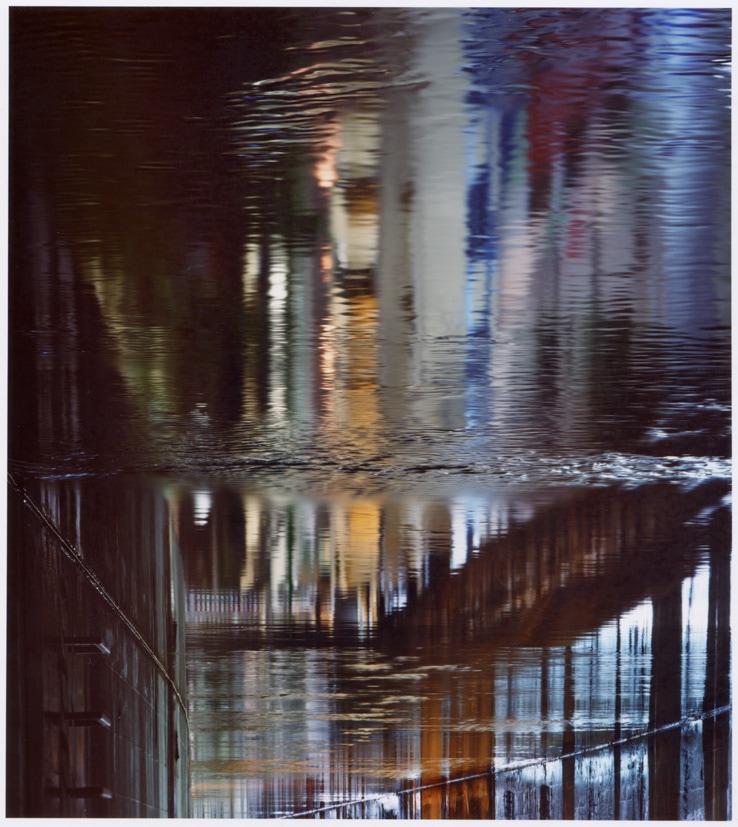
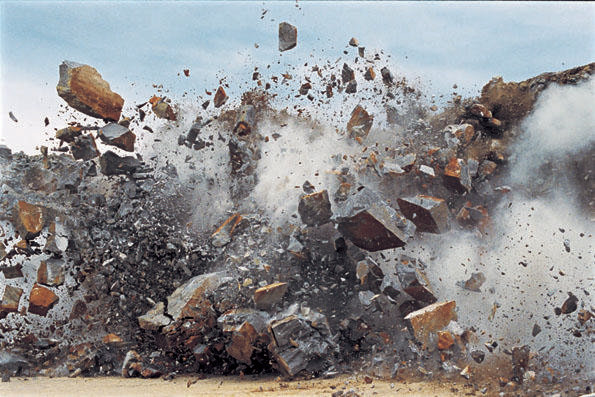
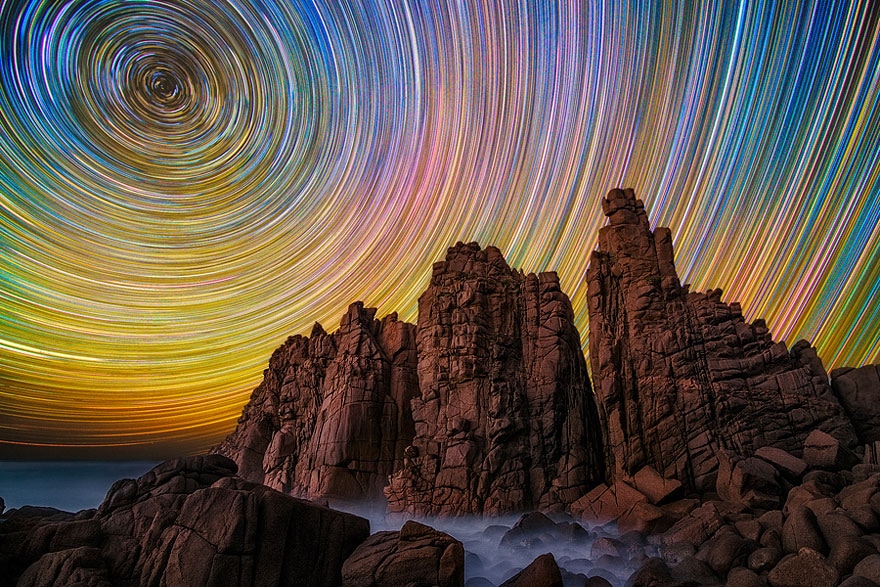
'Slow Glass' Series - 2012 'Shadow / River' Series - 2002 Slow Glass' Series - 2012 Blast #09420 - 2007
Critical Analysis
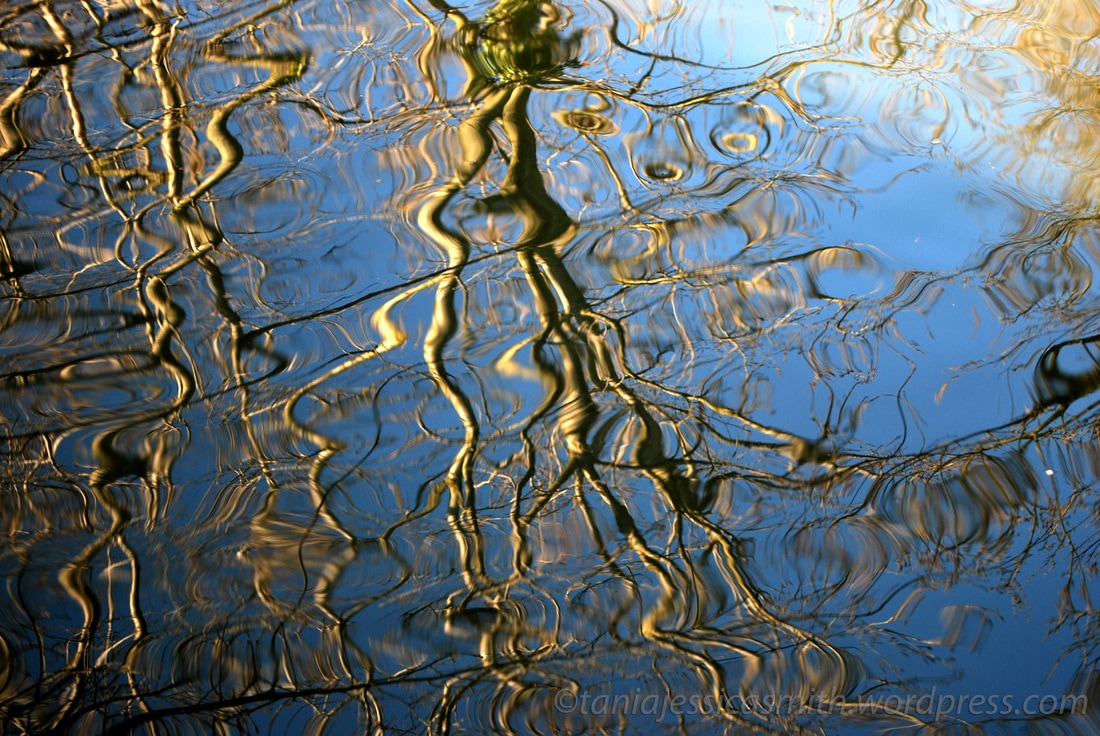
Naoya Hatakeyama was born in Iwate, Japan on the 19th of March, 1958. He is a photographer who studied at the University of Tsukuba, school of Art and Design and graduated in 1981. Hatakeyama works and lives in Tokyo, Japan. His work is displayed in many museums around the world such as the Victoria & Albert Museum in London. Hatakeyama's work ranges from water reflections to explosions.
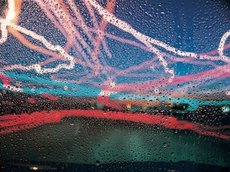
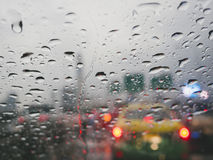
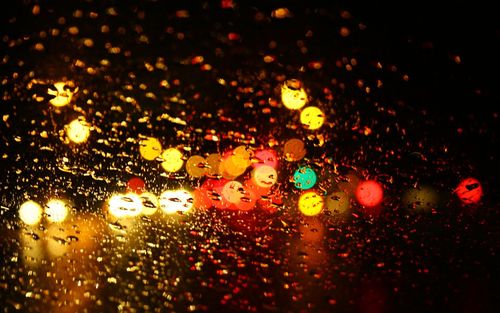
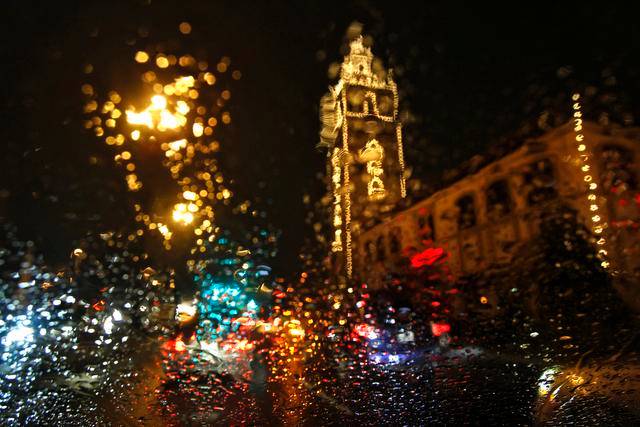
The photograph above is part of Hatakeyama's 'Slow Glass' series from 2012. The series consists of images featuring water droplets and a blurred, often colourful, background. By looking at the image in detail there appears to be the windscreen wipers on the bottom of the photograph, this suggests that Hatakeyama captured this in a vehicle. The light trails in the background relate and link well with my current ideas. To create the photograph Naoya Hatakeyama would have had to use a camera with a slow shutter speed. He would have focused the camera on the water droplets to achieve the blurred background. The water droplets are not blurred which suggests that the vehicle was stationary.
The formal elements used in the photograph would be colour and line. These elements contribute to making the image abstract and vibrant. I like the photograph because it is colourful, artistic and unique. I also like how the water droplets reflect the light trails. To improve the photograph Hatakeyama could have taken the image in the dark so that the colours would be more defined.
Naoya Hatakeyama's work has inspired me to experiment with taking photographs in a stationary vehicle to test the effect of a blurred background. I will use the photographer's use of waterdroplets in my work to create a contrast between light trails.
Mood Board
I decided to create another mood board to look at images related to my ideas. From this research I have discovered the work of Eduard Gordeev, a photographer who features the perspective of looking through a glass window with water droplets on. I like how the photographer uses the theme of motion in his work. I would like to further research this photographer and develop my ideas inspired by him.
Eduard Gordeev

Critical Analysis
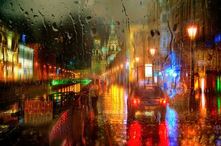
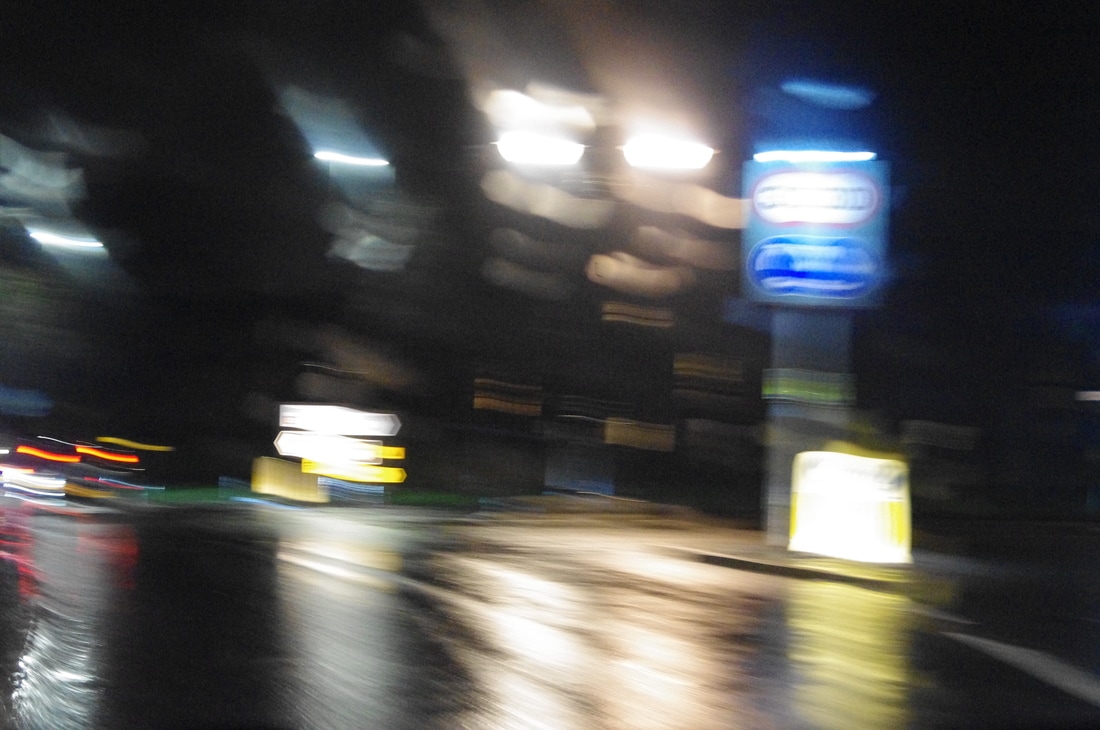
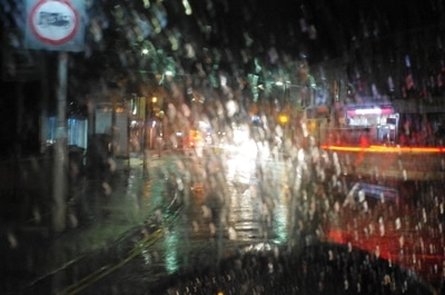
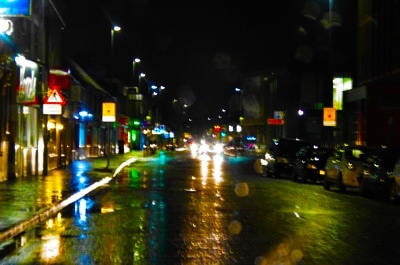
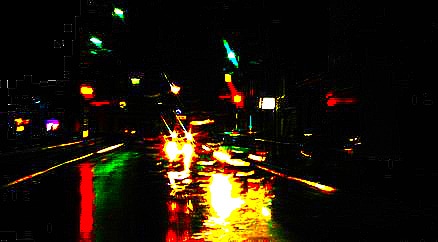
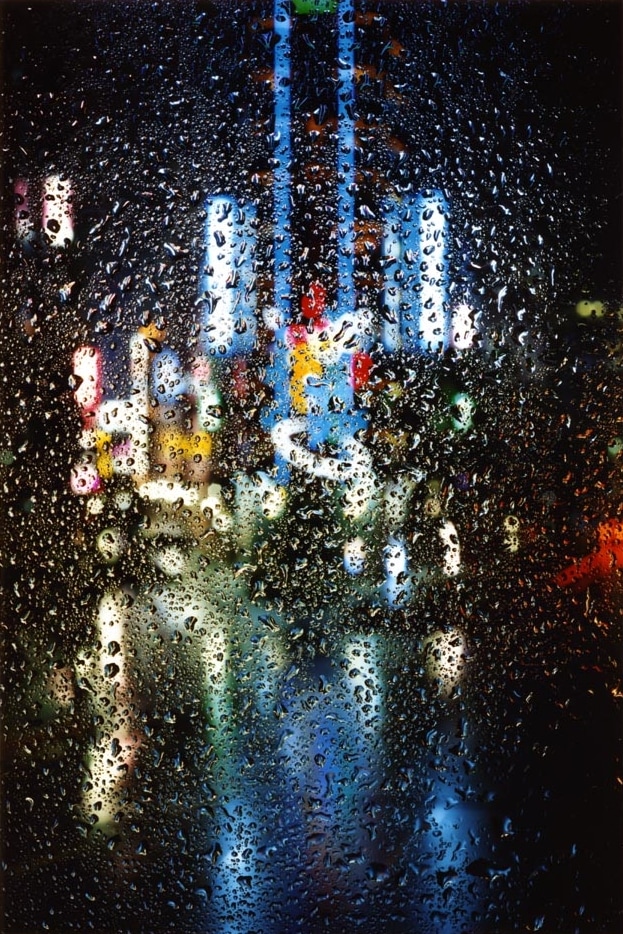
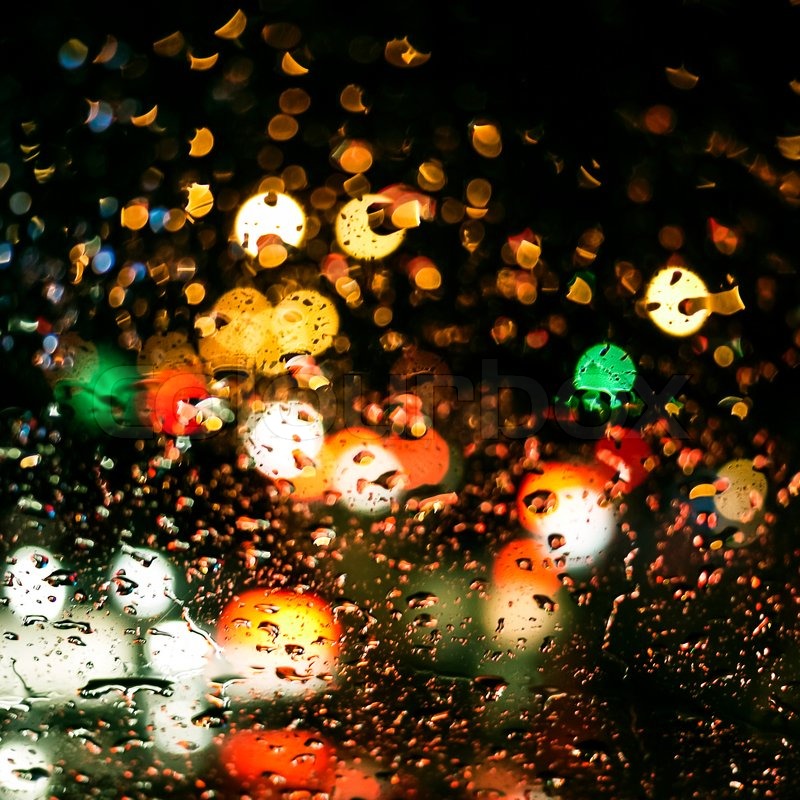
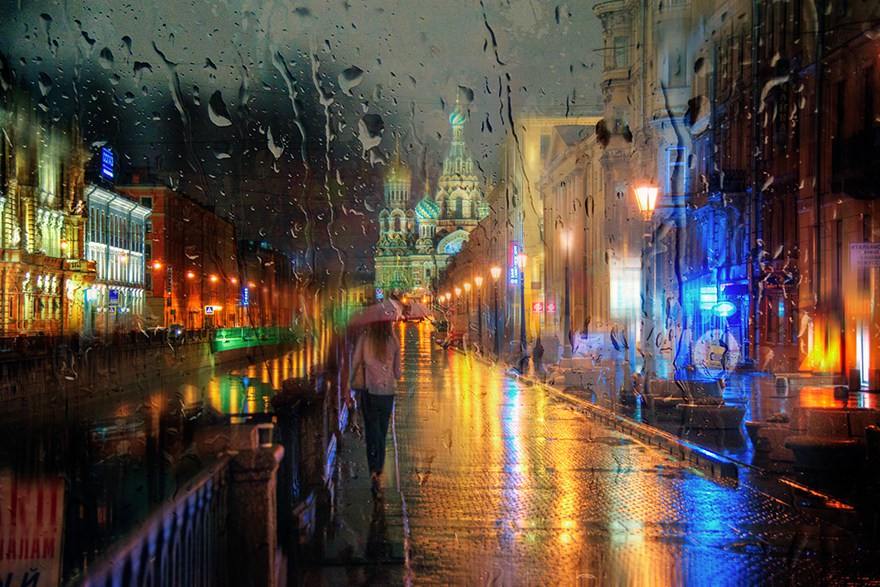
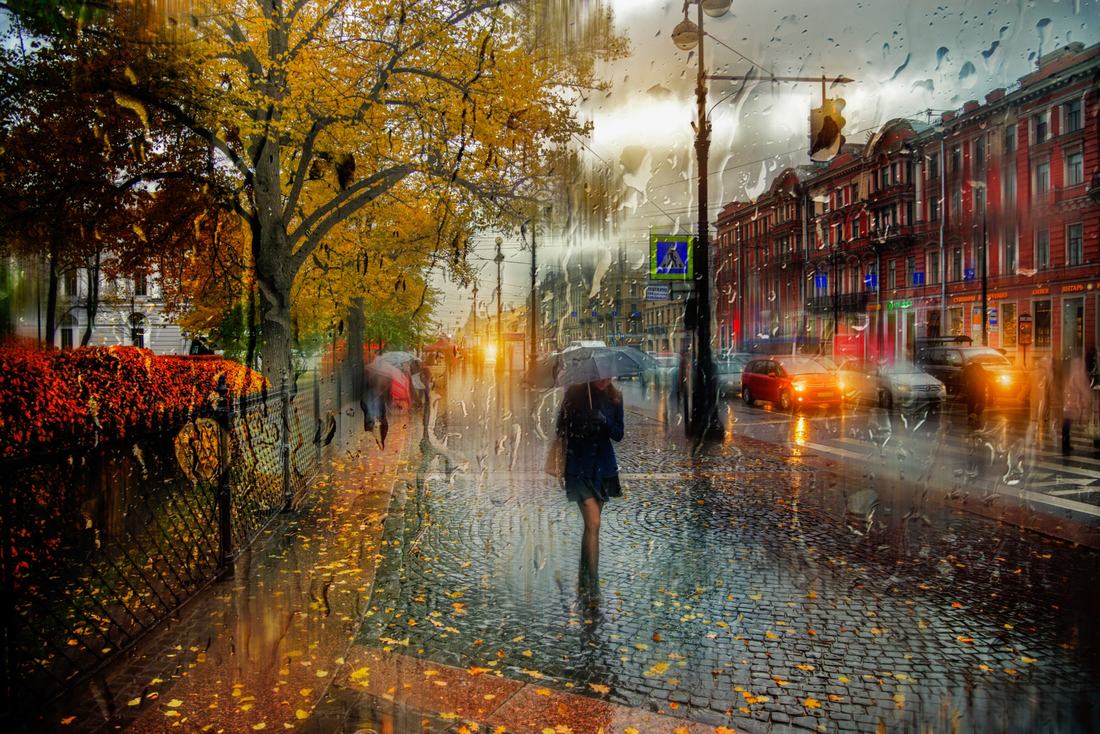
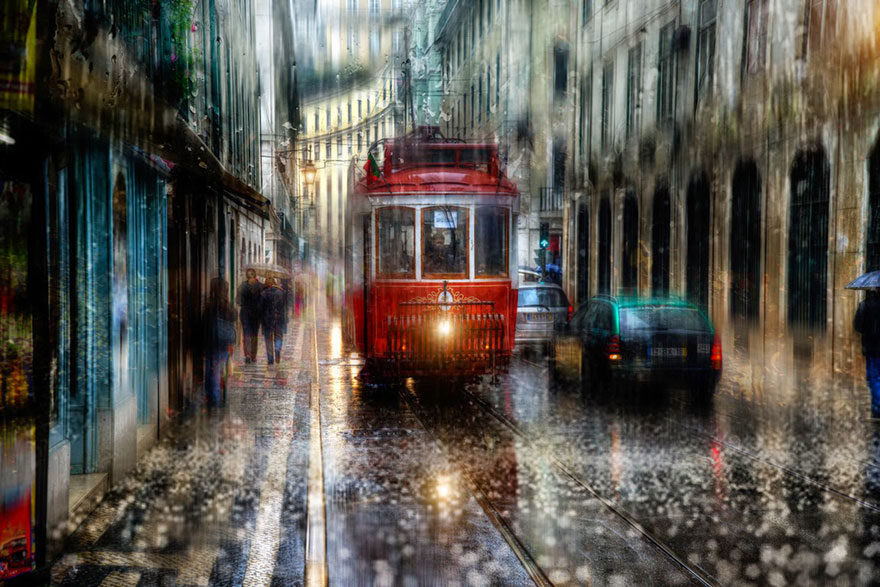
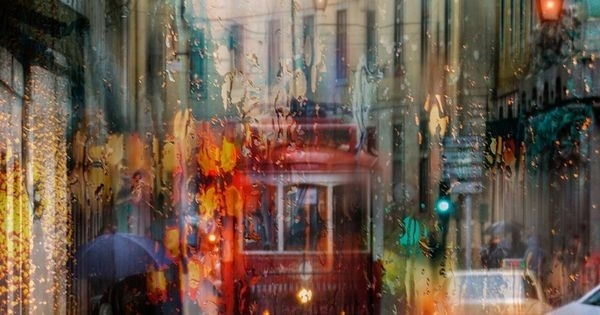
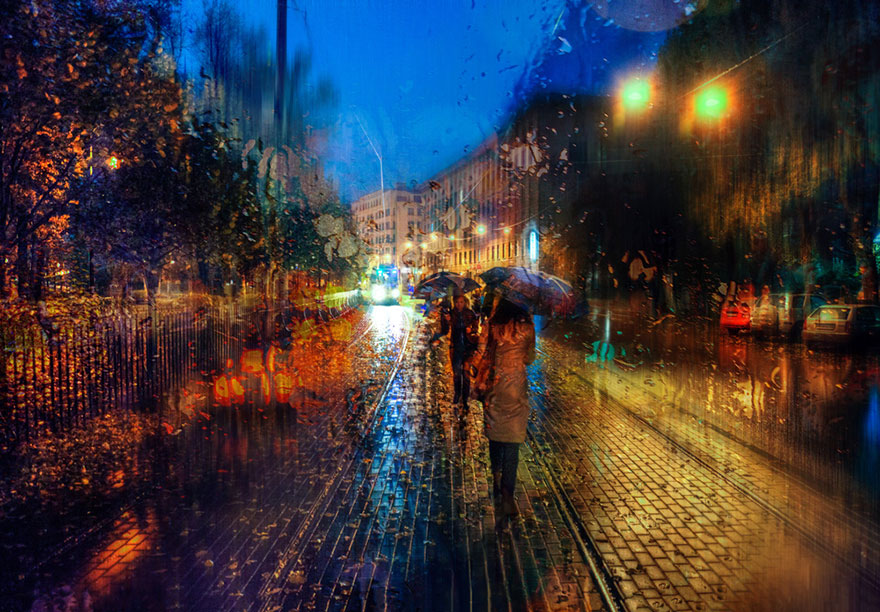
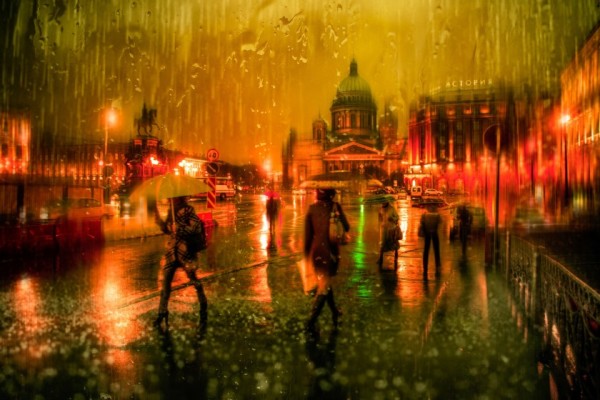
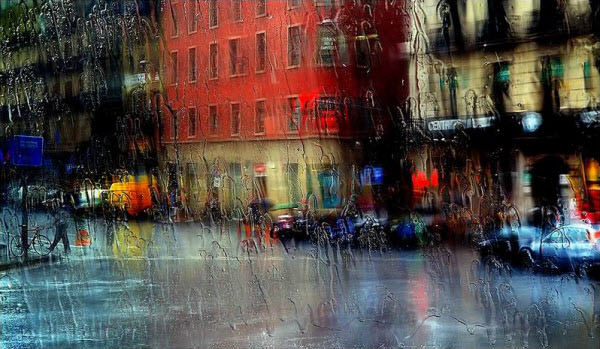
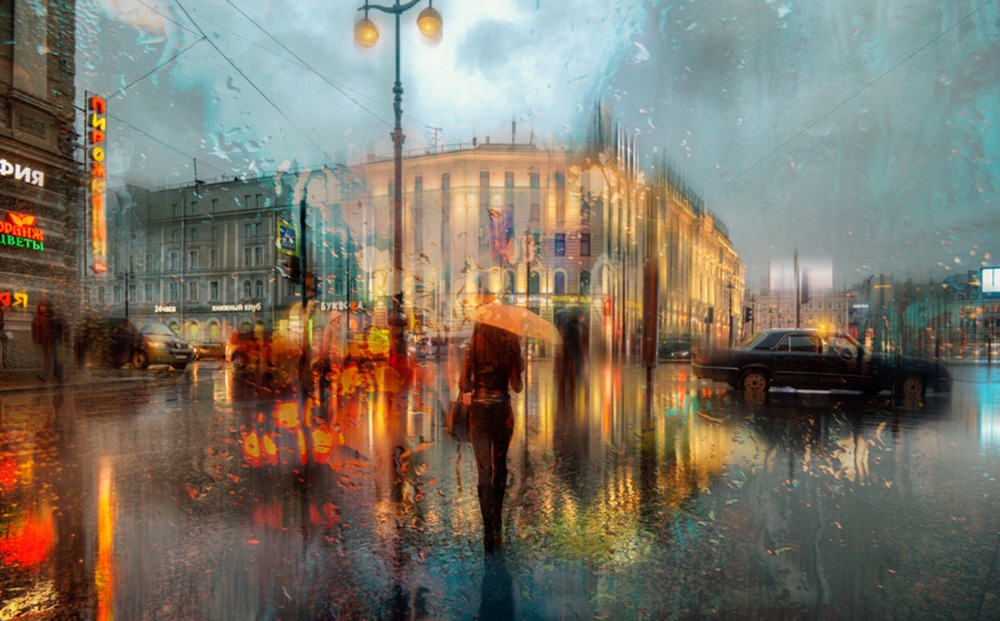
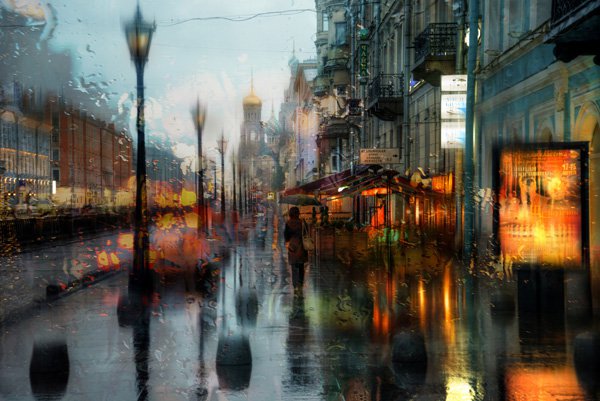
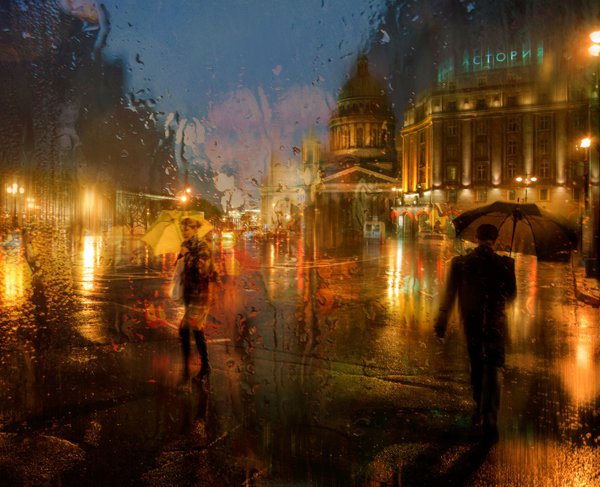
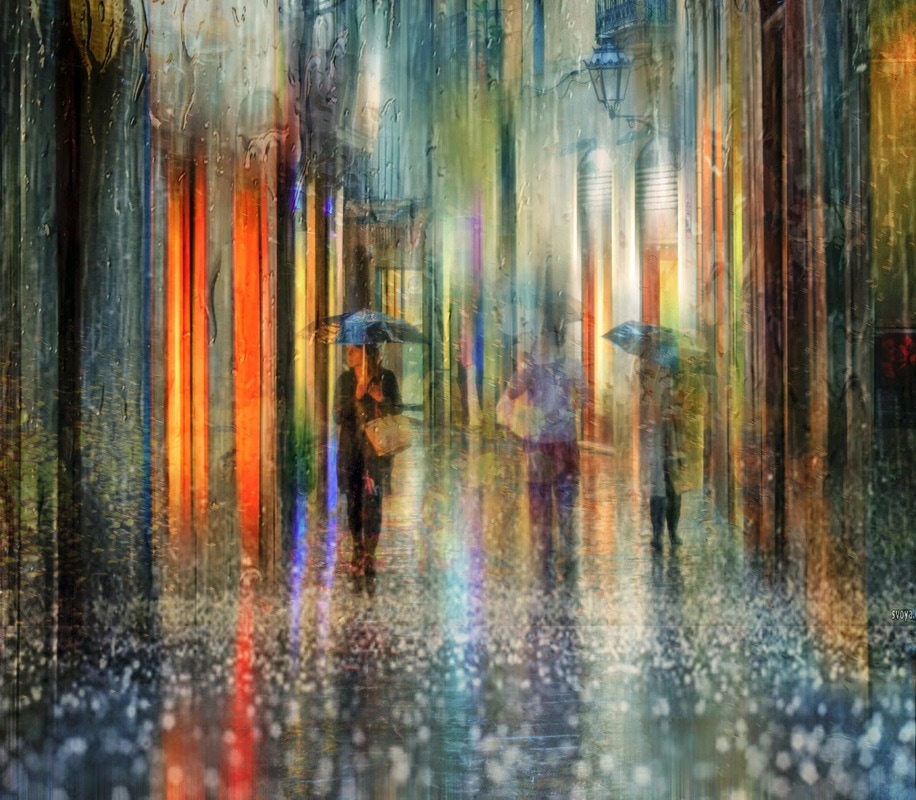
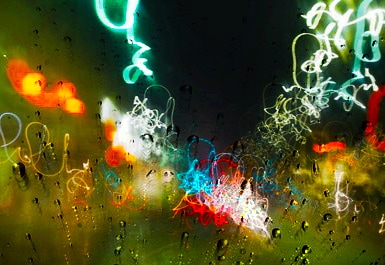
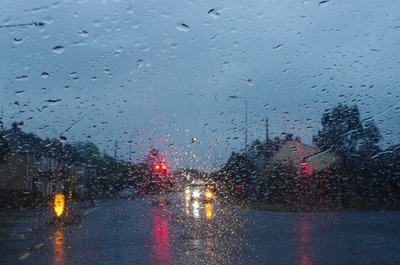
Eduard Gordeev is a Russian photographer based in St. Petersburg. Gordeev captures cityscape scenes in the rain. The water droplets blur the colours and diffuse the light to create vibrant photographs, almost like a painting. This series of photographs is mostly of landmarks in St. Petersburg. The photographer takes these images through windowpanes. Gordeev's style of work has been commonly said to look like impressionist oil paintings.
The photograph above is part of a series of photographs. The formal elements used in the image would be colour, shape, composition, line and form. The photograph is highly colourful, atmospheric and unique. The colours that are used in the image are red, blue, yellow, green, black, brown and grey. These colours also vary in shades. The use of these colours create a positive mood to the viewer as the image looks lively. I chose the photograph because it relates to my idea of vibrant colours created by vehicles and lights. I also chose the image because it links to Naoya Hatakeyama's photograph. I want to experiment with featuring weather in my images. I like Gordeev's work because of how the rain looks as though it is smudging the image. I also like how the image looks as though it is in first person as if the viewer is in the image looking at the cityscape themselves.
I will use Eduard Gordeev's work as an inspiration to create my own photographs featuring water to achieve the same three-dimensional effect. To do this I will take photographs of water droplets on glass and edit them onto my light trail photographs using Photoshop. I could also experiment with taking images through glass.
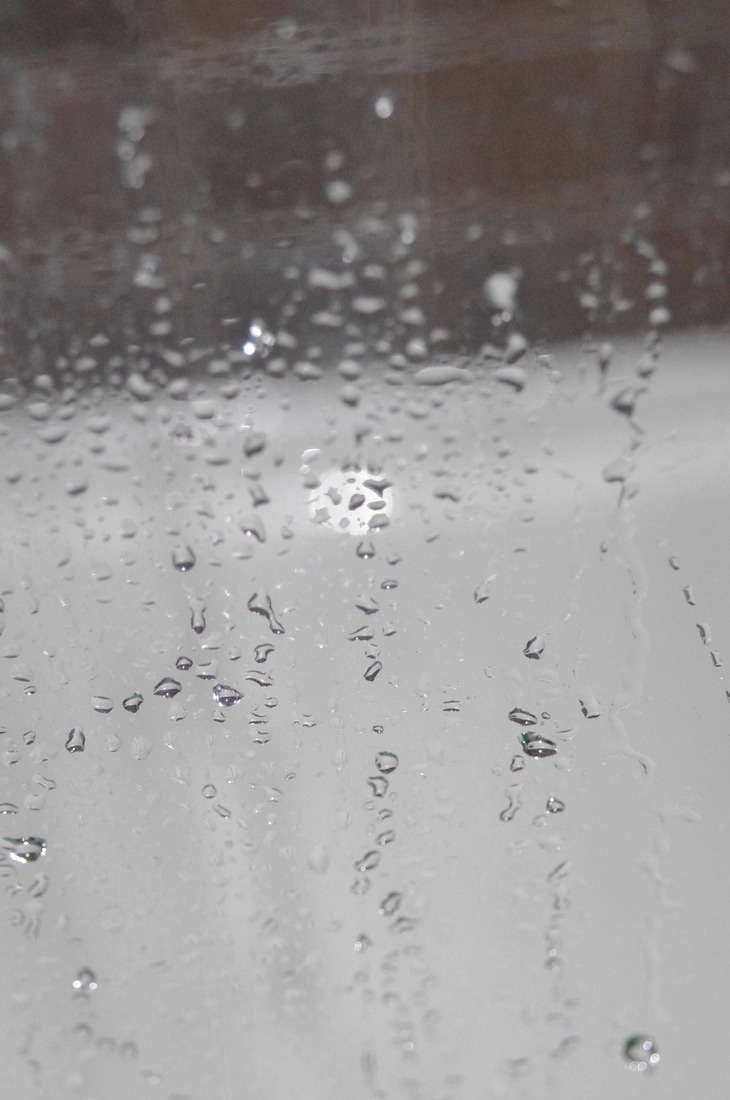
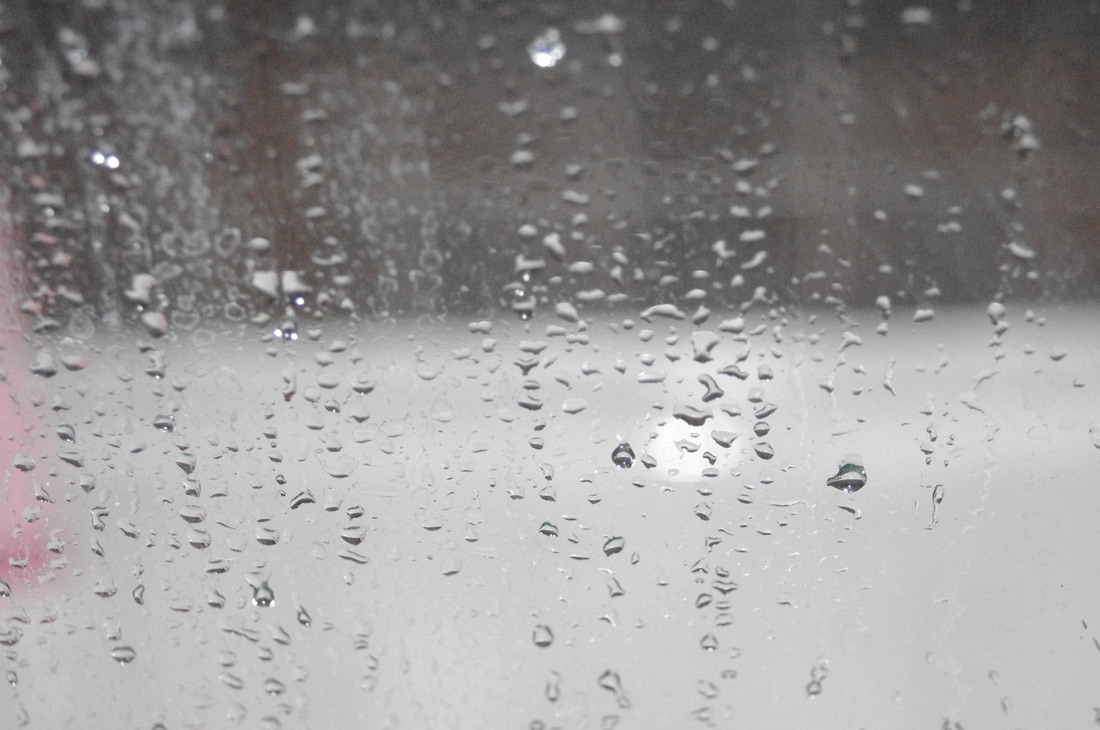
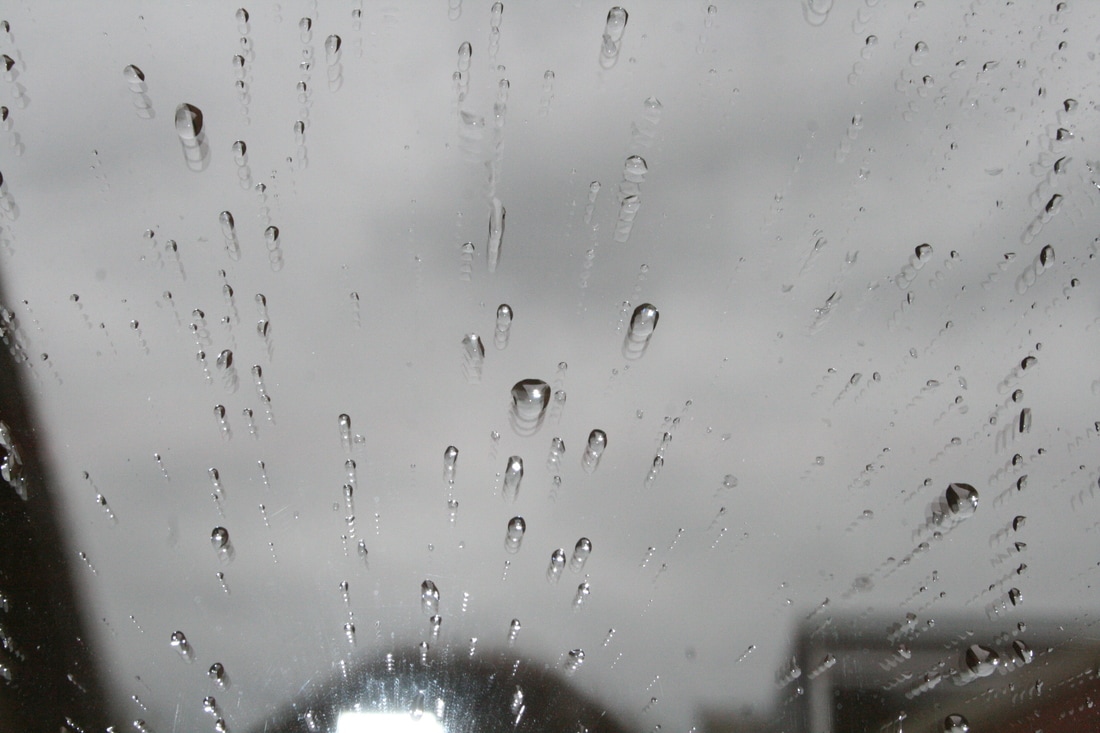
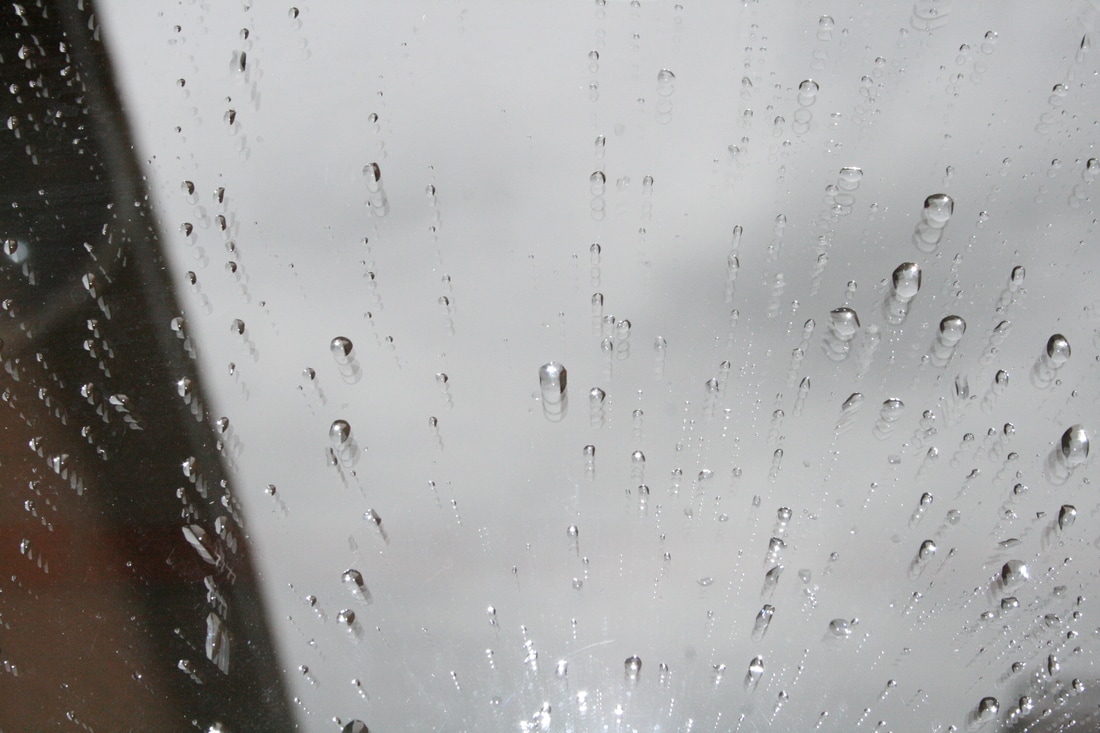
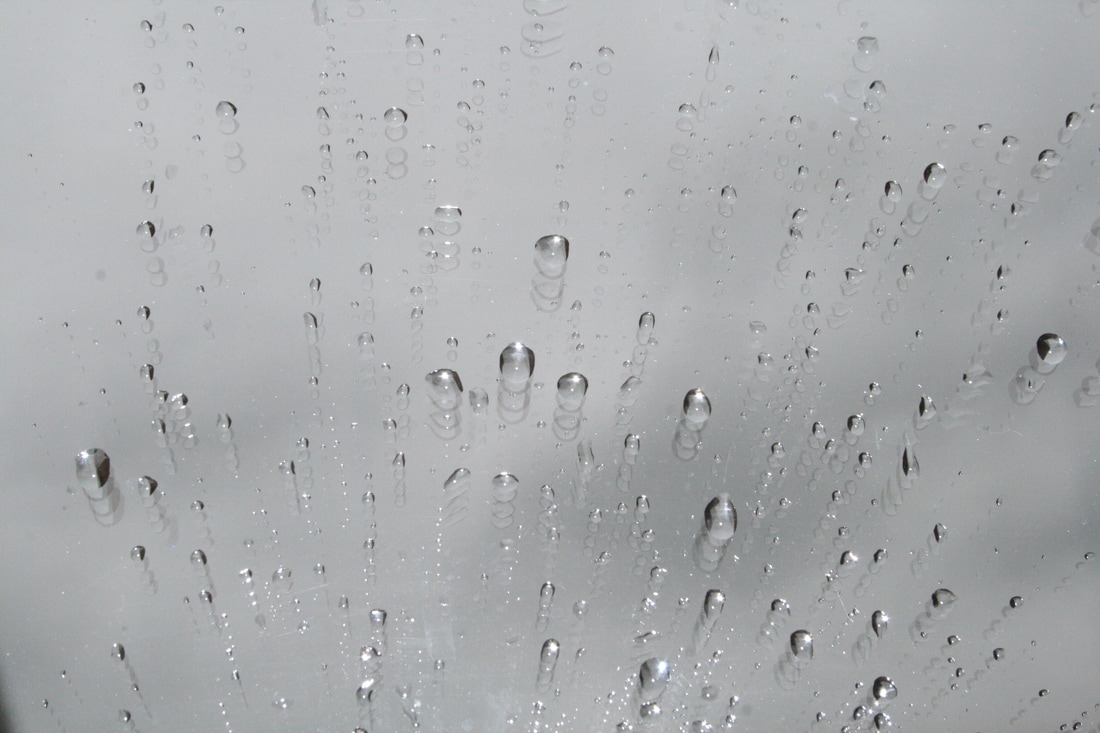
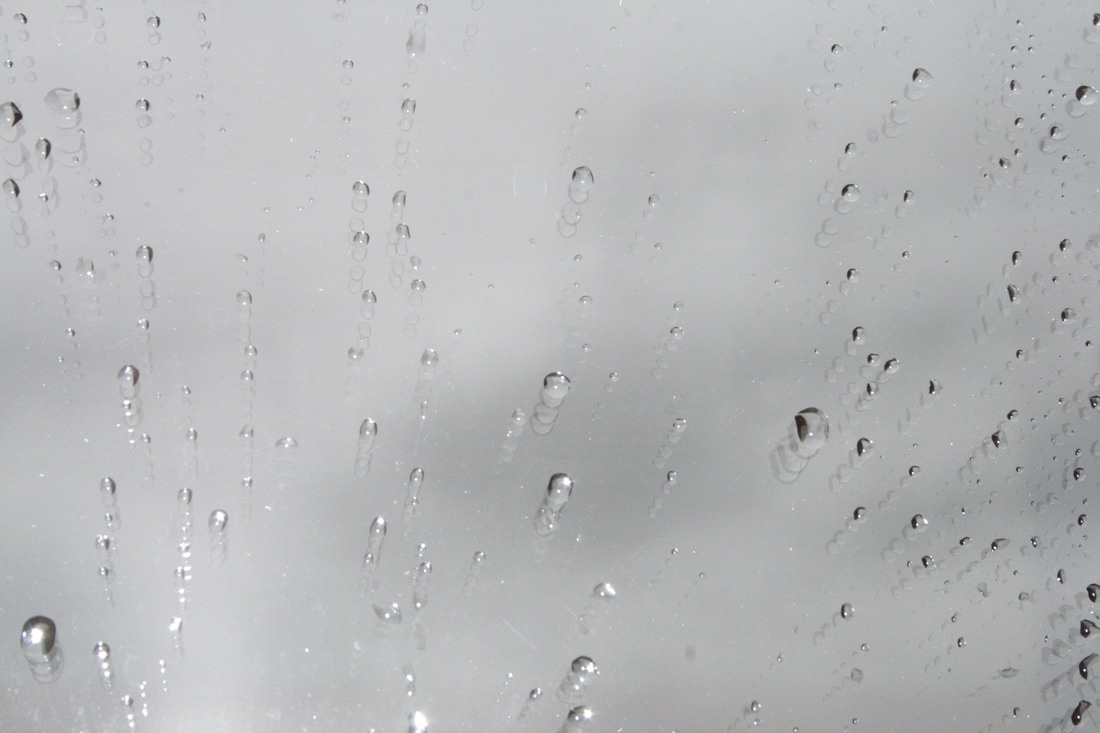
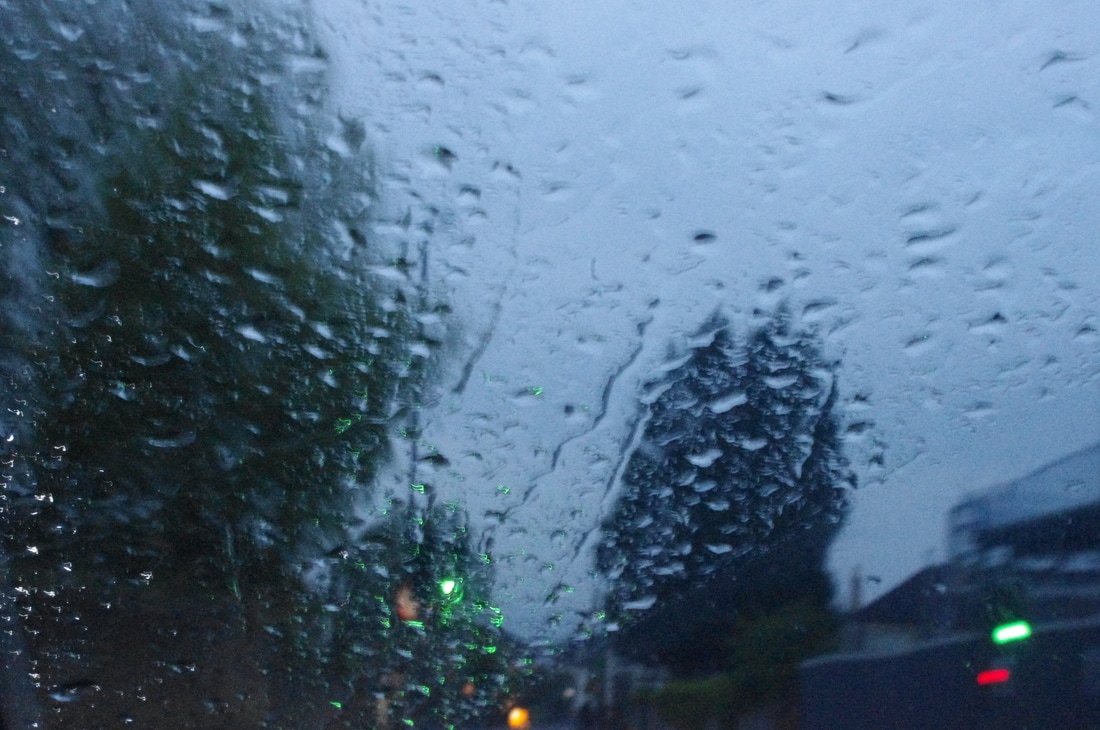
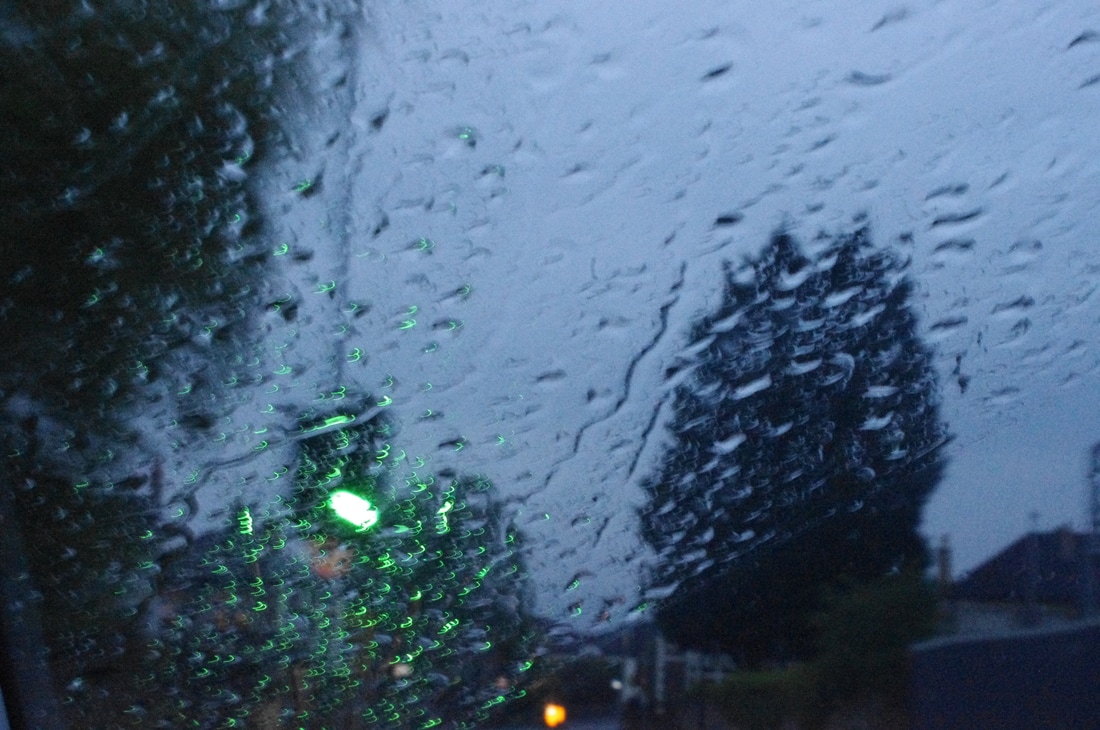
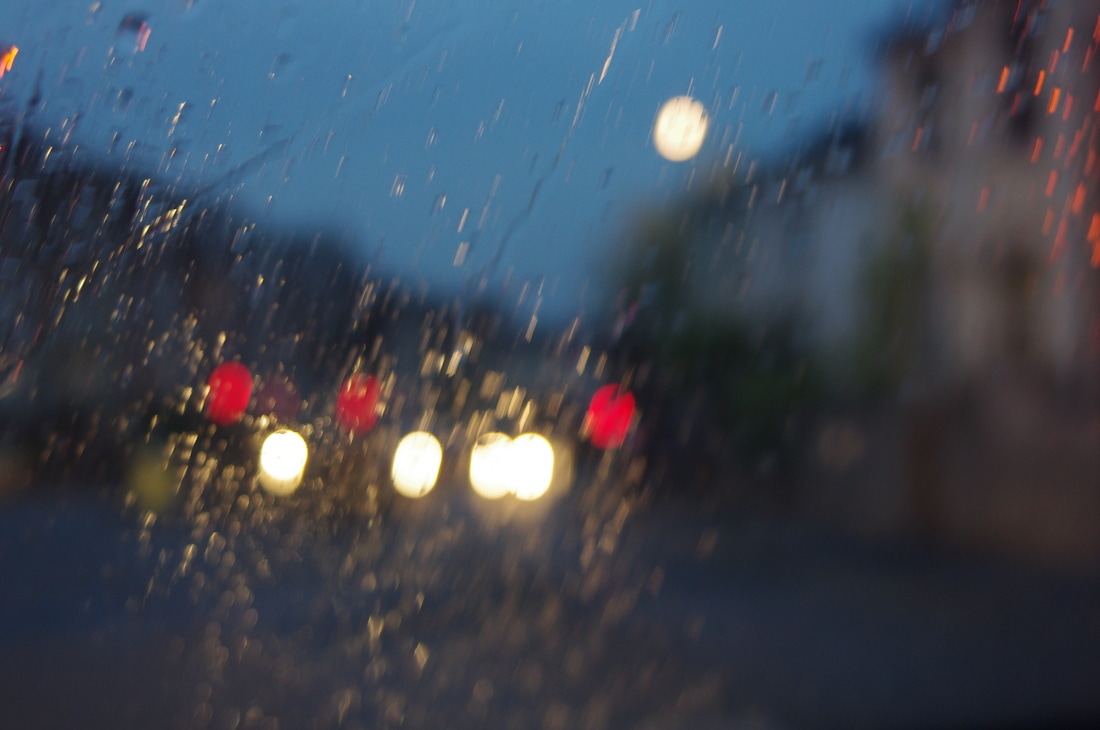
Shoot 5
For this shoot I took photographs of water droplets on glass. This idea was inspired by Eduard Gordeev and Naoya Hatakeyama. I will combine these images with images from previous shoot to achieve the same effect as Gordeev. These image will allow me to experiment with ideas using Photoshop.
WWW:- I managed to take a lot of photographs relating to the same idea and photographer
(Gordeev)
EBI:- If I experimented with light behind the glass. If I used a white piece of paper to prevent the background from being seen.
WWW:- I managed to take a lot of photographs relating to the same idea and photographer
(Gordeev)
EBI:- If I experimented with light behind the glass. If I used a white piece of paper to prevent the background from being seen.


Best Images From This Shoot
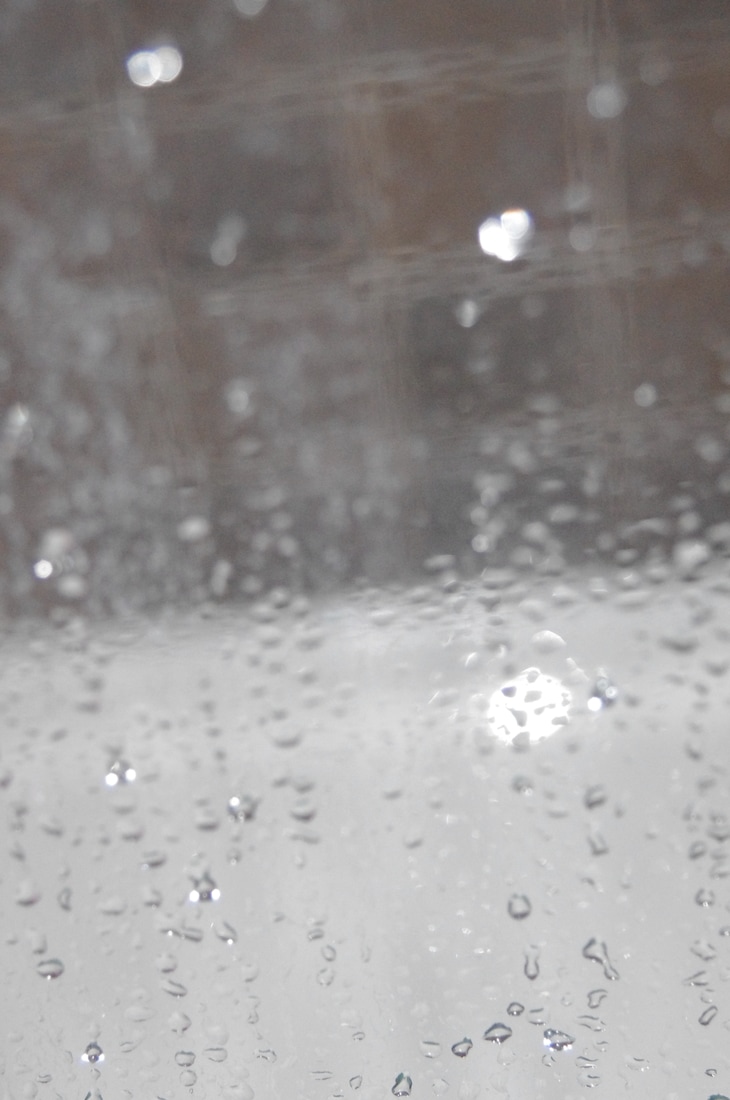
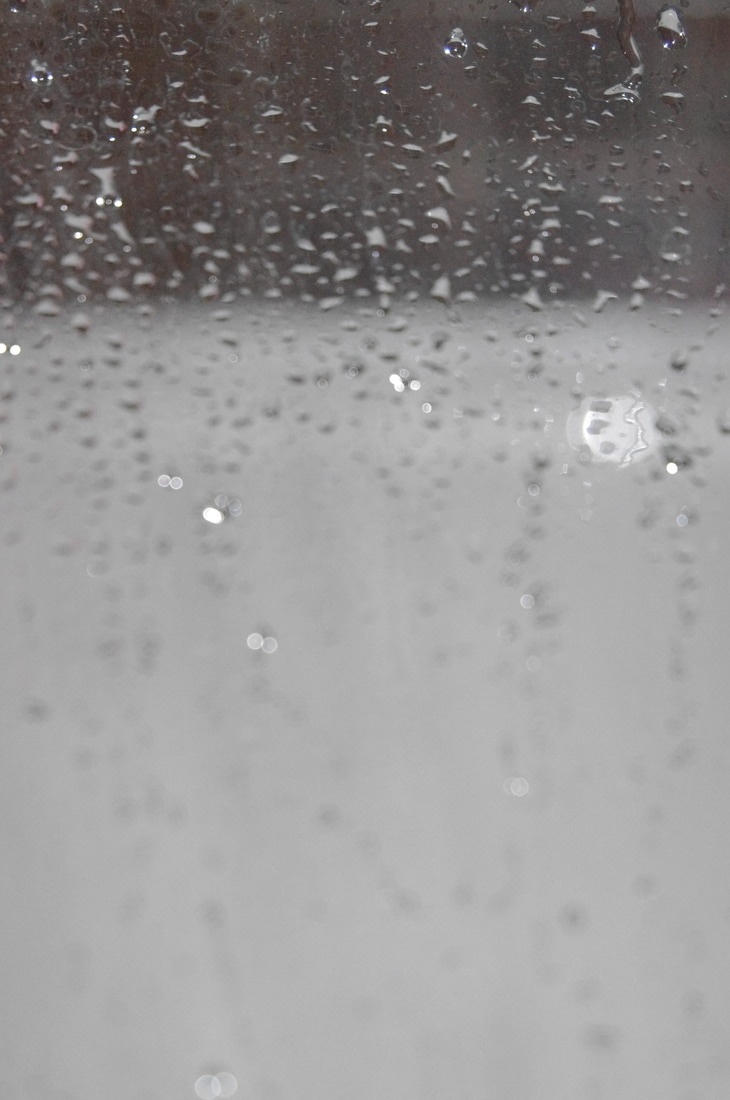
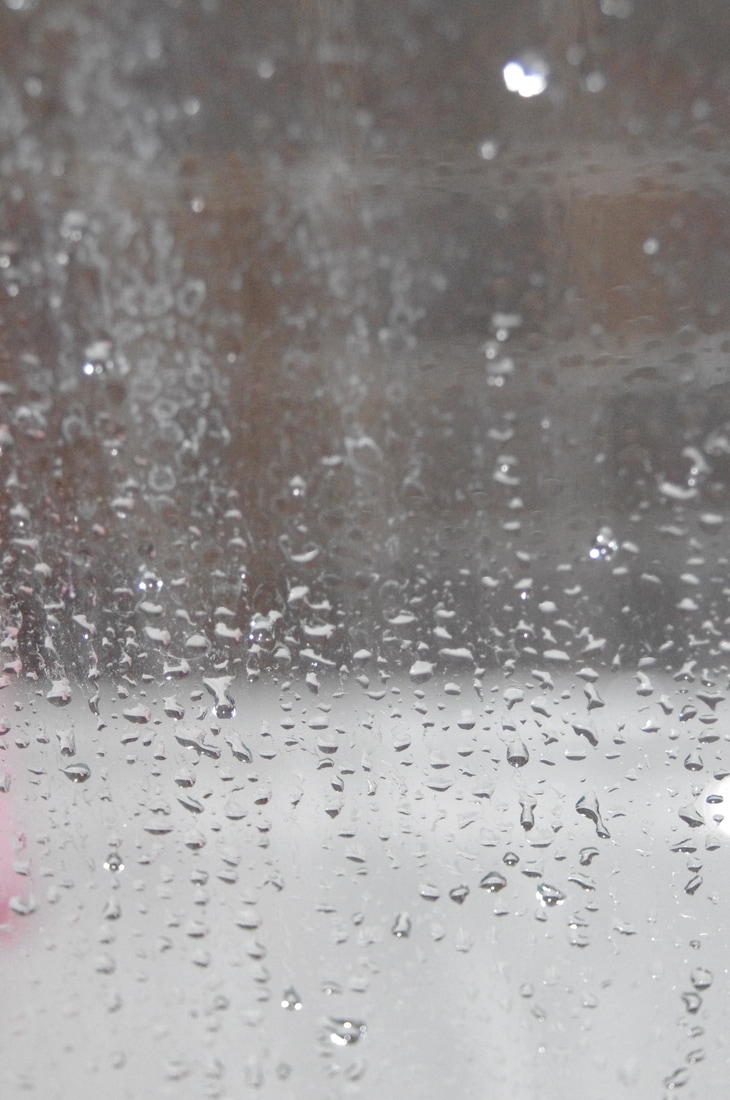
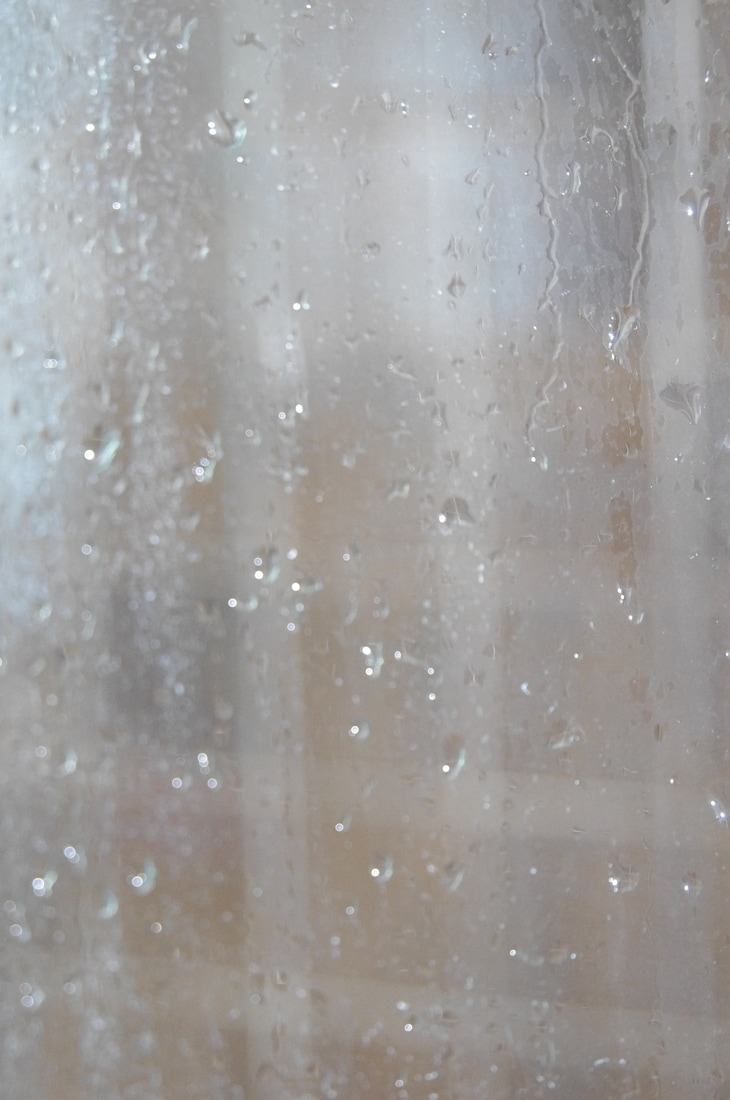
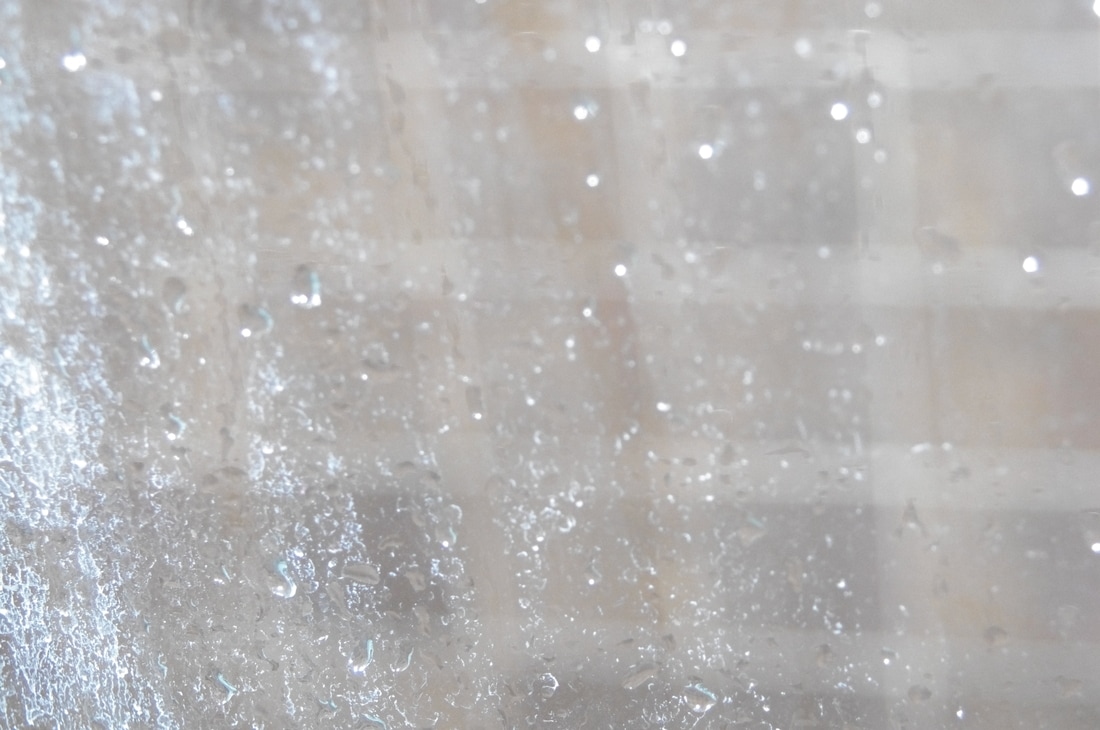
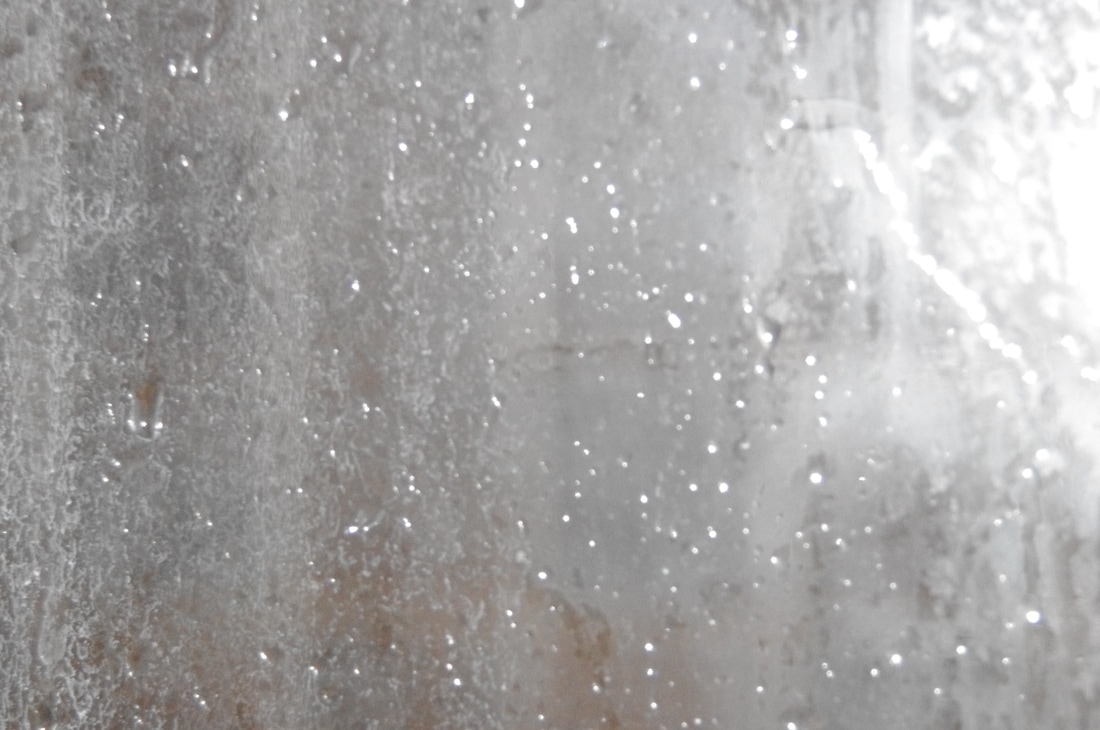
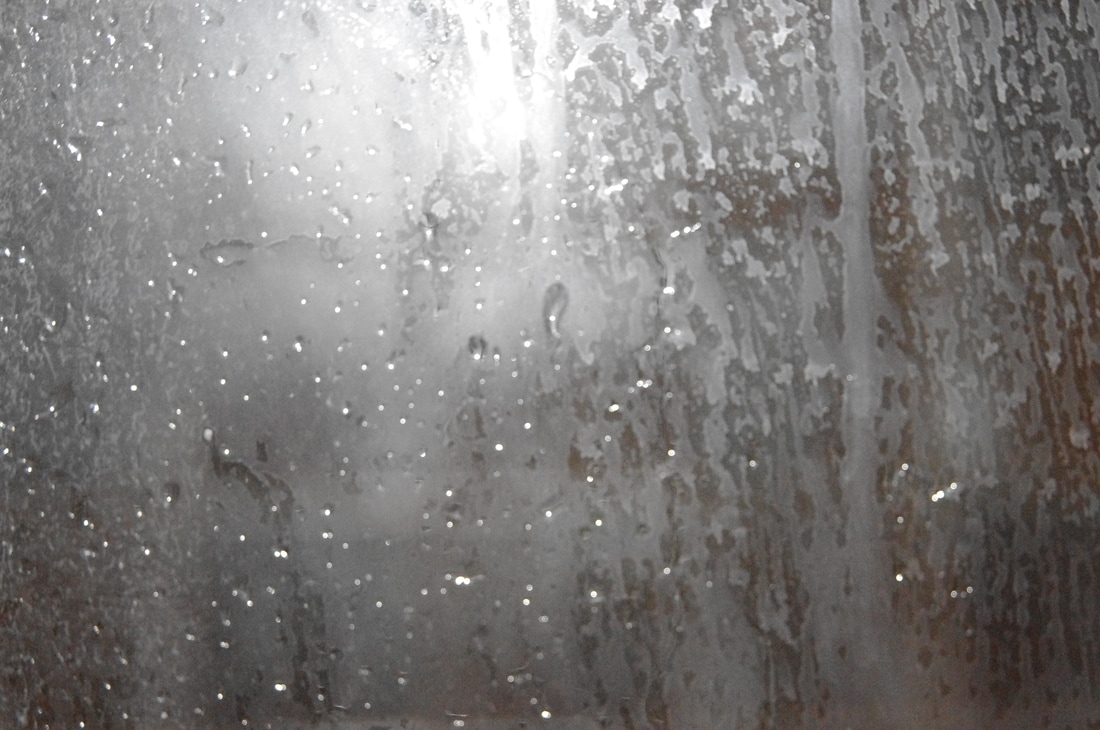
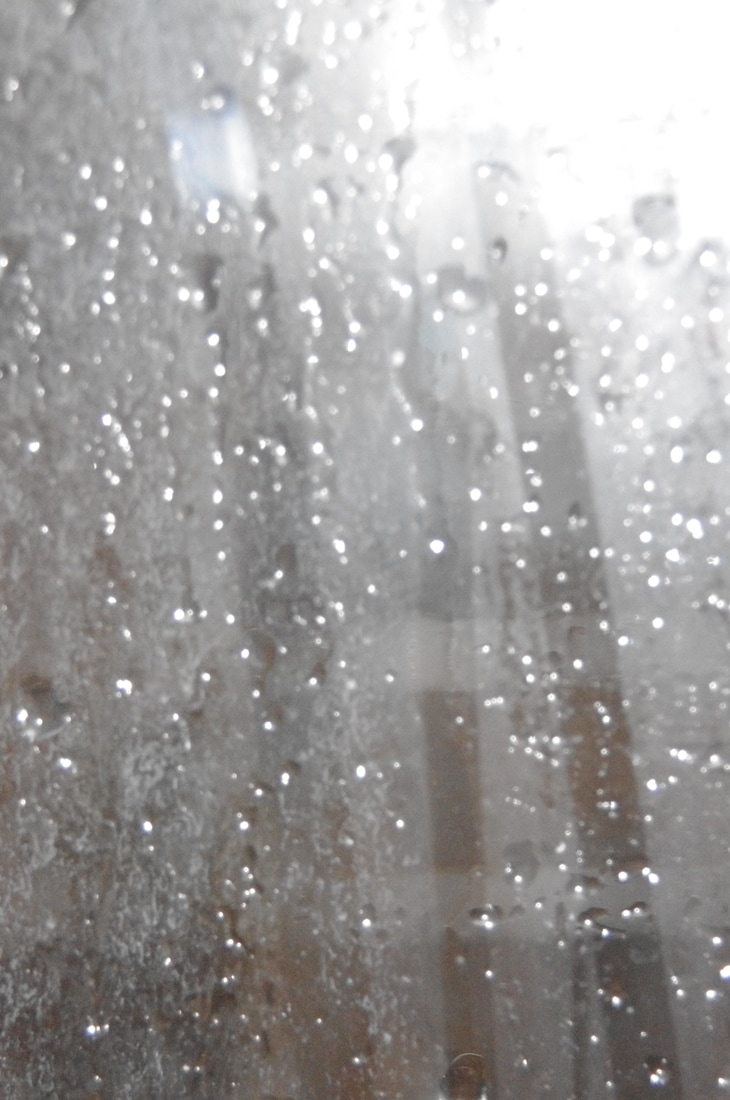
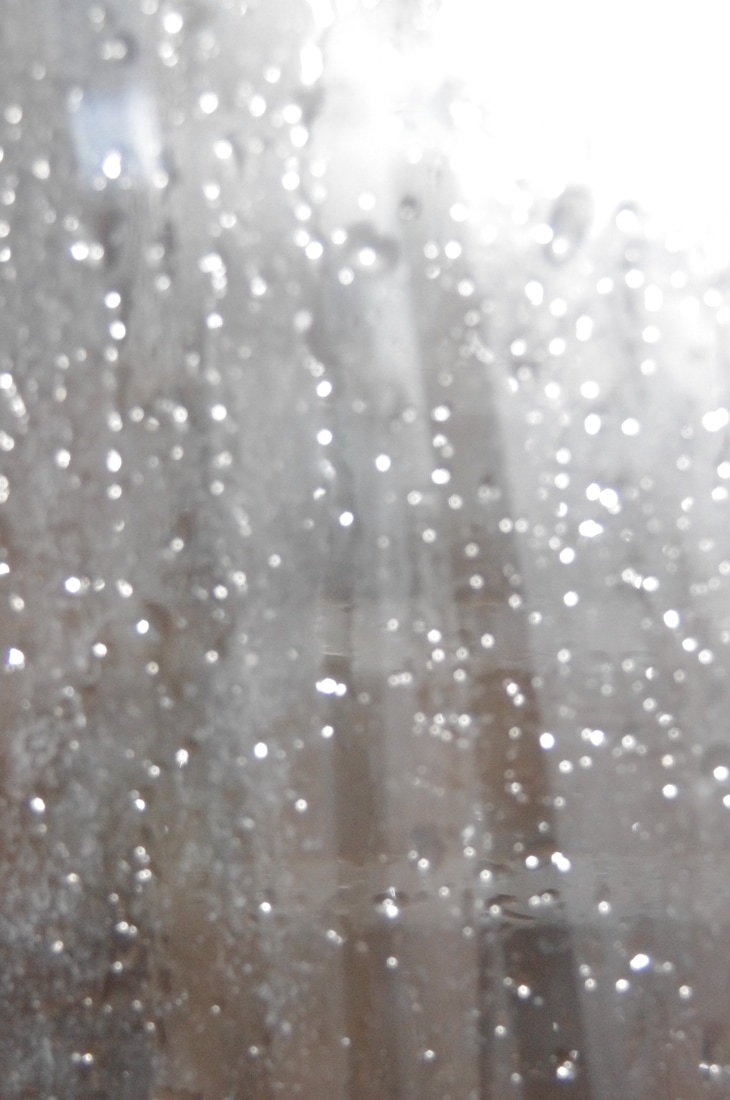
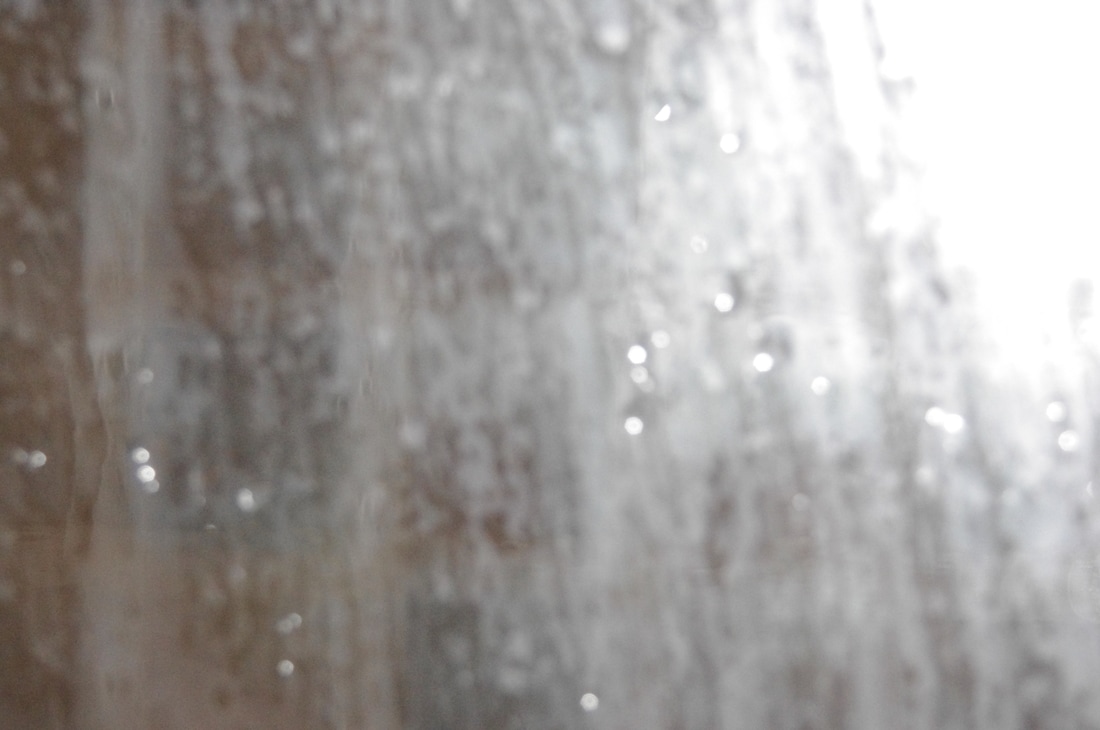
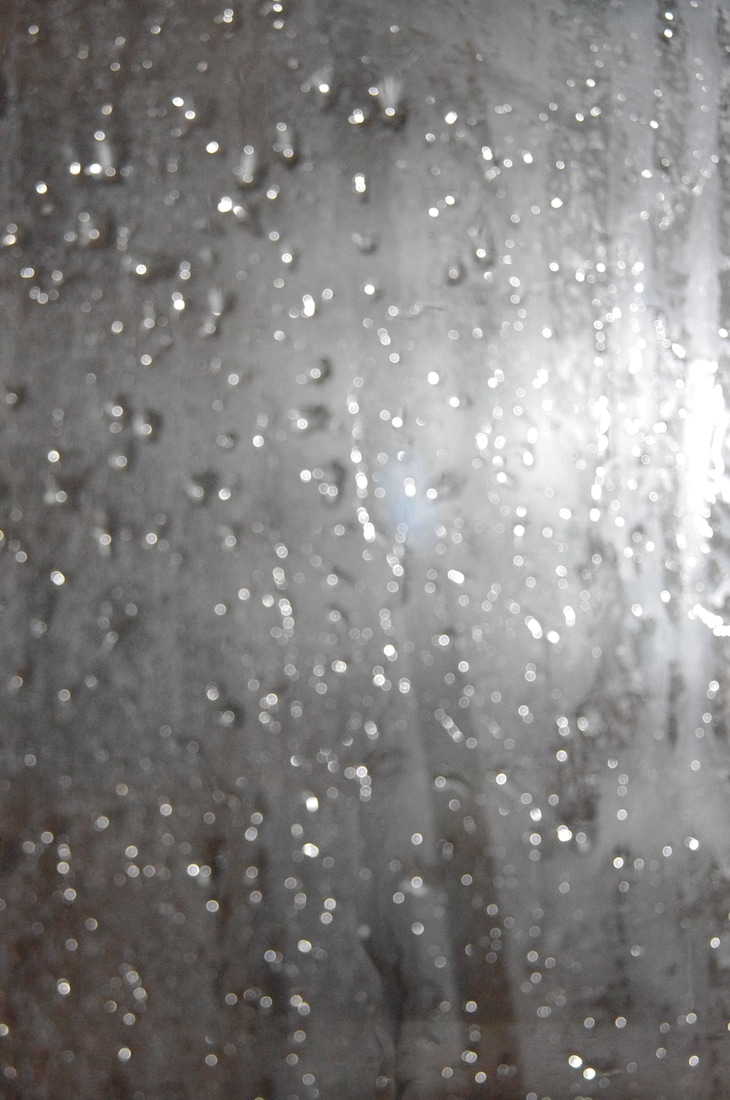
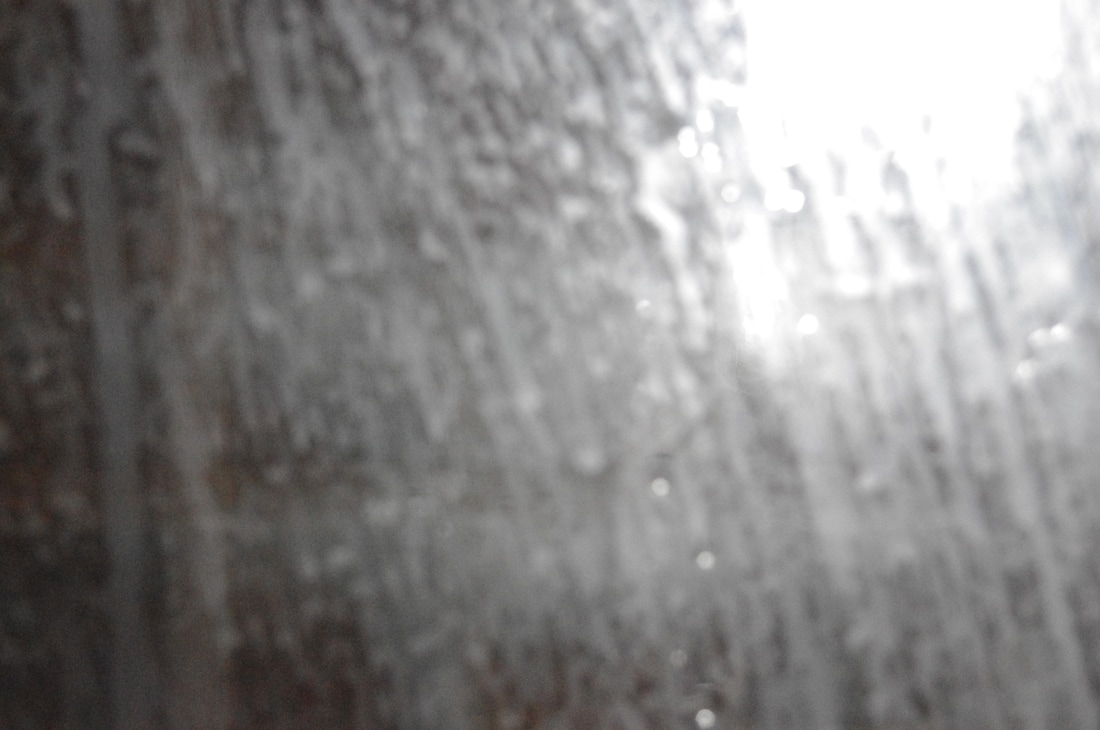
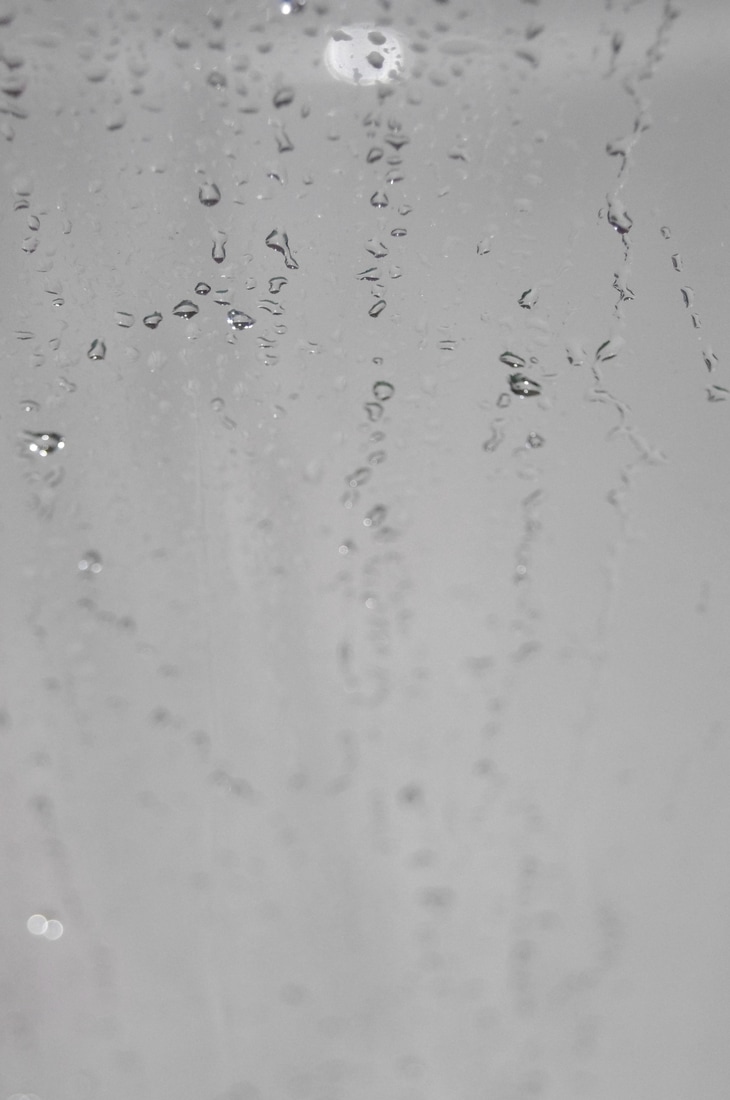
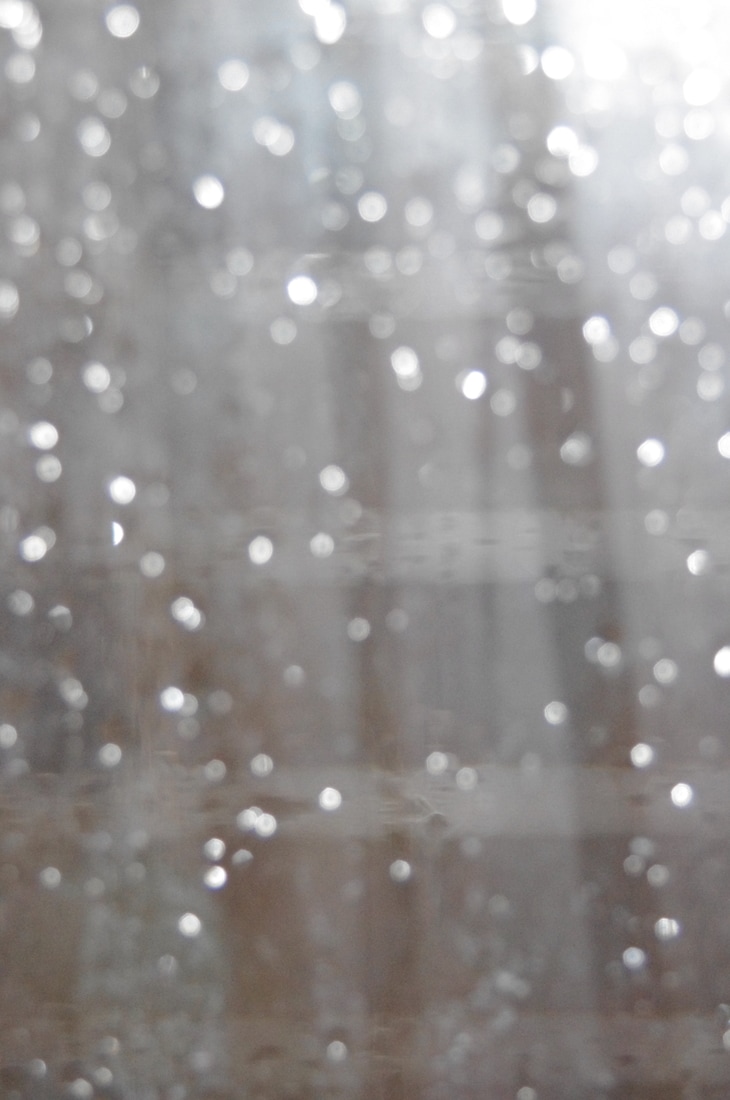
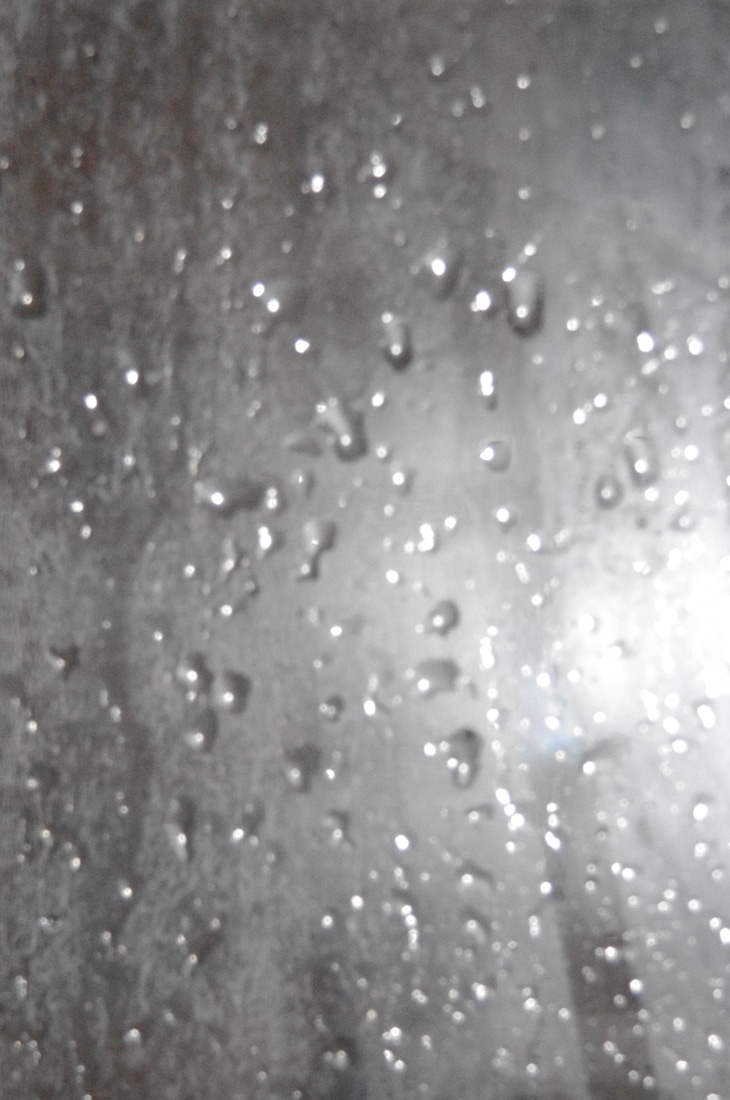
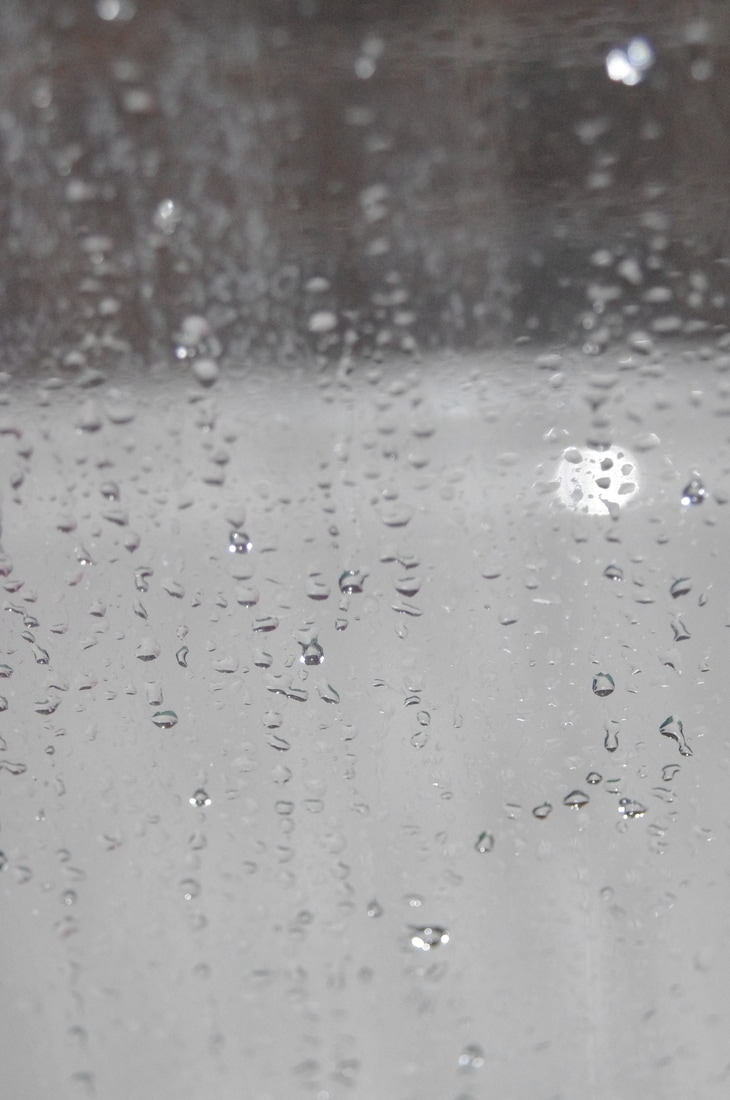
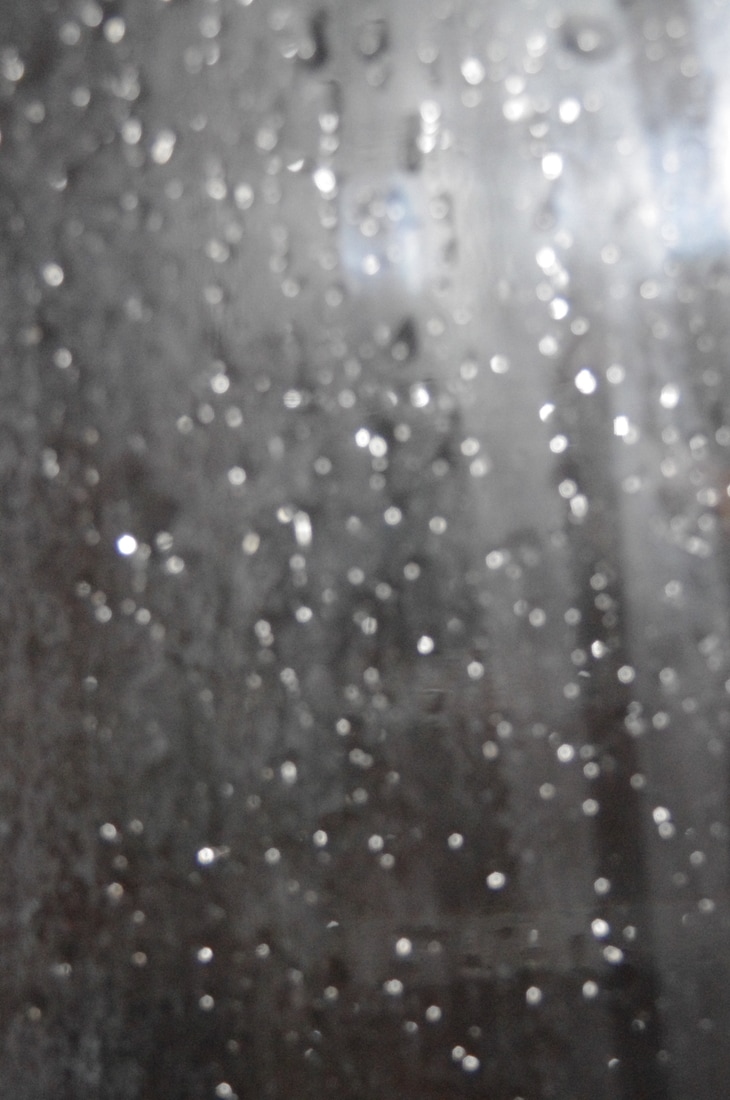
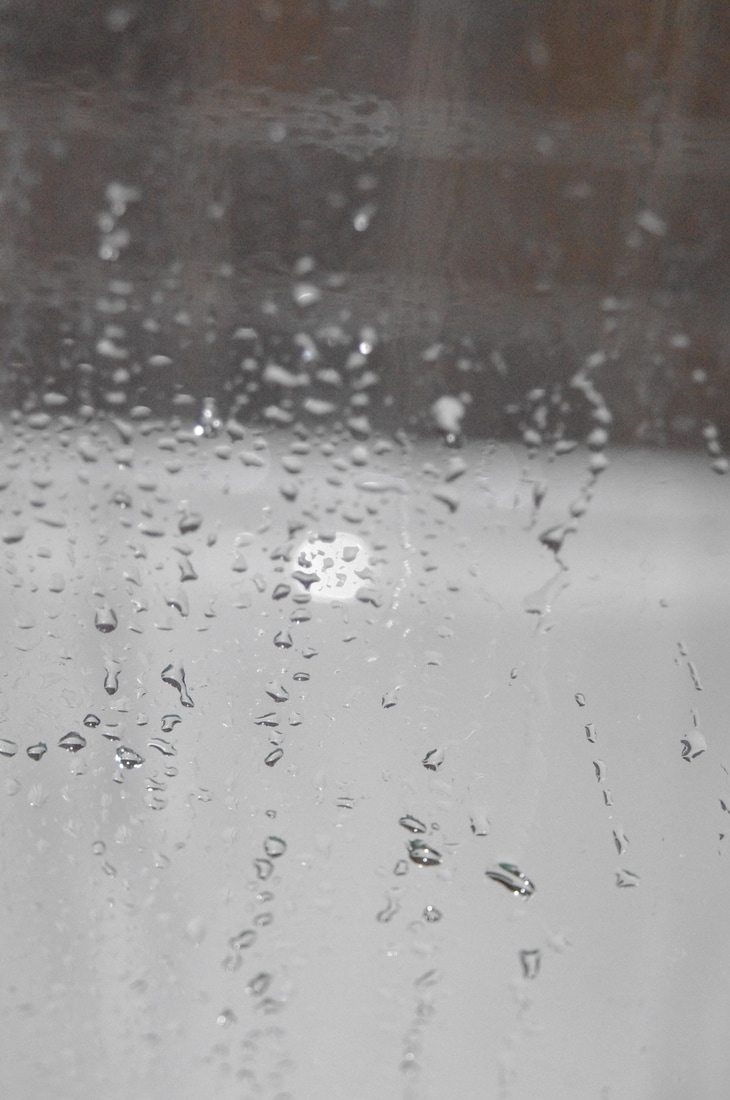
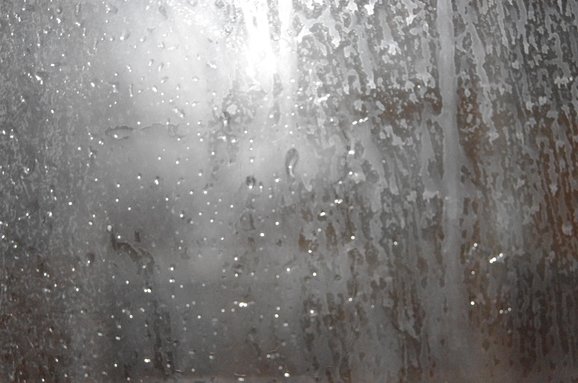
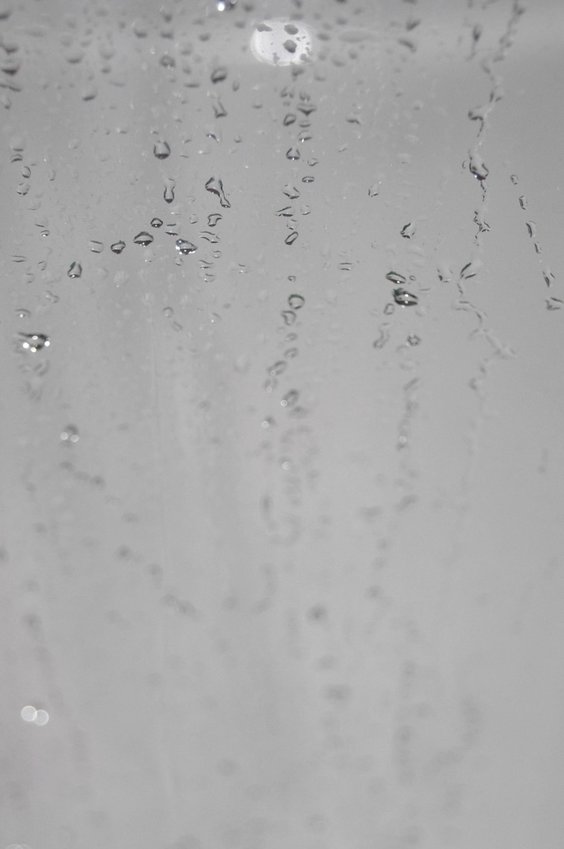
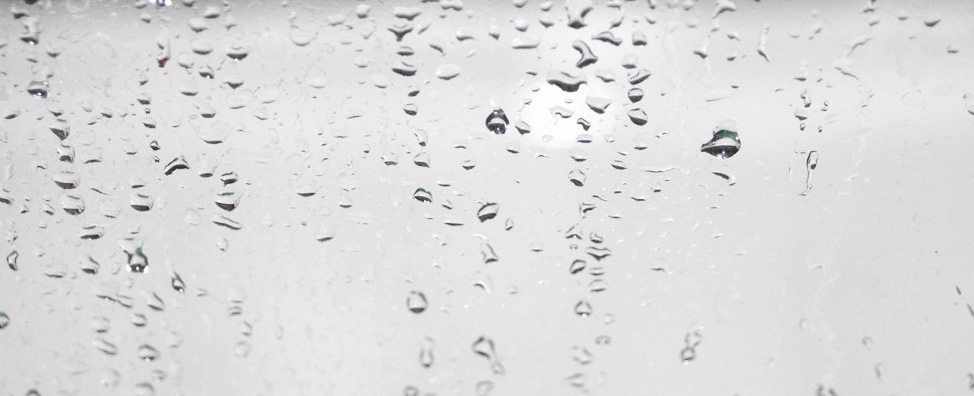
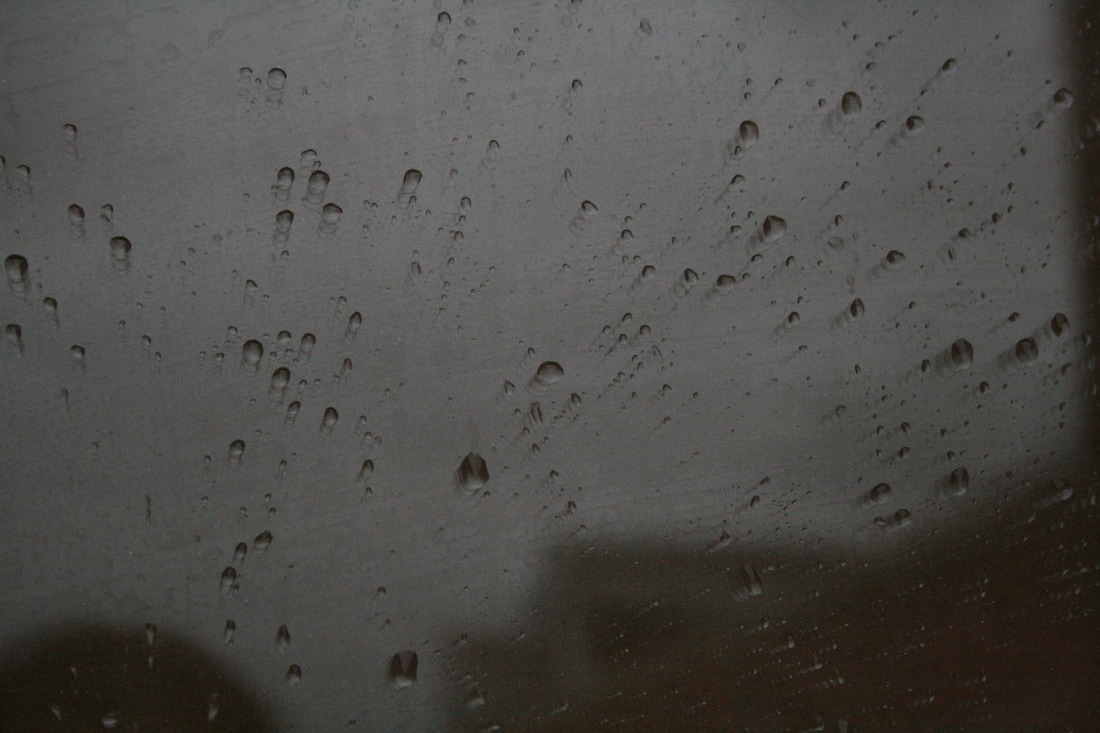
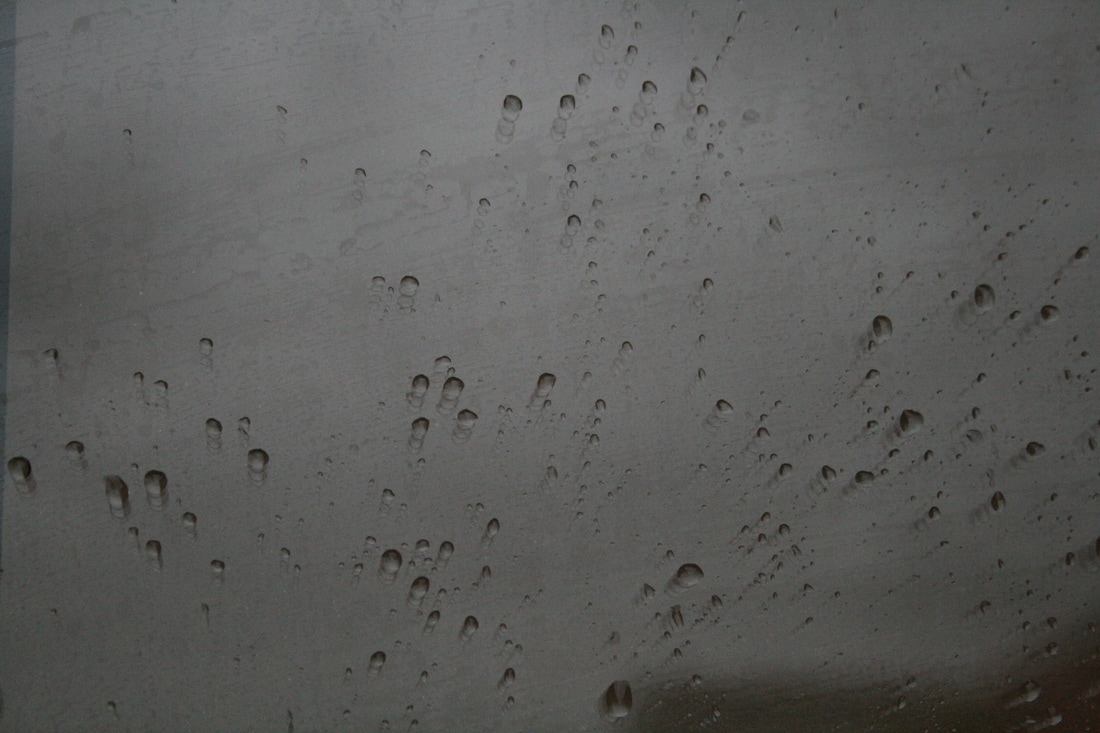
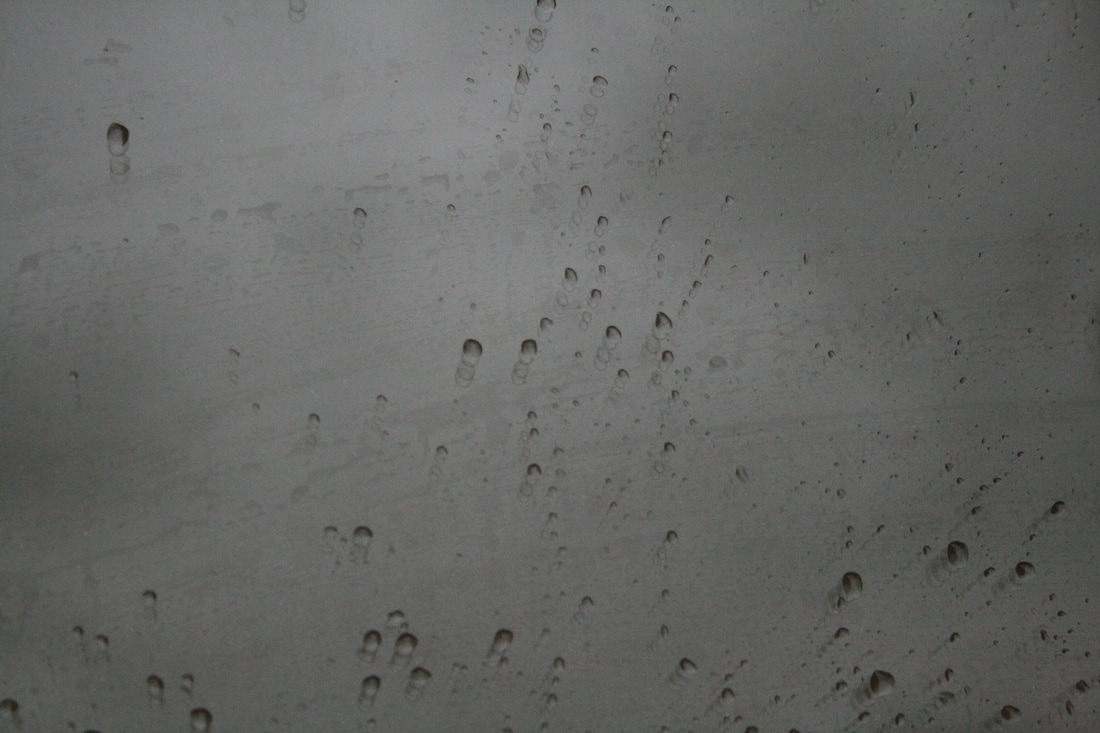
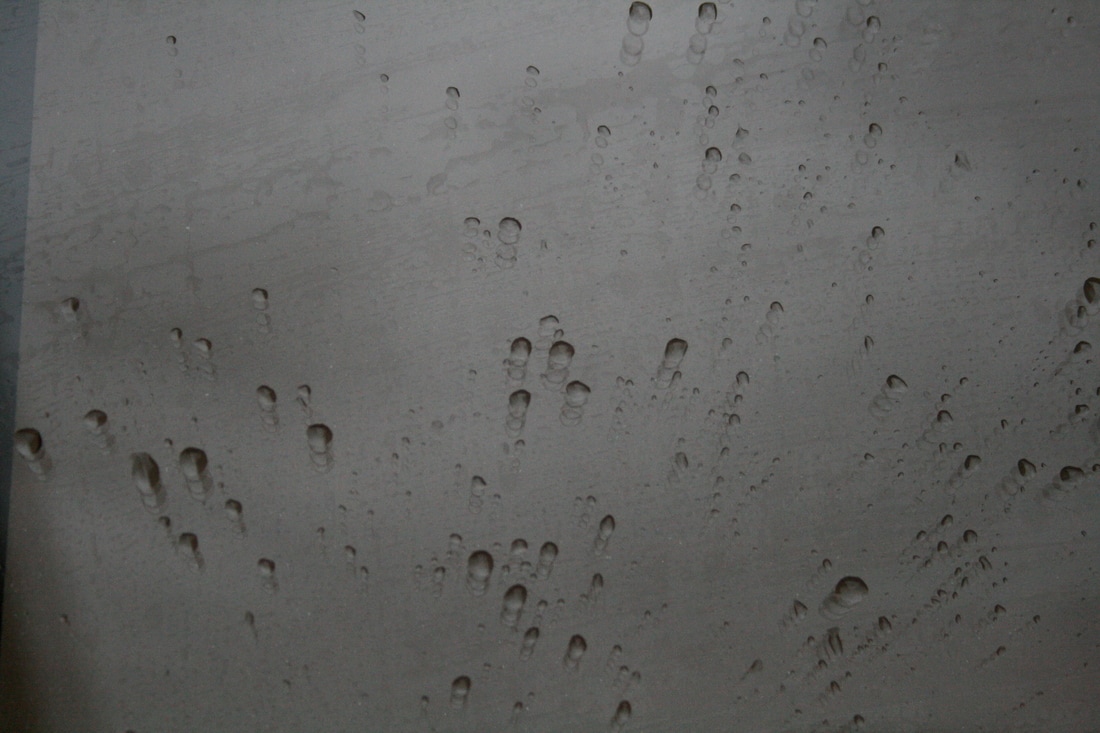
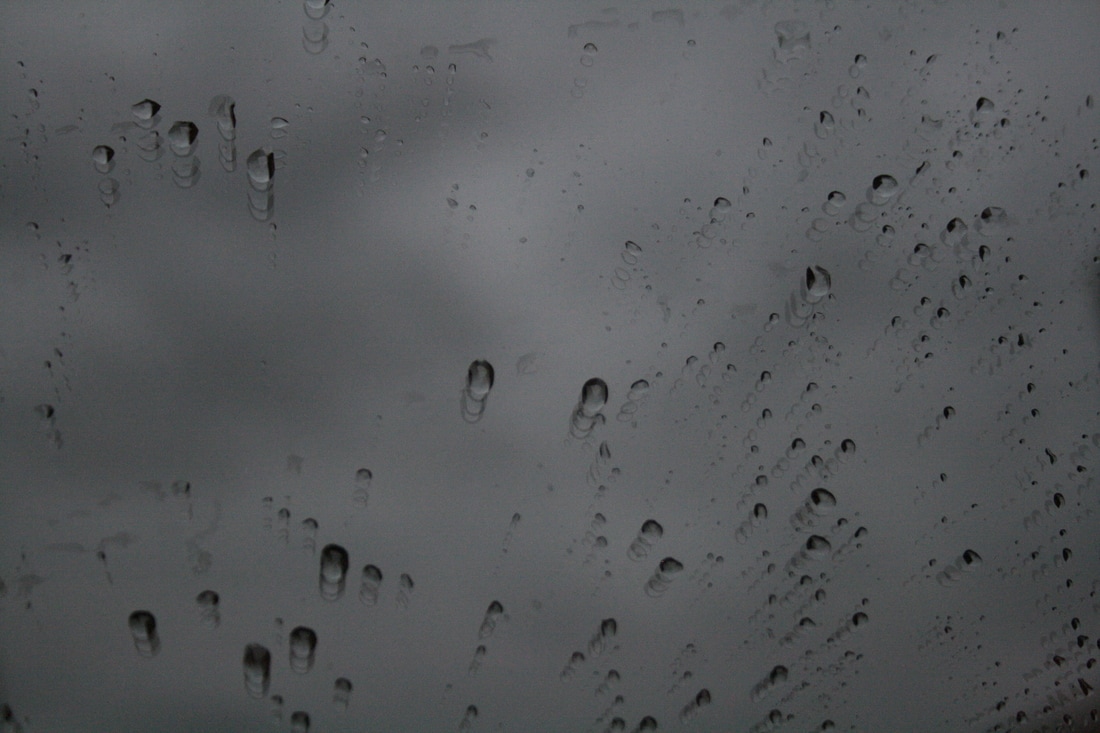
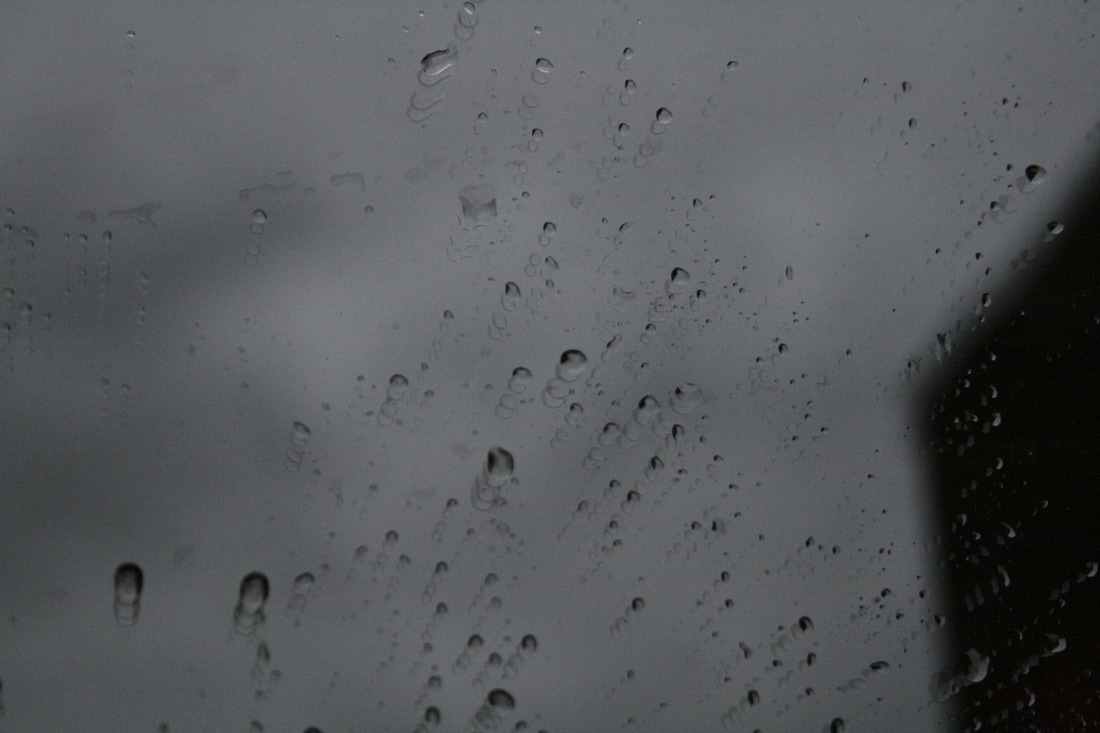
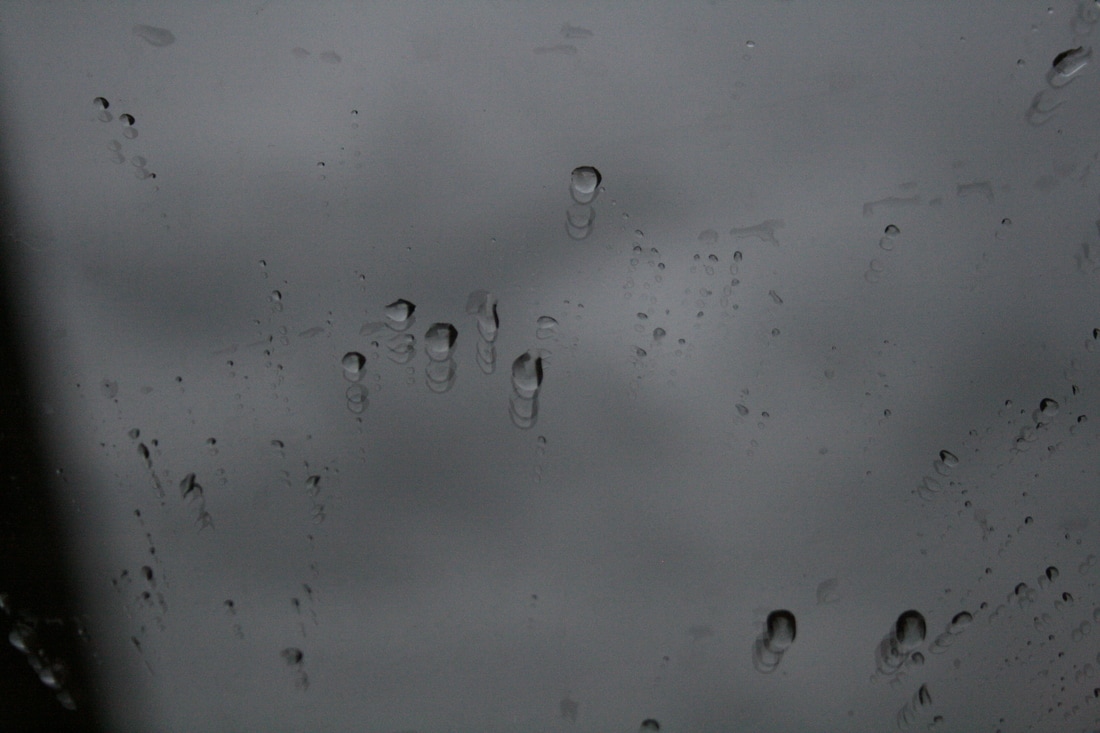
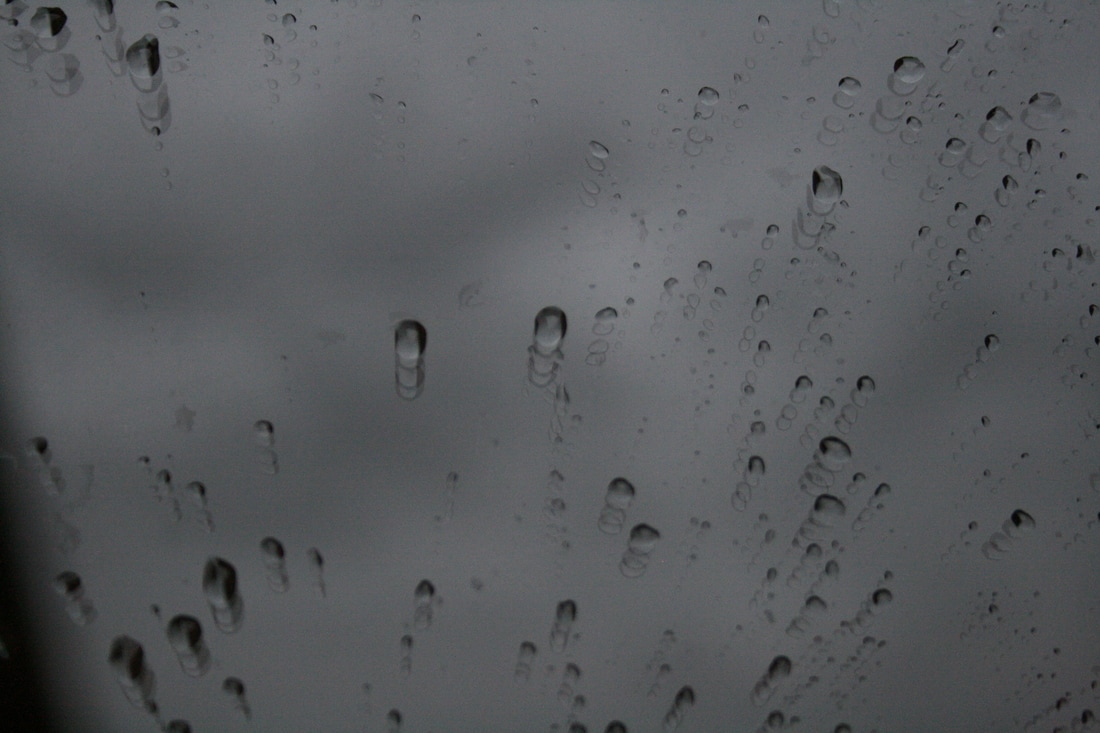
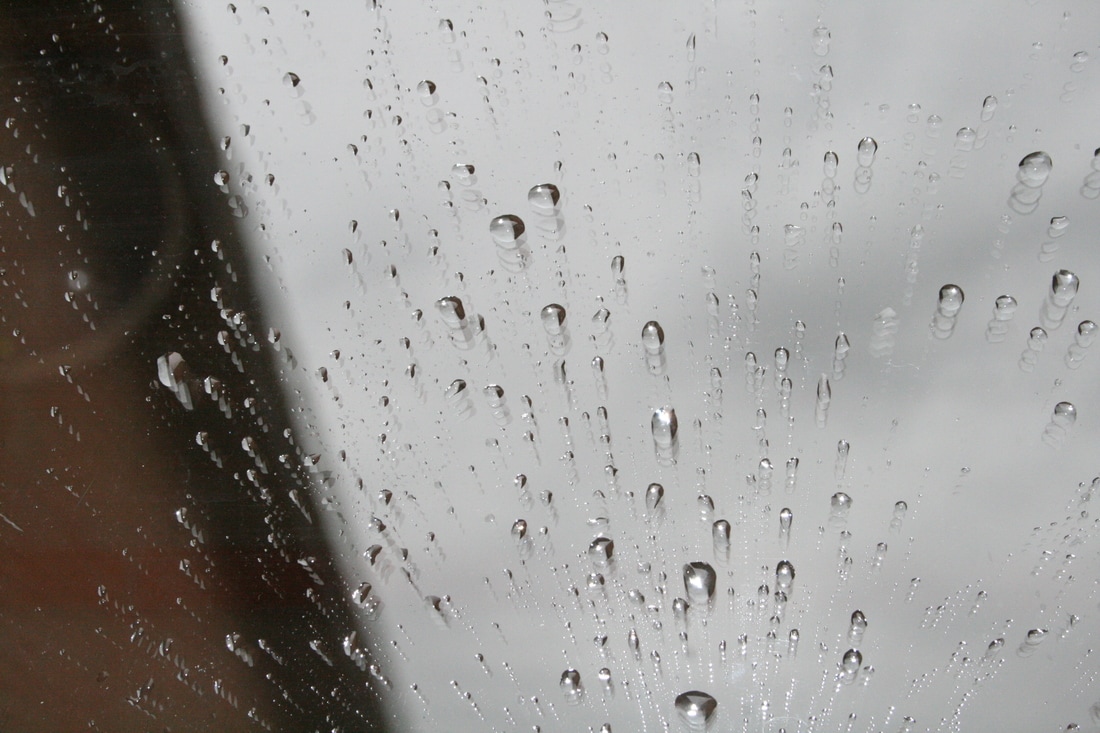
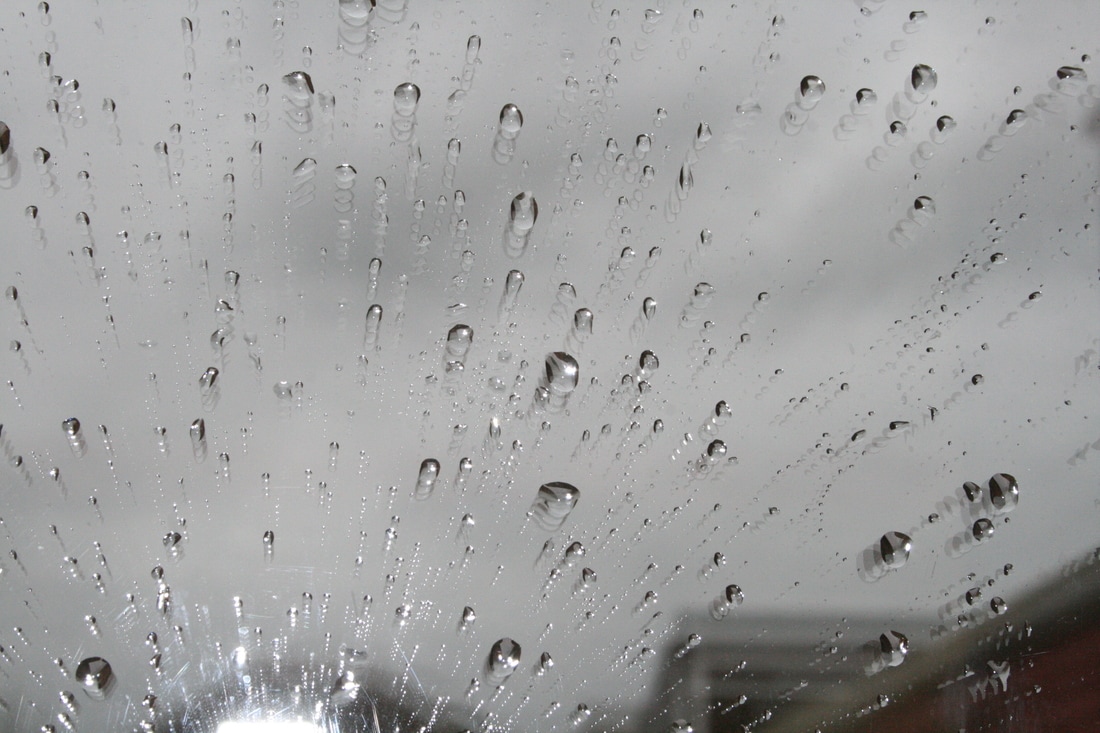
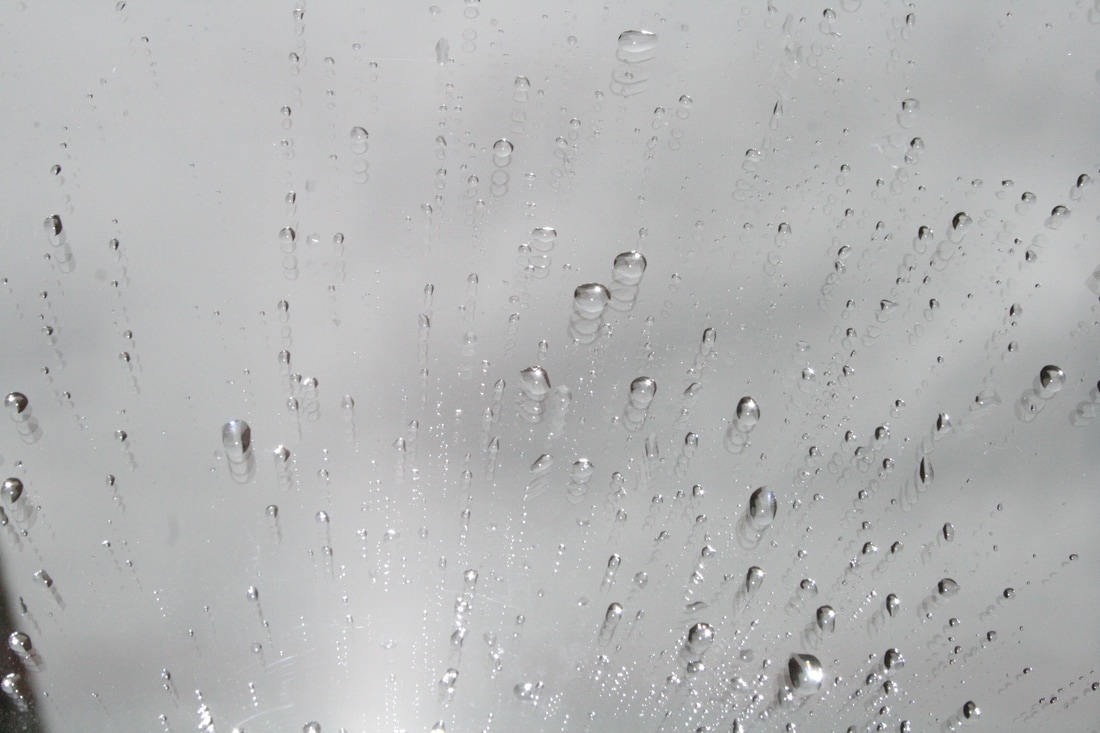
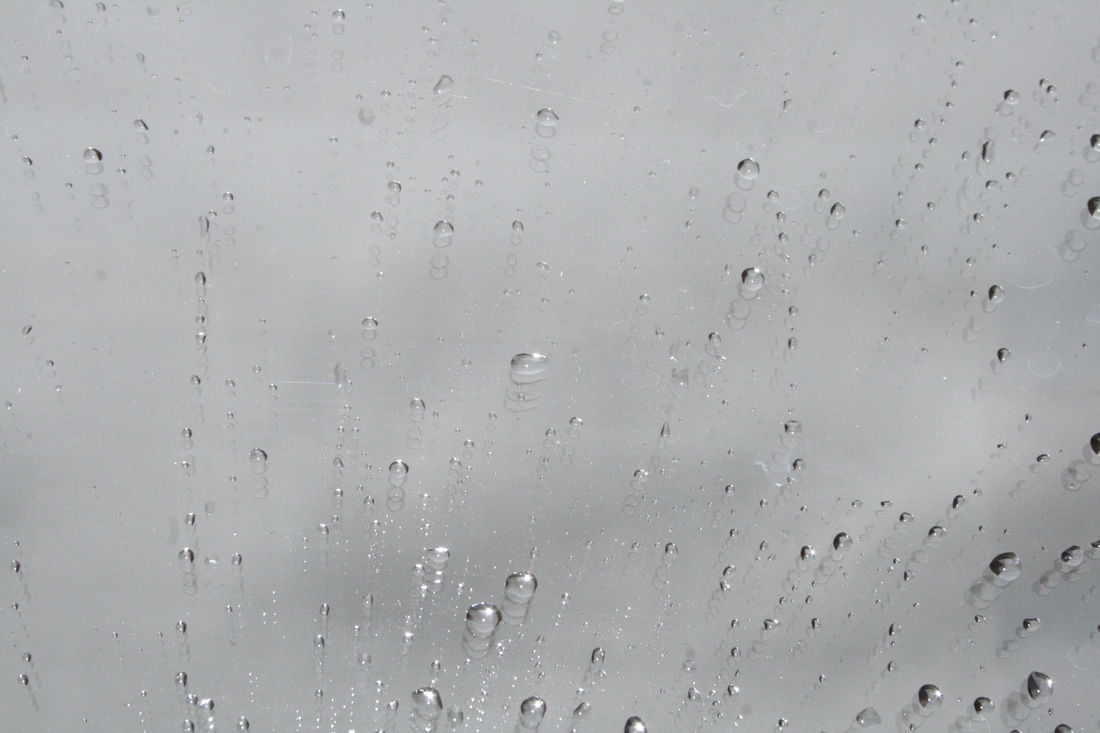
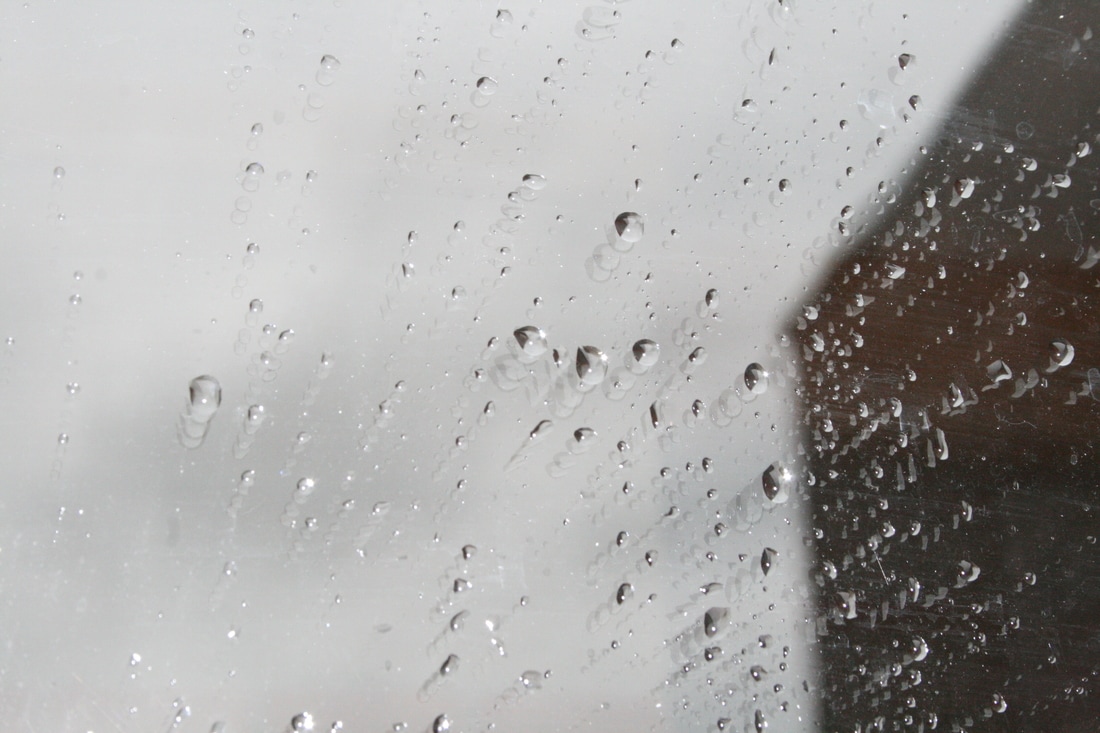
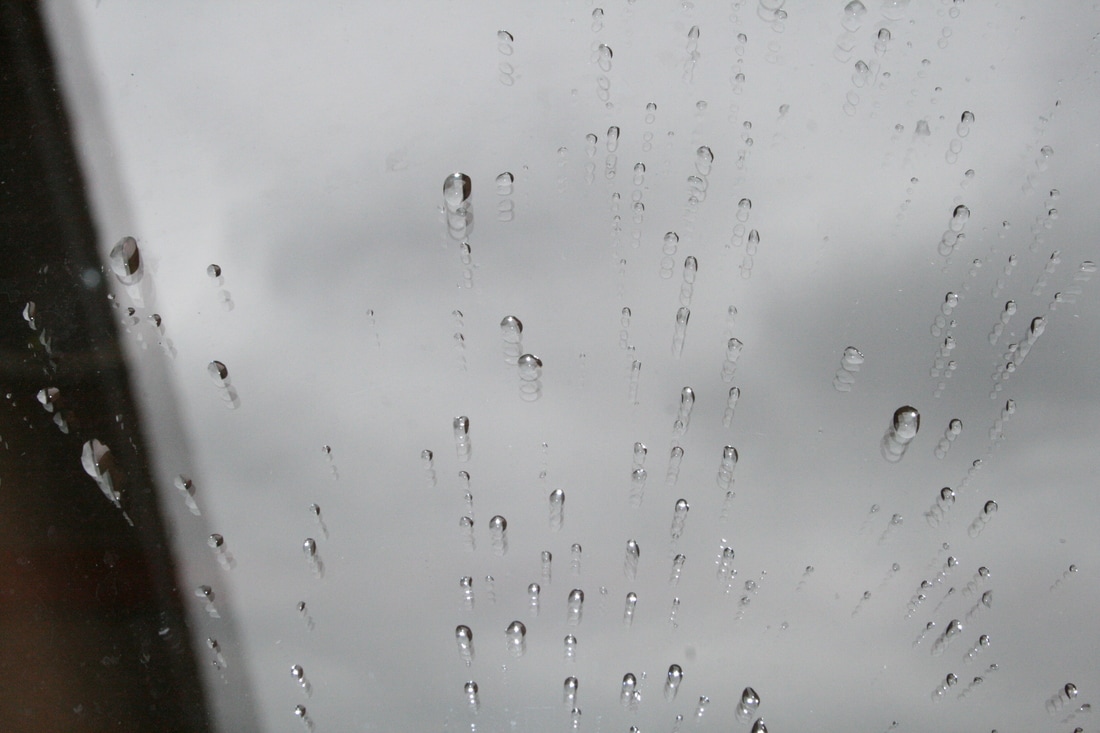
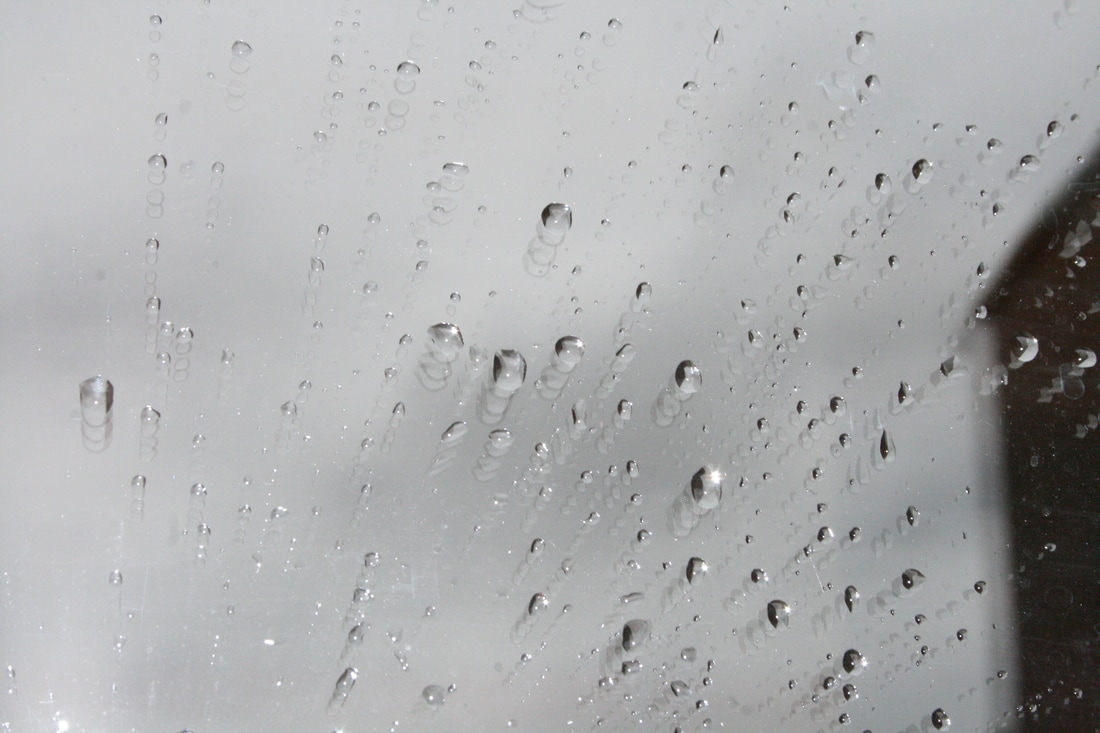
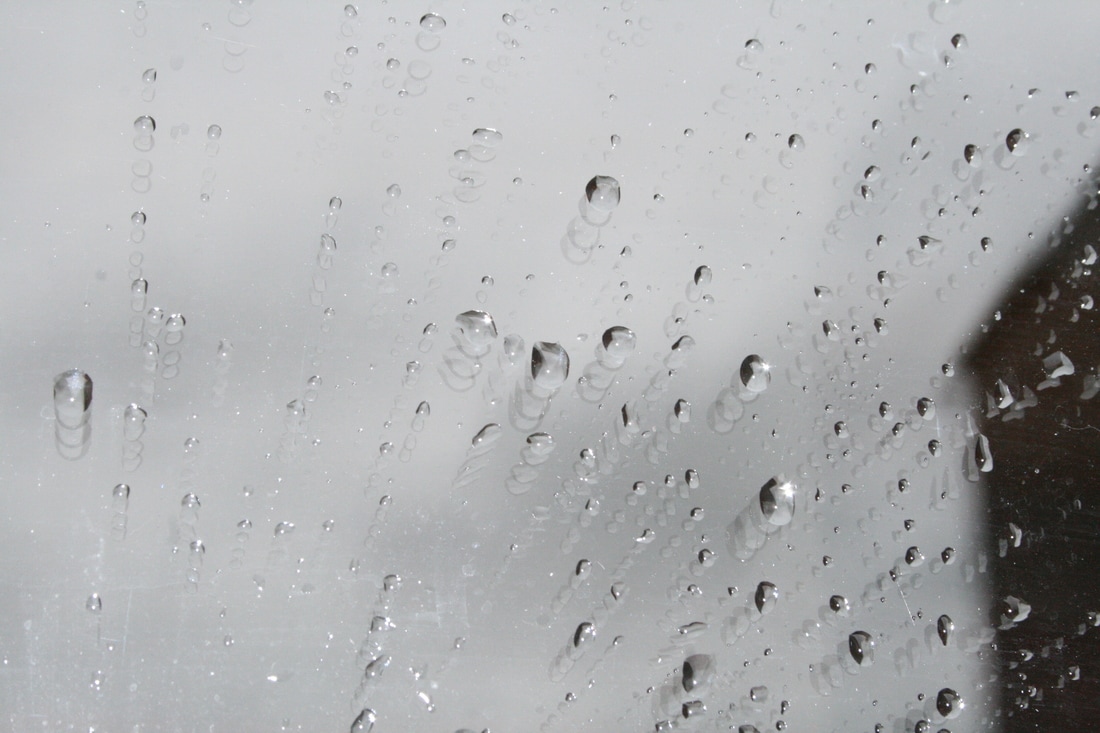
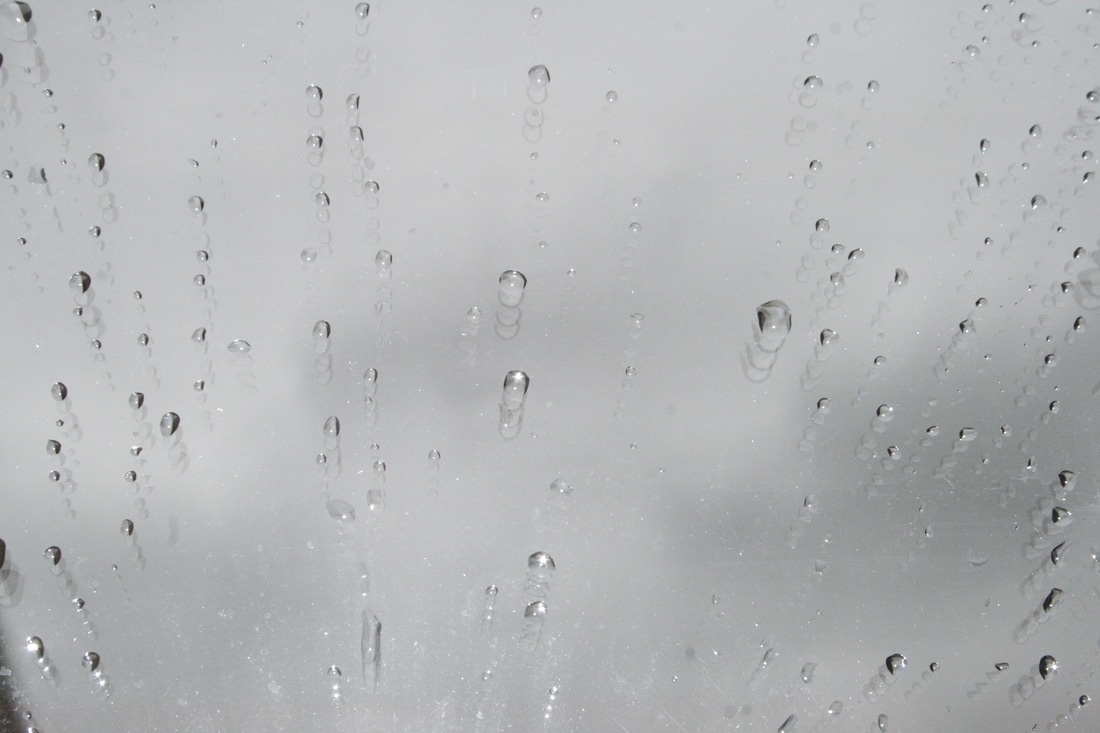
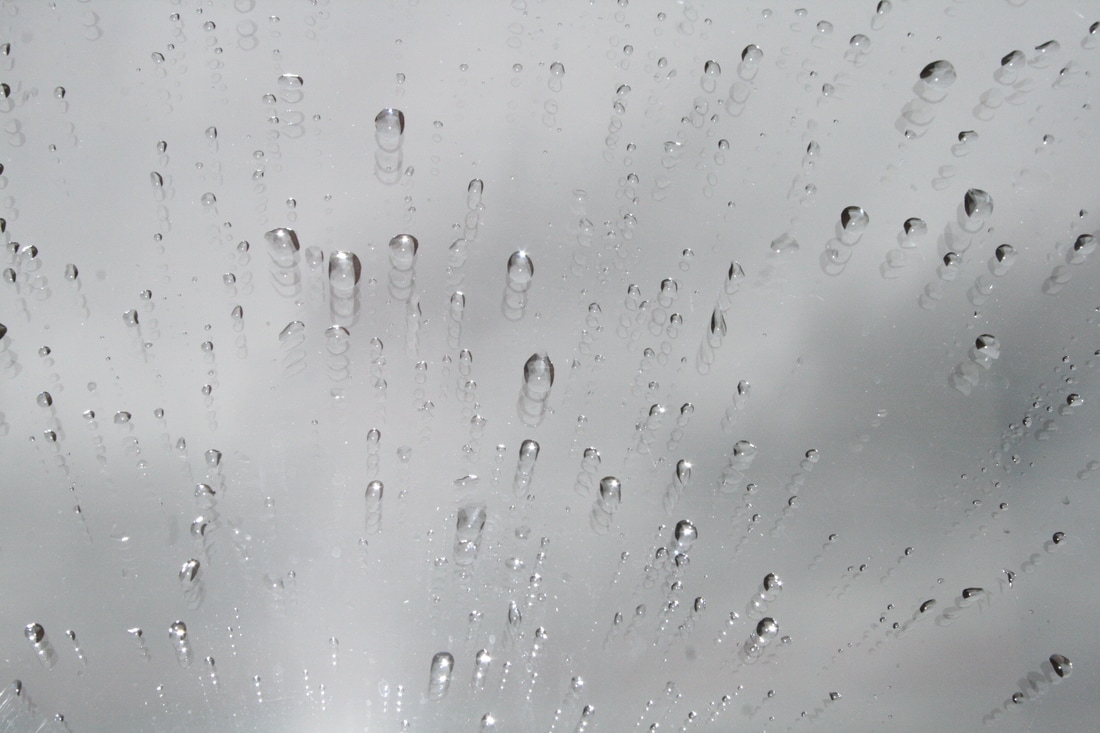
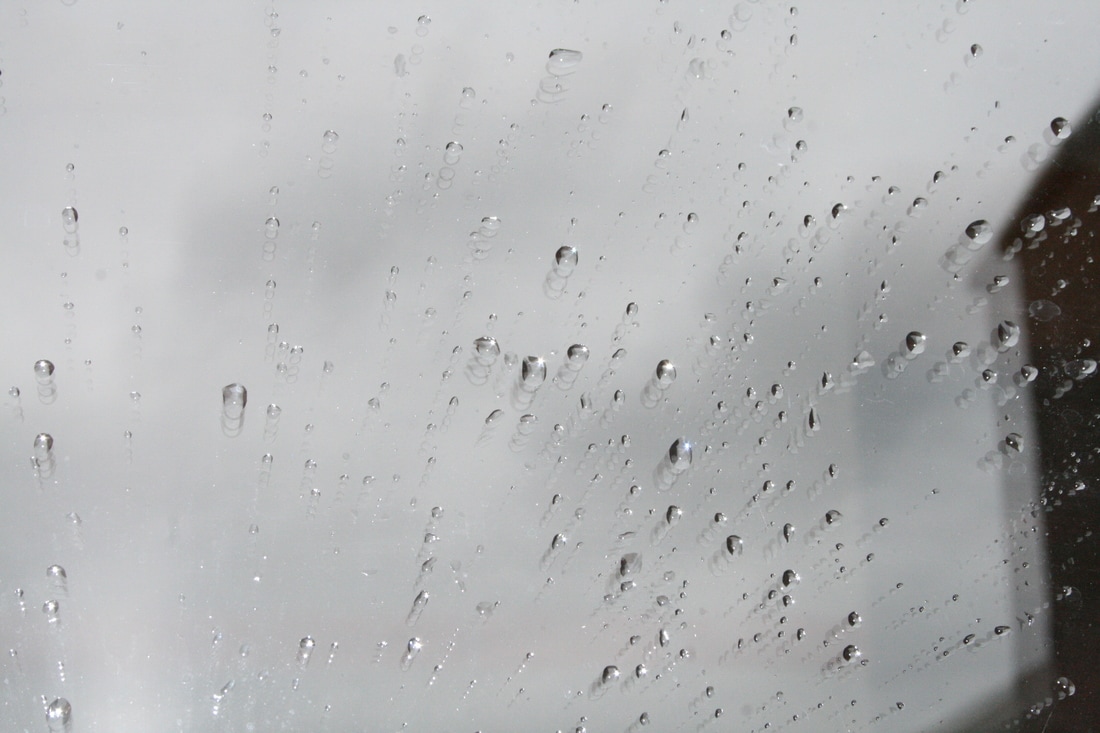
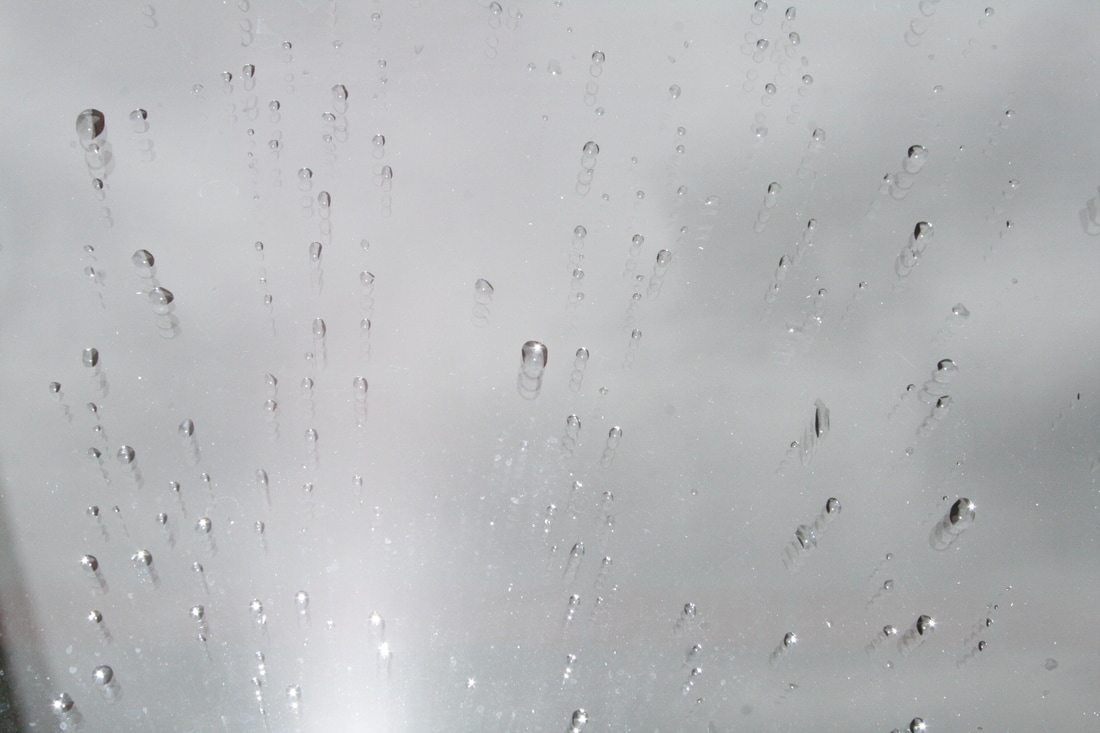
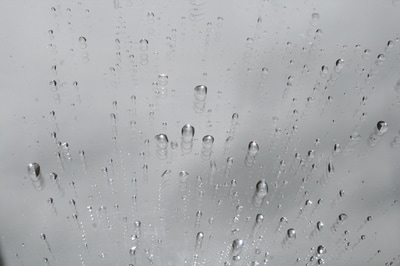
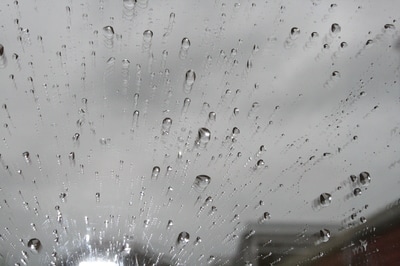
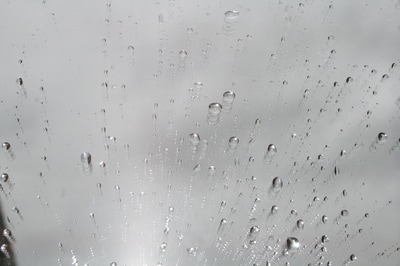
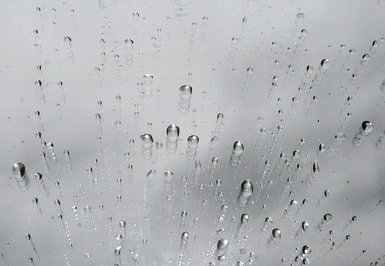
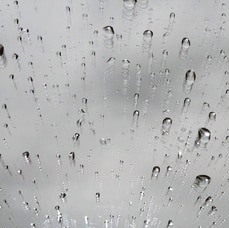
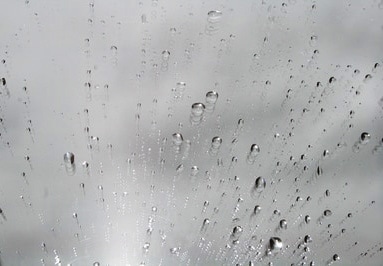
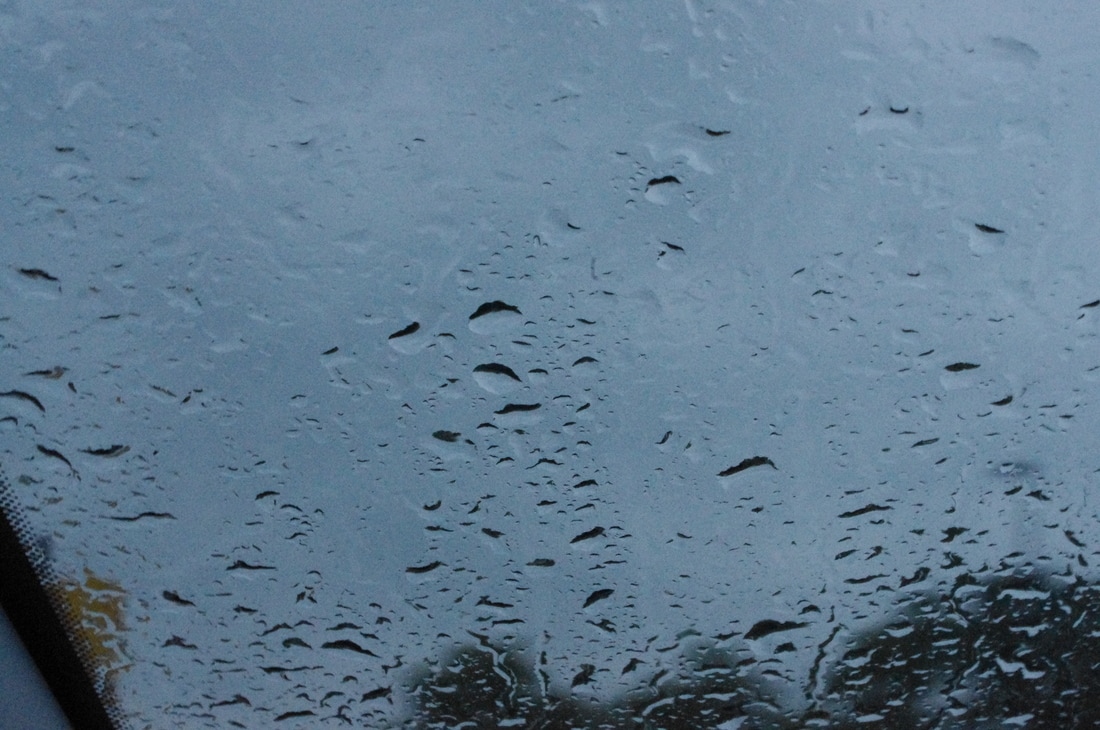
I believe the following images are the best from this shoot because they are clear and show the water droplets best.
|
|

|
|
Photoshop Edits
I cropped the photographs above and increased the contrast and brightness.
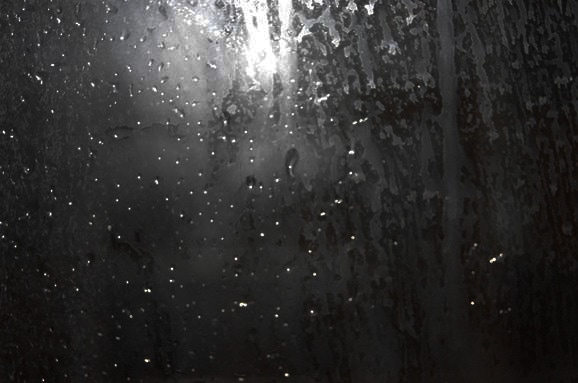
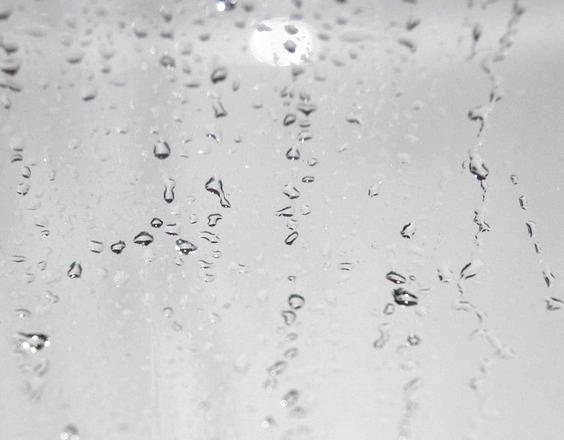
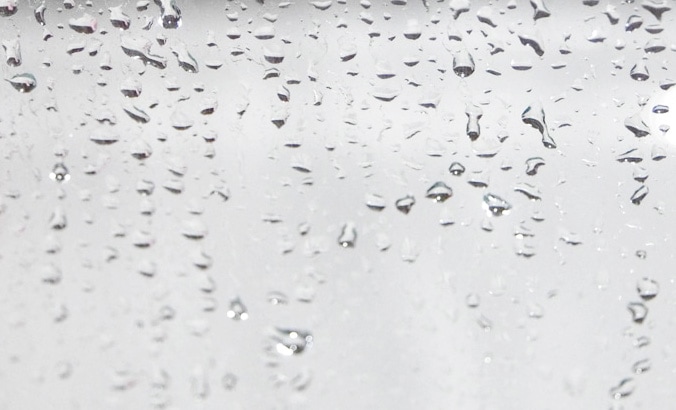
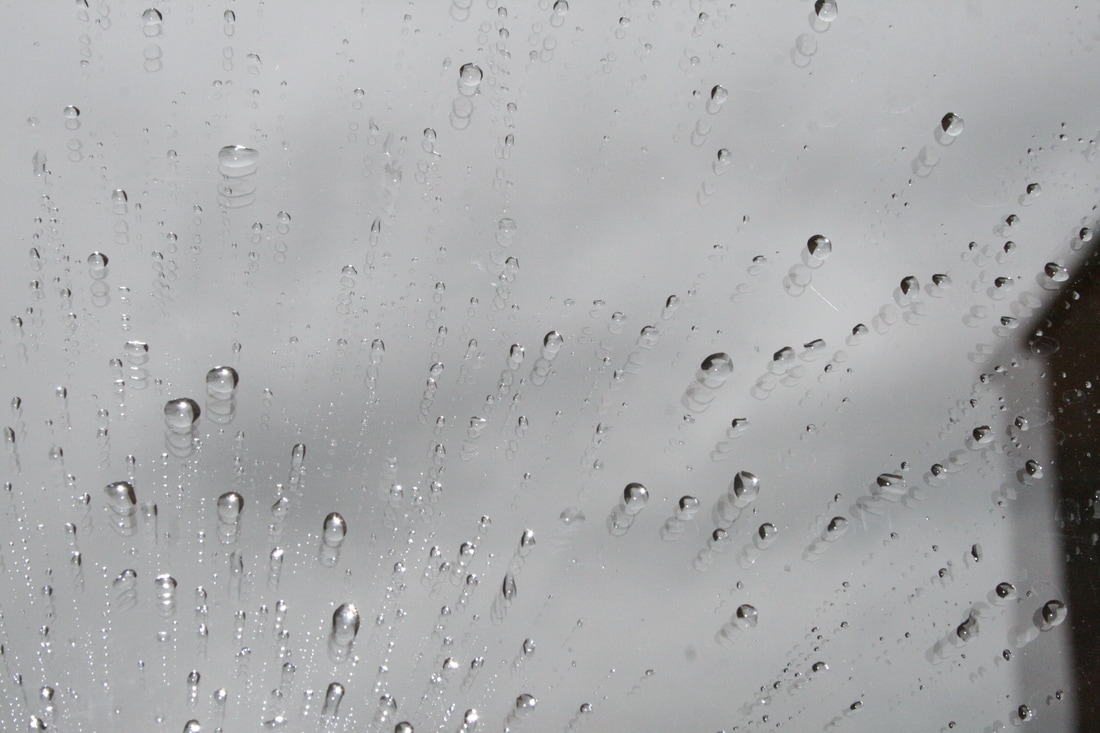
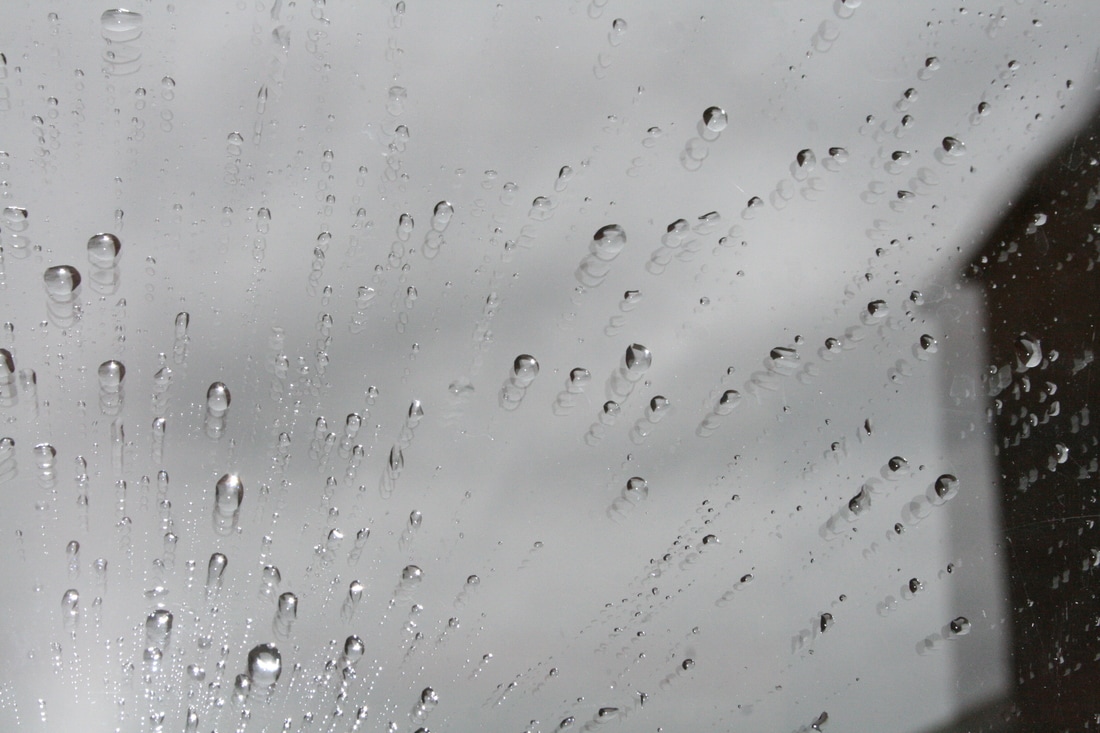
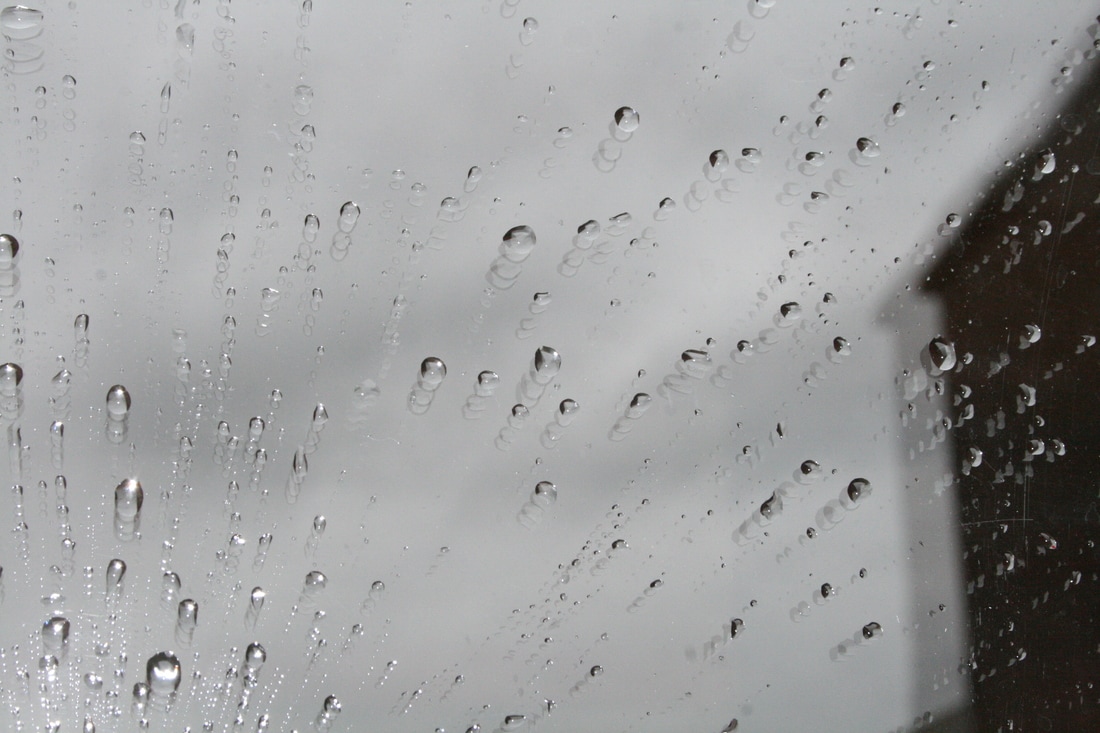
Shoot 6
For this shoot I used a piece of white card behind a window and splashes water on to the glass. I then experimented with using the flash.
WWW:- I managed to take over 20 photographs that are clear and link to the same theme.
EBI:- If I had found a way to not get the reflections of buildings in the photographs.
WWW:- I managed to take over 20 photographs that are clear and link to the same theme.
EBI:- If I had found a way to not get the reflections of buildings in the photographs.

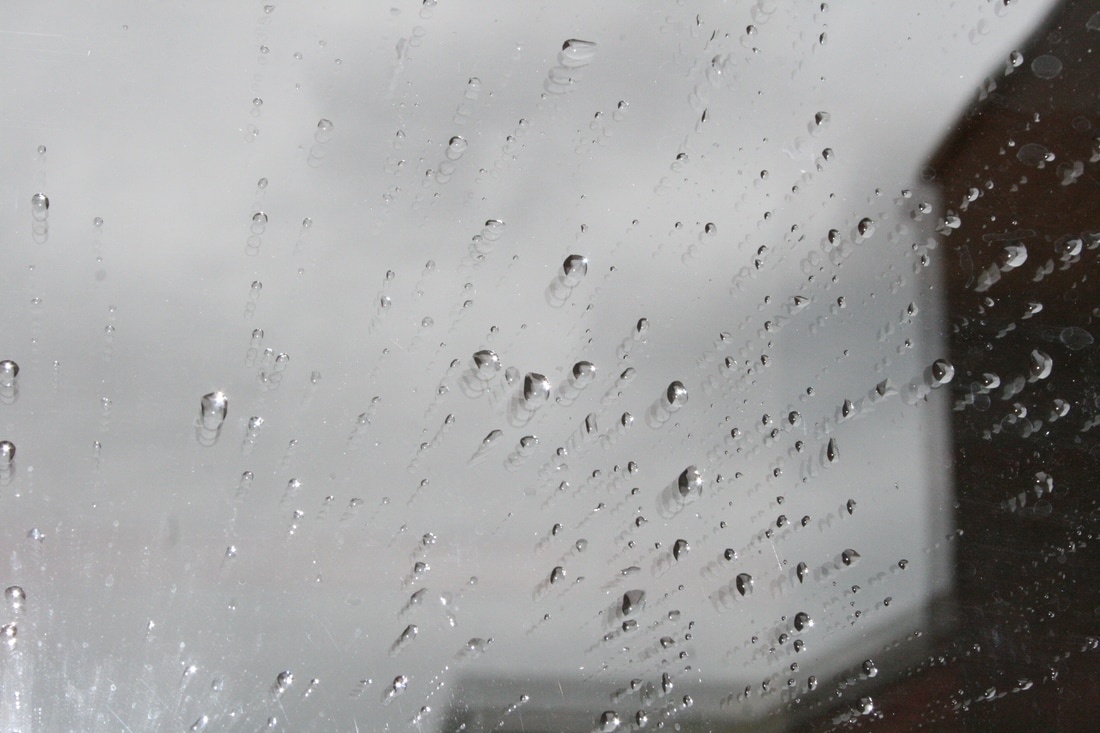
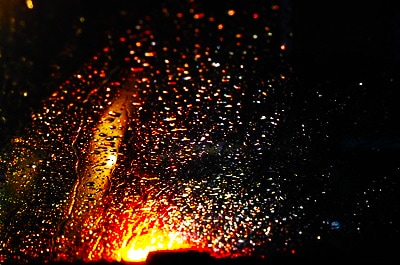
Best Images From This Shoot
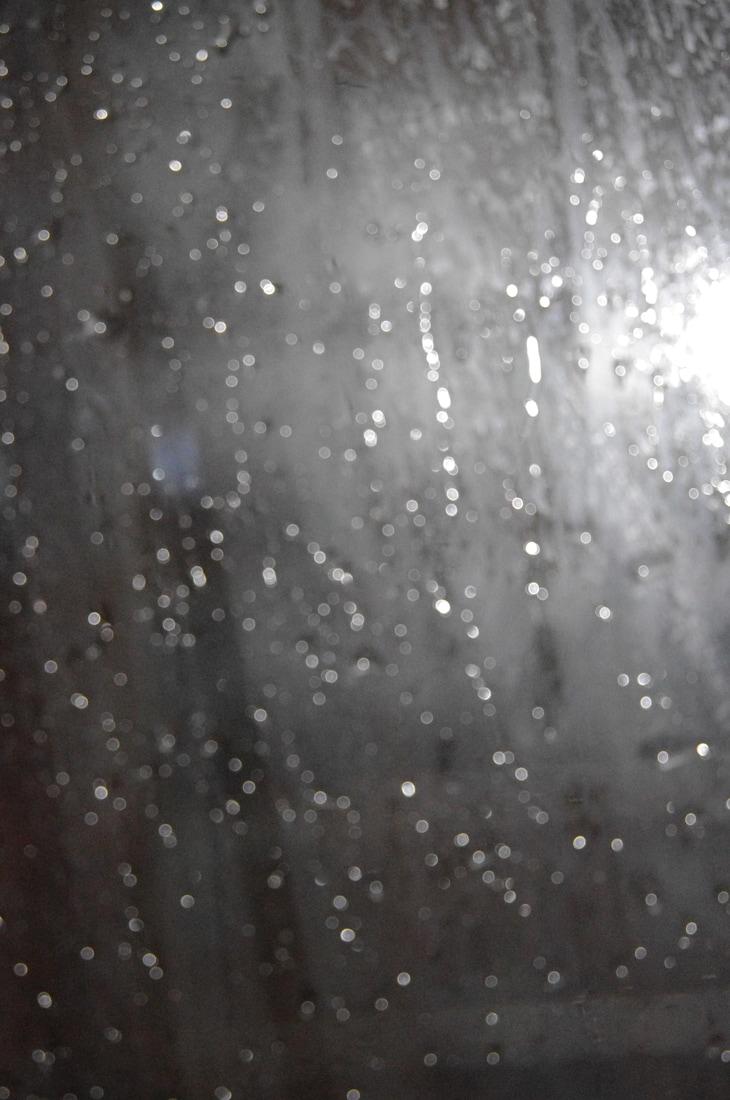
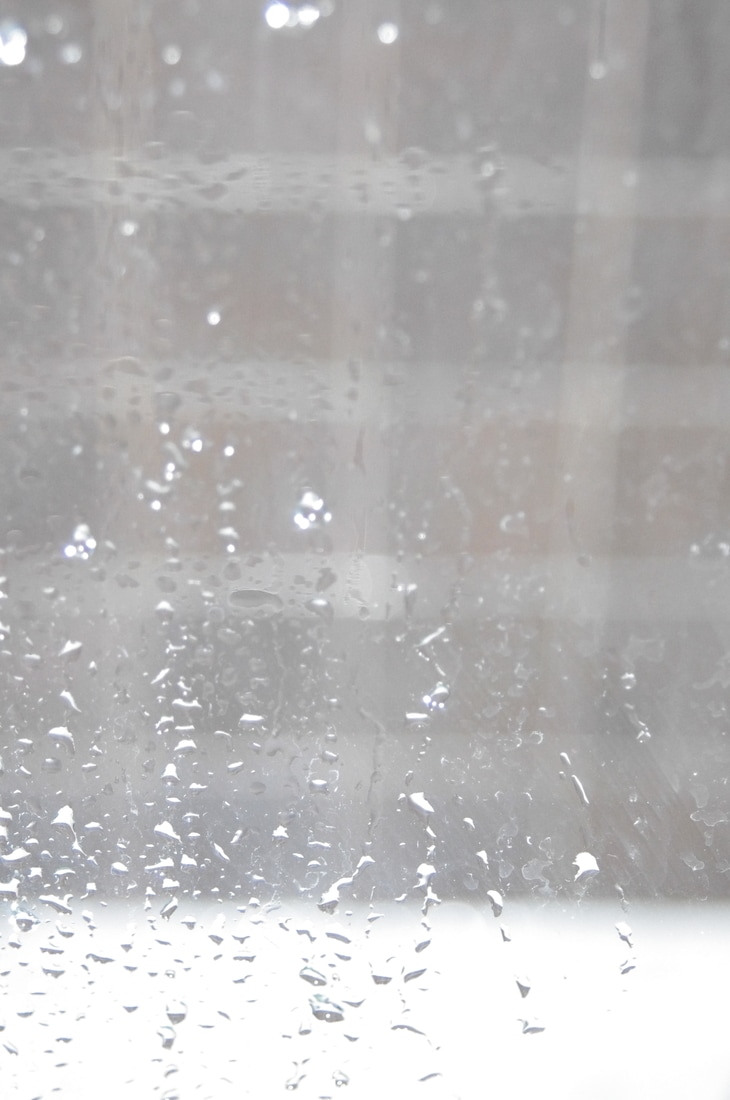
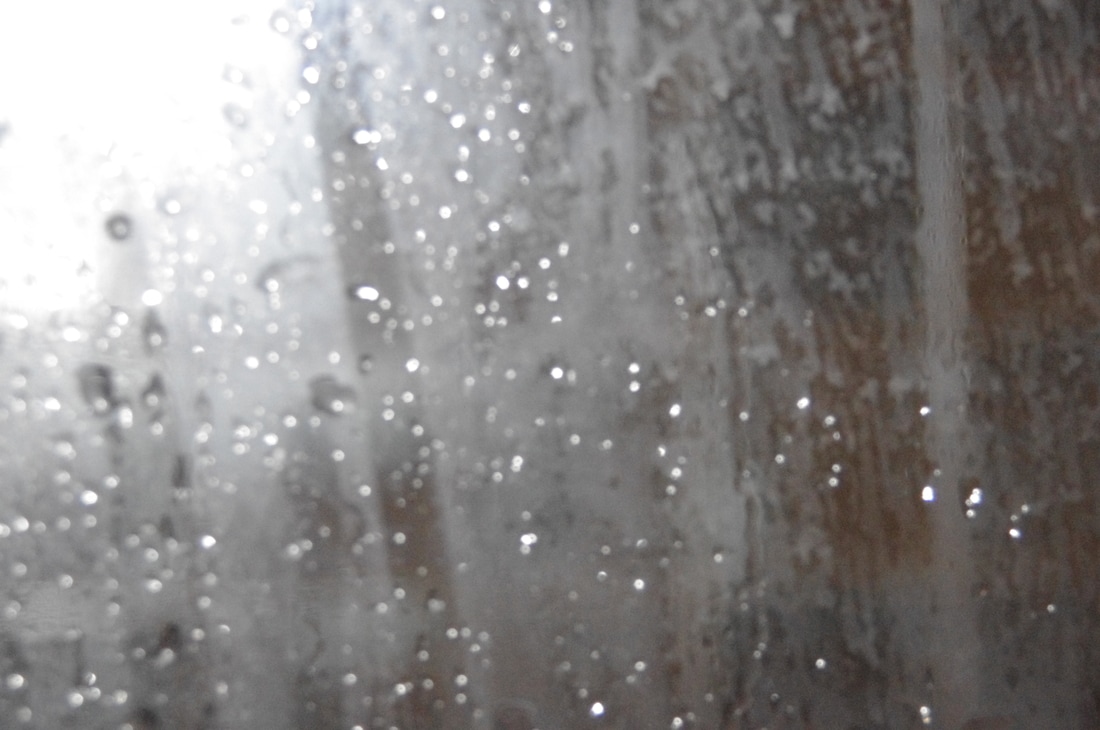
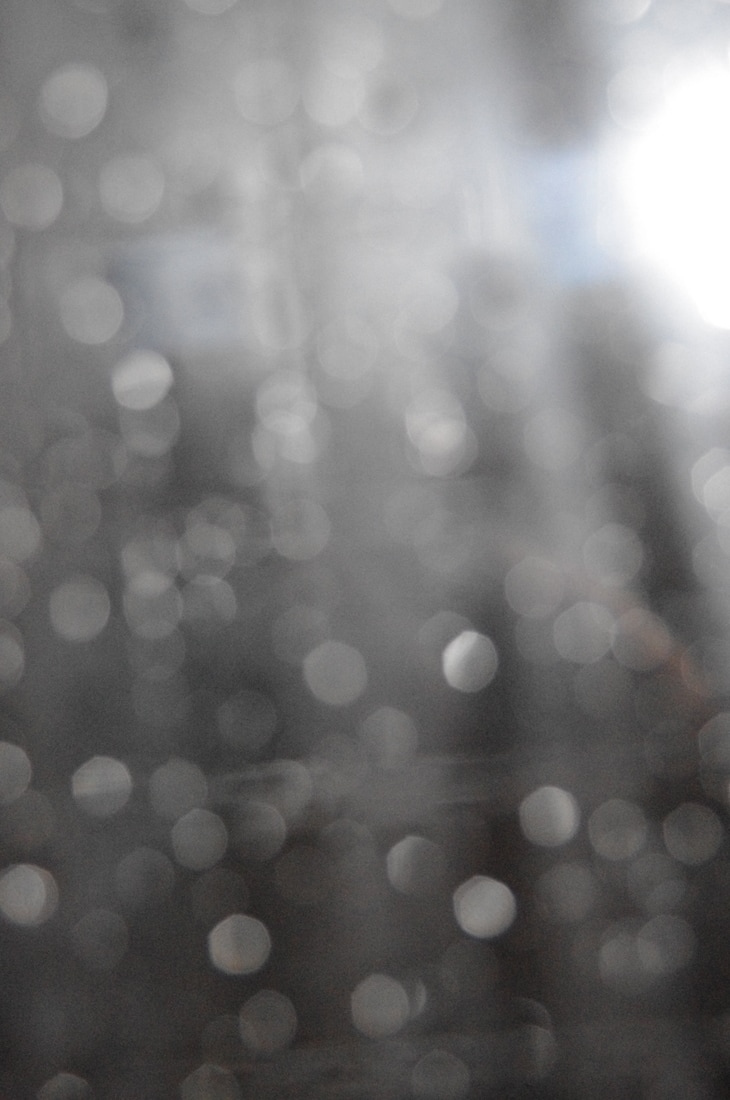
I chose the following photographs because they are the clearest and have the most water droplets. They are also slightly blurred which links to Gordeev's style of work.
|
|
|
Photoshop Edits
For the photographs below I cropped them and maximized the contrast.
Photoshop Edits
Here I started to combine my photographs from shoot 3 with shoot 5. I duplicated the layers and set them to overlay. I was inspired to do this from Naoya Hatakeyama's work and Eduard Gordeev's work. The two photographers have both looked at featuring water droplets. I wanted to experiment with this idea through Photoshop. The images below show the outcome of this experiment.
|
|
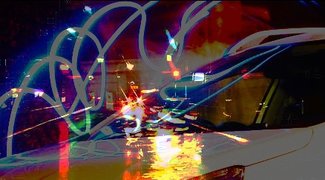
Shoot 7
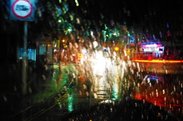
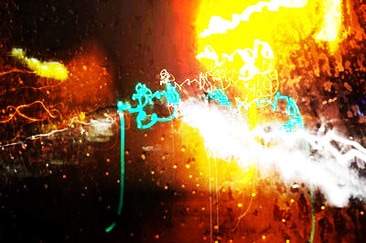
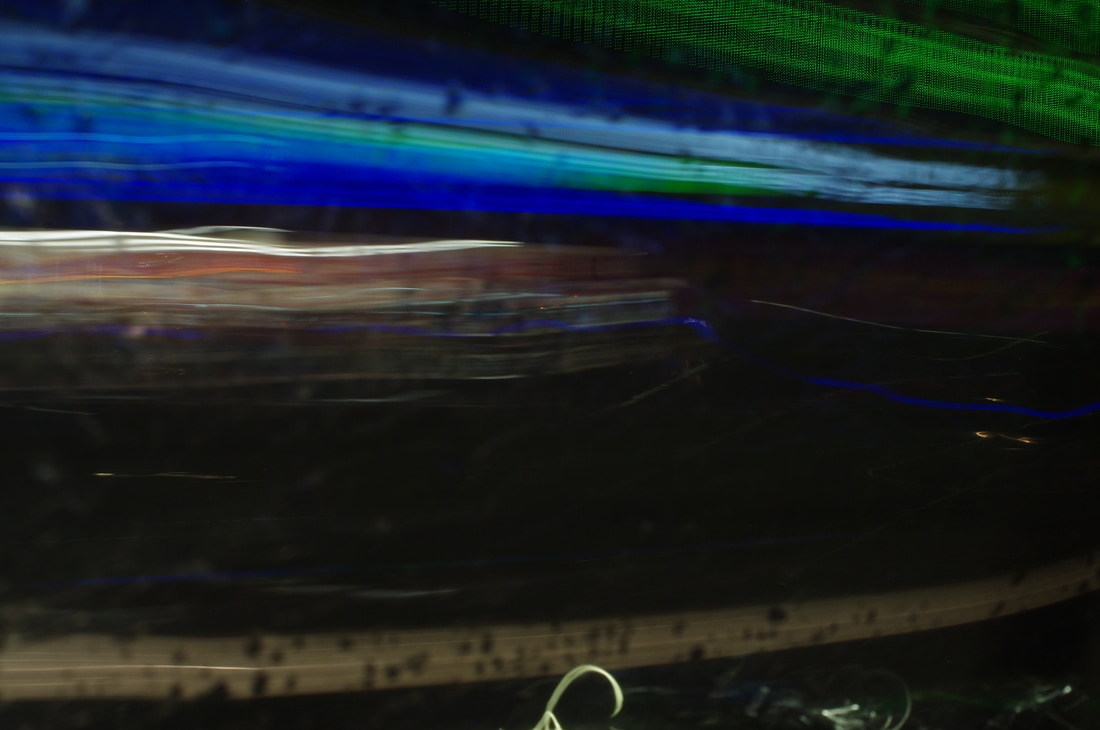
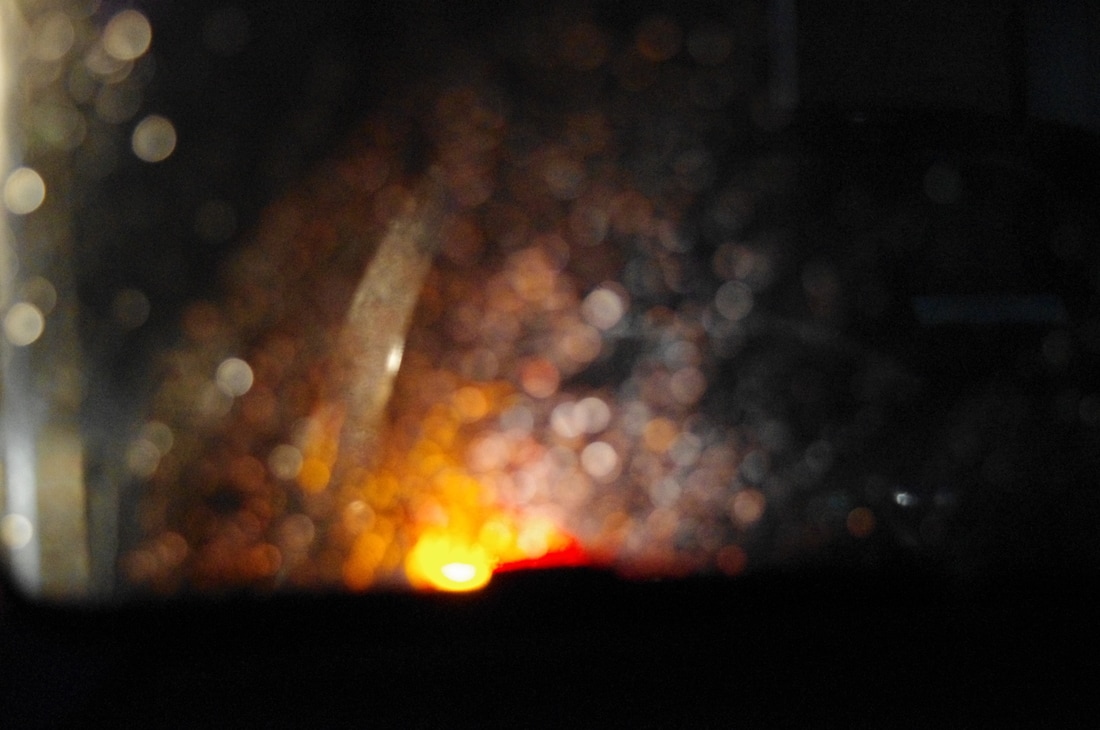
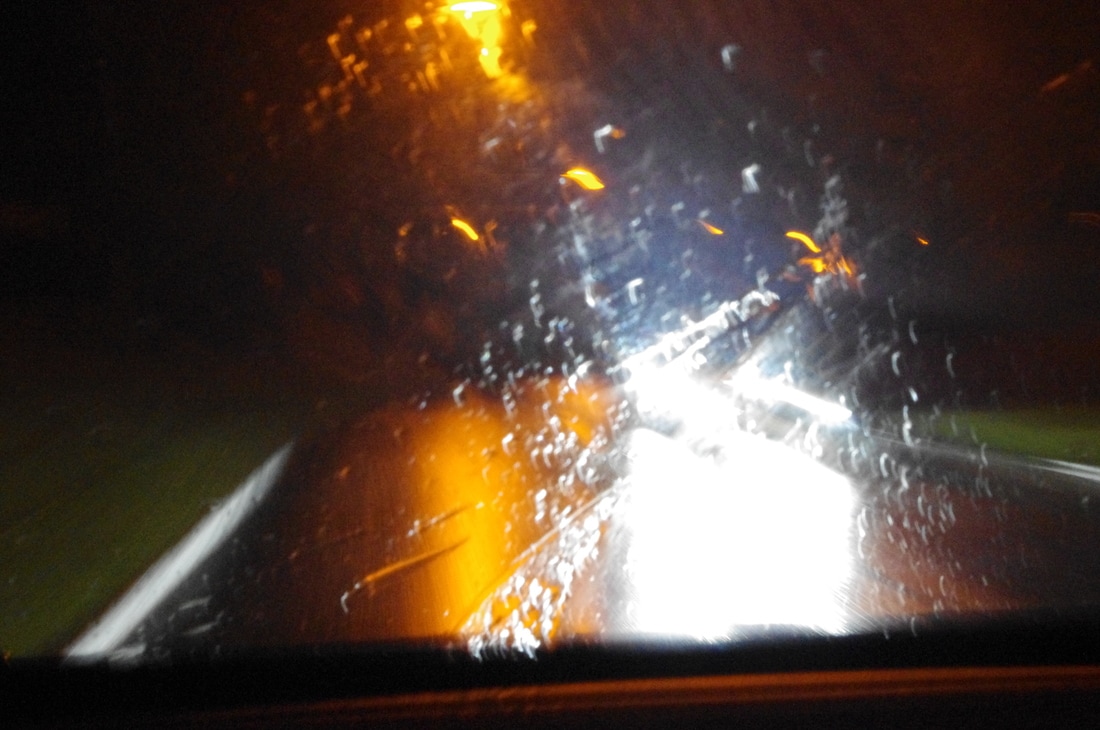
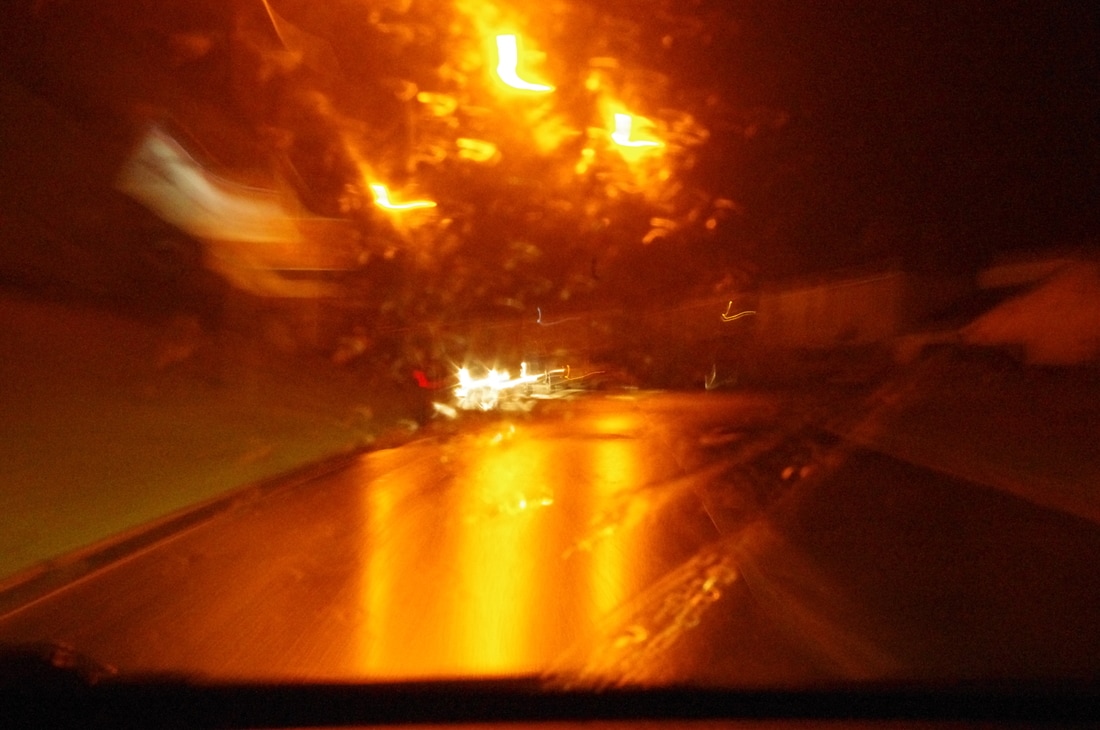
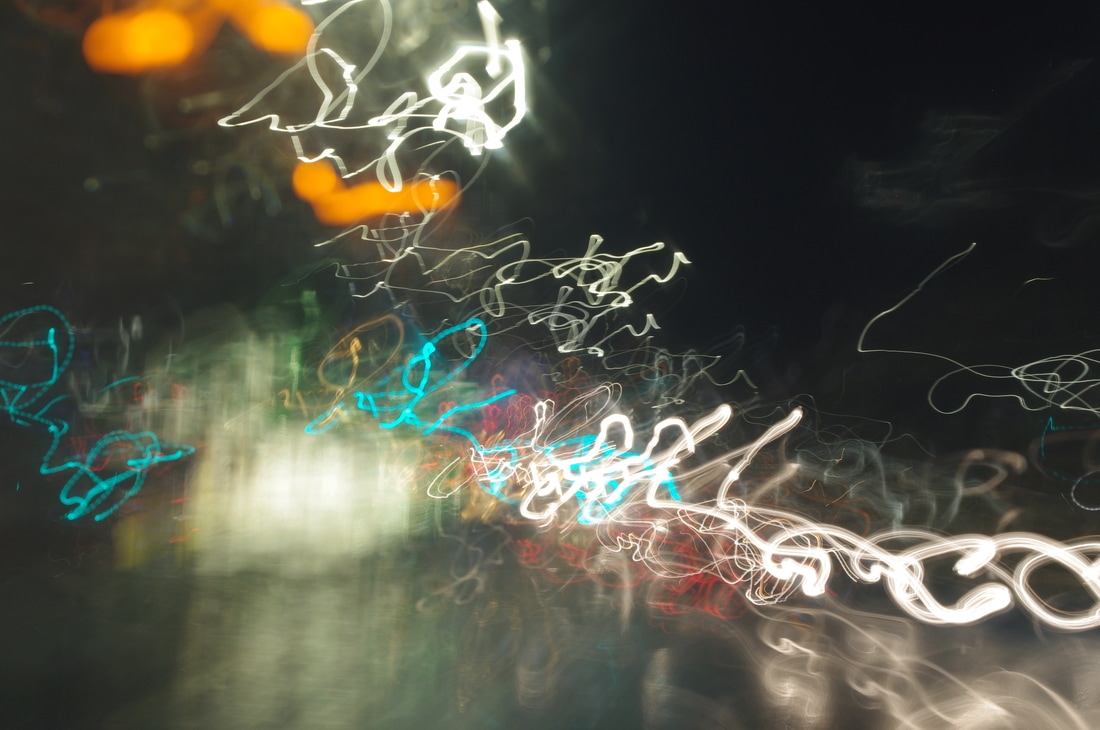
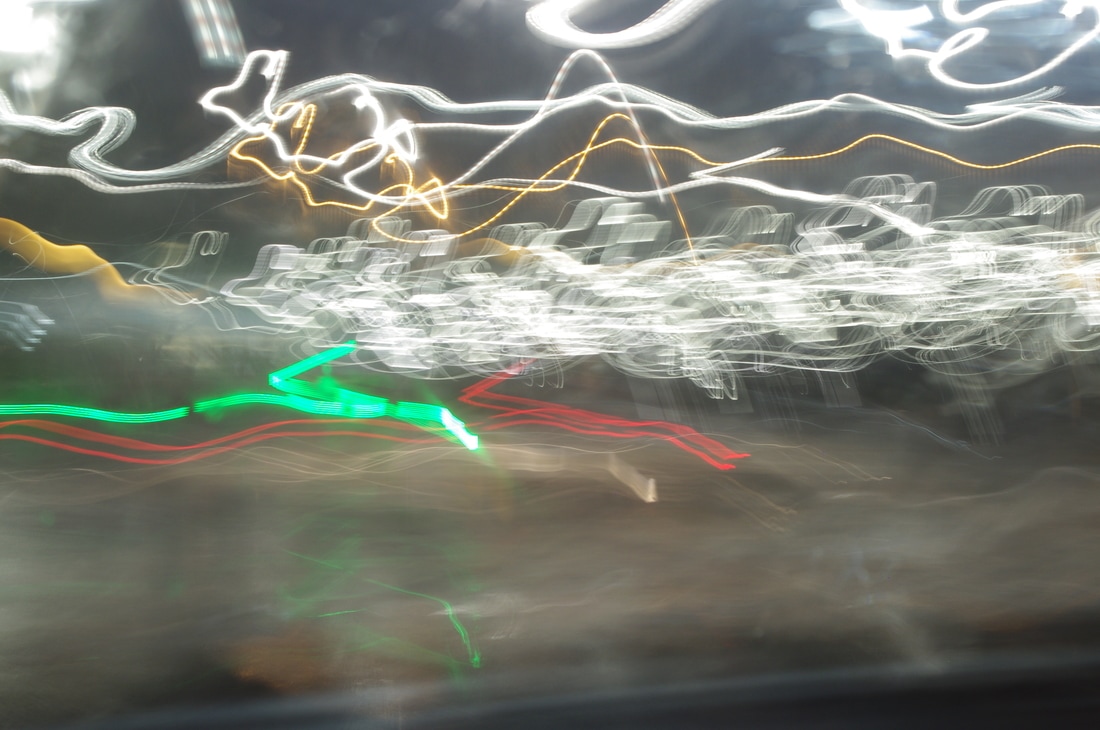
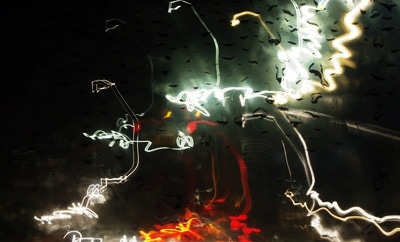
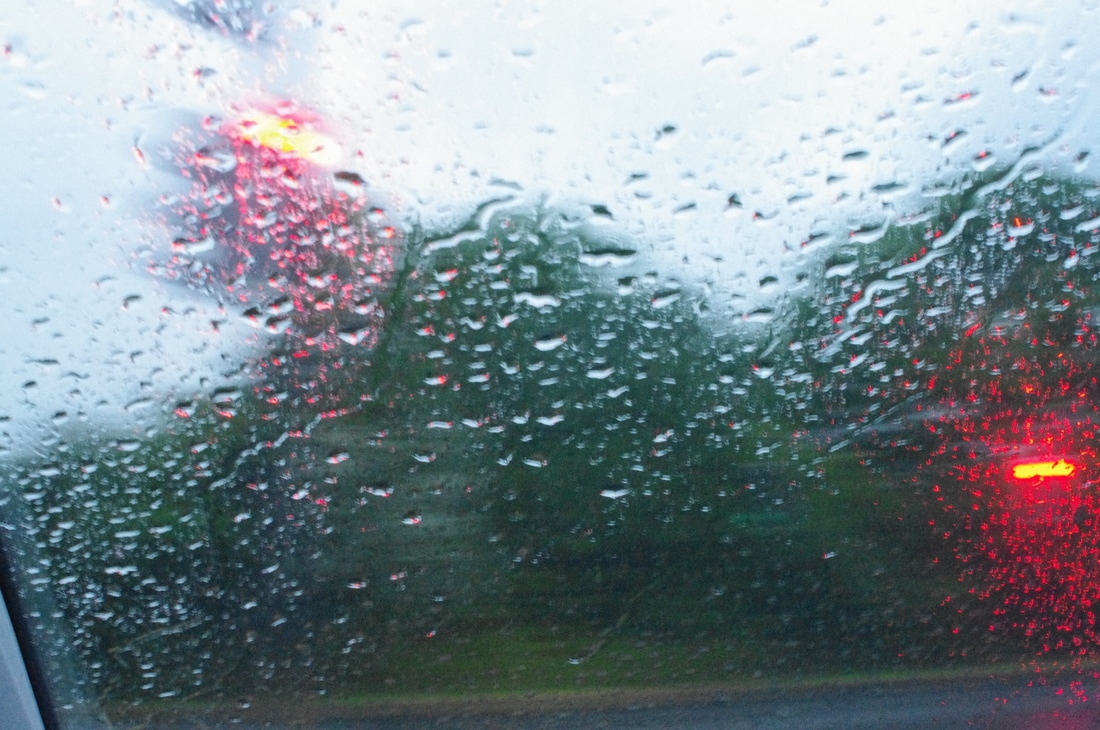
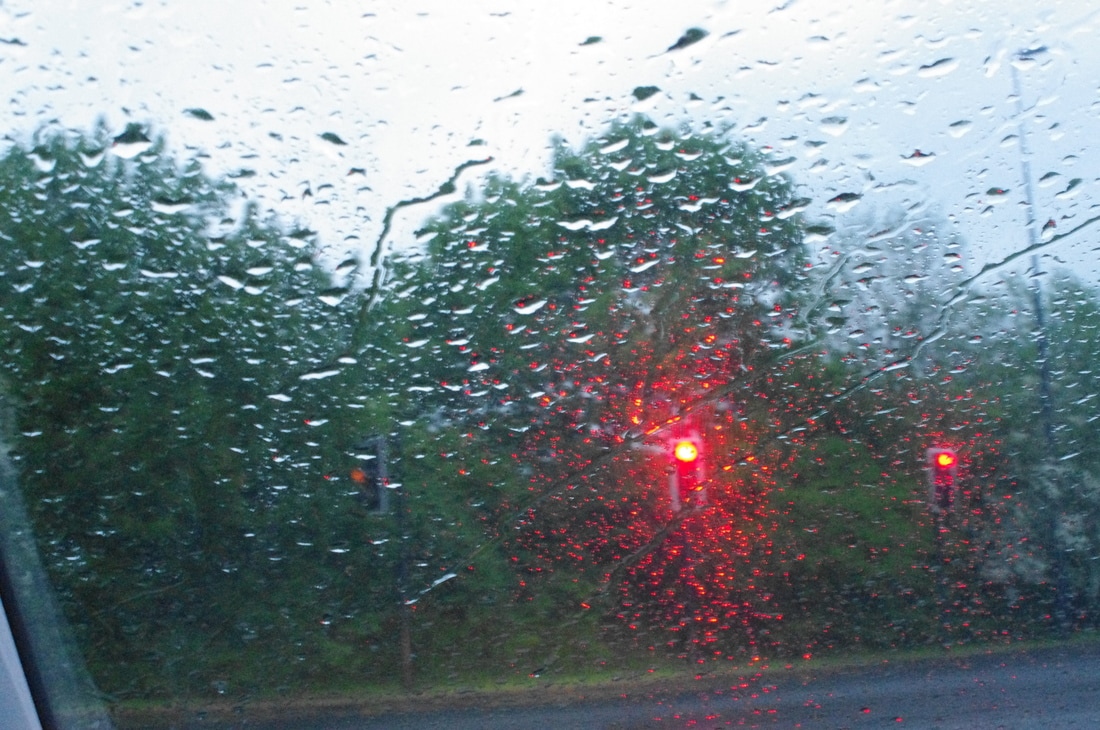
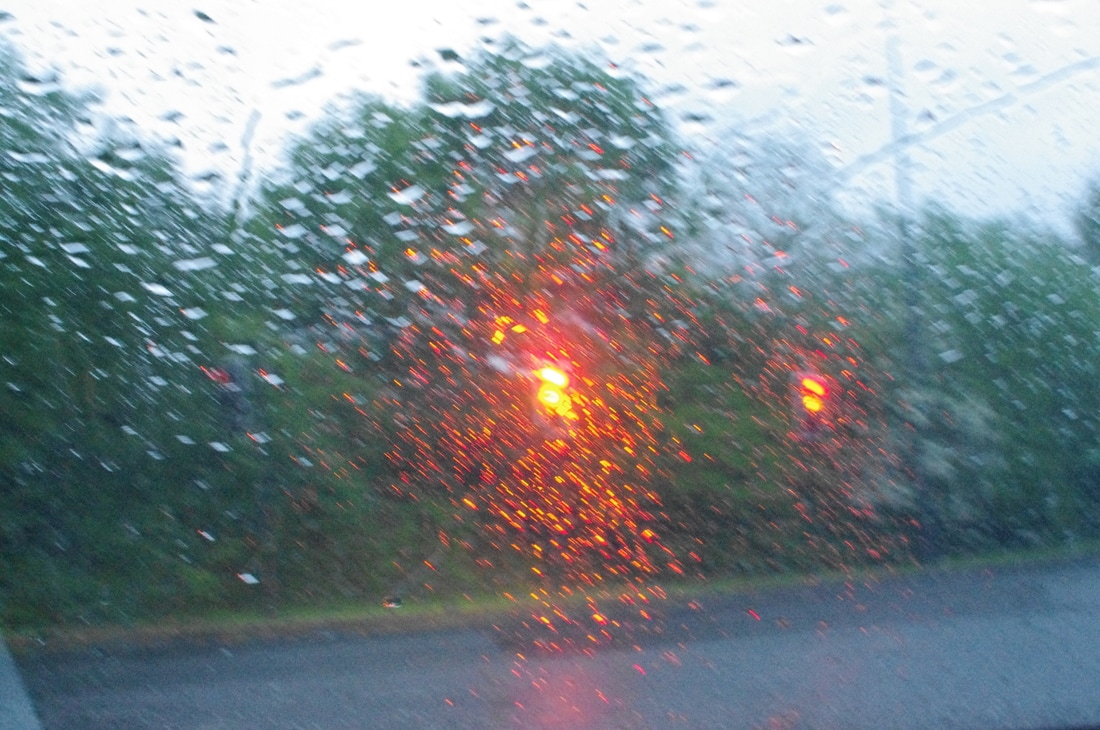
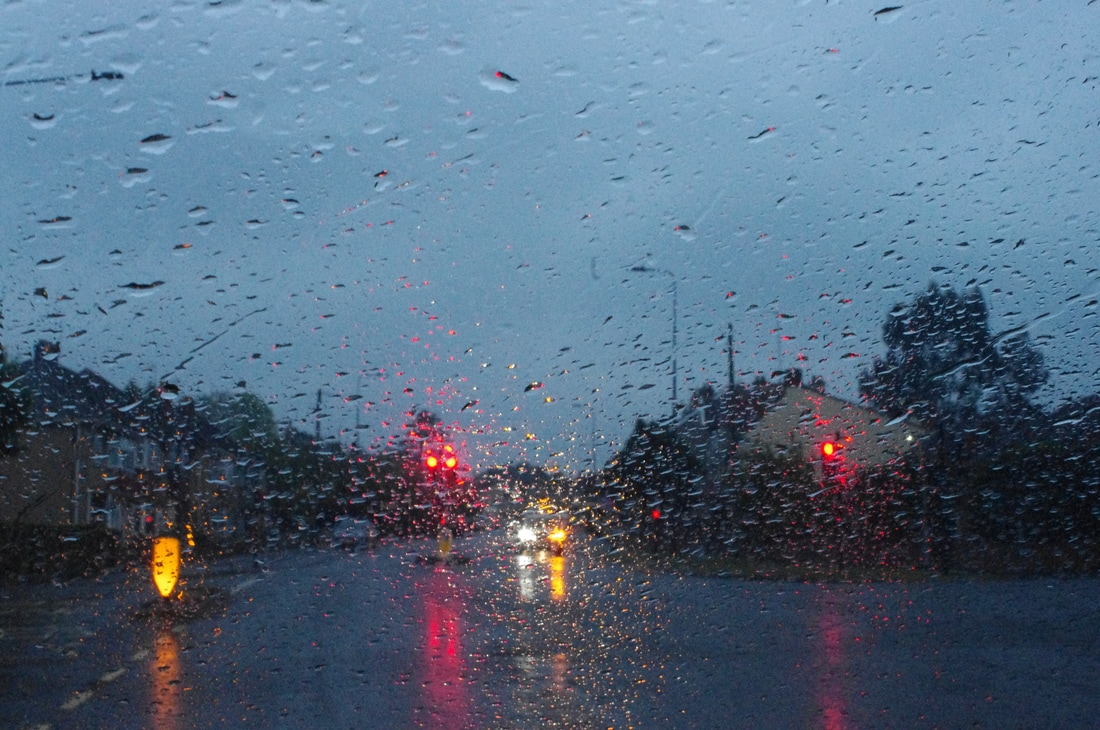
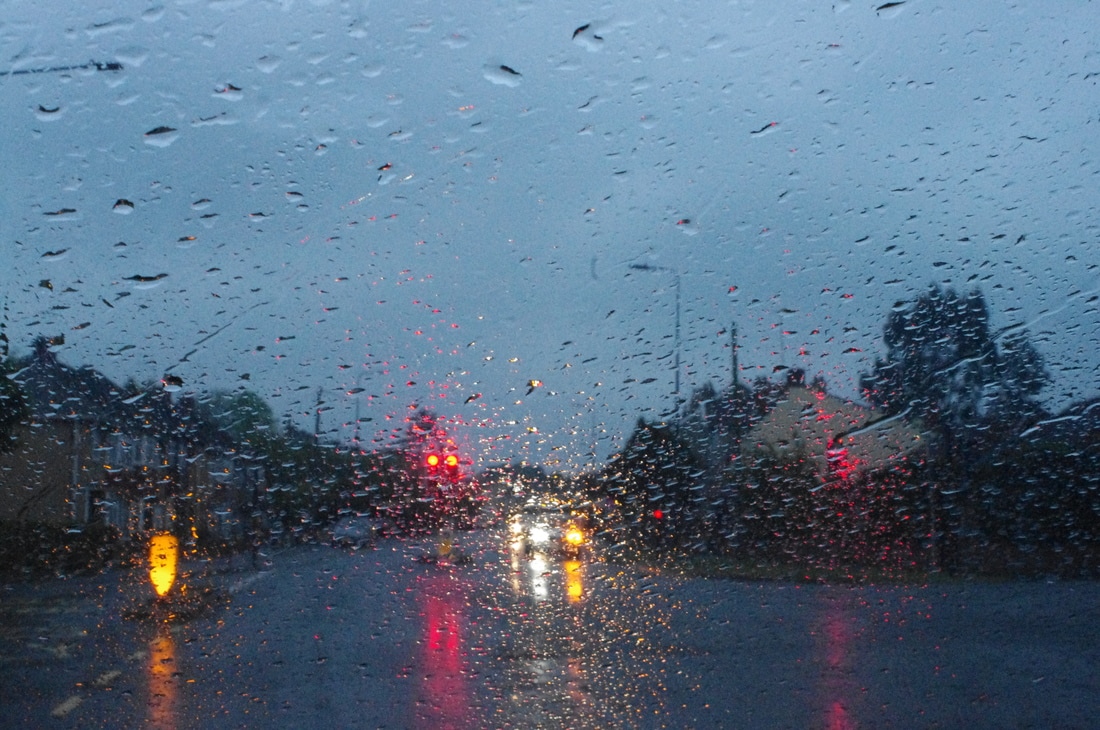
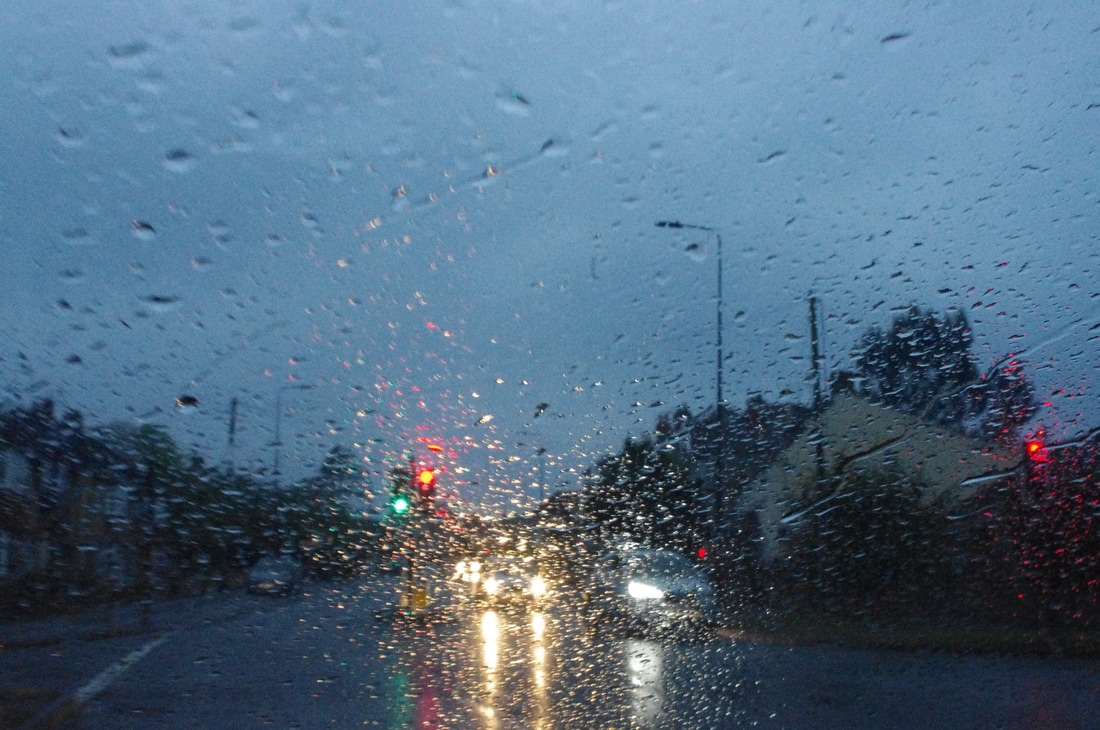
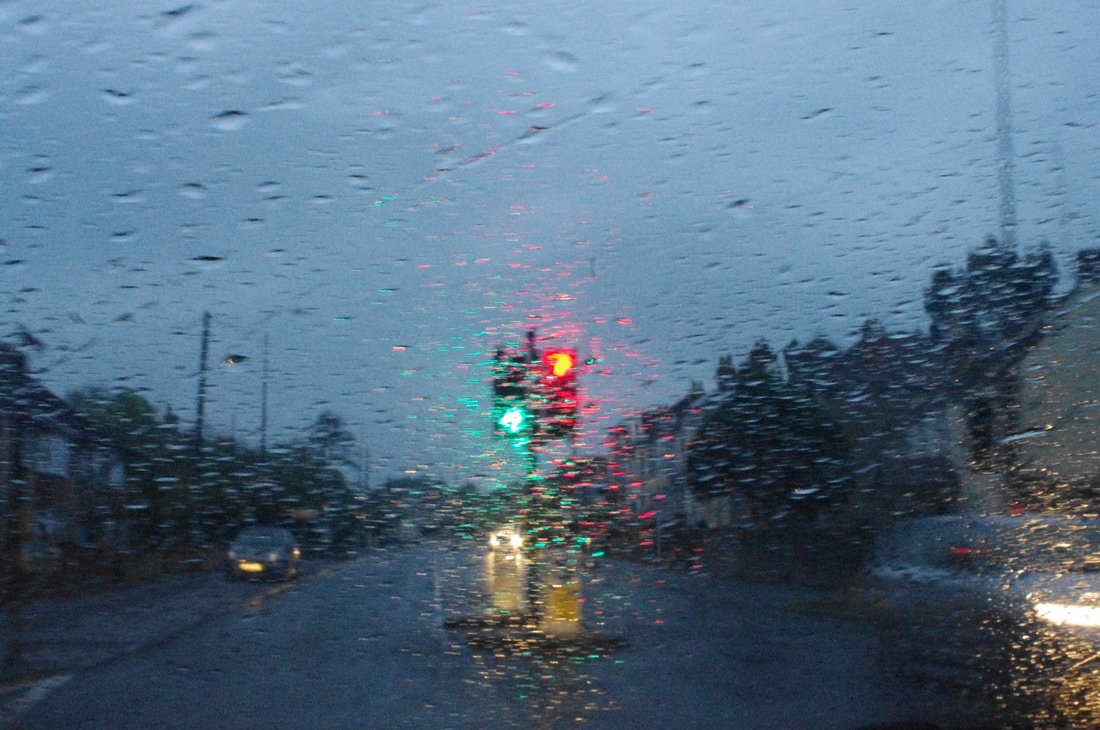
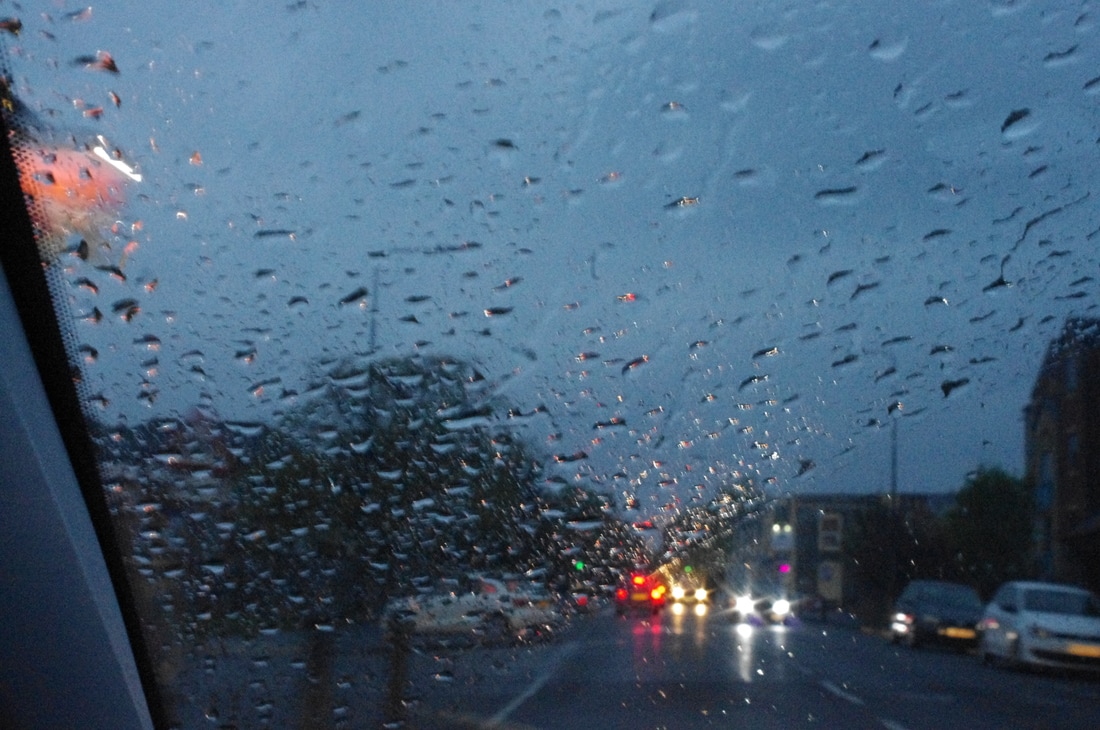
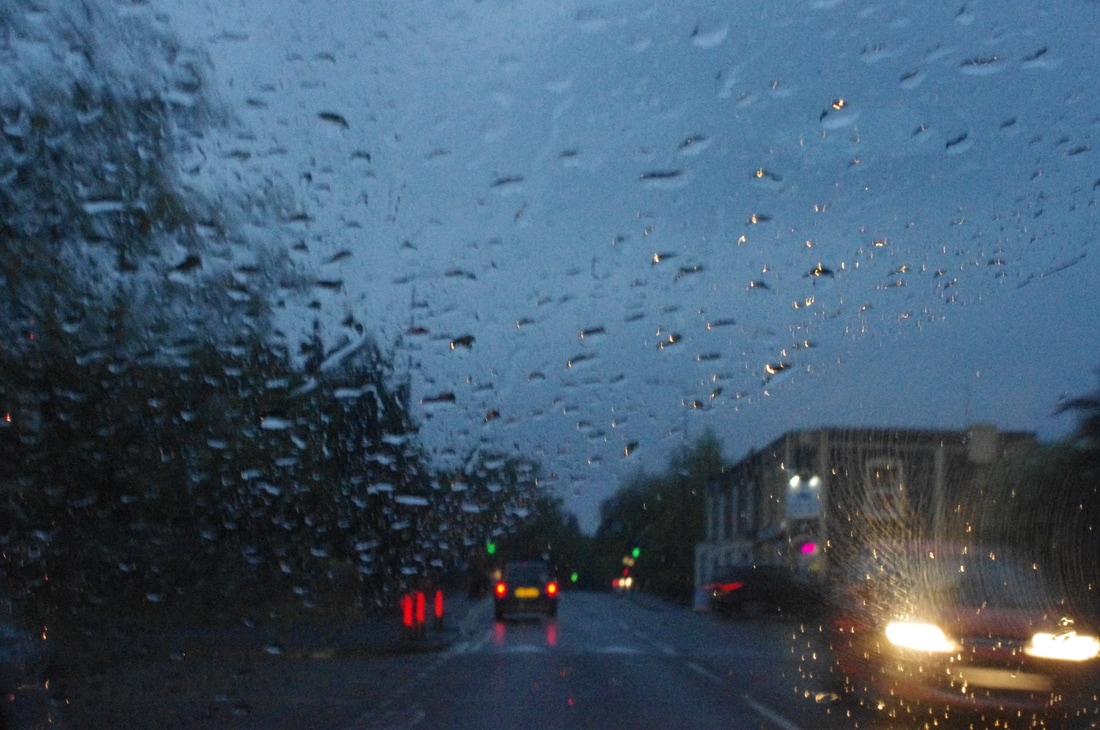
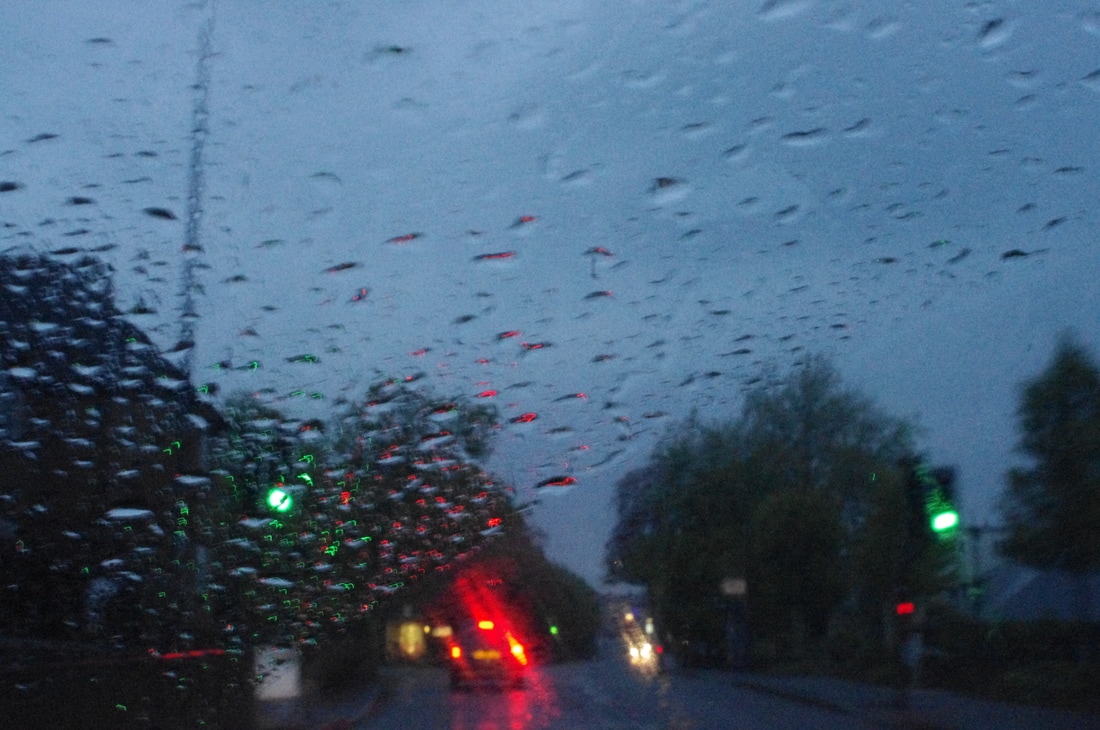
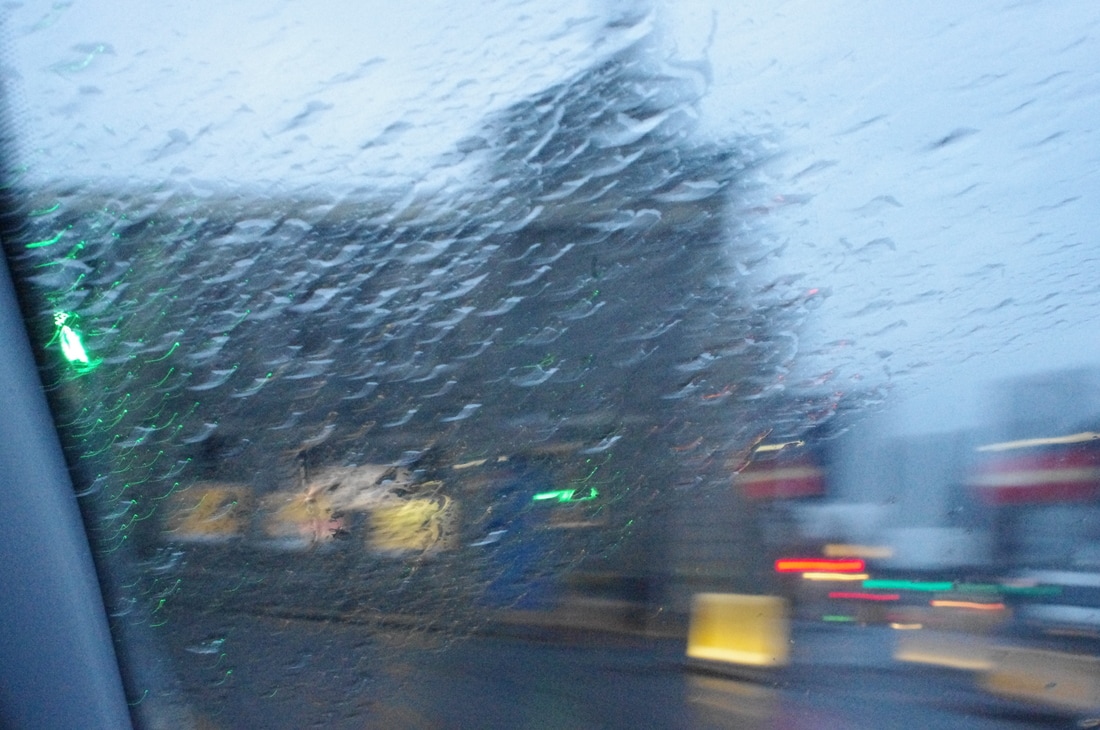
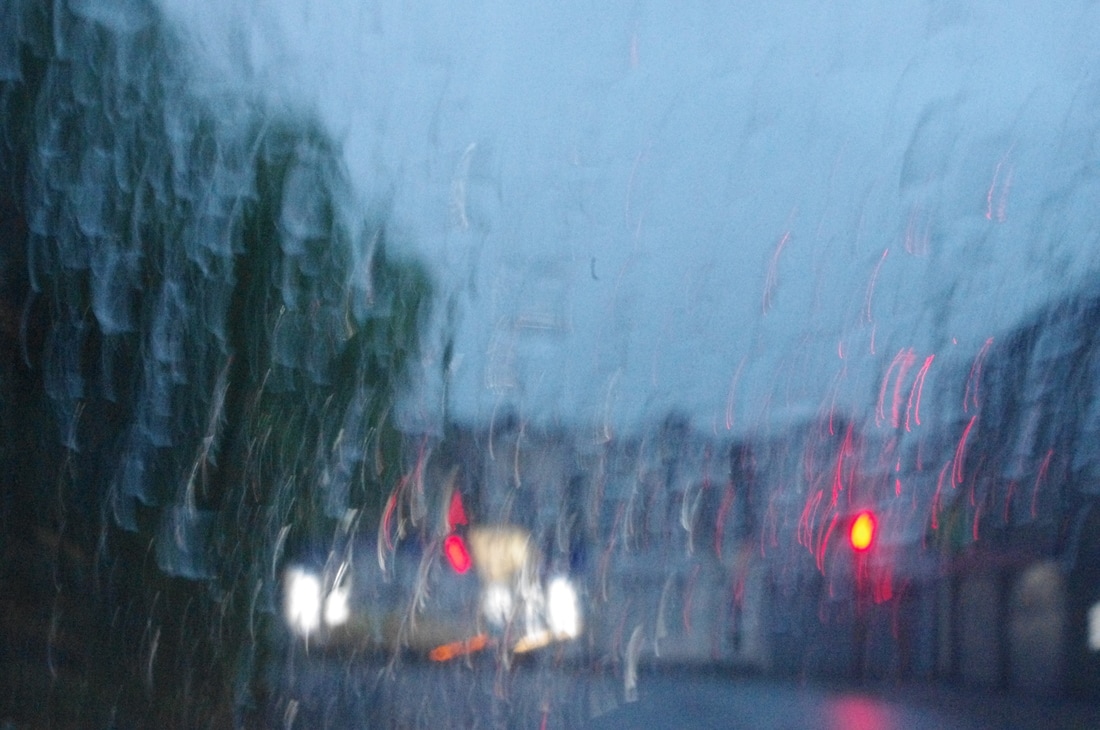
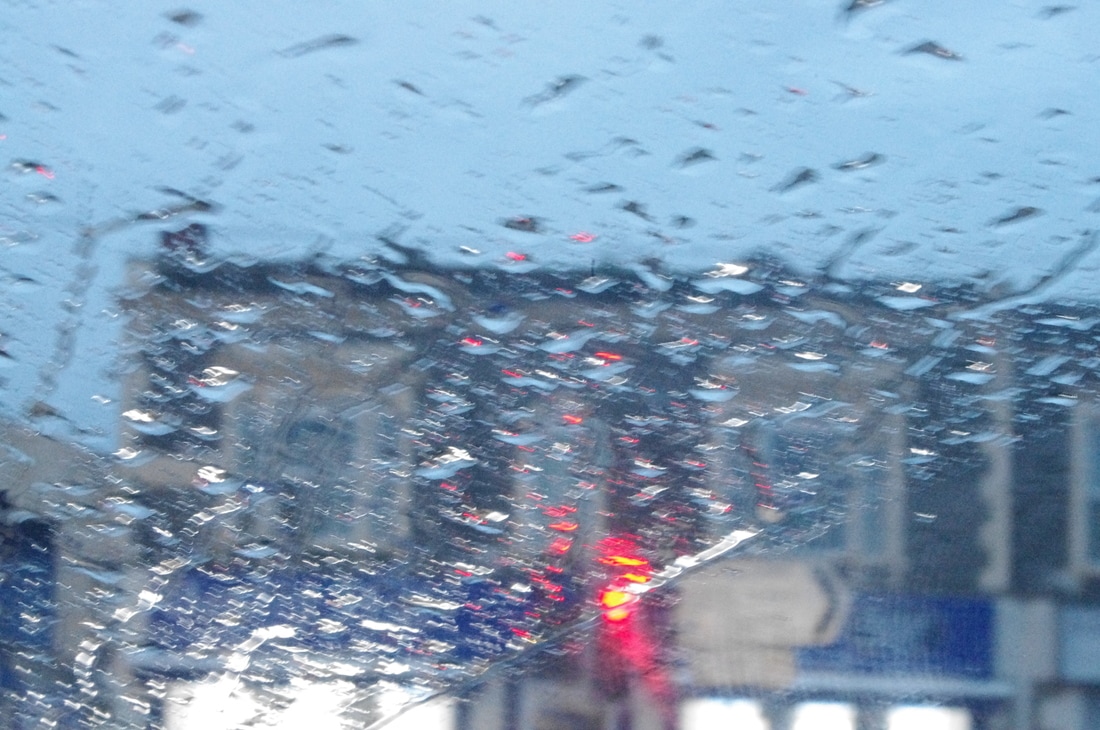
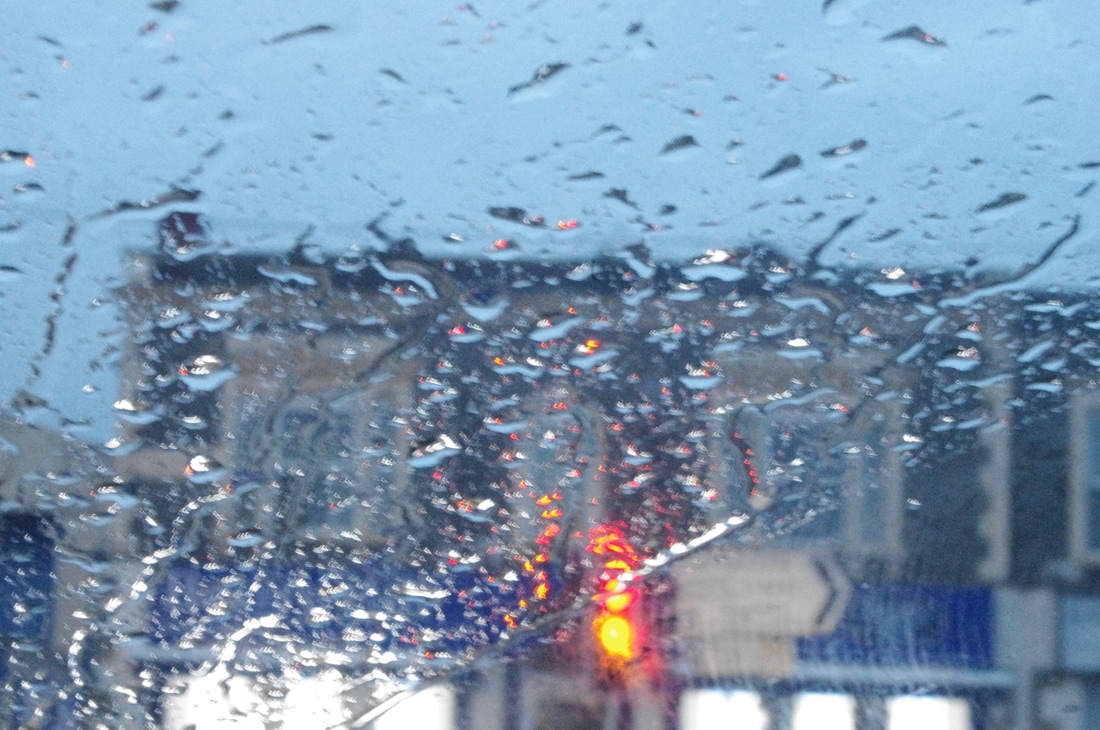
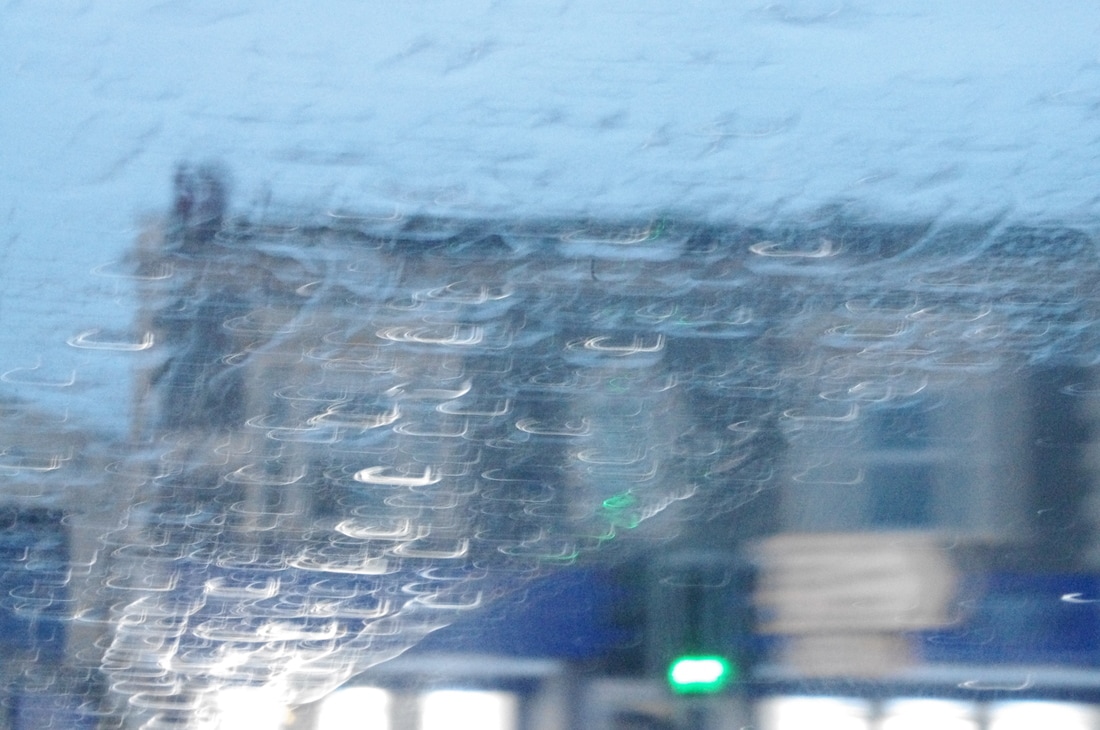
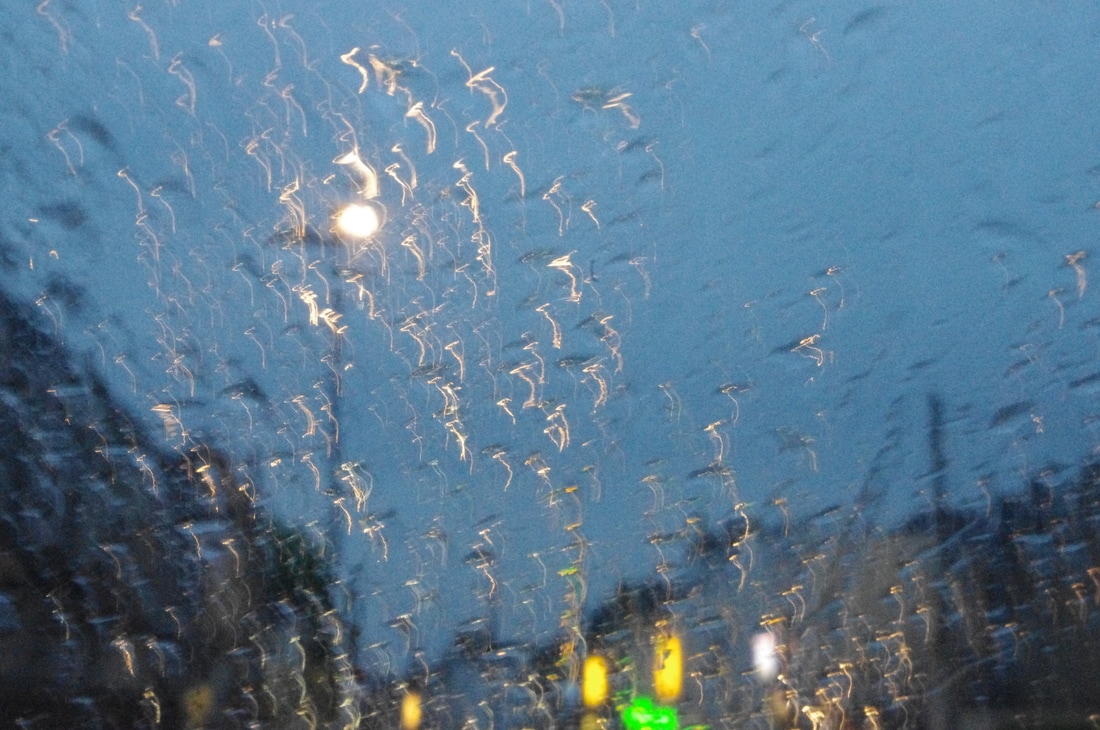
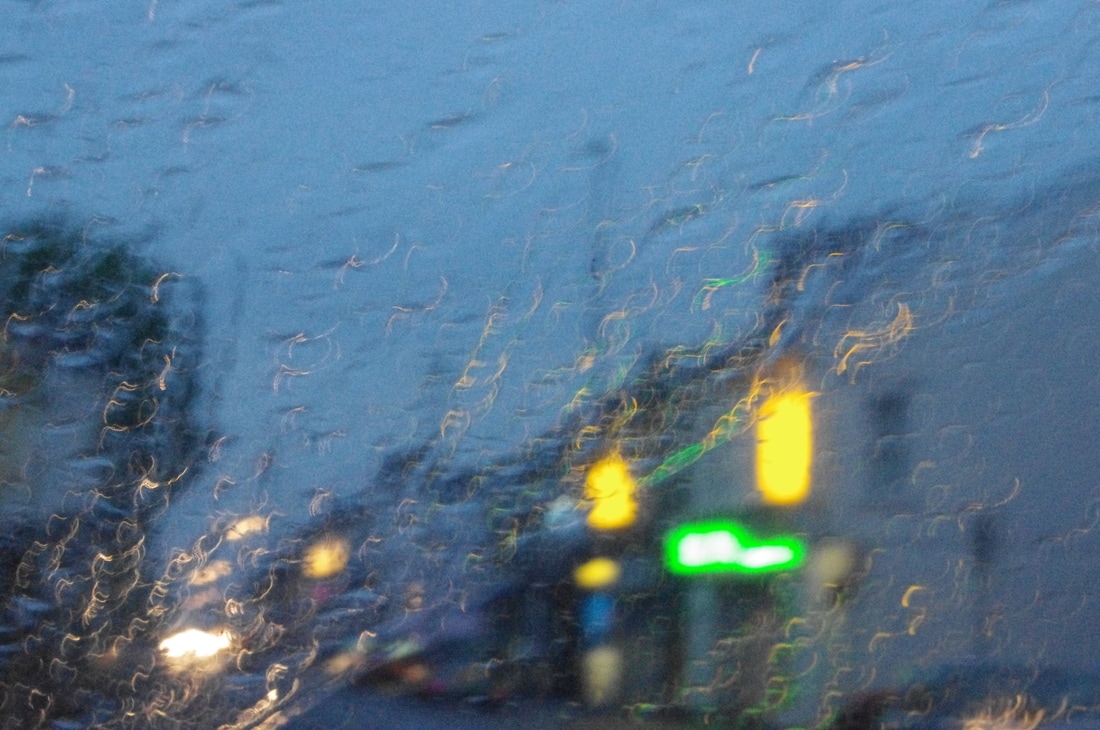
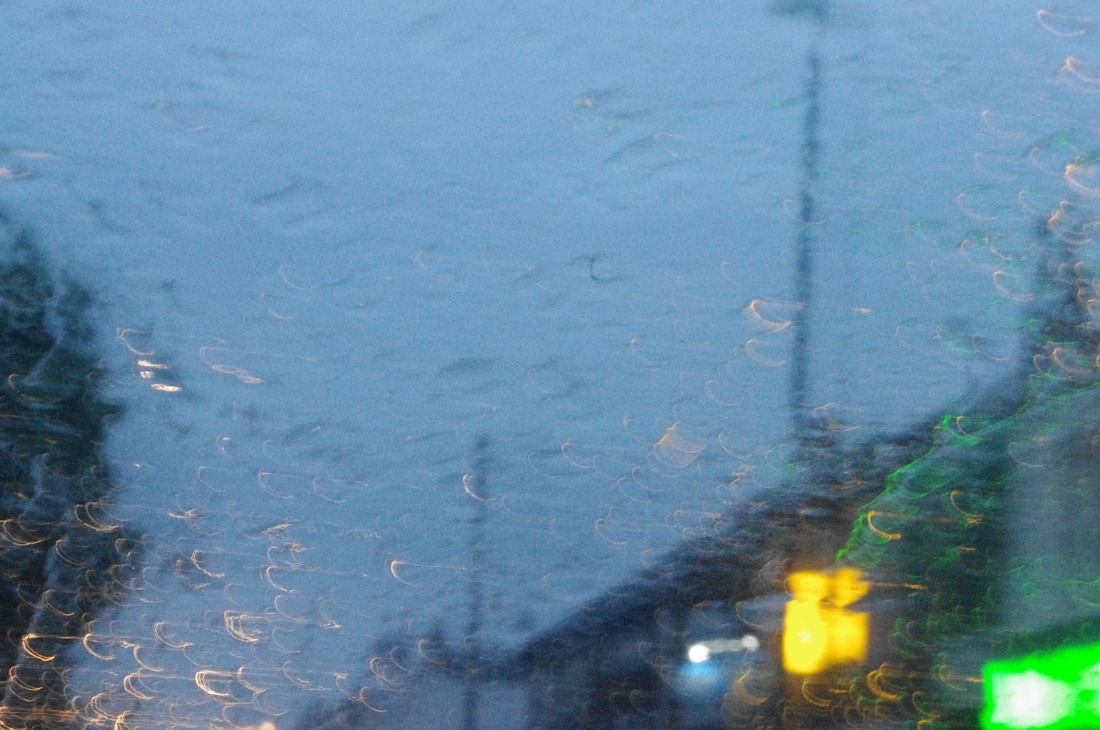
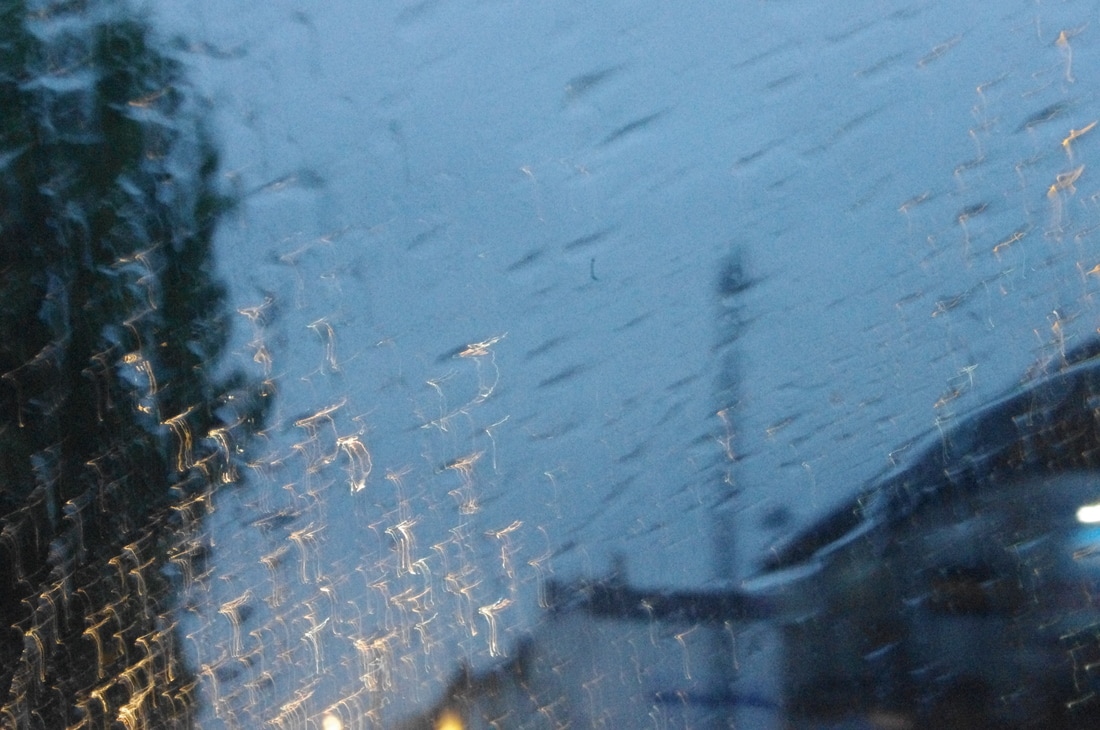
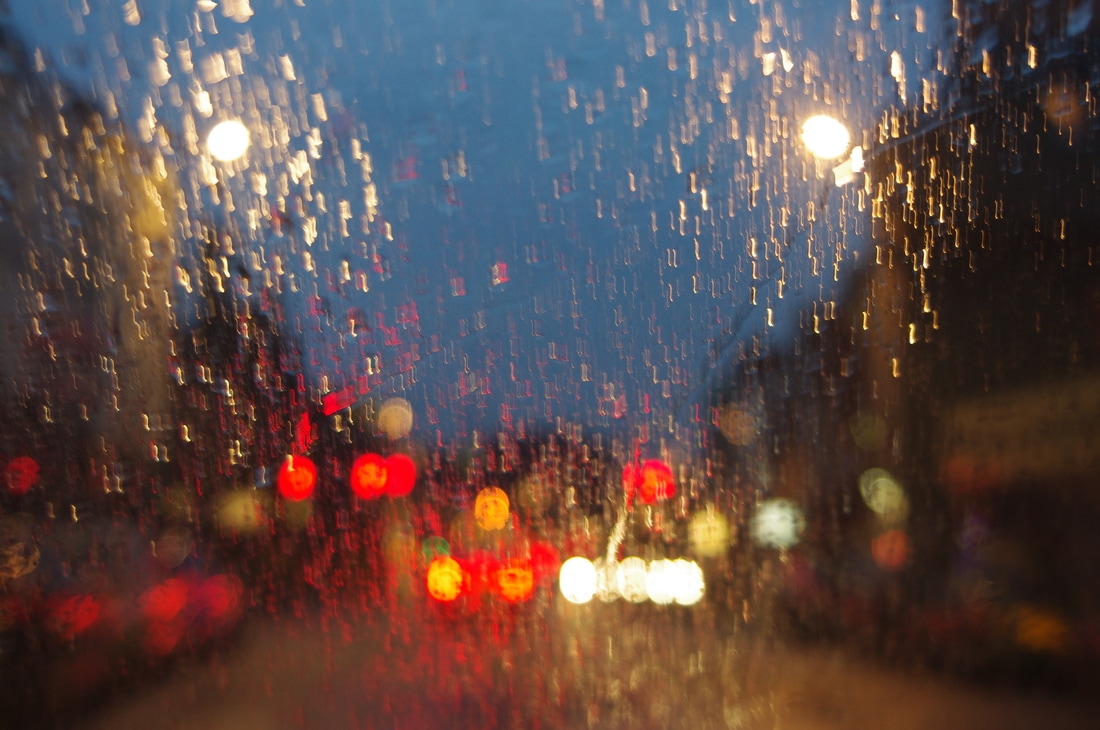
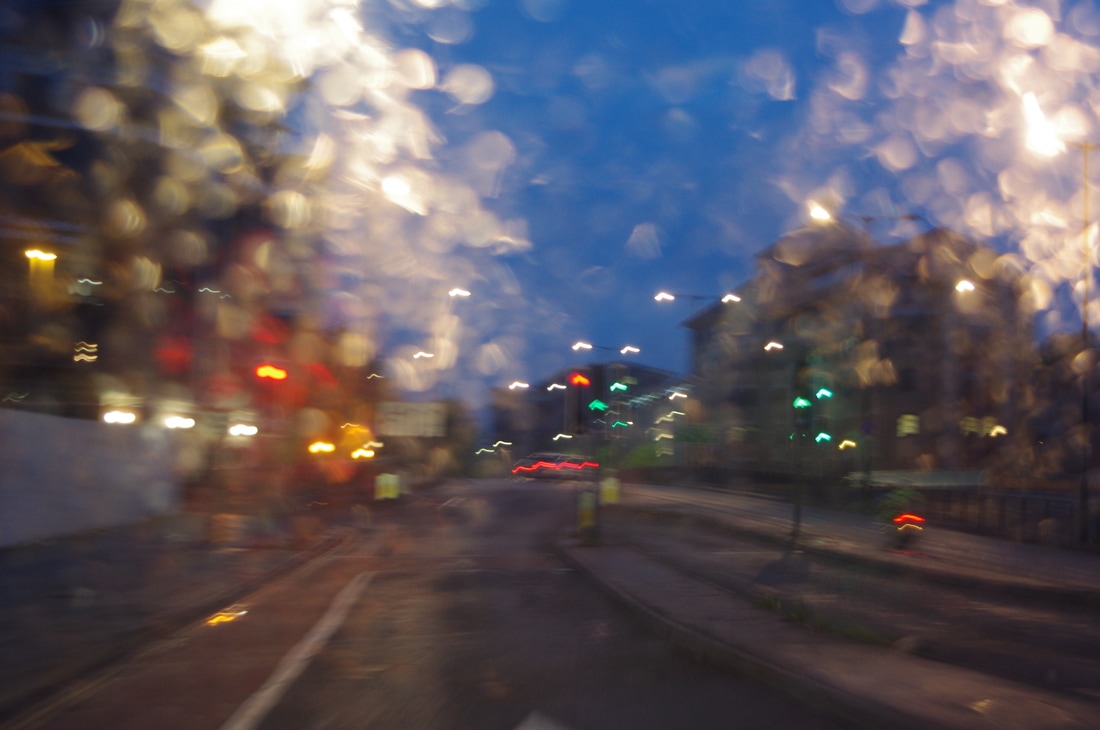
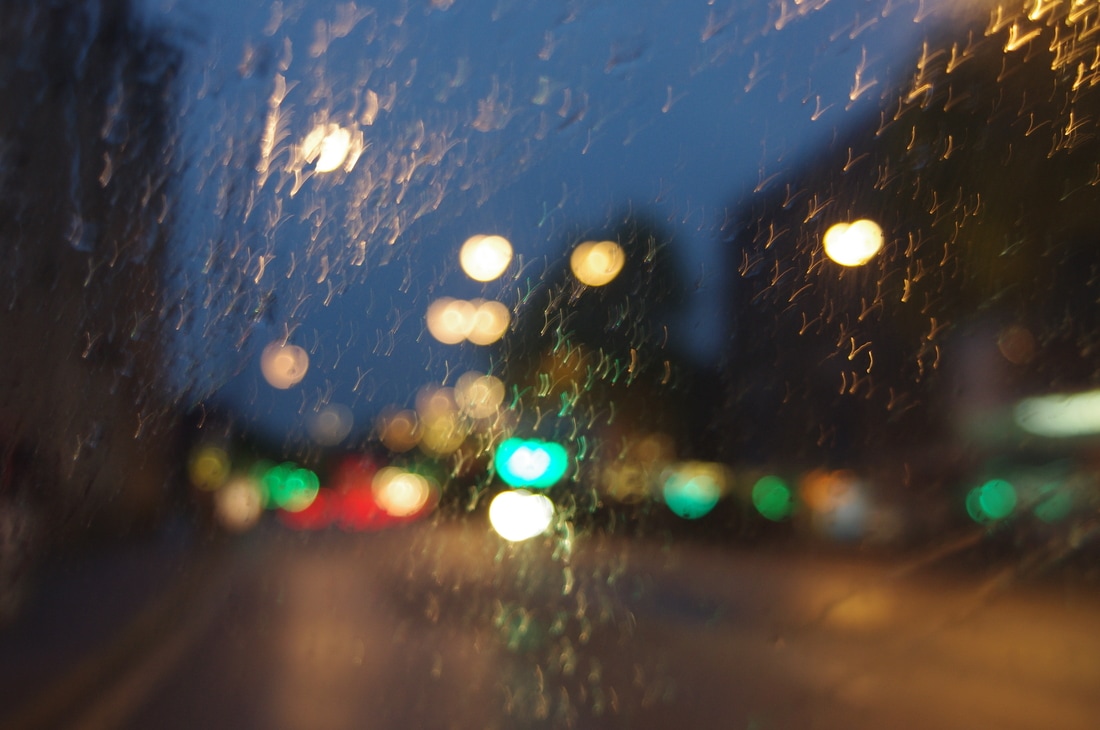
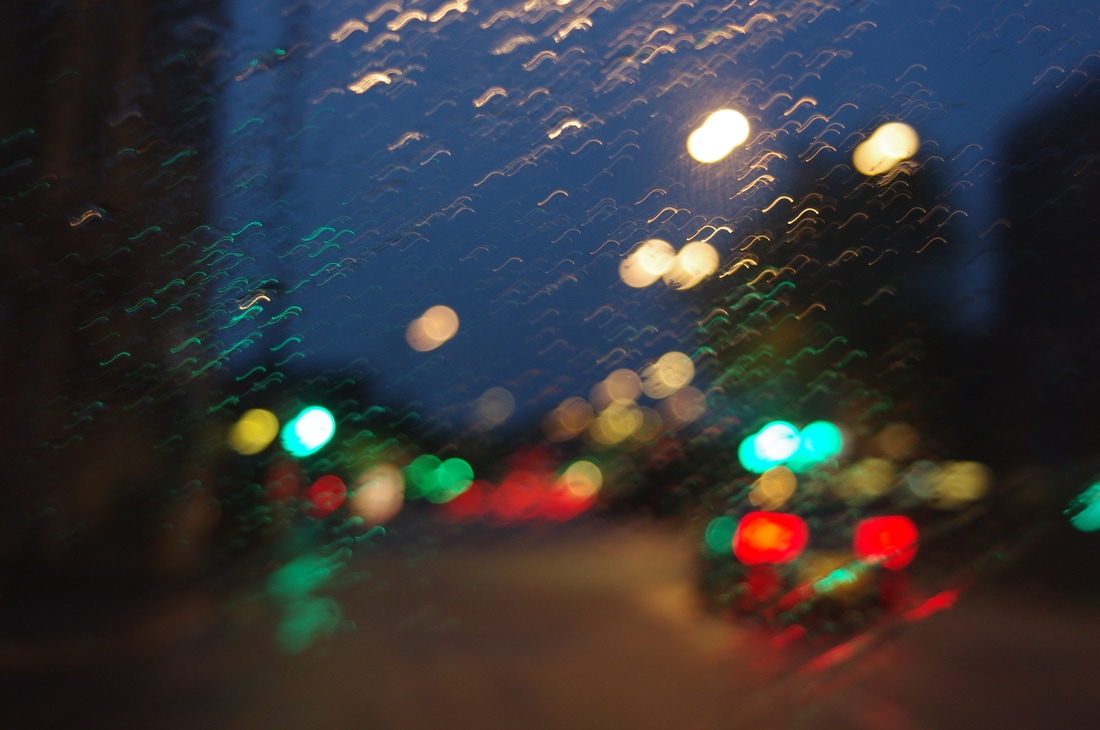
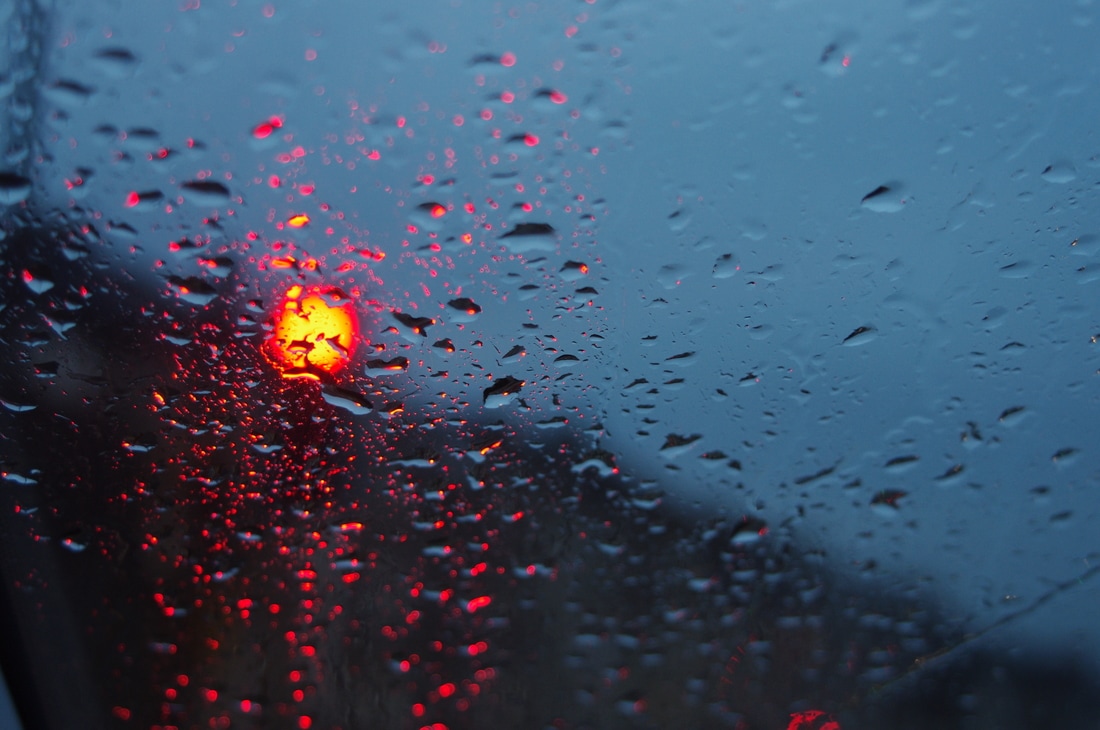
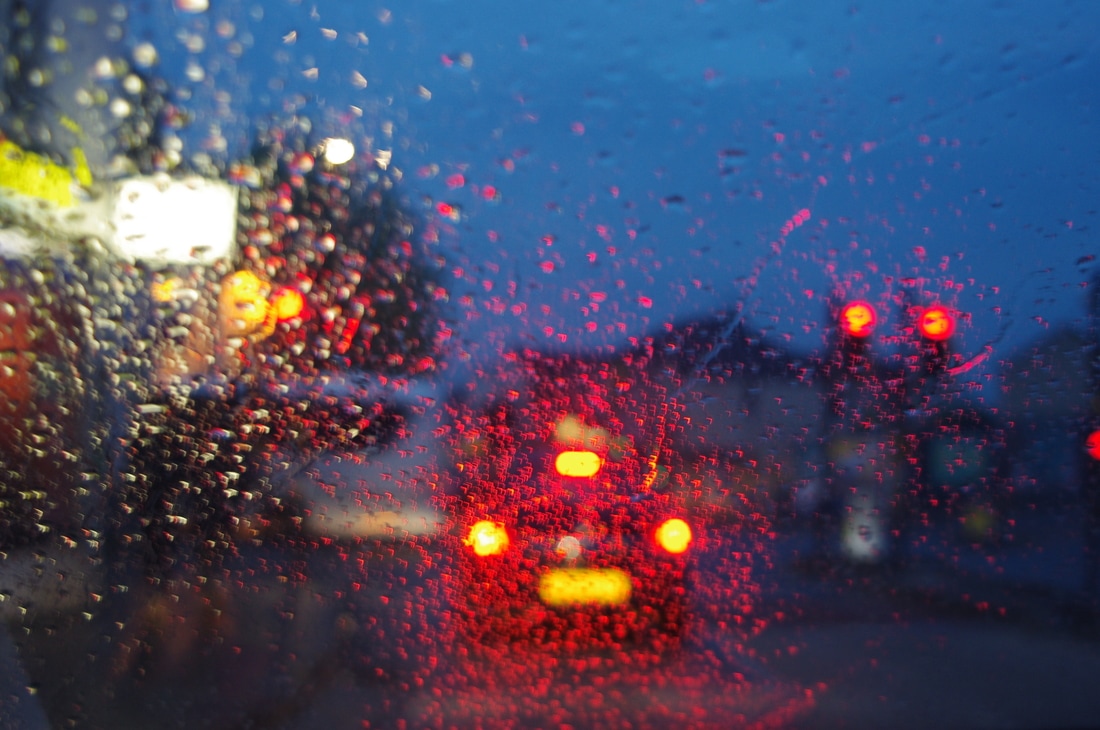
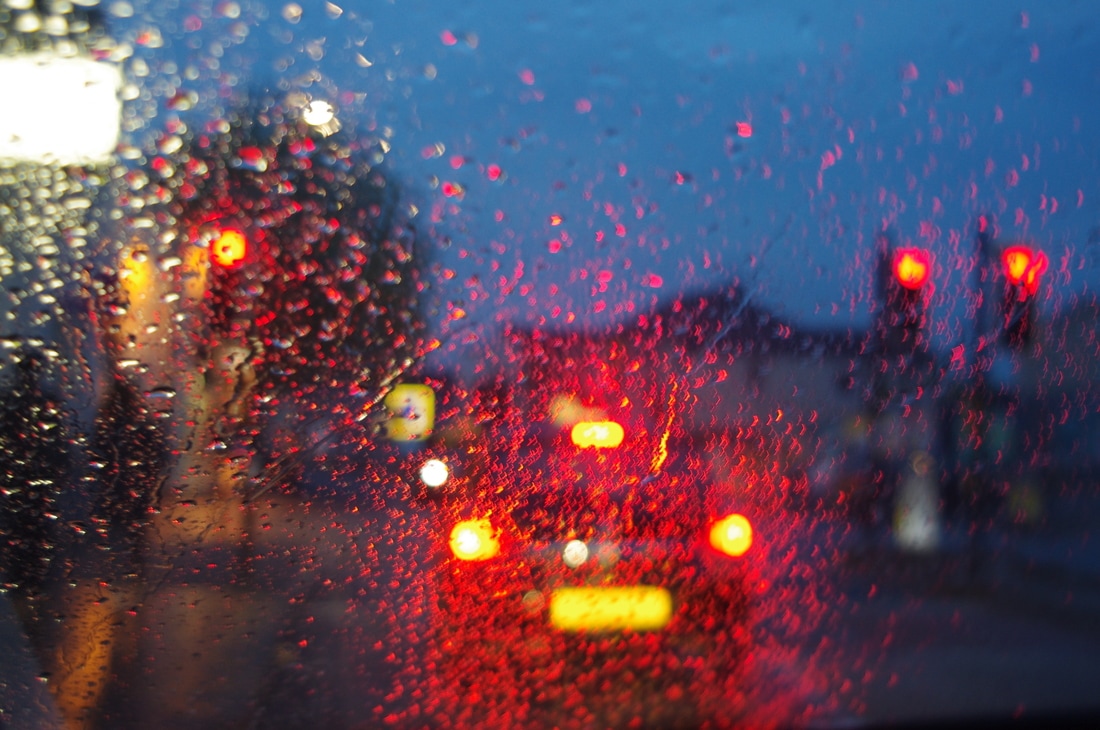
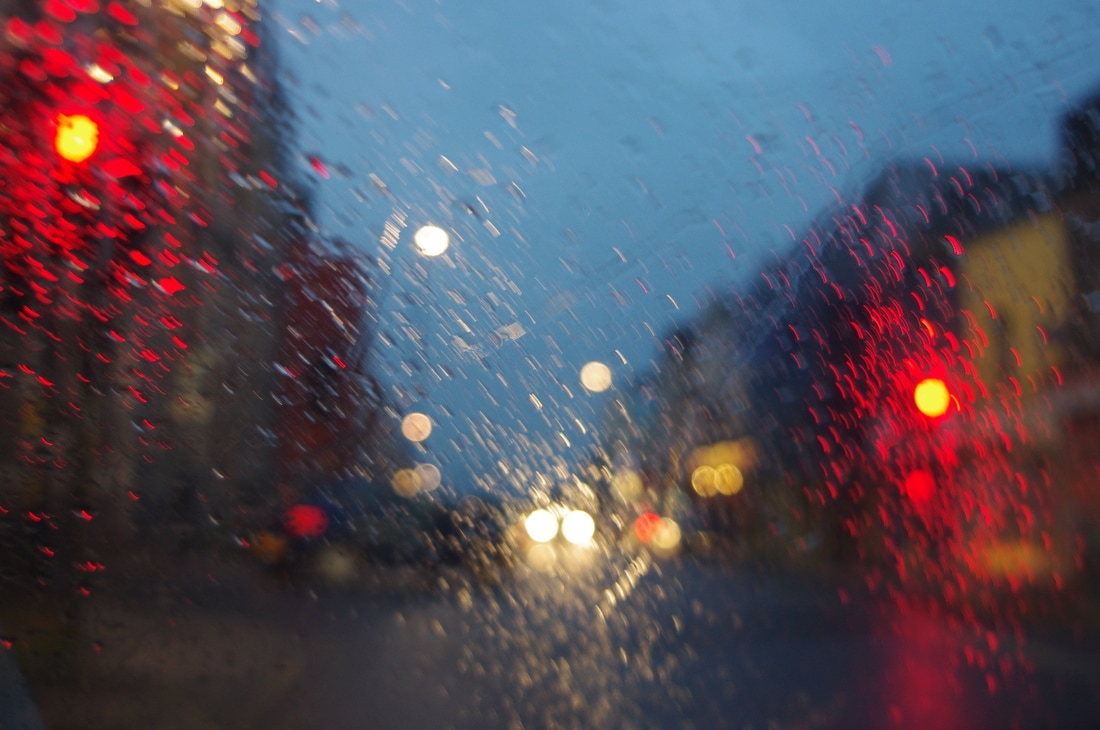
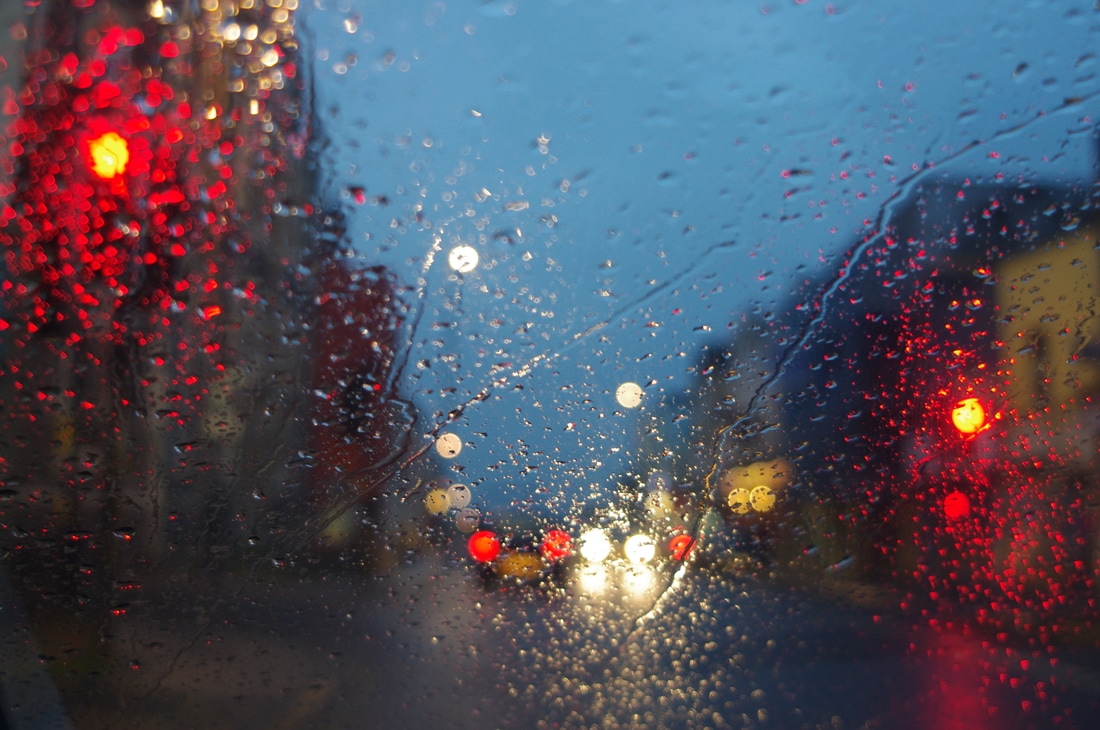
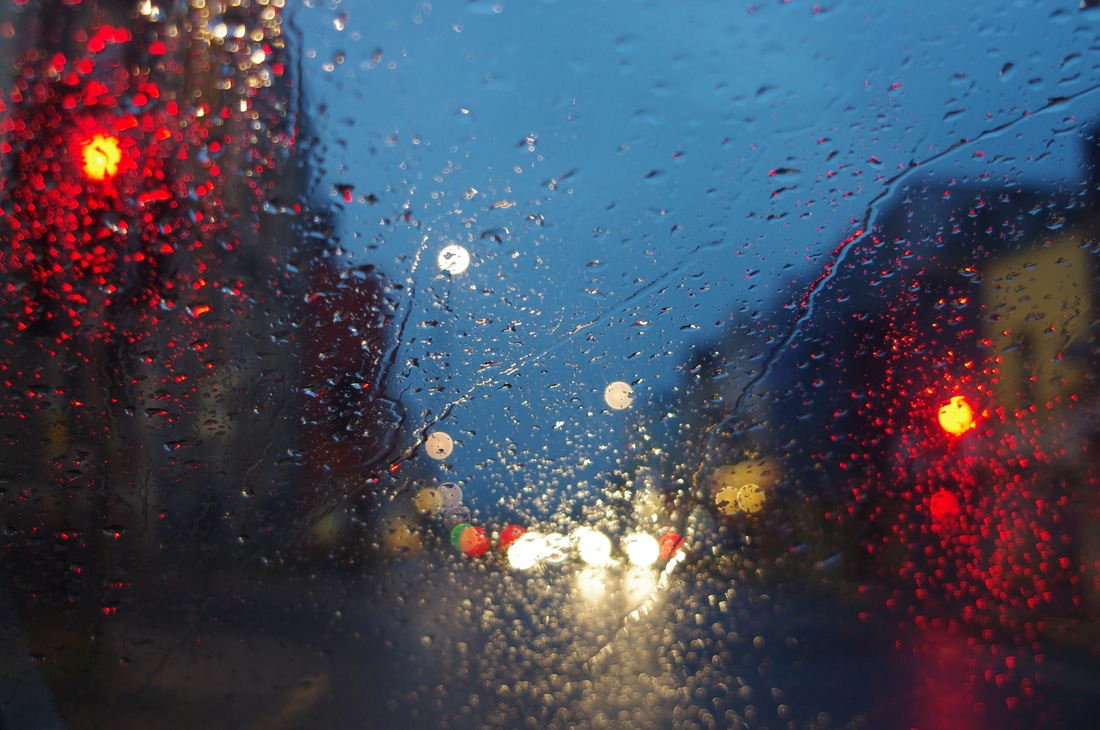
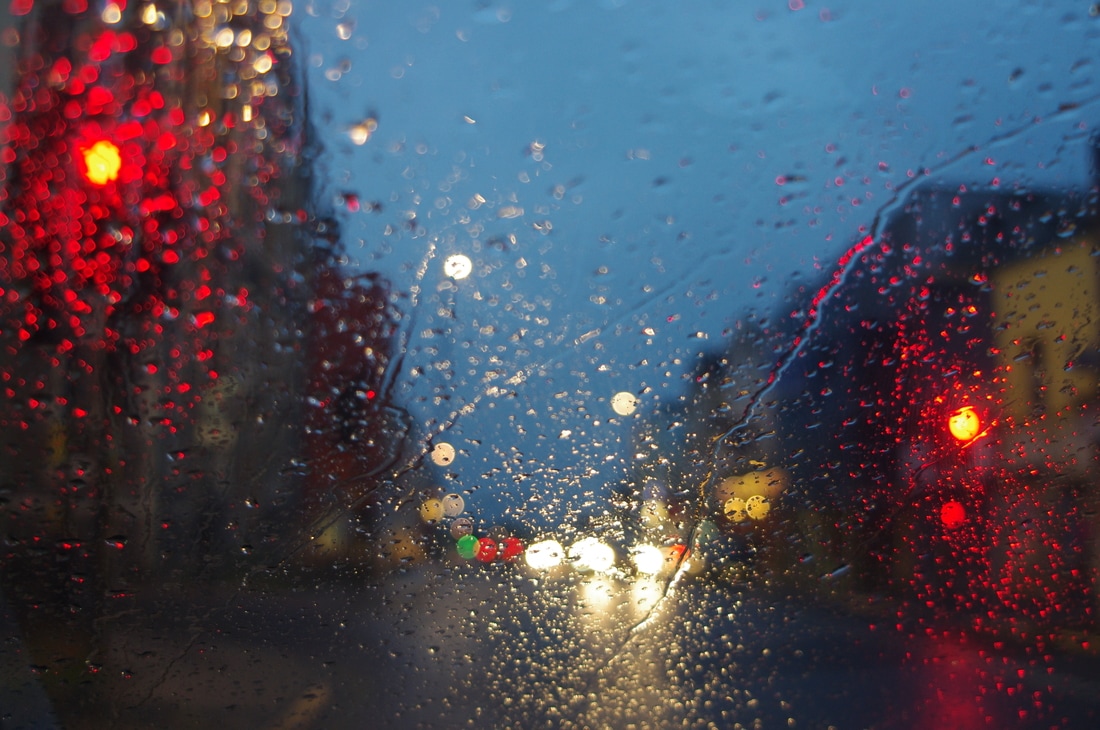
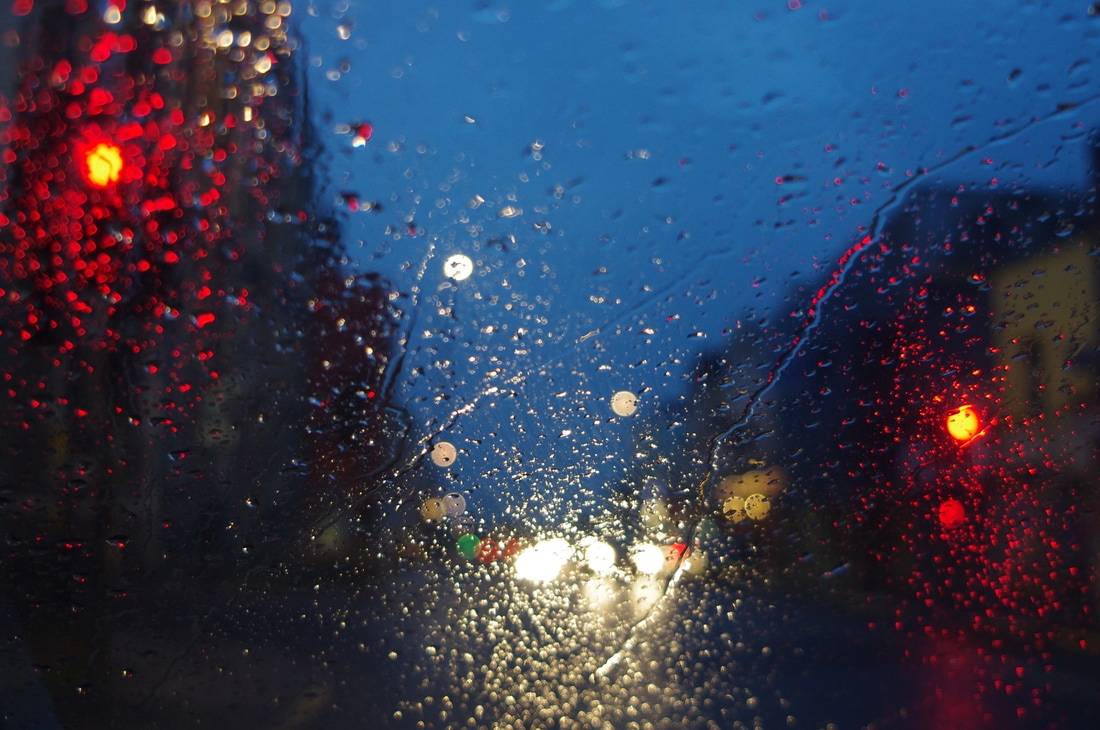
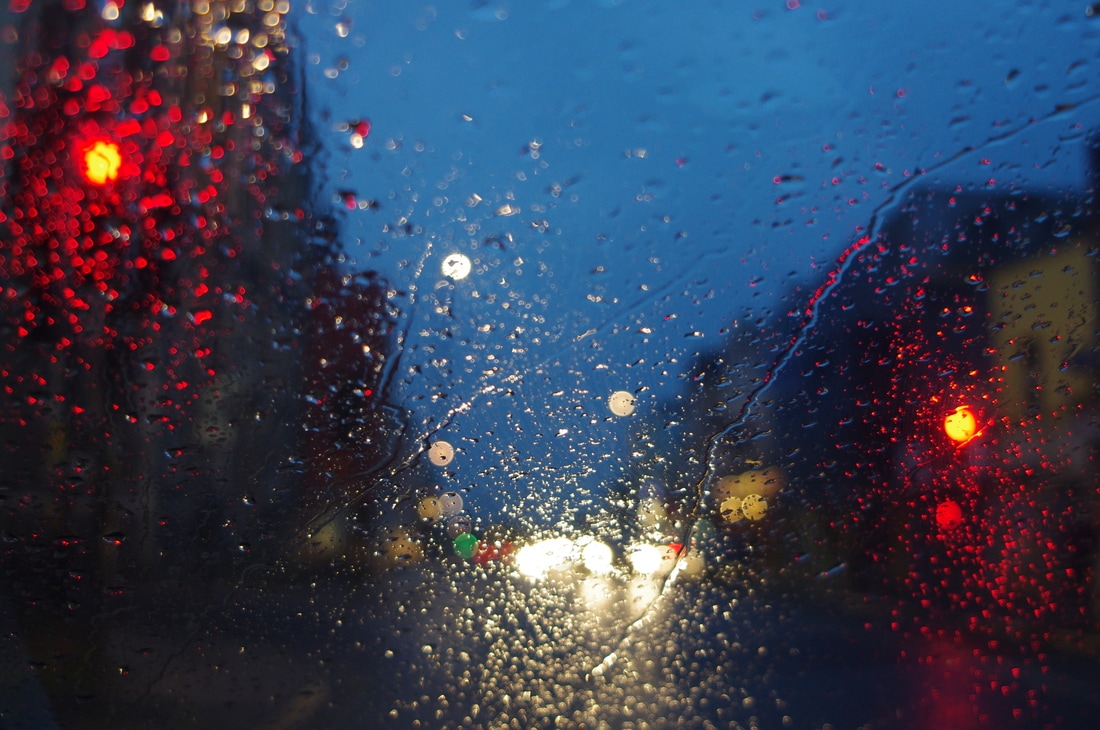
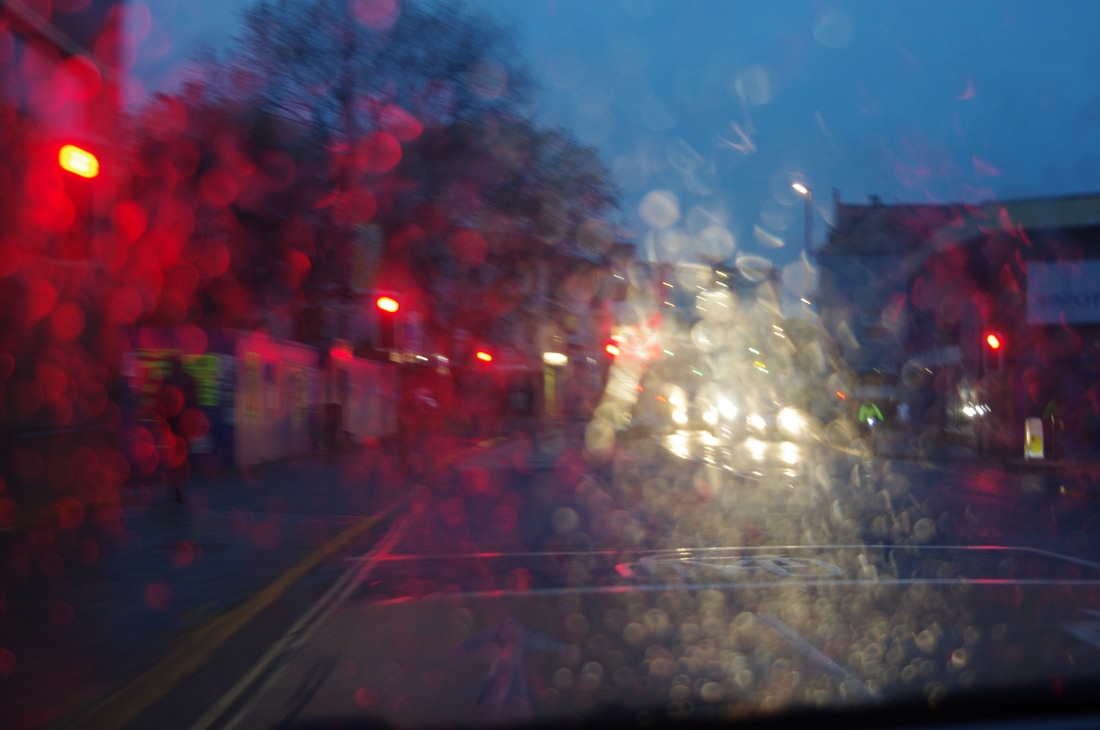
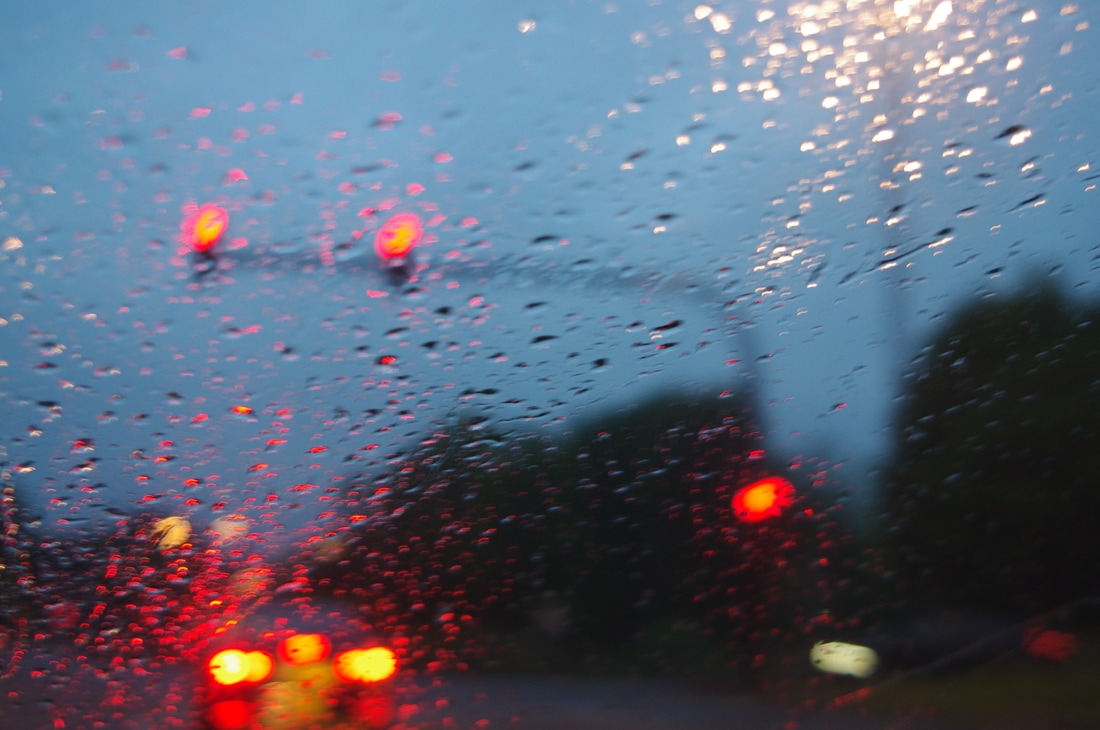
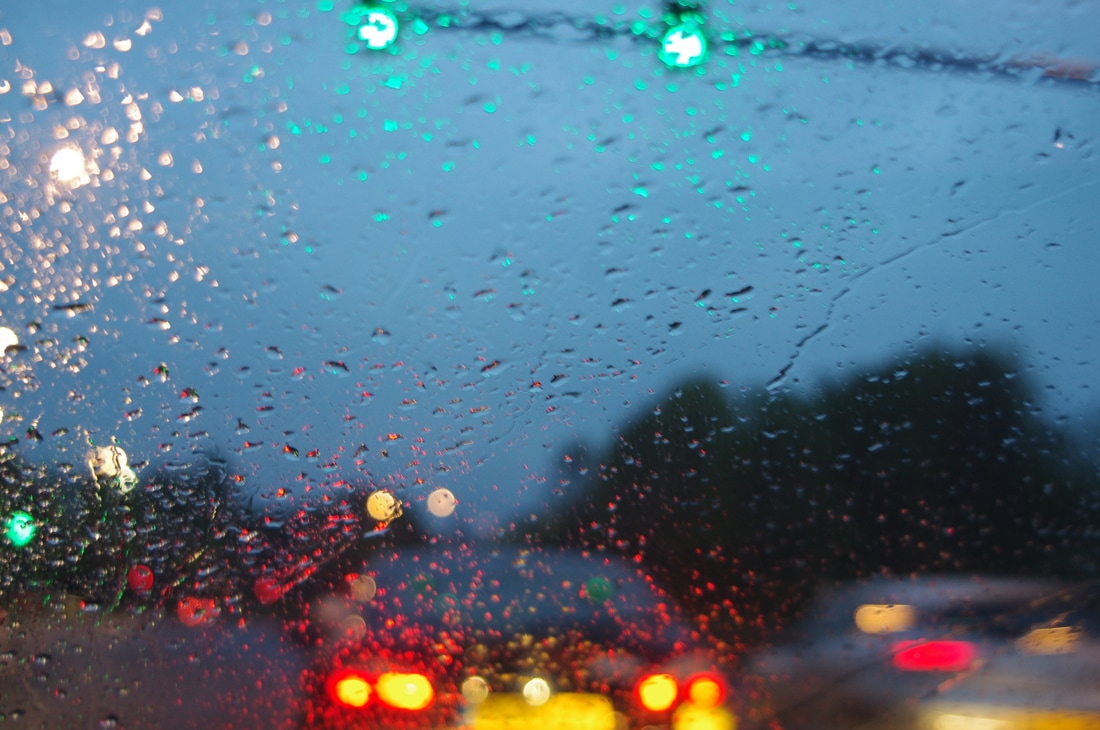
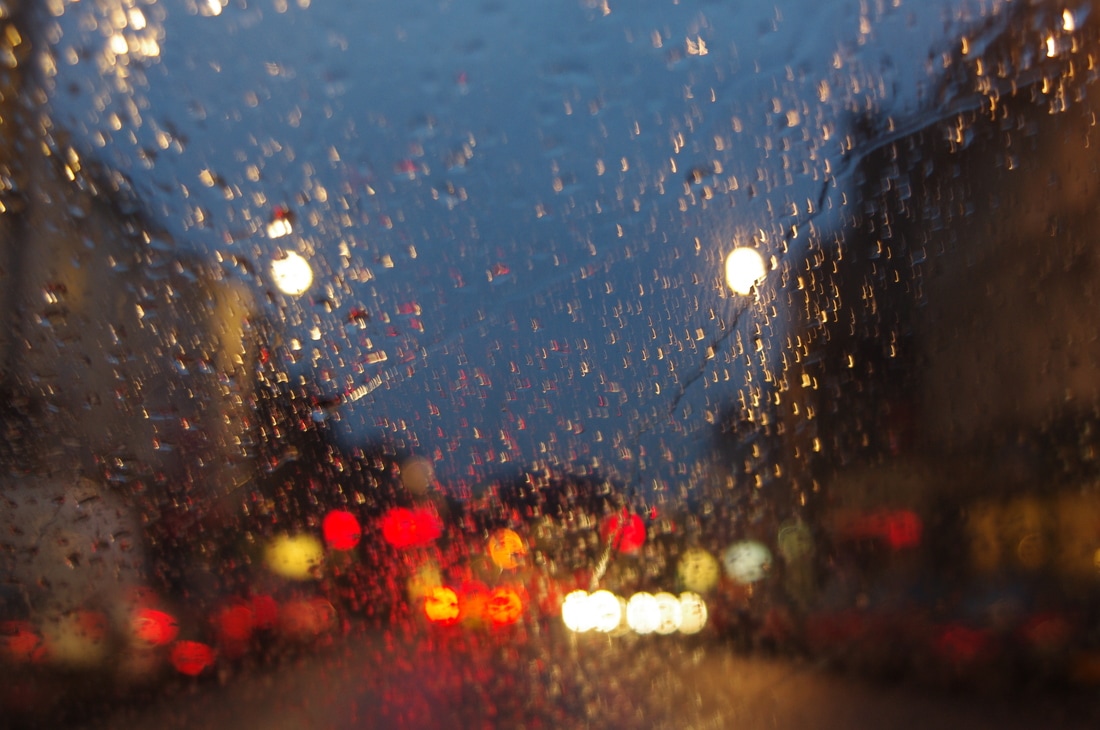
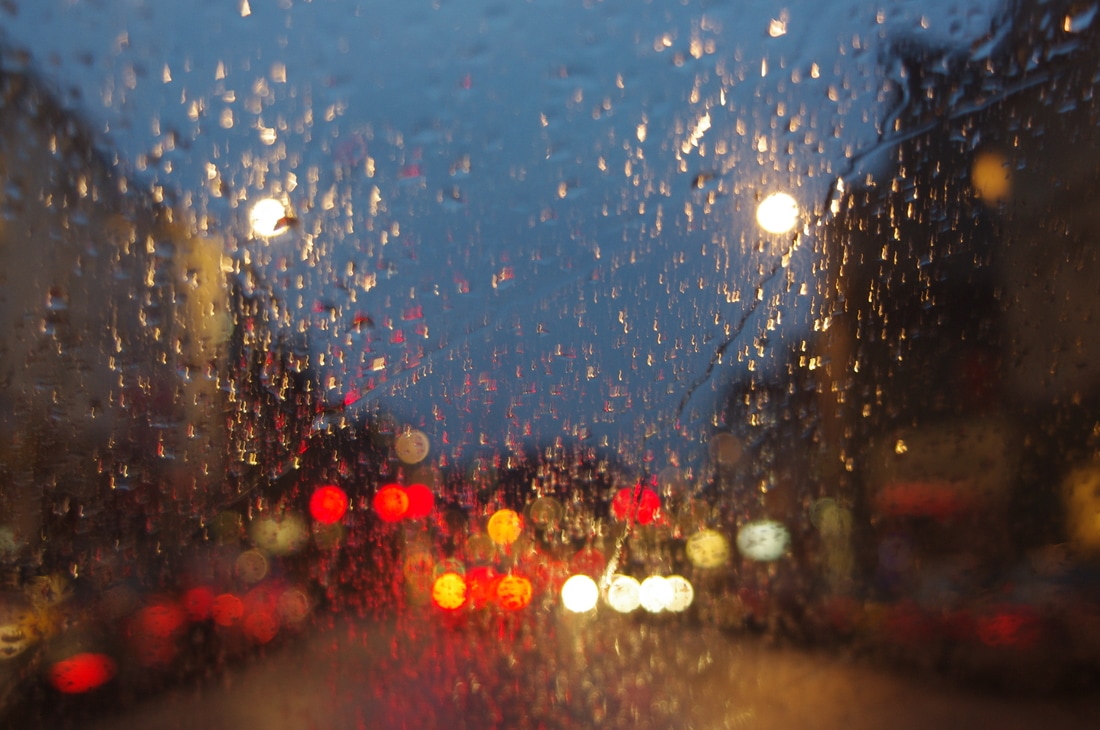
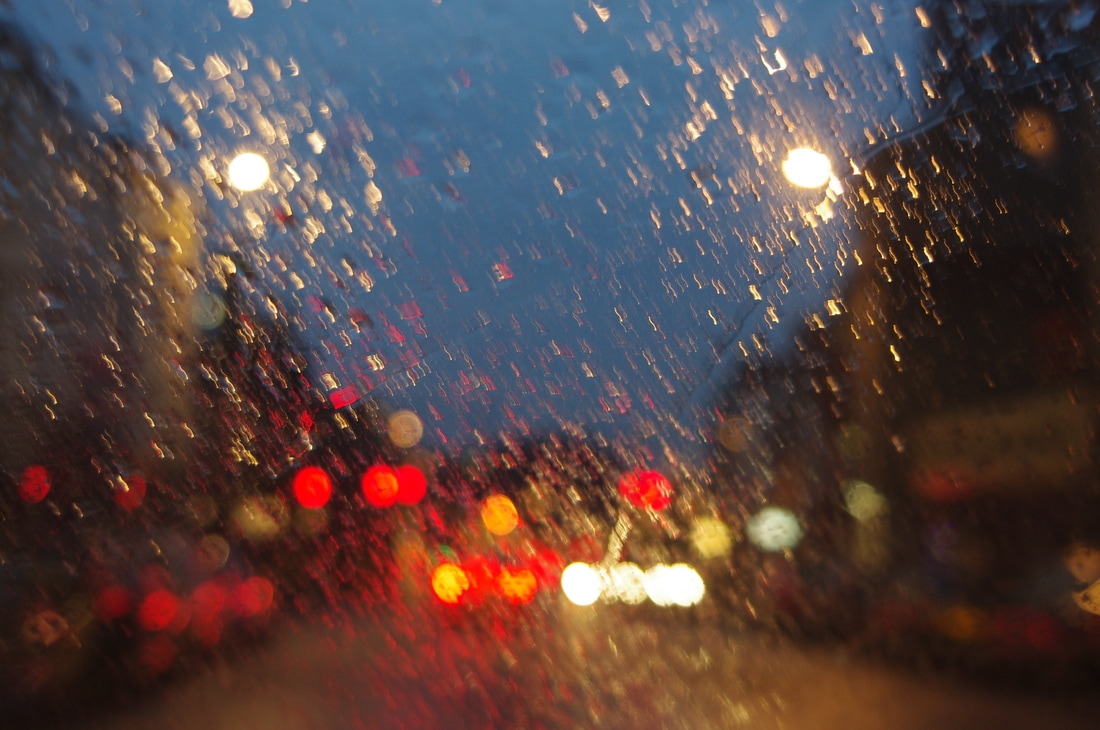
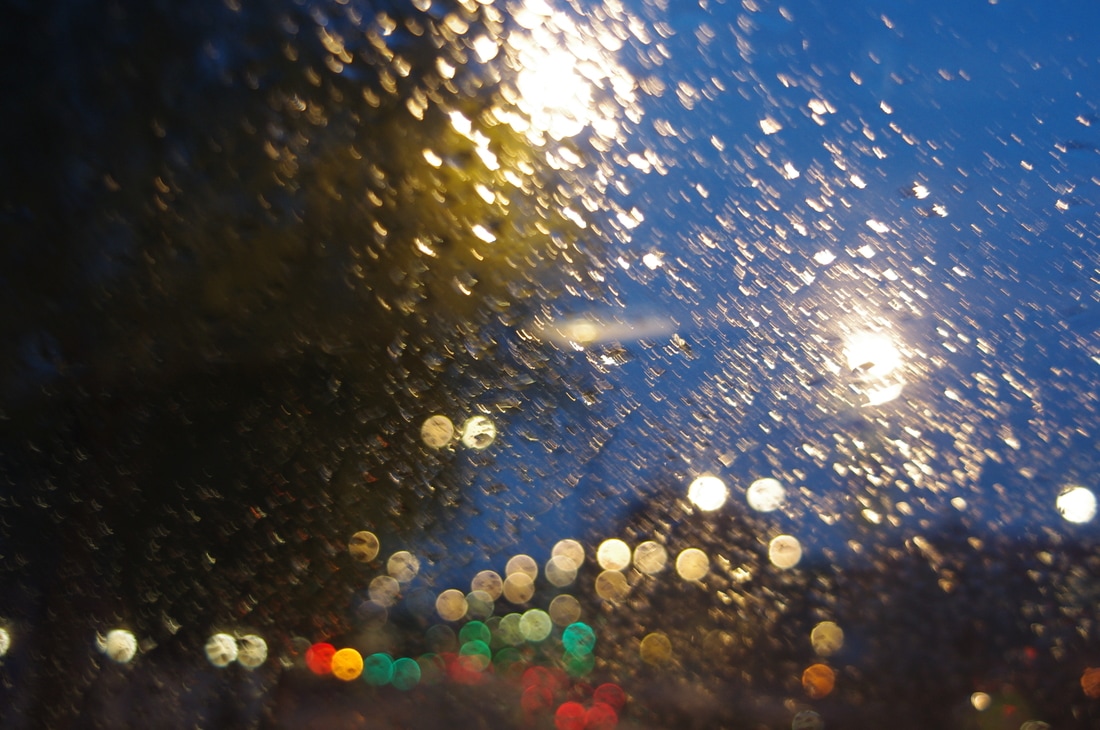
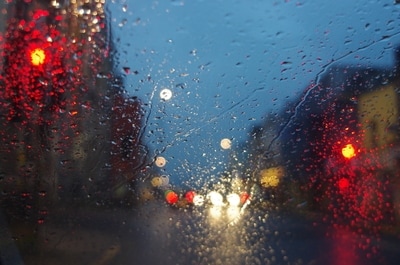
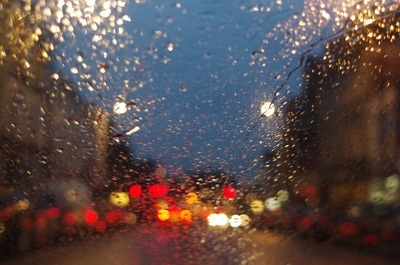
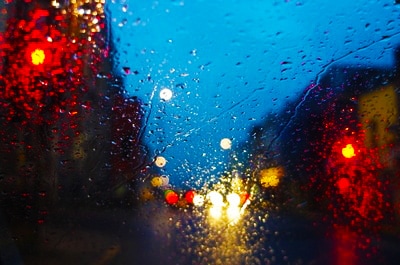
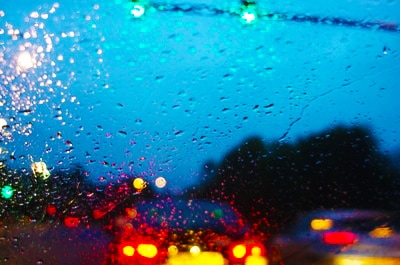
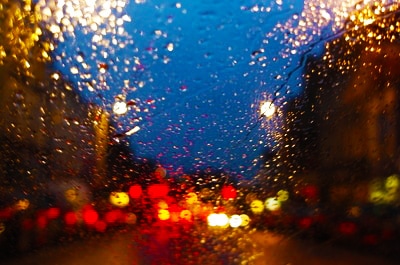
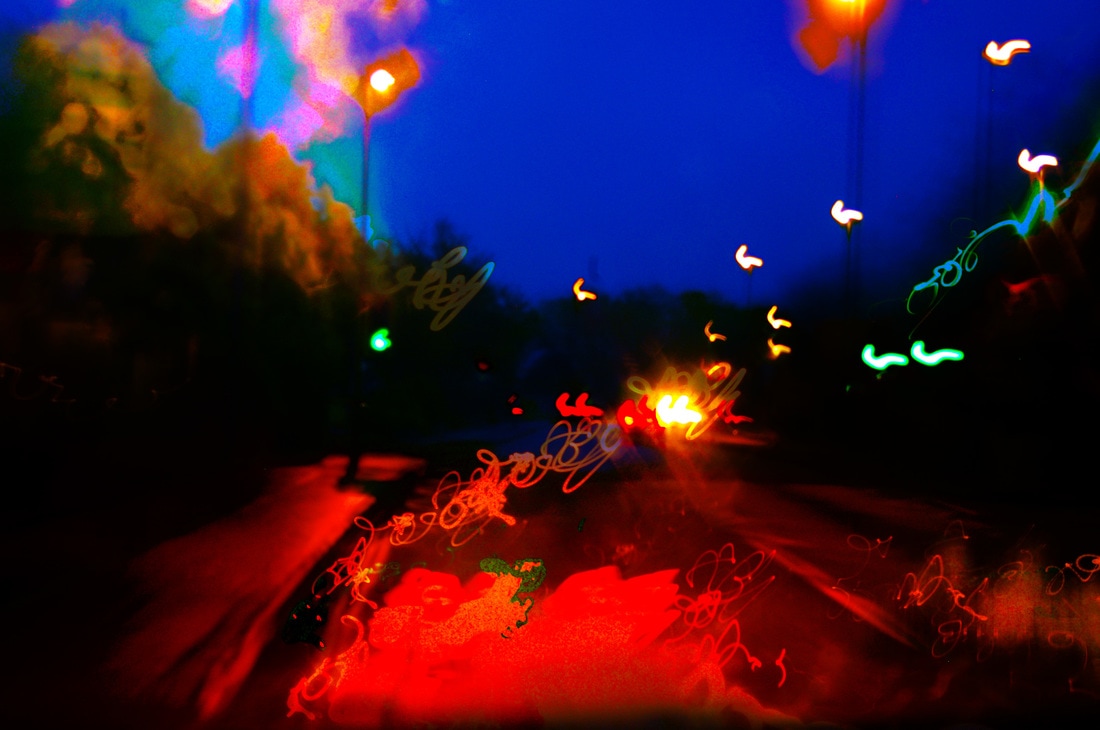
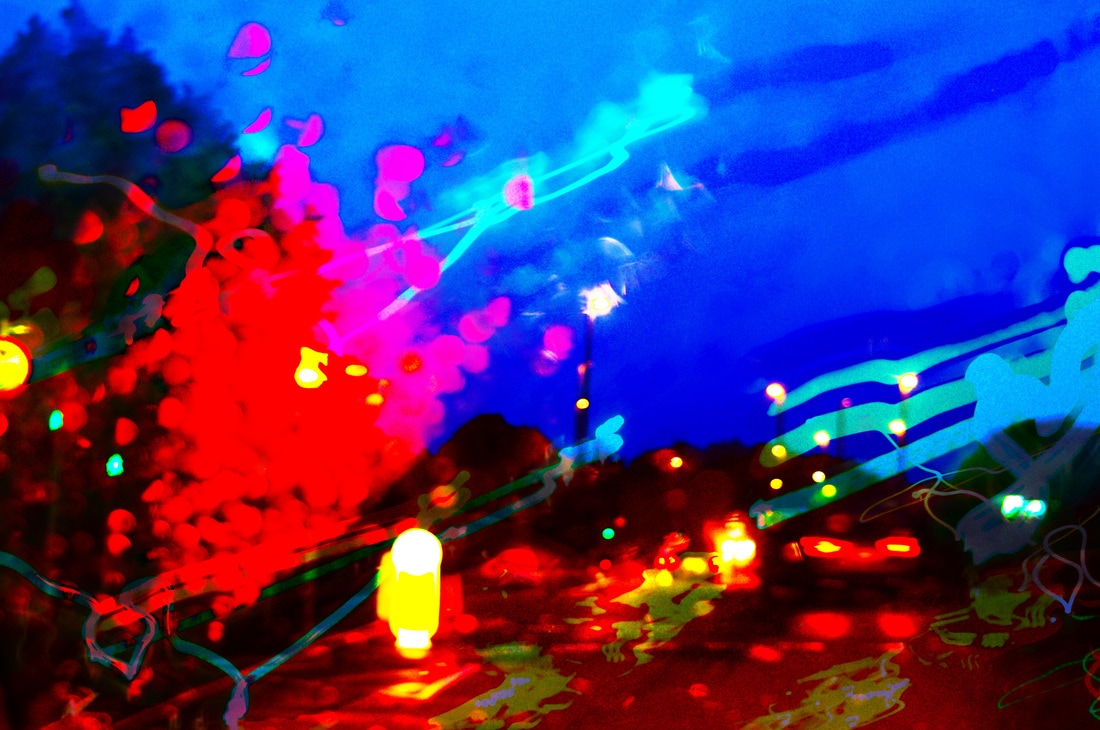
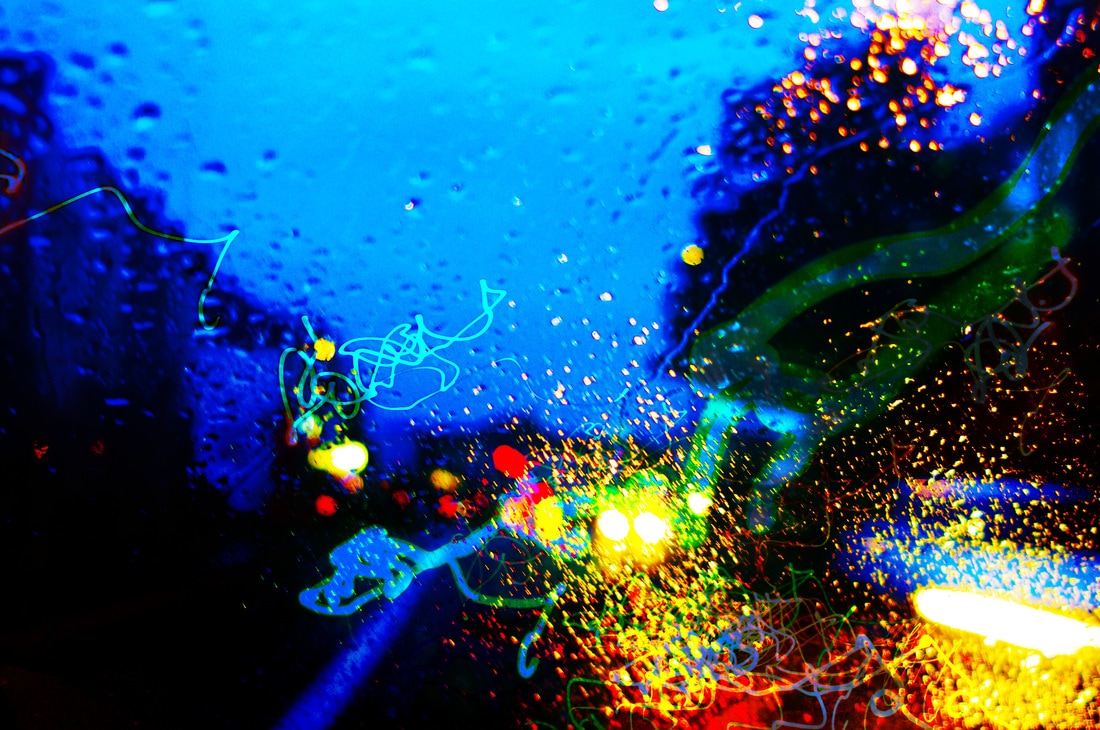
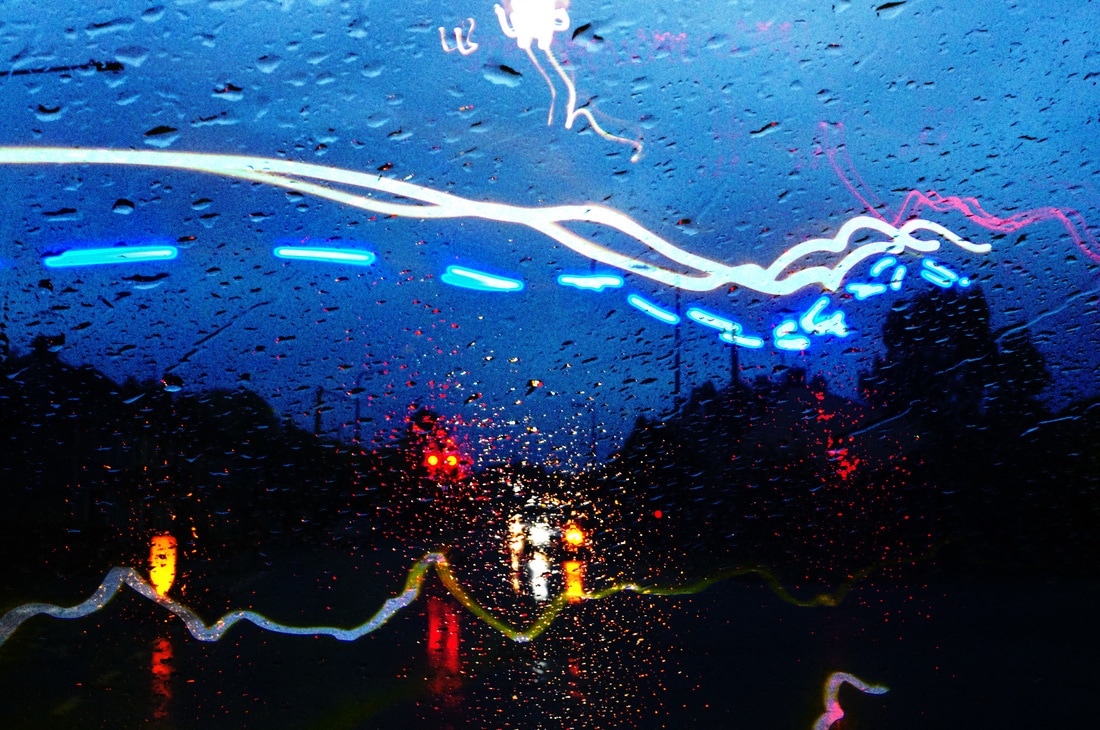
For this shoot I sat in the passenger seat and took photographs of car light trails and shop lights. With the car moving and shaking the camera it allowed me to captured abstract images. I put the camera settings on 200 ISO, F 7 and the shutter speed on 5 seconds. By taking the photographs in the rain the water droplets on the car window resemble Eduard Gordeev's work.
WWW:- I managed to capture a range of abstract photographs. They are all unique and colourful like I wanted.
EBI:- If I had taken some photographs with a fast shutter speed focused on the water droplets to resemble Naoya Hatakeyama's work.
WWW:- I managed to capture a range of abstract photographs. They are all unique and colourful like I wanted.
EBI:- If I had taken some photographs with a fast shutter speed focused on the water droplets to resemble Naoya Hatakeyama's work.


Best Images From This Shoot
I chose the following photographs as the best images from my shoot because they are colourful and abstract. I chose the image of the water droplets and the car light because of its link to Naoya Hatakeyama and Eduard Gordeev.

Photoshop Edits
I used Photoshop to edit the images below. I increased the vibrancy, contrast and saturation to the maximum. This created really bright and abstract images. The light trails are more obvious as they are highlighted.
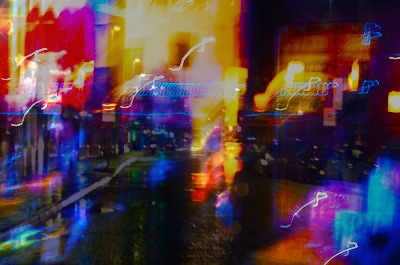
Shoot 8
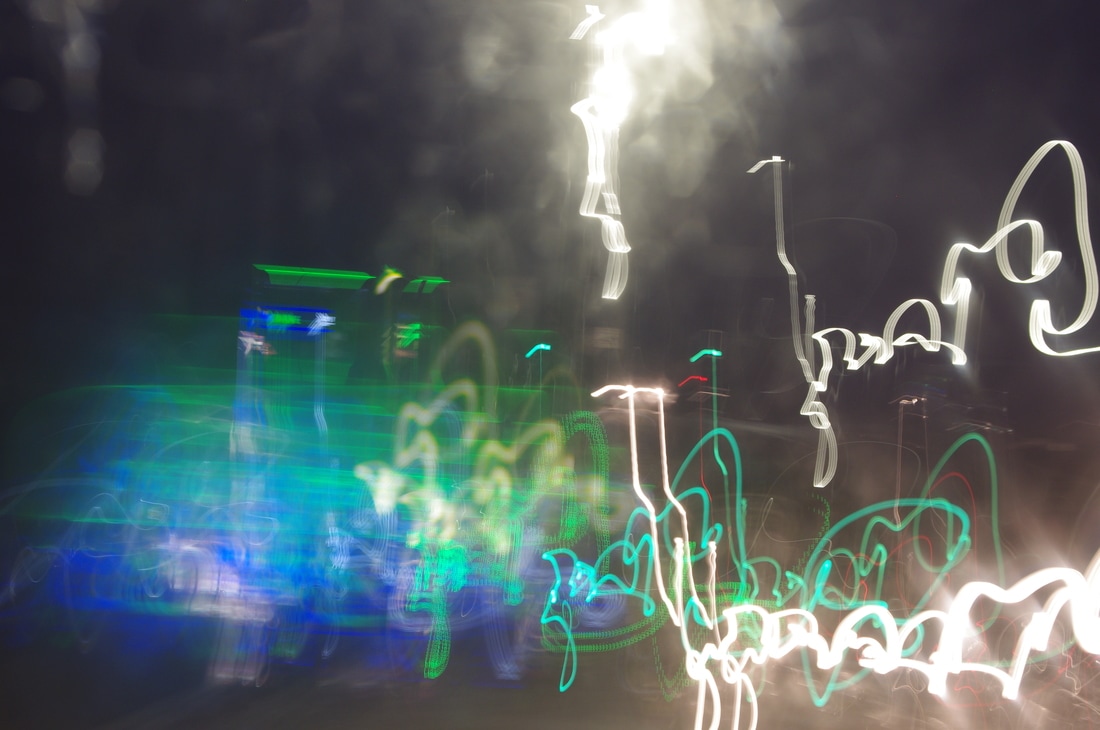
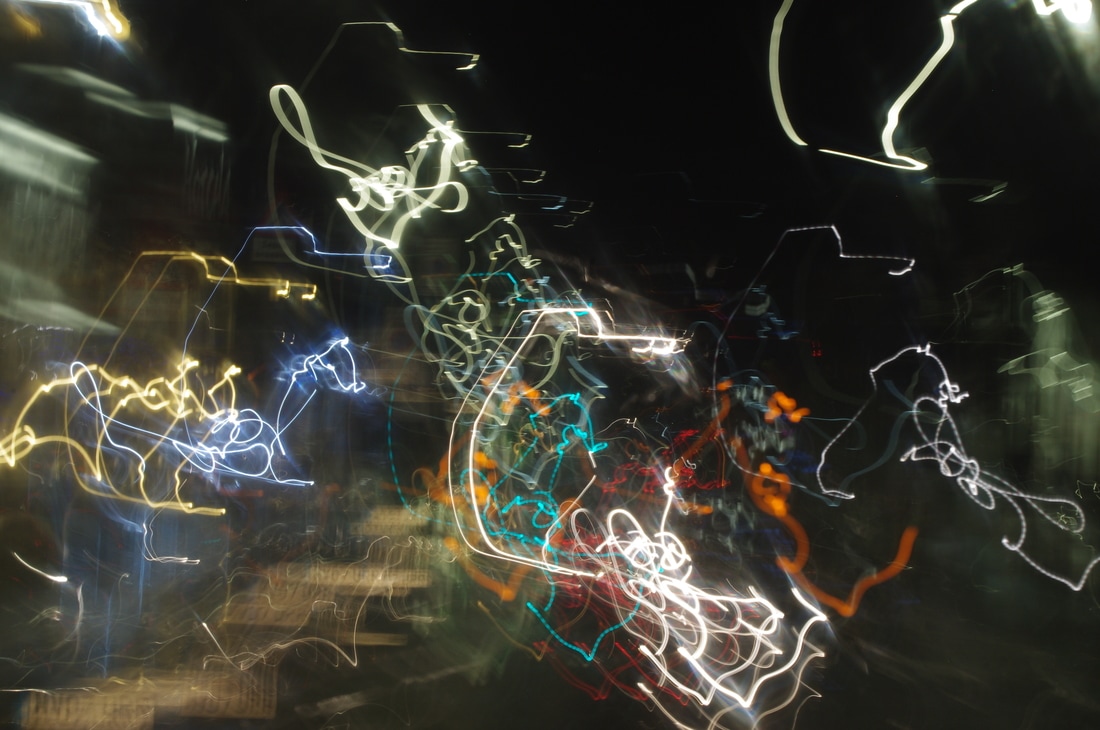
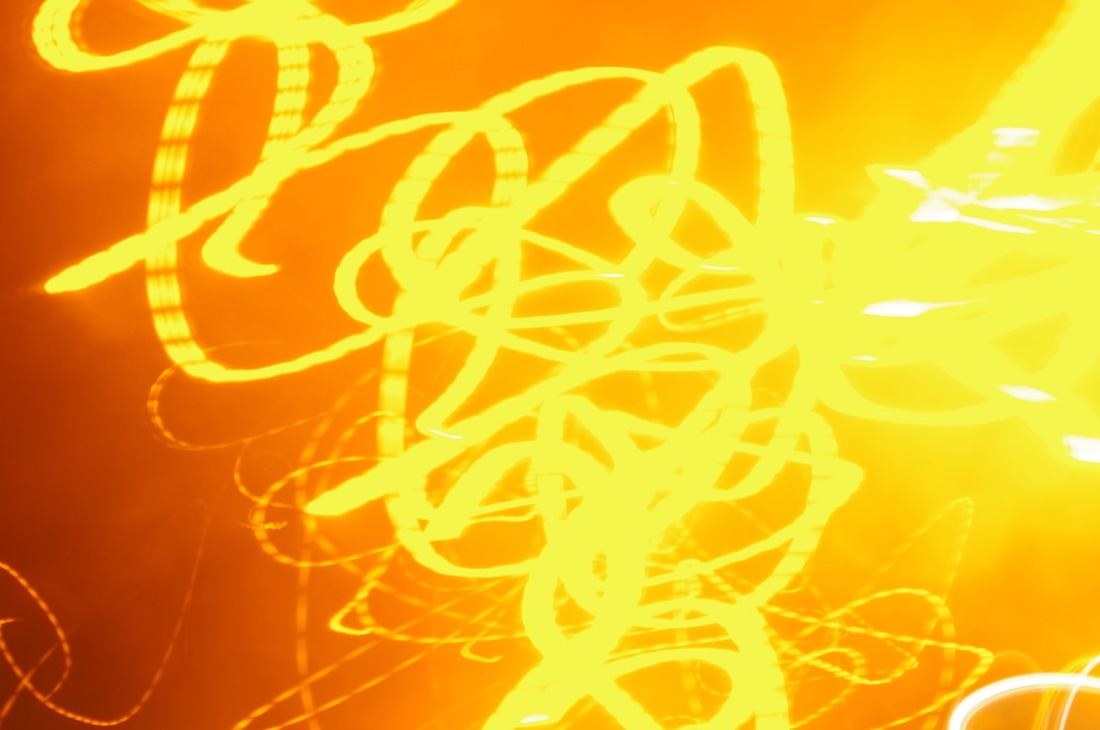
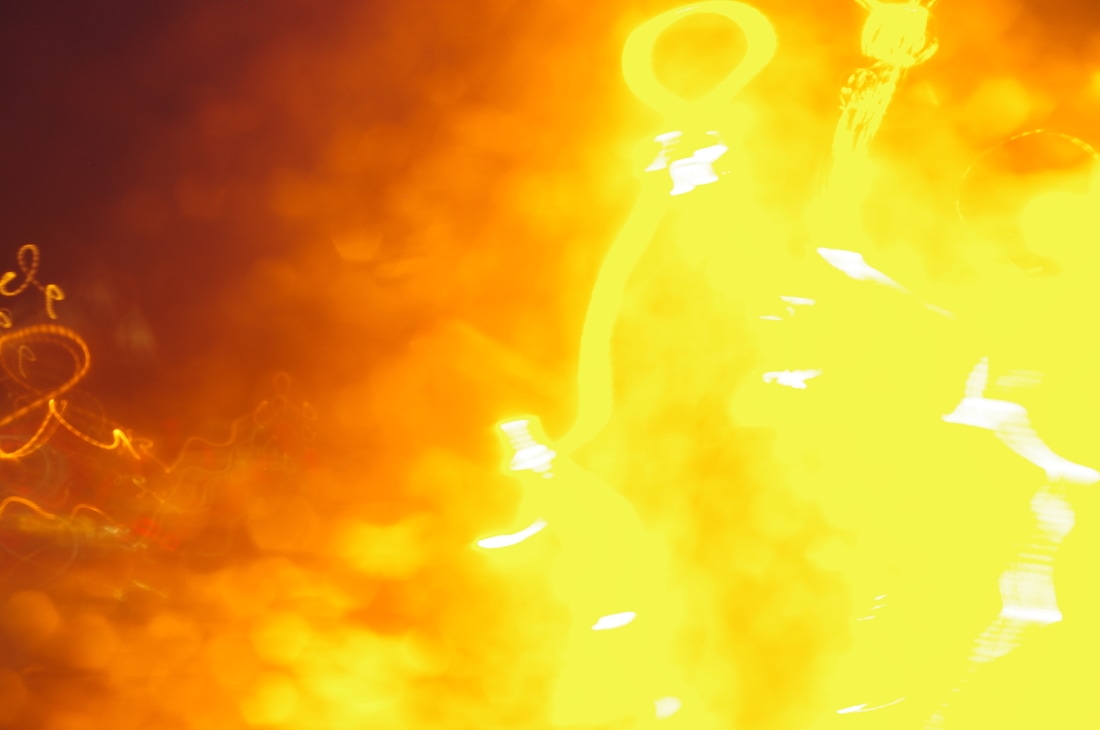
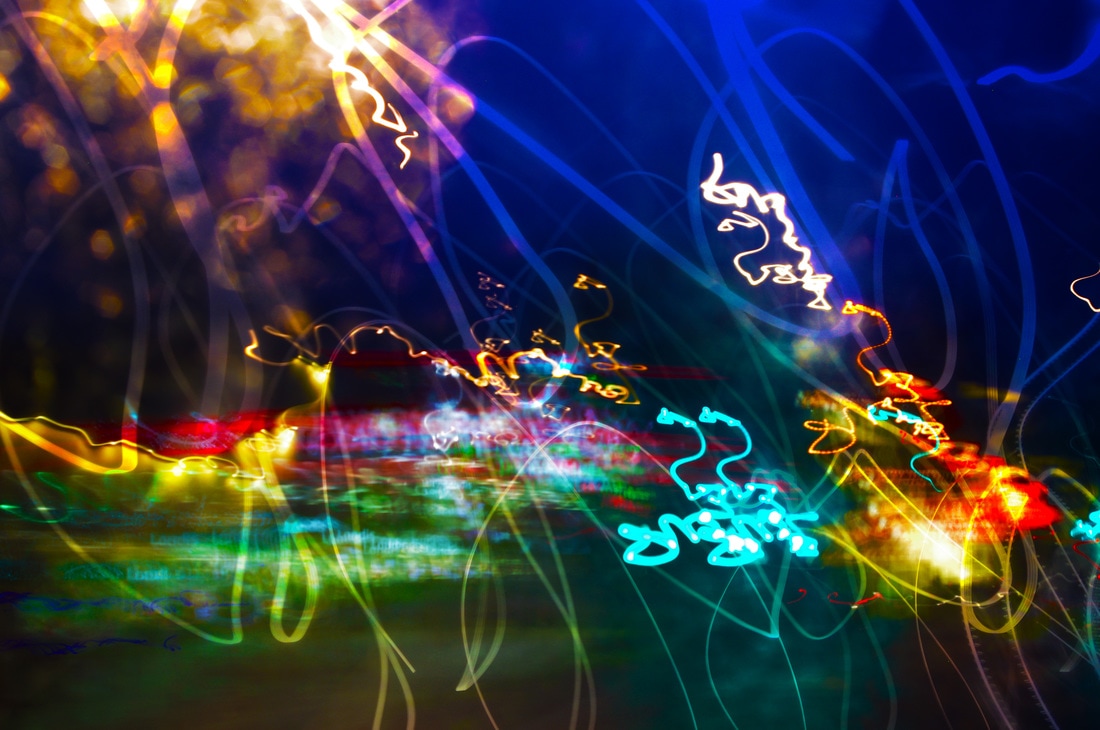
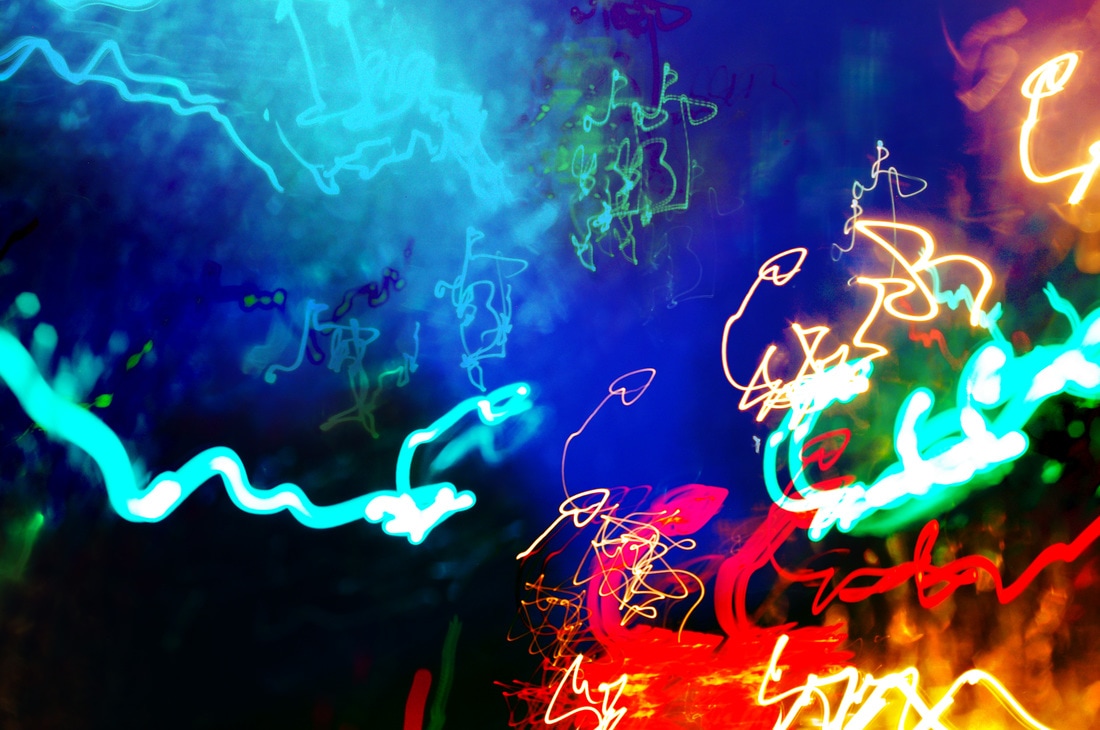
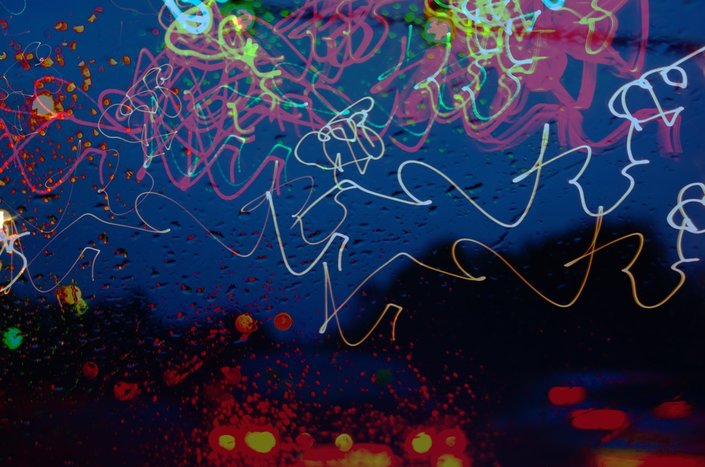
For this shoot I sat in the passenger seat again and used the same technique as above. This time I experimented with zooming in and out while the camera was taking the photographs. This created more blurred images which reflect the motion of objects such as cars. By driving past shops it allowed me to capture colourful light trails. Some of the photographs look like fireworks or graffiti.
WWW:- I took many photographs relating to the same idea. All the photographs are different to one another.
EBI:- If I experimented with featuring water droplets with the light trails.
WWW:- I took many photographs relating to the same idea. All the photographs are different to one another.
EBI:- If I experimented with featuring water droplets with the light trails.


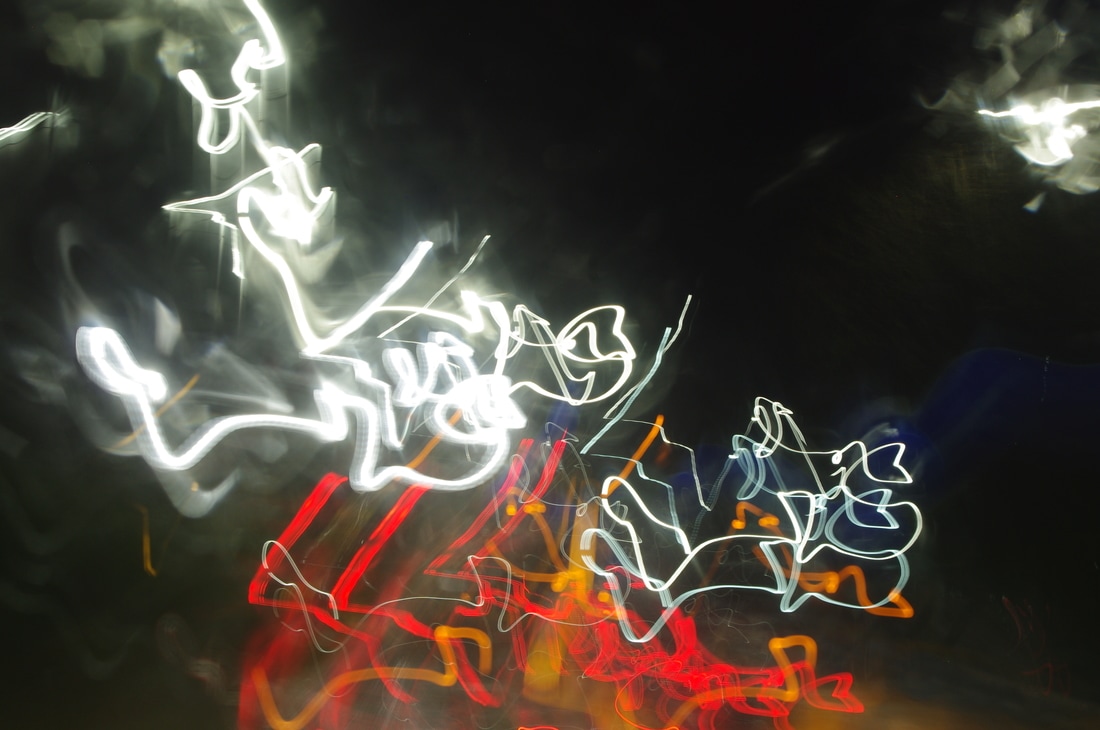
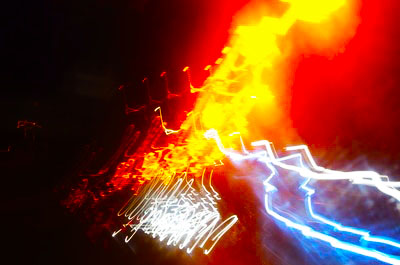
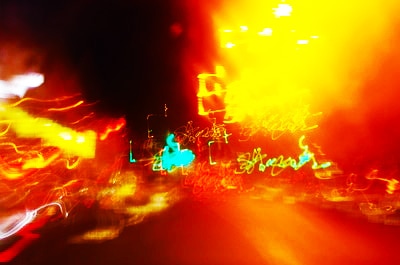
Best Images From This Shoot
I chose the following photographs as the best images from this shoot. This is because they are all colourful and abstract. They relate to my researched photographers and feature the blurring effect which helps to represent motion.


Photoshop Edits
For these Photoshop edits I increased the vibrance, saturation and contrast to maximum. This allowed me to create highly vibrant light trails.

Experimental Photoshop Edits
I combined the images above with images from my water droplet shoot. I duplicated the layers and set them to overlay to achieve the outcome. This idea was inspired by Eduard Gordeev.


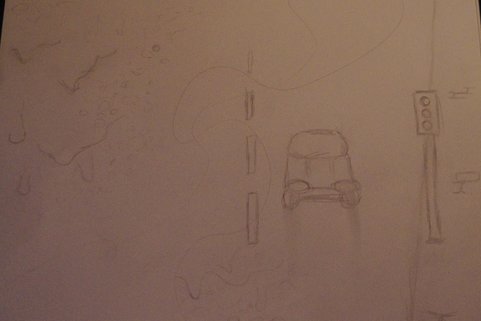
Final Piece Idea
Below is a pencil sketch of what I would like my final piece to look like. It features blurred cars, water droplets and lines to represent light trails. I would my final piece to be colourful
10 Hour Exam Plan
1st Hour: Editing final piece on Photoshop.
2nd Hour: Finish editing final piece on Photoshop.
3rd Hour: Printing and presenting final piece.
4th Hour: Critiques of shoots.
5th Hour: Adding to and checking critical analysis for spelling mistakes.
6th Hour: Explaining ideas and development of project clearly.
7th Hour: Further editing of previous shoots on Photoshop.
8th Hour: Explaining the process of edits and photo shoots.
9th Hour: Evaluation.
10th Hour: Finish Evaluation.
Photo shoots for Final Piece:-
The following photoshoots are for my final piece development. I will select a few images to edit together in Photoshop.
Shoot 9
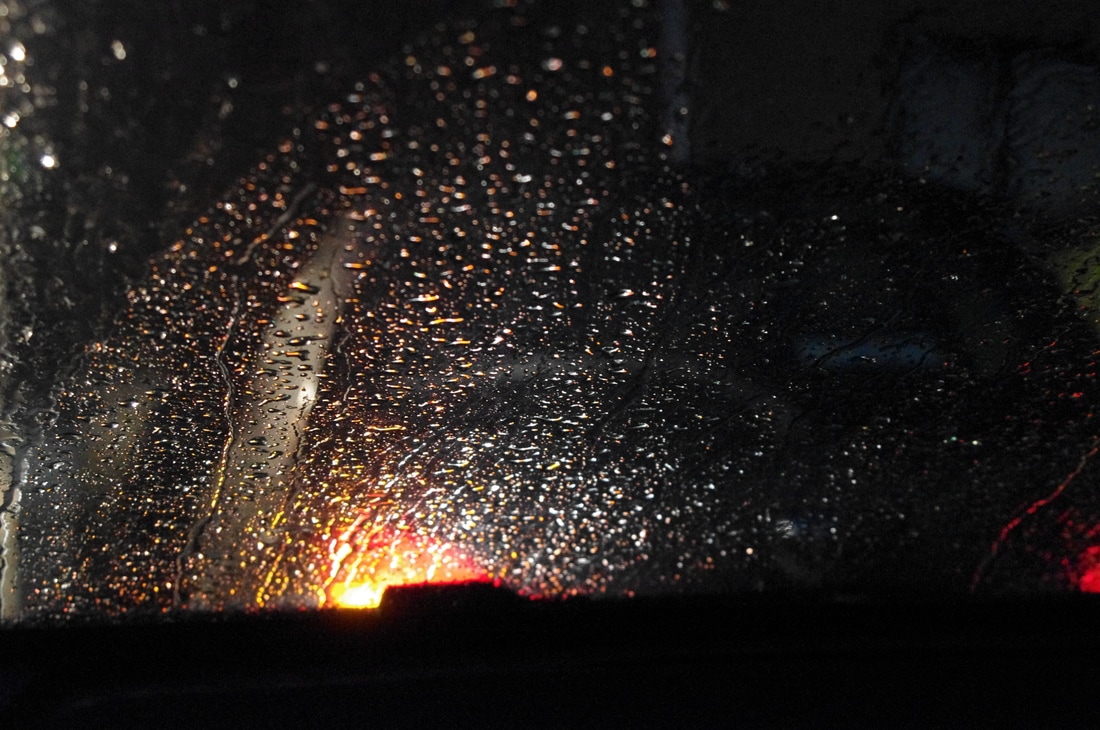
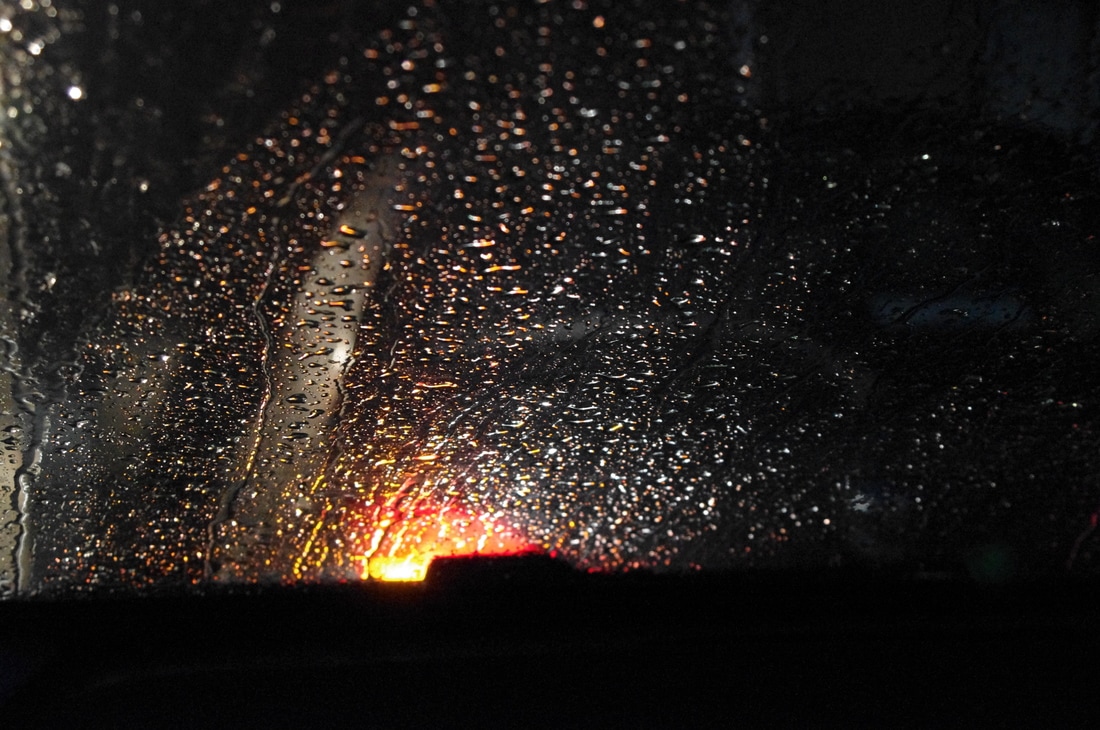
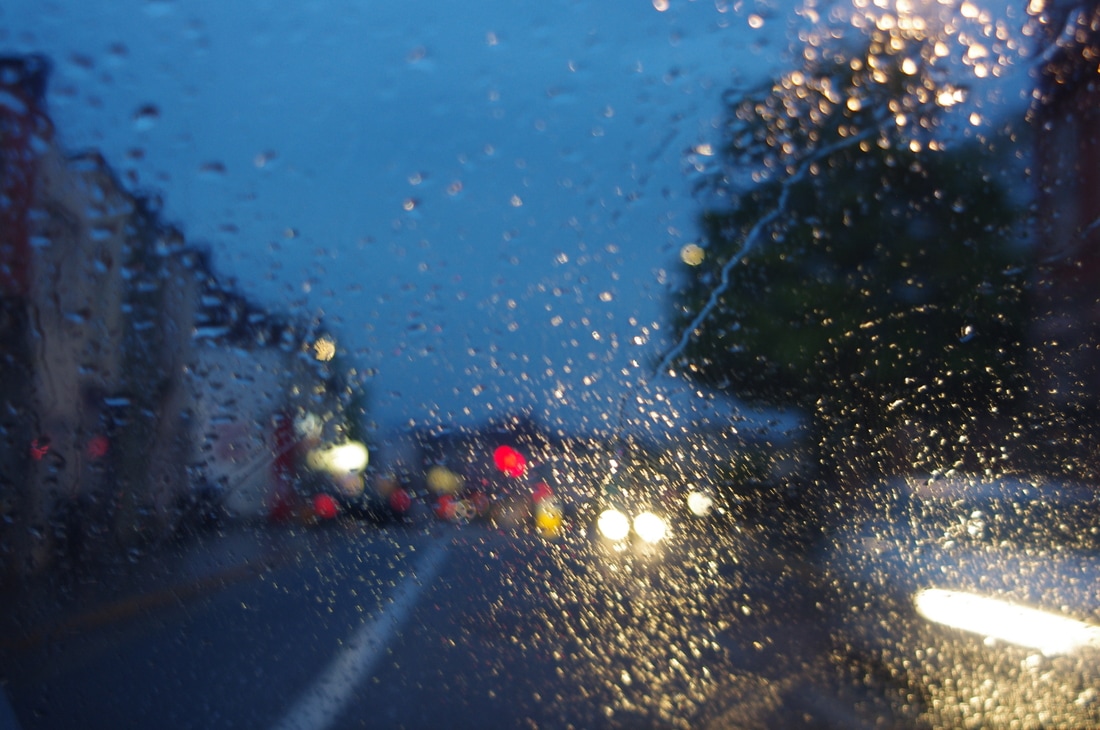
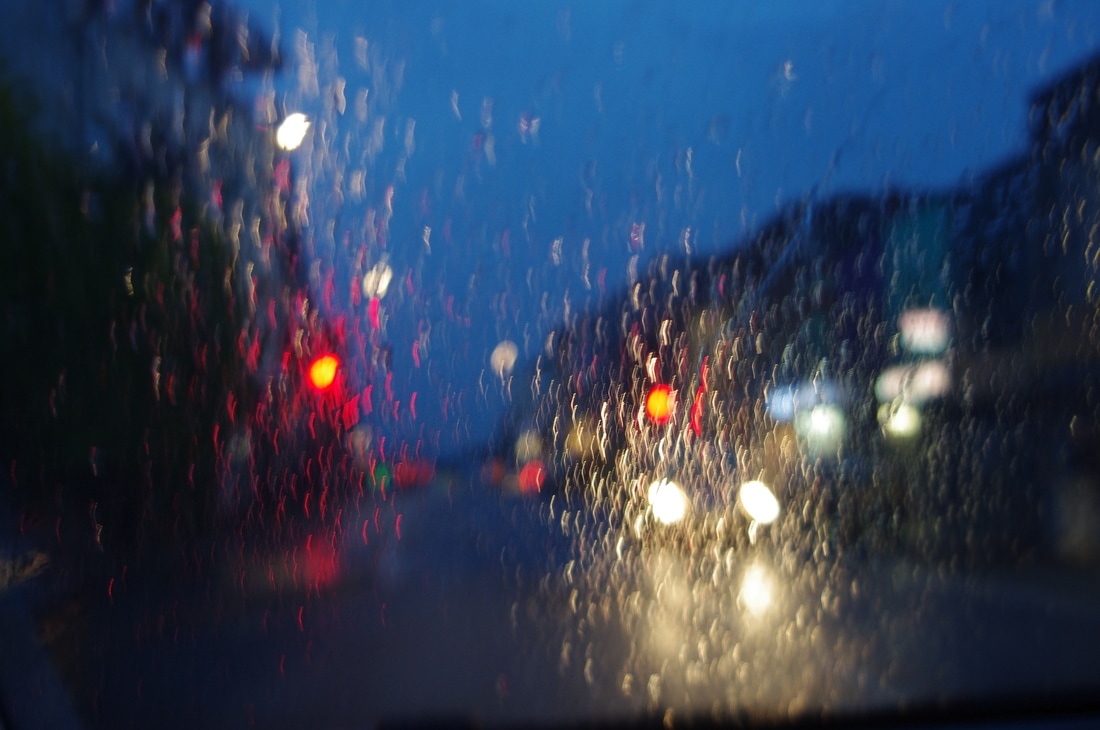
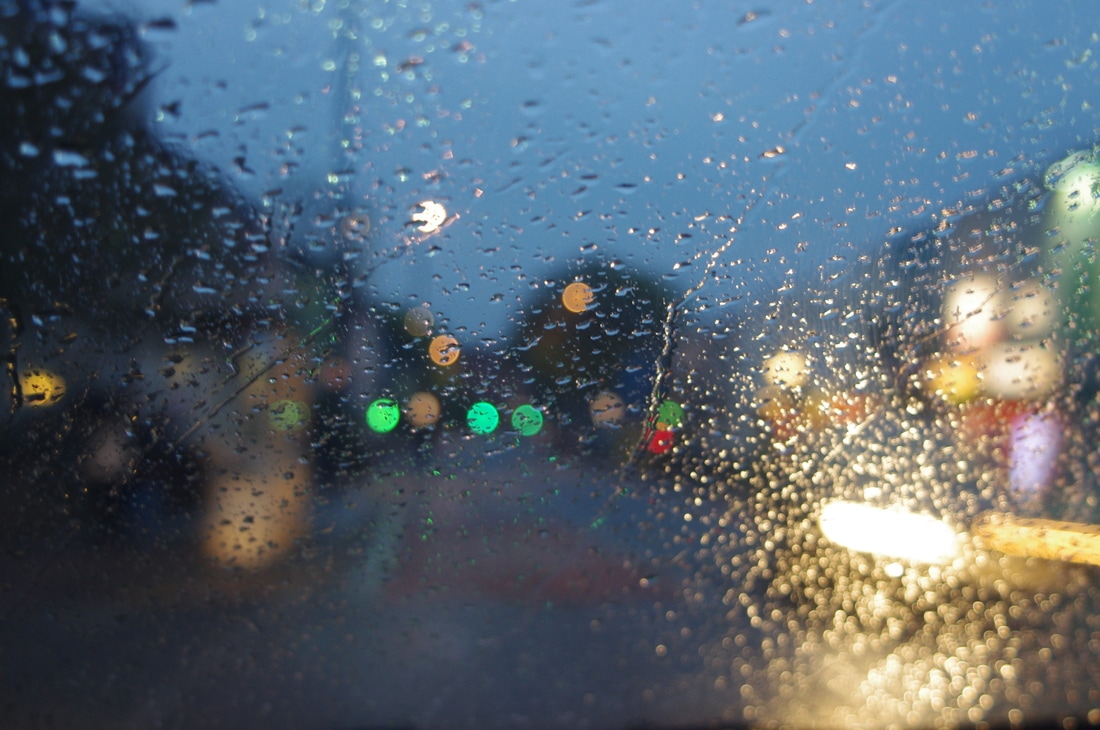
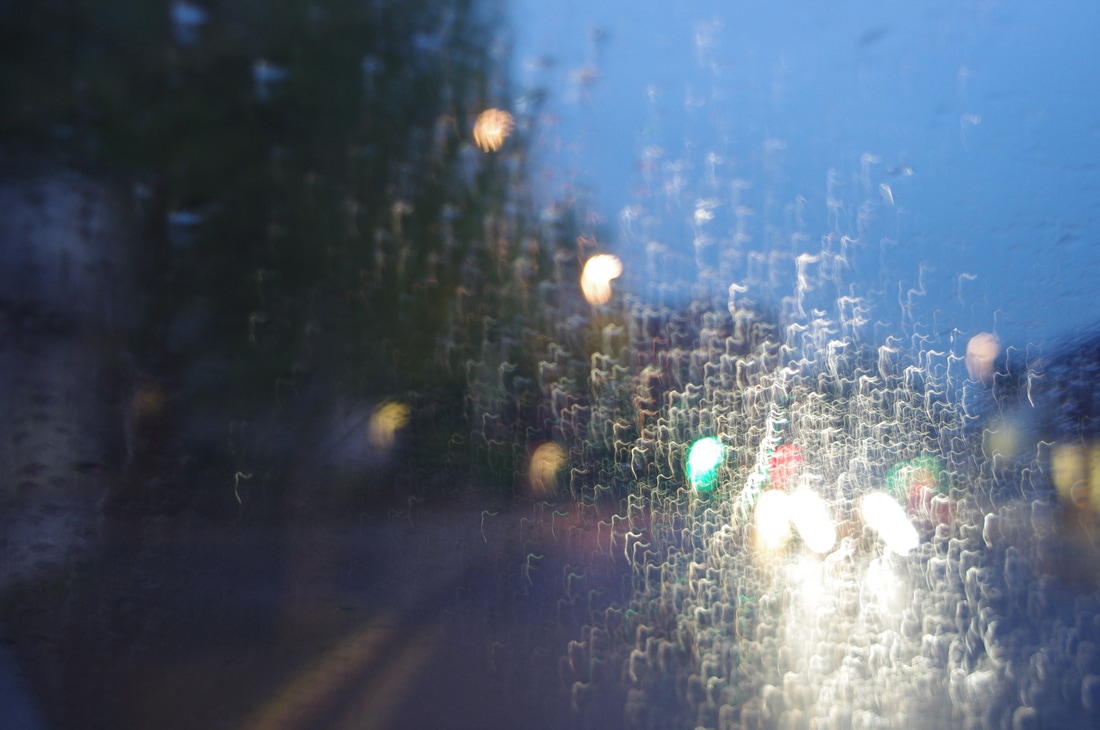
For this photo shoot I took images in a moving car but focused on the water droplets rather than the background. I traveled past shops and traffic lights to try and capture the vibrant lights. This shoot was inspired by Naoya Hatakeyama. The camera settings that I used were; ISO 200, (Av) F2.0 and the (Tv) shutter speed on 5 seconds. for the light trails. I then changed the settings to; ISO 6400, (Av) F20 and the (Tv) shutter speed to 1/6000. I took the images in the evening so that is was not completely dark outside. I chose to do this so that it would link to my researched photographers because the artists commonly capture the images when it is not completely dark.
WWW:- I managed to capture a range of photographs that link to Hatakeyama's work and my ideas. I like how the sky is not completely dark so that it adds colour to the images.
EBI:- I went to a location with more lights to make the photographs more colourful as seen in Gordeev's work.
WWW:- I managed to capture a range of photographs that link to Hatakeyama's work and my ideas. I like how the sky is not completely dark so that it adds colour to the images.
EBI:- I went to a location with more lights to make the photographs more colourful as seen in Gordeev's work.


Best Images From This Shoot
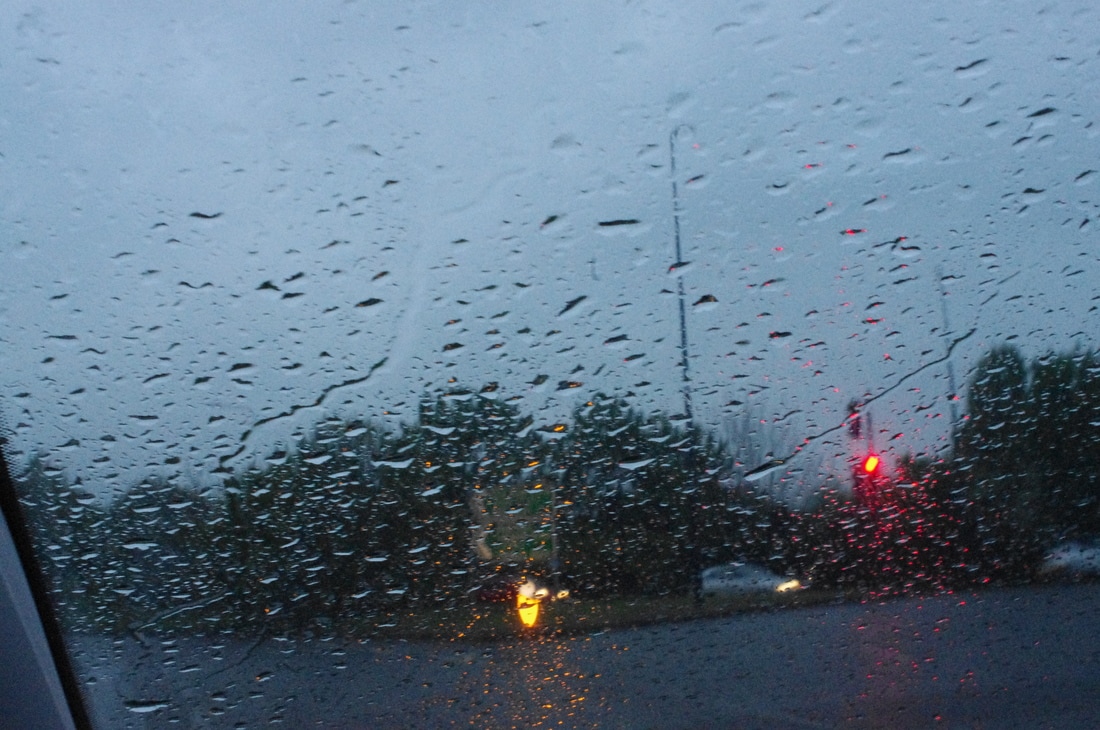
I chose the following 3 photographs because they link to my chosen photographers the most. The images are focused on the water droplets as seen in Hatakeyama's work but also link to Gordeev as the lights reflect in the puddles of water. The blurred cars as seen in the middle image represent Roemers' and Martin's work.

Photoshop Edits
I edited the images above using Photoshop. Firstly, I increased the contrast to 100 and the brightness to 9 by clicking Image -> Adjustments -> Brightness/Contrast. Next I clicked Image -> Adjustments -> Vibrance and changed the vibrance to +100 and the saturation to +22. The photographs below are the outcome.
Shoot 10
For this shoot I traveled into town to achieve more colourful photographs as an improvement from my previous shoot. I used the camera settings; ISO 6400, (Av) F20 and the (Tv) shutter speed to 1/6000.
WWW:- All the photographs are vibrant and link to my researched photographers. I have take over 20 images which feature a blurred background, linking to motion.
EBI:- I could have experimented with being a stationary car to see if the images are clearer.
WWW:- All the photographs are vibrant and link to my researched photographers. I have take over 20 images which feature a blurred background, linking to motion.
EBI:- I could have experimented with being a stationary car to see if the images are clearer.


Best Images From This Shoot
I chose the following photographs because they are clear, colourful and feature blurred cars. They link all of my ideas and themes together.

Photoshop Edits
The photographs above were edited using Photoshop. I wanted to make sure the images were bright and colourful in order to link to Christopher Martin. Firstly, I clicked Image -> Adjustments -> Brightness/Contrast and changed the brightness to 12 and the contrast to 100. Next I clicked Image -> Adjustments -> Vibrance and changed the vibrance to +100 and the saturation to +11. The following images are the outcome.
Shoot 11
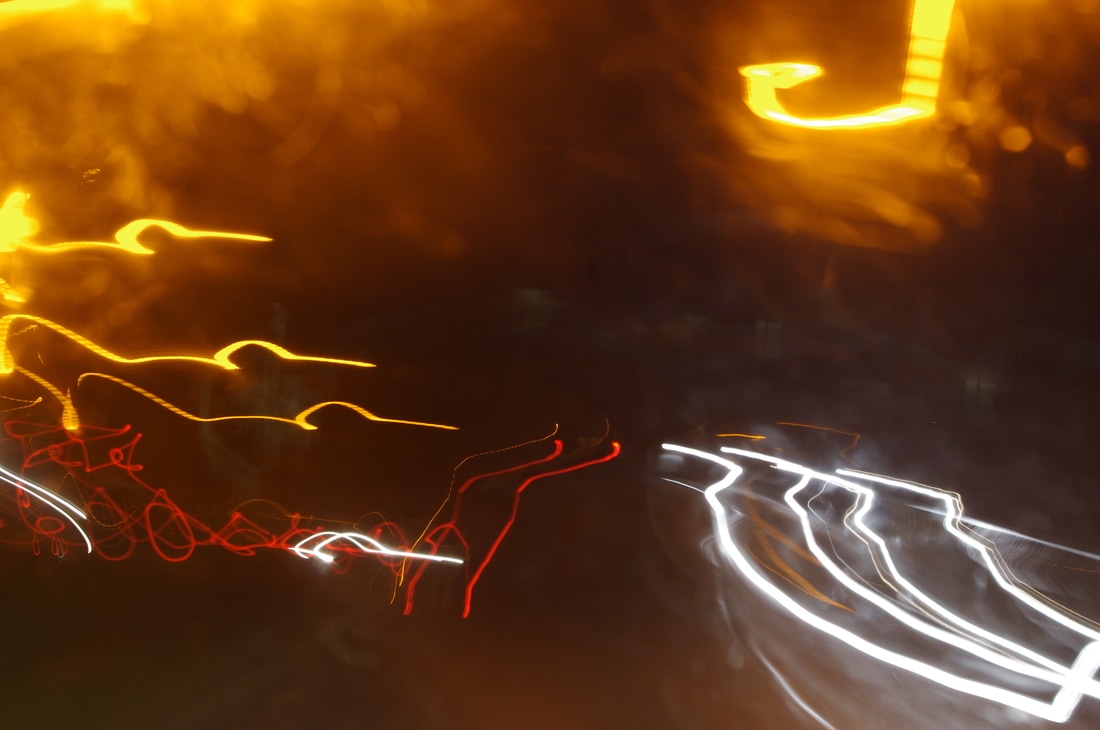
For this shoot I focused on creating light trails. I used the camera settings; ISO 200, (Av) F2.0 and the (Tv) shutter speed on 5 seconds. I took the photographs in the rain and occasionally moved the camera to emphasis the lines. I used the method of sitting in a moving car to take the images.
WWW:- I managed to capture over 20 photographs that are colourful light trials. I took images of different light sources including a police vehicle (2nd photograph). This helped me to take photographs with varied light trail colours.
EBI:- I could have experimented with focusing the camera on the water droplets while having a 5 second shutter speed (Tv).


Best Images From This Shoot
I chose the following images because they are the most colourful and abstract. They express movement the most with clear light trails.


Photoshop Edits
I used Photoshop to edit the images above. With the first photograph I clicked Image -> Adjustments -> Brightness/Contrast and changed the brightness to -62 and the contrast to 100. Next I clicked Image -> Adjustments -> Vibrance and changed the vibrance to +41 and the saturation to +3. Then I clicked Image -> Adjustments -> HDR Toning and set the radius to 7px, strength to 0.52, gamma to 1.00, exposure to 0.00, detail to +30%, shadow to 0%, highlight to 0%, vibrance to 0% and saturation to +20%. For the second photograph I clicked Image -> Adjustments -> Brightness/Contrast and changed the brightness to 8 and the contrast to 100. After that I clicked Image -> Adjustments -> Vibrance and changed the vibrance and saturation to +100. For the third photograph I clicked Image -> Adjustments -> Brightness/Contrast and changed the brightness to 20 and the contrast to 100. Then I clicked Image -> Adjustments -> Vibrance and changed the vibrance to +100 and the saturation to +28. For the fourth photograph I clicked Image -> Adjustments -> Brightness/Contrast and changed the brightness to -49 and the contrast to 100. Next I clicked Image -> Adjustments -> Vibrance and changed the vibrance to +100 and the saturation to +100. For the final photograph I clicked Image -> Adjustments -> Brightness/Contrast and changed the brightness to -42 and the contrast to 100. Then I clicked Image -> Adjustments -> Vibrance and changed the vibrance to +100 and the saturation to +23.

Editing With Layers
Here I used 'overlay' on Photoshop to merge two images together. I increased the contrast and brightness to receive the outcome below.

Supporting Images
I chose the two images below to be my supporting work because I believe they express my ideas and themes the most. They link all of my researched artists together. I have created them using Photoshop by layering two images together. I increased the contrast and vibrancy of the images to make each layer stand out. To merge the photographs together I set one of the layers to 'overlay'.

Final Piece
I chose the first photograph below because it has the blurred background and features vehicles to represent Martin Roemers. I also chose it due to the fact it displays water droplets. This will make the water droplet theme more obvious and will allow me to create a clearer link to Naoya Hatakeyama's style. I chose the light trail photograph because the light trails are really clear and vibrant, linking to Christopher Martin and LichtFaktor.


For my final piece I combined the photographs above using Photoshop. For the first photograph I clicked Image -> Adjustments -> Brightness/Contrast and changed the brightness to -19 and the contrast to 100. I then changed the vibrance to +10 and the saturation to +100. Next I rotated the image on the right 180 degrees and faded it onto the first image. I then increased the contrast on the two photographs to ensure that all aspects of the images could be seen. I chose to fade the colours of the light trails slightly to portray the illusion of the light trails being reflected off a front car window. I was inspired with this idea through Naoya Hatakeyama's work of reflections. Below presents my final piece.
To present my final piece I am going to put it in a photo frame. The final piece will be printed in A3. I chose to present my work at a larger size to replicate the feeling of being in a car physically for the viewer. I have chosen to display my work through glass to represent a car window, this idea is also the reason behind my work being landscape and not portrait.
For the first hour of the exam I spent time choosing the best images from my photo shoots. In the second hour, I critically analysed my photo shoots and edited the best images of each shoot. In the third and fourth hour, I edited photographs together to create my final piece. In the fifth hour I made corrections to my website and produced more edited photographs. In the sixth hour I printed my work.
For the first hour of the exam I spent time choosing the best images from my photo shoots. In the second hour, I critically analysed my photo shoots and edited the best images of each shoot. In the third and fourth hour, I edited photographs together to create my final piece. In the fifth hour I made corrections to my website and produced more edited photographs. In the sixth hour I printed my work.
Final Evaluation
For my unit 2 project I decided to choose the theme ‘Motion’. I chose this theme because it stood out to me the most. While creating mind maps I realised that I had more ideas for this theme than any other. Motion could be explored in a variety of different ways such as with animals, water, people, sports, vehicles and many more. From looking at the topic I became interested in the movement of people and vehicles, as seen in a city environment. This is when I started to research into Martin Roemers’ photography. I liked how his work seemed as if it were a moving film to the viewer. This is when I looked in detail at the common themes of his work. I noticed that the photographer featured light trails and used a blurred technique to express movement in the scene. I then became inspired to use Roemers’ technique to create my own photographs.
In shoot 1 I went into the city centre of Bristol. I decided to go to this location because it portrays a similar environment to Martin Roemers. I set up my camera to do long-exposure photography. I then walked by busy junctions and streets to capture vehicle and people movement. By slowing the shutter speed I managed to create the blurred effect that Roemers uses as well as light trails. For this shoot I did not use a tripod which resulted in abstract images. I liked how the light trails expressed movement too among the people. However, I wanted to experiment with using a tripod and being higher up to see if the result looked better.
For shoot 2 I used a tripod and walked across a bridge over a motorway. This enabled me to be higher up to take my photographs at a different perspective. These ideas were inspired by Roemers by critically analysing a piece of work from his ‘Metropolis’ project. The images that I captured were light trails but did not have the same blurred effect as with shoot 1. Therefore, with the experiment, I decided to return to the technique that I used in shoot 1.
For shoot 3 I went to Keynsham. I tried a different technique this time. I sat in the passenger seat of my family’s car and while I was driven through a main road I captured light trails from various vehicles such as buses. I changed the camera settings between long-exposure and normal exposure. This enabled me to take photographs that resemble freeze-frames. With the car that I was in moving, it created a blurry effect, linking to Roemers. It began to rain while I was doing this photo shoot which gave me the idea of including raindrops on the car window screen to make my photographs more interesting. The water droplets reflected the light trails, which in turn, added more colour to my photographs. After this shoot I used Photoshop to experiment with emphasising the colours used in my work.
With shoot 3 completed I noticed a common theme in my work, light trails. This was when I decided to continue to feature light trails in my photographs. I then began to research artists and came across a group of German photographers who called themselves LichtFaktor, meaning Light Factor. I then critically analysed their work to see how they use light trails in their work. I noticed that they use light trails to make their work more colourful. I then decided I wanted to use this idea to take my project further.
Shoot 4 was an experimental shoot. I wanted to see the outcome of creating light trails behind a still object. I decided to create light trails around a car so that I could include my theme of vehicles in the photographs. My shoot was successful as I realised that I still preferred my first and third shoot. Although, I still wanted to make light trails a main theme in my work. I then created edits using Photoshop to change the colours of the light trails. I liked the idea of using colourful light trails and vehicles in my work. I then had the idea of merging the two ideas together, using Photoshop. I used the images from shoot 4 and 3 to do this. I used the fading option on Photoshop to allow aspects from the two images to be seen.
From this new idea of layering images I came across a photographer named Naoya Hatakeyama. With my theme of water droplets and light trails in shoot 3, I noticed that Hatakeyama produced a ‘Slow Glass’ series that linked to my idea. I then critically analysed his work and looked into ways that he featured both water droplets and light trail in his photographs. I then created a mood board related to this idea.
I then discovered Eduard Gordeev. Gordeev used the same idea but featured city scenes. I then developed shoots on water droplets and used Photoshop to merge images together to create the appearance of looking through a window with water droplets on. I continued to create shoots based on light trails and vehicle movement. However, I used Photoshop to combine my ideas together.
After that, I started looking at ways that I could develop my light trail idea. I began moving the camera around to create certain lines and shapes. I also began to take photographs that featured light trails with different colours.
For my final piece I combined all of my ideas together. I decided to use a photo frame to display my work. The glass was used to represent a car window. I did this to emphasise the illusion of being in a car for the viewer. I am happy with my final piece because it links to all of my ideas and all of my researched artists as explained in my written method of my final piece.
